READ LATER - DOWNLOAD THIS POST AS A PDF
If you saw my new scarecrow that I picked up at the farmer’s market in this post then you will know where my inspiration for this week’s Crafting with Kids! craft came from.
I thought they were just too darling. I don’t have a lot of fall decor for my kitchen area so I thought a scarecrow magnet would be fun.
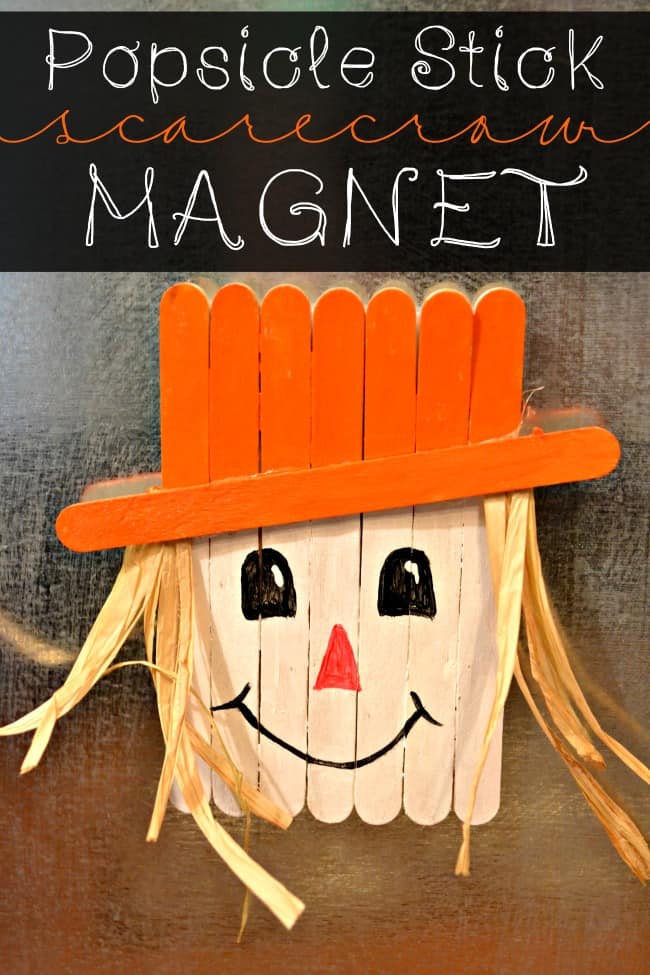
Popsicle Stick Scarecrow Magnet
Supplies:
Directions:
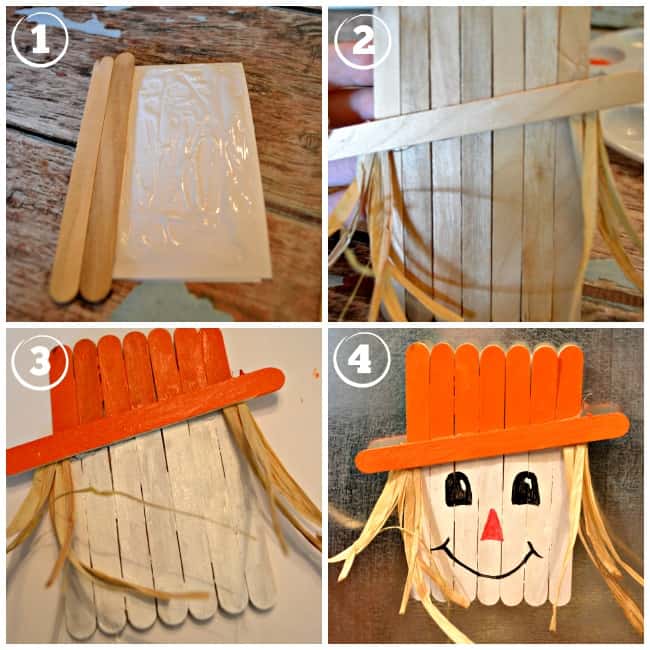
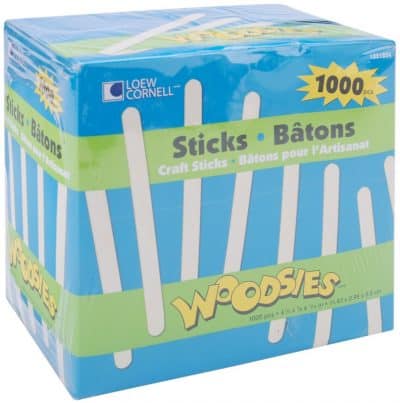
1. Start off by using Elmer’s glue to glue on your craft sticks, 7 of them, to your cardstock or cardboard. It really doesn’t matter what you use for the backing just as long as it is strong enough to support the sticks. Also, make sure that you cut your backing so that it’s not longer or wider than the popsicle sticks. Let dry!
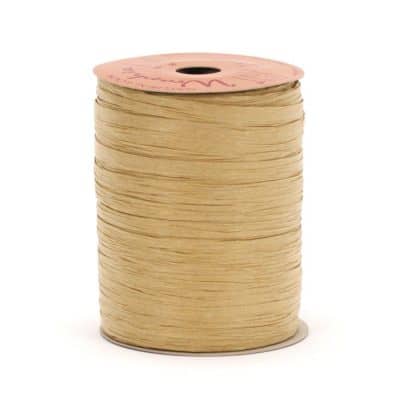
2. This is the step the parent will want to help with. Hot glue a few strands of the raffia onto one craft stick for the scarecrow’s hair. I just cut a few pieces for each side. Once the hot glue is dry you can then glue the stick onto the rest of the scarecrow body.
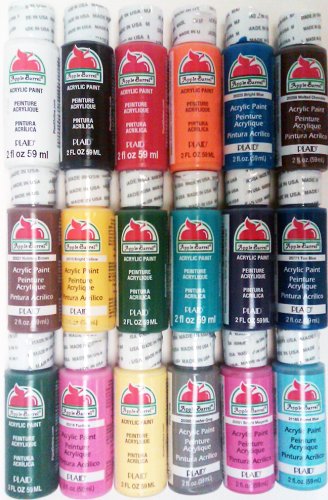
3. We choose to paint the scarecrow at this point. If you think it would be easier for your kids to paint prior to attaching the hair piece then you can do that beforehand. We just found it easier to paint afterwards. Now that everything is painted you get to sit and watch paint dry. Luckily it’s just craft paint and it will be dry in minutes, not hours.
4. The next step is to paint on the adorable face. Depending on the age and painting skill level of your children you could always paint the face on for them or cut out pieces of felt or foam and attach with glue. We didn’t add anything to the hat but I think we might go back and add a flower as well. Just dress it up, however, you like it.
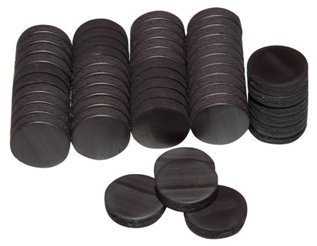
5. Attach magnets to the back of your scarecrow. I used two .75 inch adhesive magnets to hold mine up.

If you enjoyed this Popsicle Stick Scarecrow Craft you might also like…
Original article and pictures take todayscreativeideas.com site
Комментариев нет:
Отправить комментарий