I may earn money or products from the companies mentioned in this post at no additional cost to you. As always I only recommend products and services that I use and love.
Remember when I updated the craft room? And I made a shutter for the window? I said back then that I would write about that shutter. I never did. Well I made two more of those shutters. The Power Tool Challenge theme for this month is Home Improvement so it’s seems like the perfect time to show you how to make indoor shutters.
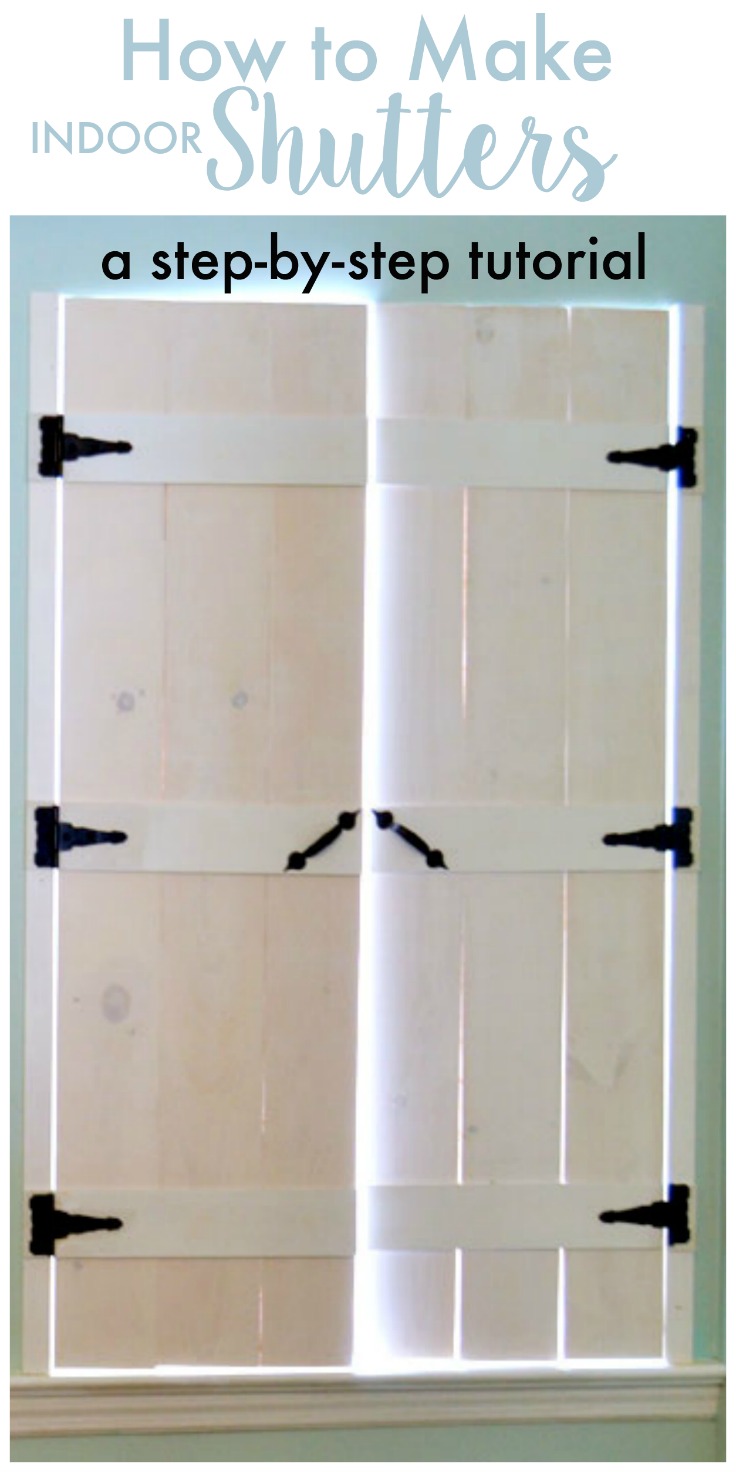
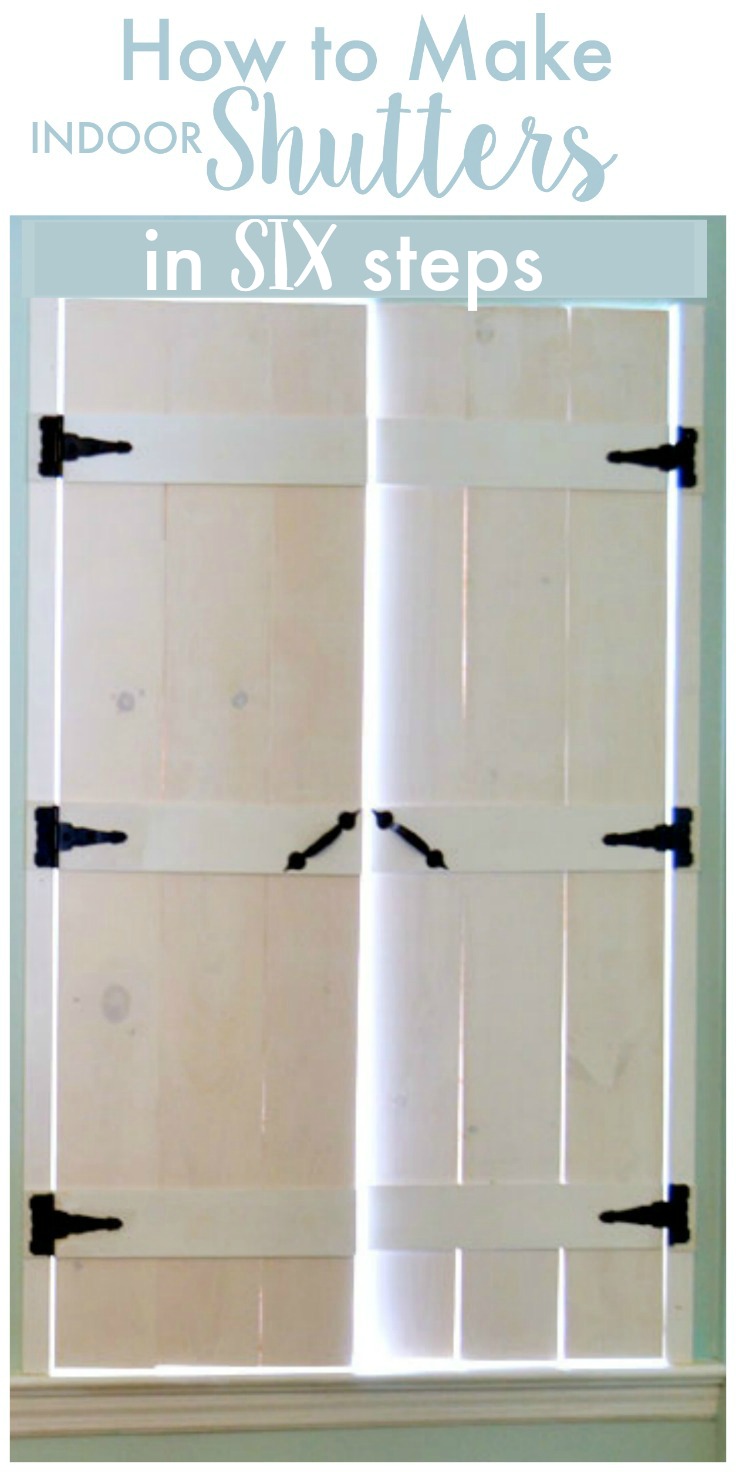
How to Make Indoor Shutters
Materials Used (affiliate links included):
- wood boards (I used 1 x 2’s for the end frames, 1 x 6’s for the actual shutters, and 1/4″ x 4″ x 48″ hobby boards for the braces)
- paint
- stir stick
Step One – Measure window
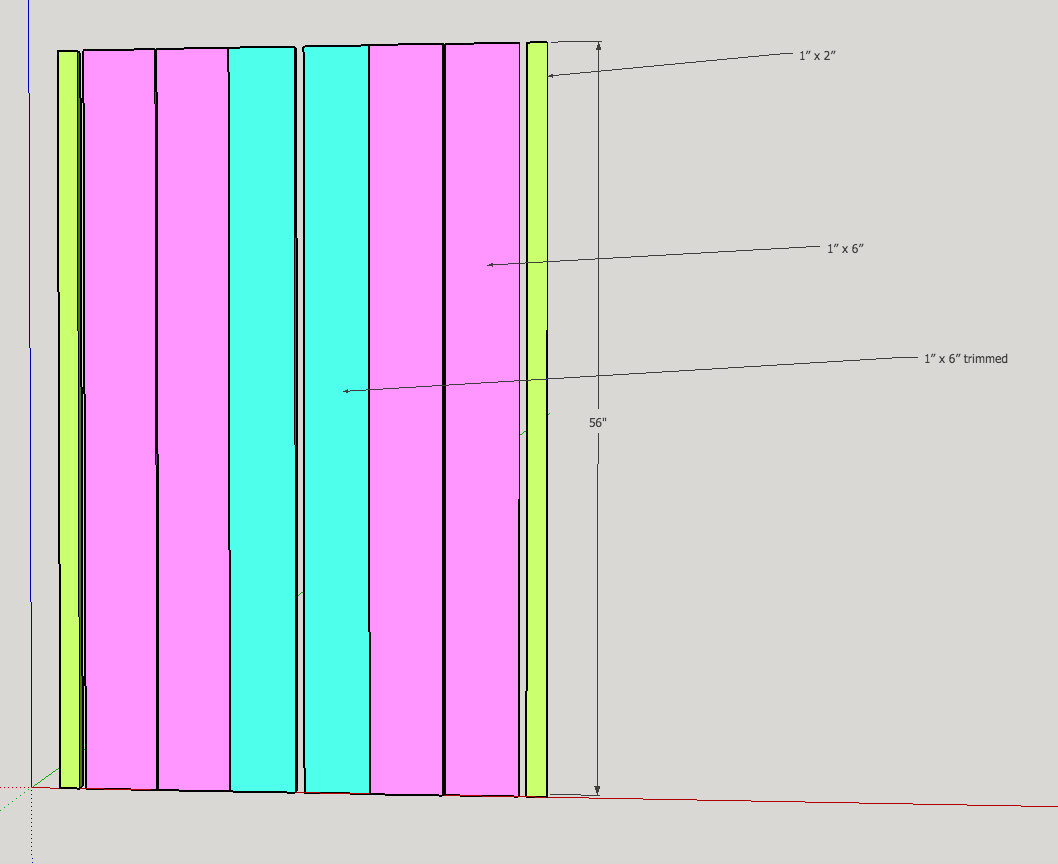
My window measured 56″ tall x 33″ wide. This meant that each of my shutters needed to be 56″ tall. Since the width measured 33″ half of that is 16-1/2″. I subtracted a half inch to allow for clearance on each side of the shutter: on the hinge side and also where it meets the other shutter in the middle.
Okay, so the 56″ tall is easy enough. My 1 x 2″ boards and 1 x 6’s boards needed to be cut to 56″.
But how many 1 x 6’s would I need for each shutter? Since 1 x 6’s are actually 5-1/2 inches, 3 of them together side-by-side would measure 16-1/2″. This would be perfect if I didn’t want to swing open the shutters. I would need to cut 1/2″ off of the width of one of the 1 x 6’s to allow for clearance for each side of the shutter.
Step Two – Cut the wood (keep in mind that I have two windows)
I cut four 1 x 2’s to 56″. These are the side rails or frames that the shutters will be attached to.
I used my table saw to cut 1/2″ off of the width of four 56″ long 1 x 6’s.
I cut 16″ lengths of the hobby boards for the braces. I also cut 1-1/2 lengths of the hobby boards for the ends of the braces that are on the frames.
Step Three – Paint the wood
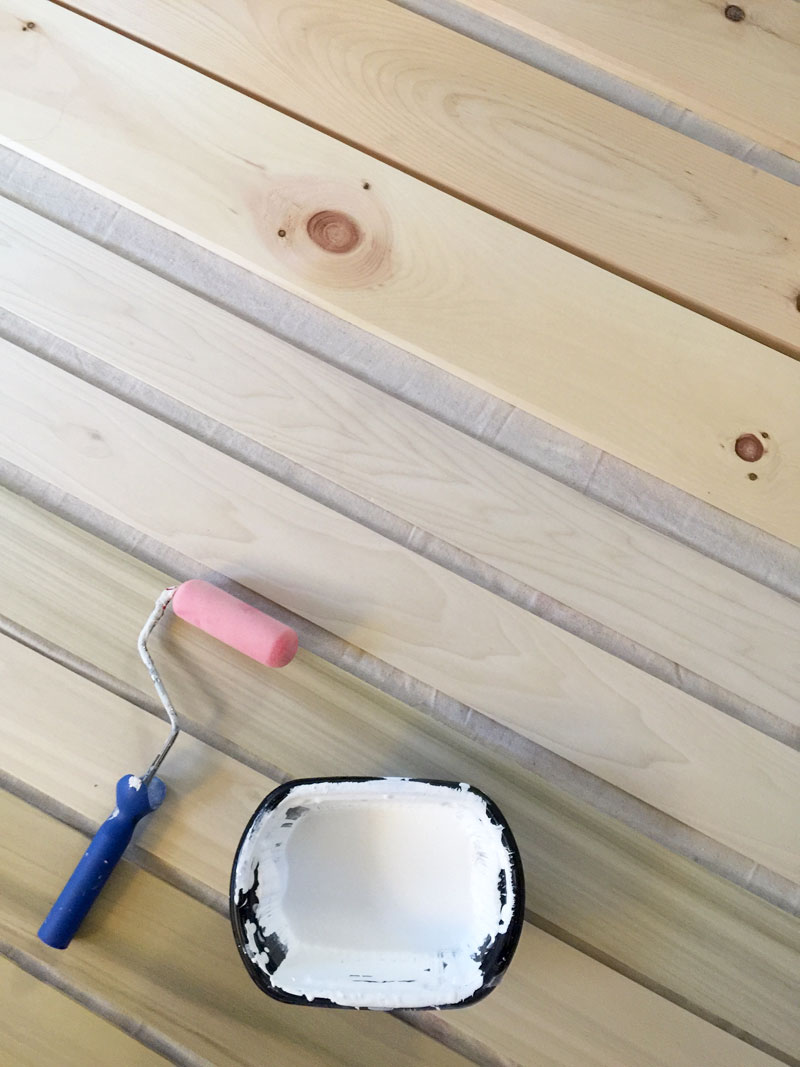
Painting the boards before assembling will save time and headaches. Trust me ; ) By the way, to get the white wash appearance that I used, just water down white paint and only apply one coat. It’s that easy!
Step 4 – Attach the frame
Attach a 1 x 2 to the each side of the window opening.
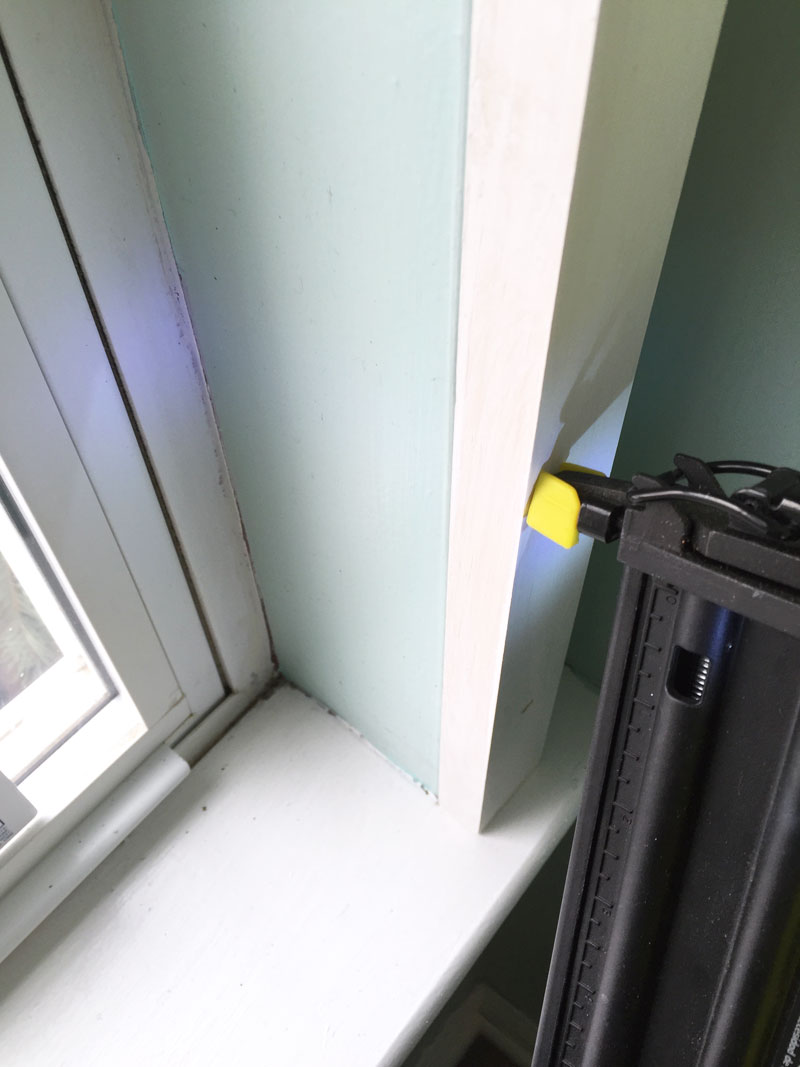
I used my brad nailer with 1-1/4″ nails to attach the 1 x 2’s to the wall.
Assemble the shutters
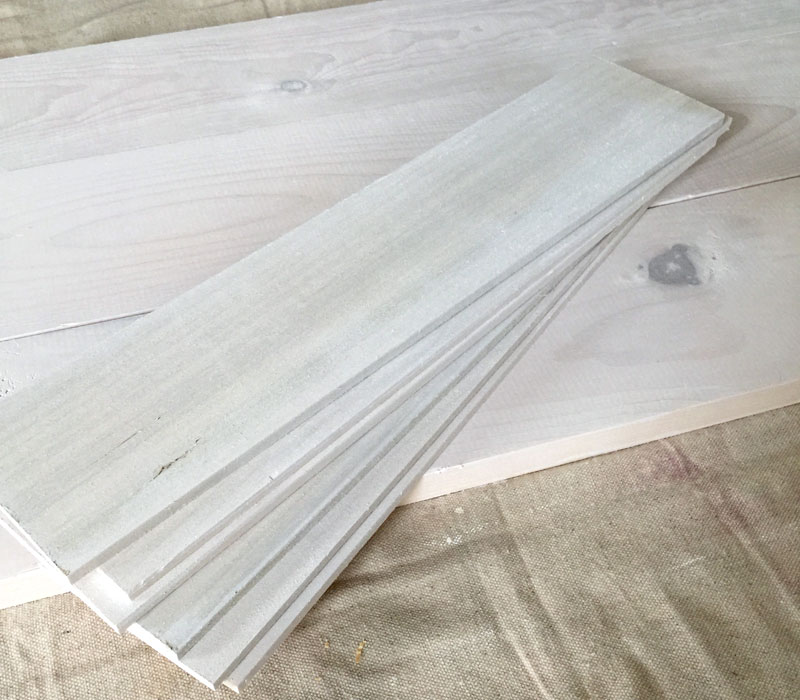
My boards are all painted, dry, and ready to assemble.
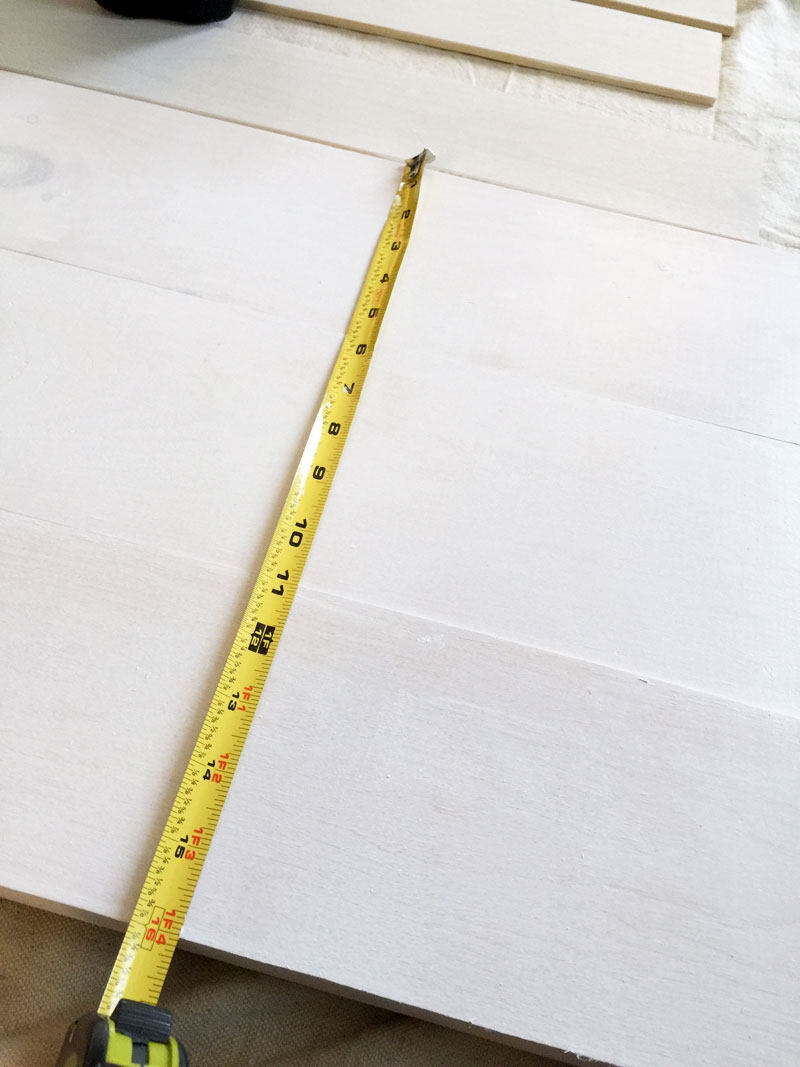
Lay three 1 x 6’s together (one of them will be a little narrower – remember we trimmed 1/2″ off on the table saw).
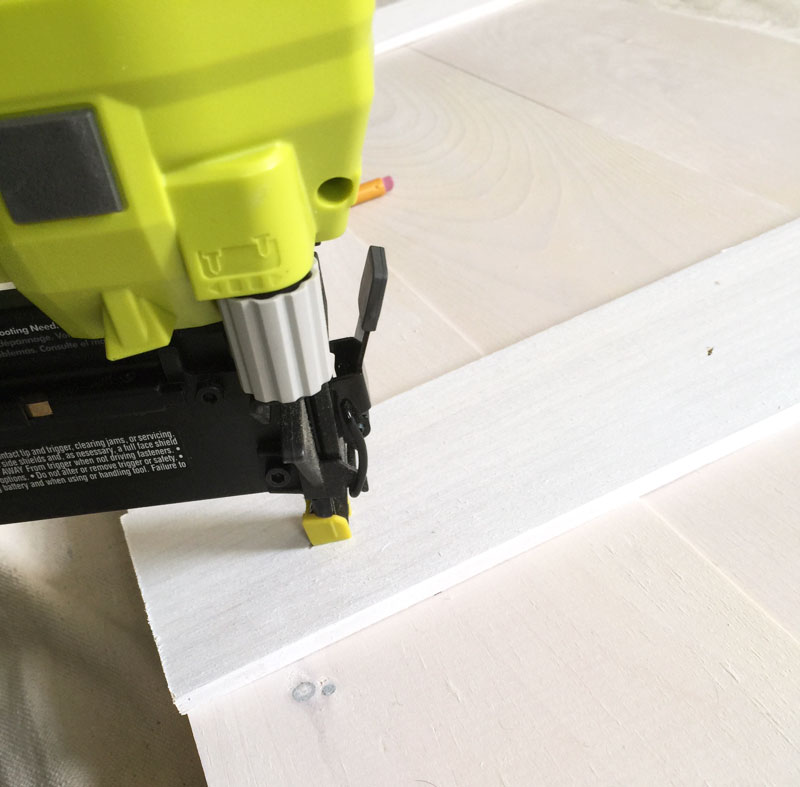
I used wood glue between the boards and then attached the braces using my brad nailer with 1″ brad nails. The braces on the ends were placed 6″ away from the ends and the middle brace was attached to the middle ; ) The braces were attached on both sides of the shutters.
Step 5 – Attach the hinges
This is super easy. I attached the hinges to the shutters first.
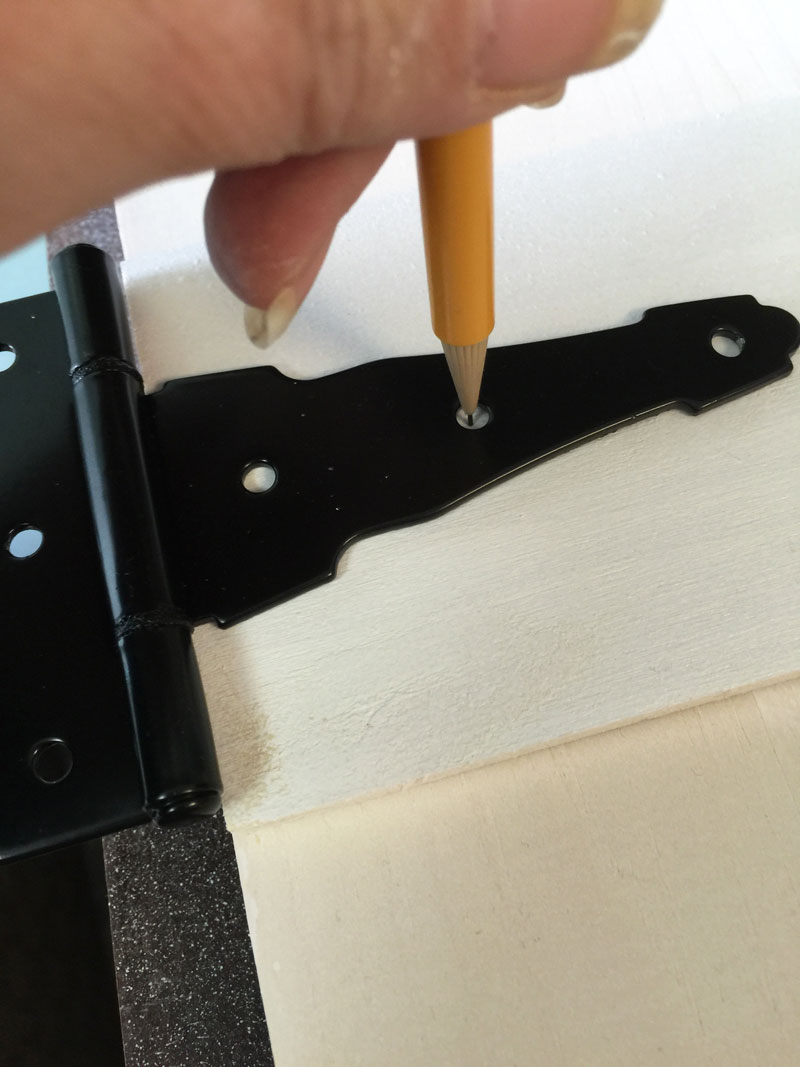
I started by lining up the edge of the hinge with the edge of the shutter and marked the holes with a pencil for drilling.
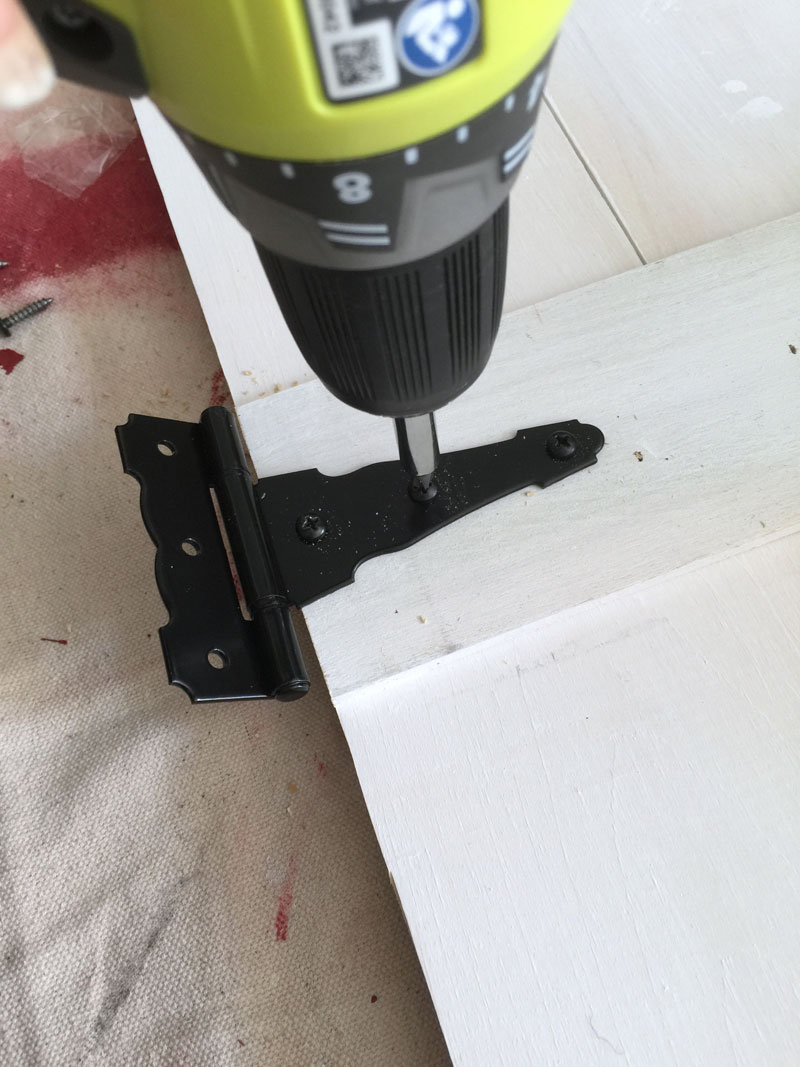
I then drilled pilot holes for the screws before driving in the screws.
Step Six – Attach shutter to frame
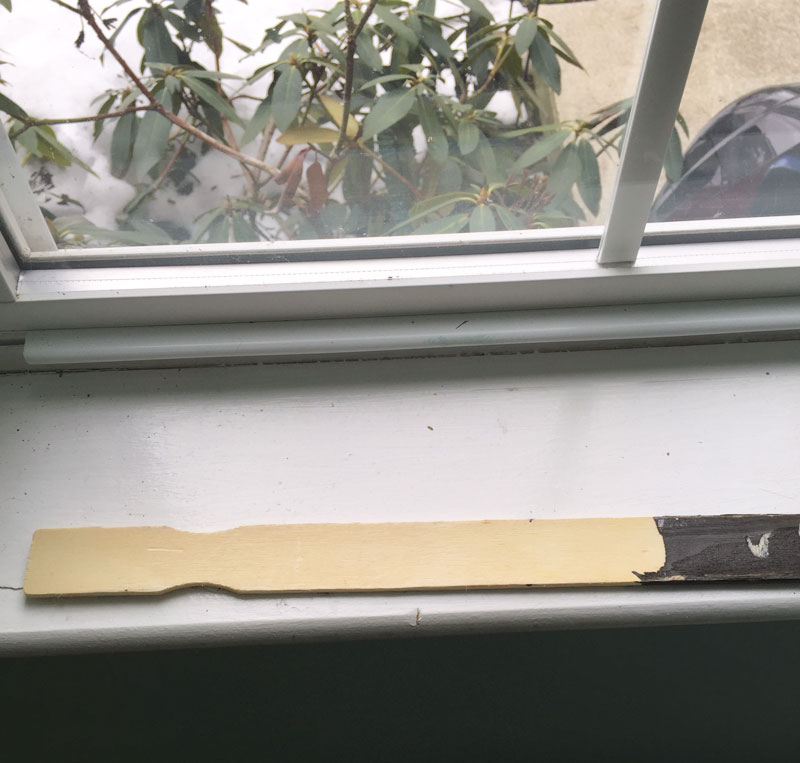
Here’s a little trick: I placed a paint stir stick on the window sill and placed the bottom of the still unattached shutter on it. Once the shutter is attached, it will swing freely.
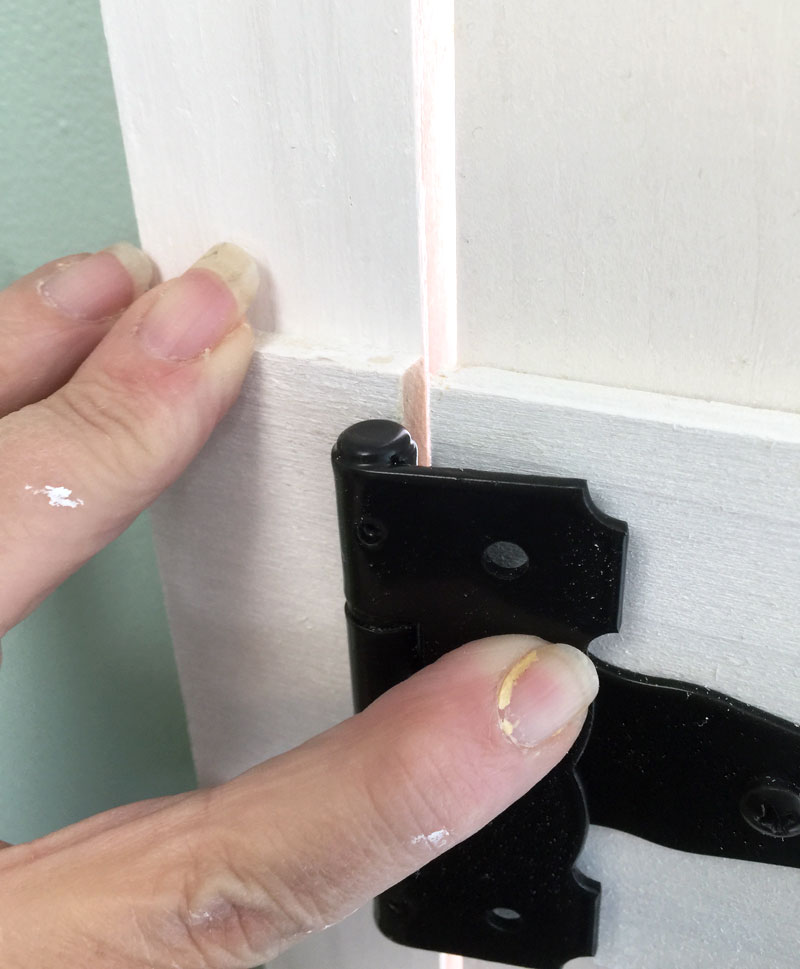
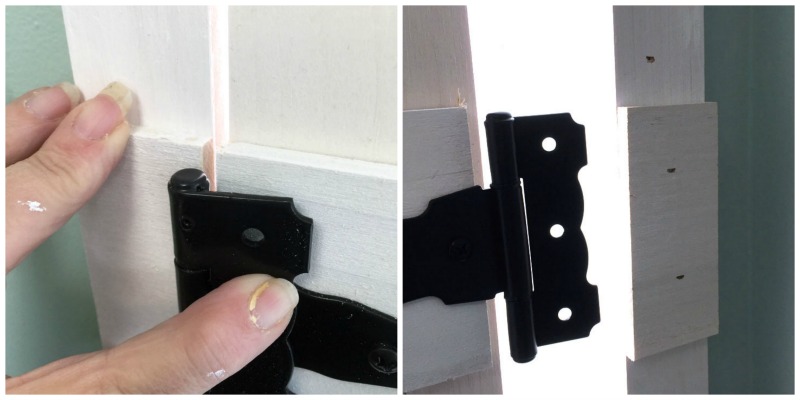
Now it’s time to attach the frame brace pieces (those little 1-1/2″ pieces of the hobby boards) onto the frame.
Since I had two windows and had to make two sets of these shutters . . let’s just say I learned from a few mistakes on the first one that I made ; ) and these instructions include those lessons learned! Like waiting until you “dry fit” the shutter before attaching those little frame brace pieces. As shown in the photos above, line up the frame brace pieces with the braces on the shutters, then nail in those pieces and then make the drill marks and attach that other end of the hinge!
DONE!
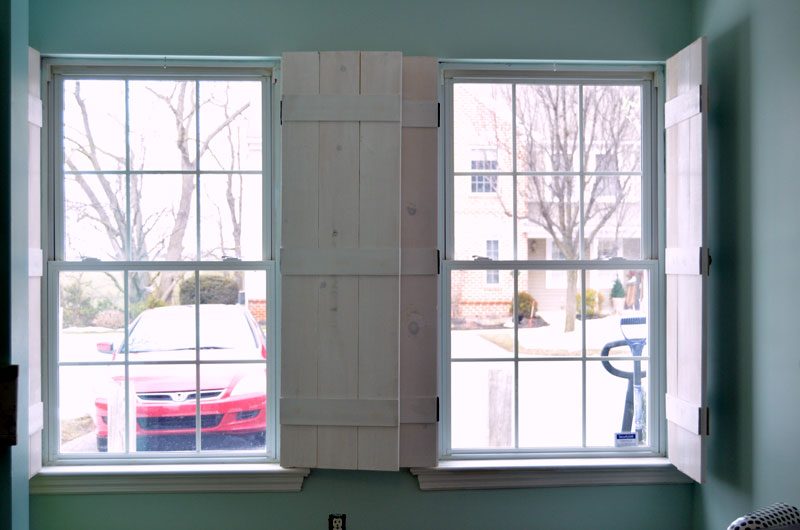
Now go get a manicure – you’re gonna need it ; )
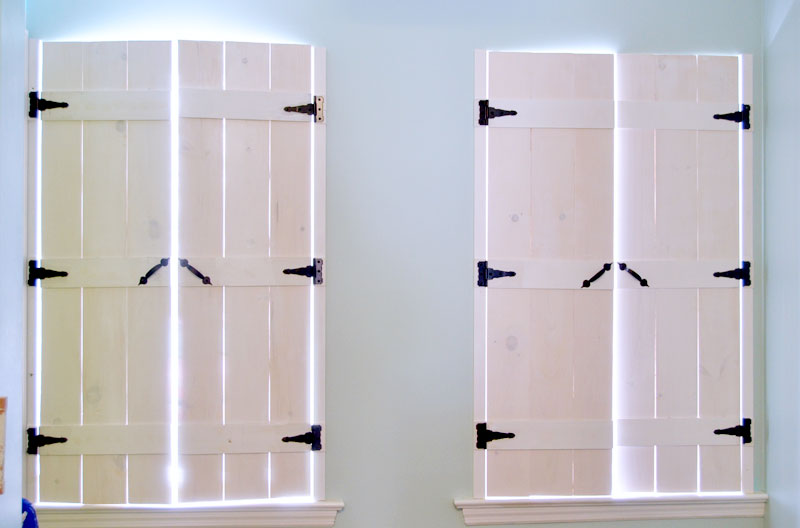
Since I live in a condo community, I’m loving the privacy that these shutters provide. Plus I think they look really awesome!

I think for next month’s Power Tool Challenge I need to make something in a different room. January’s project was also in the kitchen: inside cabinet door storage. Maybe the hallway. I recently made a coat rack out of a cupboard door and it looks great in the there. But it got me thinking about other storage ideas. Hmmm.
Now it’s time to see the projects that my friends were working on:

DIY Fireplace Mantel Shelf Her Tool Belt
Industrial Paper Towel Holder by Virginia Seweet Pea
Blanket Ladder by Refresh Restyle
Cedar Hose Planter by Kim Six Fix
DIY Vanity Sliding Drawer by Interior Frugalista
How To Patch A Hole In Drywall by Designs By Studio C
Wall Mount Staghorn Fern by A Piece Of Rainbow
DIY Painted Stairs Makeover by Thrift Diving
DIY Modern Rustic Mirror by H2OBungalow
Linking up here and also at Wow Us Wednesdays
Original article and pictures take createandbabble.com site
Комментариев нет:
Отправить комментарий