Last week I had the opportunity to help a friend build the foundation for a new shed that will be delivered in a couple of weeks. His back yard has a bit of a slope, and it would take too much concrete to pour a slab (read how to pour a concrete shed foundation here). For that reason, we decided that building a post and beam foundation would be the best way to go. This article is a step-by-step guide for how we built it, and if you’ve read our article for building a deck, you’ll see some similarities.
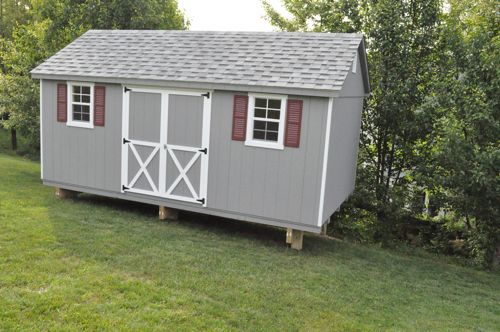
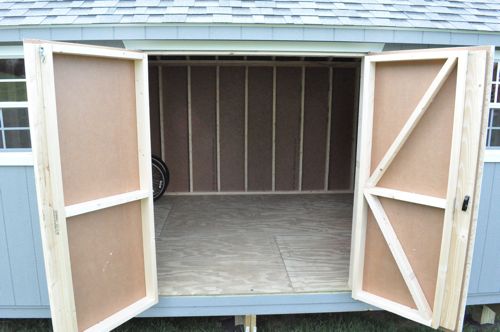
Editors update: The shed has been delivered, and I’ve updated this post with some additional pictures. Dave from Maryland’s Best Sheds (who delivered the shed), was very pleased with the foundation, and I’m pumped with how this project came together.

Materials
- (3) 6 x 6″ pressure treated posts (see below)
- (1) 4 x 4′
- (6) 2 x 10″
- (8) 2 x 8″
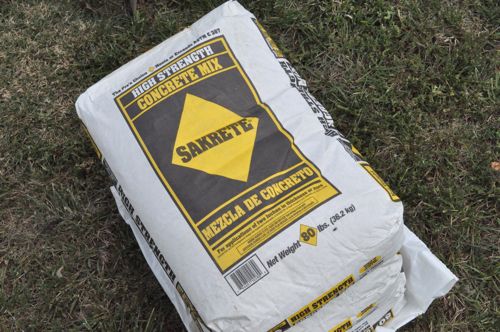
- (3) 80 lbs bags of concrete
- (3) Pea gravel
- String line
- Stakes
- Spray paint
- (12) 1/2″ Carriage bolts
- (12) Washers
- (12) Nuts
- (3) Lag screws
- Galvanized nails
- Galvanized hanger ties
6 x 6″ Posts: We were able to use each 6 x 6″ for two holes. However, this may not be the case for everyone.
Tip: Pressure-treated lumber is infused with chemical and rated by the amount per cubic foot of wood. Ground-contact lumber has .40 pounds of preservative per cubic foot, and above-ground rated lumber has .25 pounds.
Tip: When purchasing dimensional lumber, pick through the pile to find straight boards.
Tools
- Shovel
- Digging bar
- String level
- 8′ level
- Post level
- Tape measure
- Large mixing tub
- Circular saw
- Reciprocating saw
- Drill / driver
- Spade bit
- Quick clamps
- Speed square
- Framing nailer
- Crescent wrench
Step 1: Plan the Layout
The shed measures 10 x 18′, and we started planning the layout by marking the corners of the shed with stakes. To keep everything square, we measured the diagonal distances to make sure they were equal.
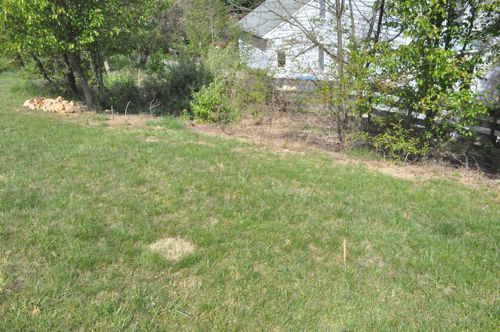
The shed will be constructed on a skid of 4 x 4’s running left-to-right along the length. For that reason, we want our support beams to be perpendicular and run front-to-back. For this project, we decided that 6 posts, (2 rows of 3 posts) would give us a solid foundation.
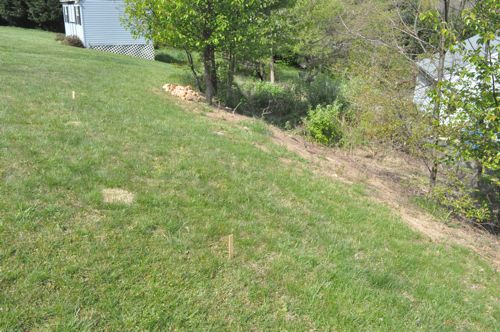
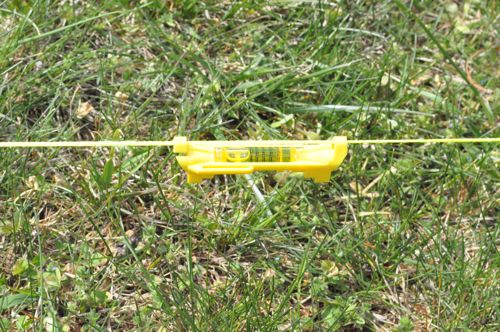
We ran several string guides set 16″ in from the corners. The string guides were useful for determining the slope of our site, finding the high-point and marking the locations for our post holes. If you look closely, you’ll see the front, far-left corner was our high point, and the back, right corner was the low point. The height difference between these corners is roughly 3′.
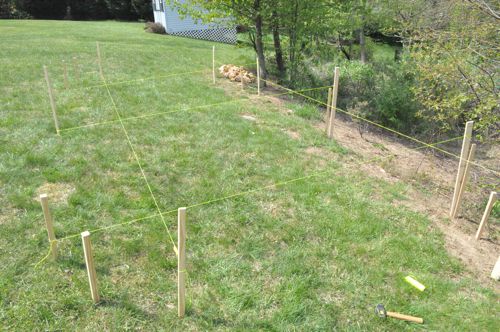
When you’re using a string level, make sure the string is very taught. Otherwise, you won’t get an accurate measurement.
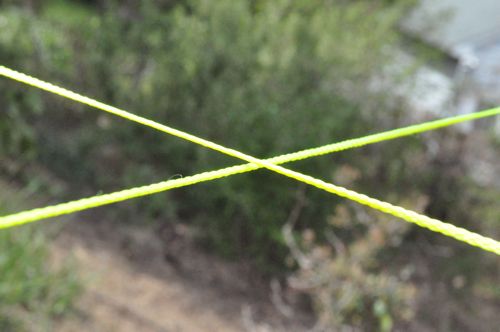
From our string guides, we determined the locations for our post holes and marked them with spray paint. The holes measured about 16″ across.
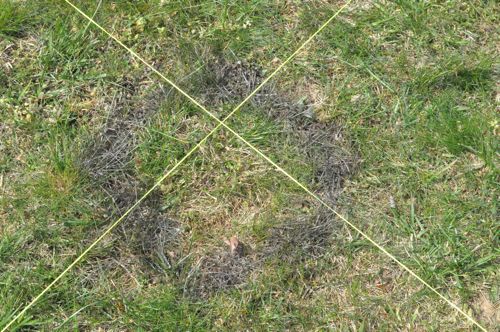
We dug all the holes below the frost line, and here in Maryland that means 30″ deep. We were careful not to dig too deep because we wanted the concrete footers to rest on undisturbed ground.
Tip: Before you start digging, have underground lines (water, gas, power, communication, etc.) located. Call the North America One Call Referral Service (1-888-258-0808). It’s free and required by law.
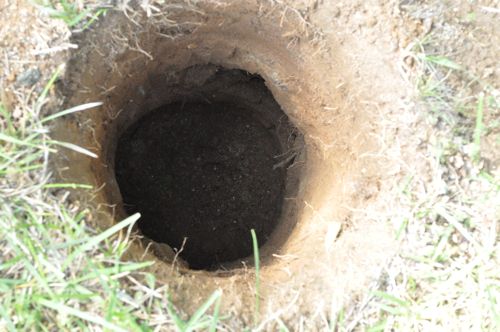

Next, we mixed up several bags of concrete and poured 5 – 6″ in each hole.
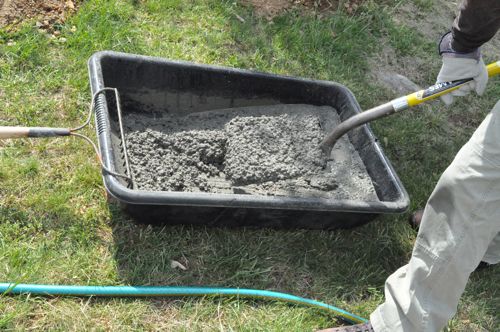
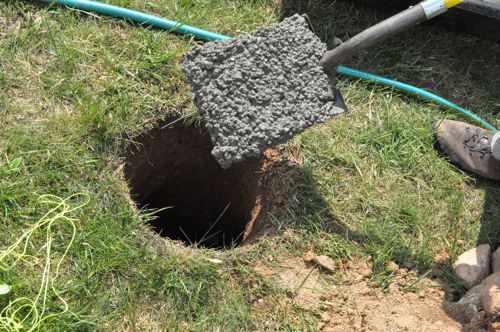

Knowing the approximate height for each post (from our string guides), we rough-cut our 6 x 6″ posts and put them cut-side-up into each hole. The posts are oriented this way because the cut sides will have slightly less pressure-treated chemical in the center.

We setup a string to mark the front edge of our posts and began leveling each one. A post level is really useful for this step.

As we leveled the posts, we used a small amount of pea gravel and dirt to temporary hold the posts in place. This allowed us to go back and make adjustments if necessary.


In this picture you can see that I placed my pencil between the post and the string (and another pencil on the far post). This is a helpful trick to make sure that each post is the same distance from the string. Otherwise, it’s tougher to check that each post is right in line.

Step 8: Fill and Tamp Holes
When we were satisfied that all the posts were in-line with each other, equidistant and completely level, we began filling in around each post, tamping the dirt as we worked.


Step 9: Mark Support Beam Level
We want to keep the shed as low to the ground as possible while still keeping everything level. Starting at our highest point and using an 8′ level, we marked the bottom of our support beam just a few inches off the ground and then scribed this line across all of the other posts.

Since we’re using 2 x 10″ boards for our support beams, we measured 9-1/4″ (2 x 10″ boards actually measure 1-1/2″ x 9-1/4″) up from our line. Using a quick-clamp and speed square as a straight-edge, we cut each post to the right height. To make this cut, we used a circular saw on each side of the posts and a reciprocating saw to cut through the center.


Each support beam is a double 2 x 10″, and we notched each post where the support beam will sit. We cut our notches to measure 3-1/8″ x 9-1/4″.


Using a framing nailer, we put rows of 5 nails every 24″ or so on both sides of the support beam. The nails are 3-1/4″ long so driving them at an angle ensures they don’t protrude through the opposite side.


Step 13: Through-bolt Support Beams
After using a string to line up the front of each support beam, we quick-clamped them in place and drilled 5/8″ holes with a spade bit.

Next, we placed our carriage bolts, washers and nuts and used a wrench to tighten everything down.

For additional support and to keep our foundation from racking, we added 2 x 8″ joists between the support beams. You can see each joist is secured with hanger ties and sits flush with the top of our support beams.


We also installed lateral braces on the backside posts using a combination of carriage bolts and lag screws.

Step 16: Cut Support Beams to Length
Lastly, we cut the back of the support beams to the appropriate length.

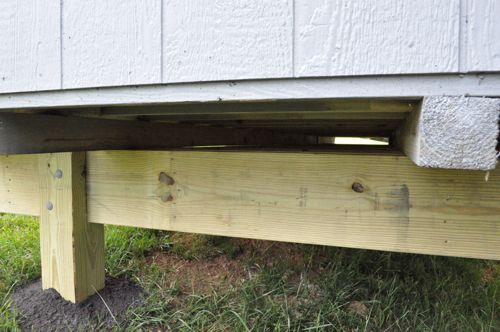
Here are some pictures of the finished product. I’m really pleased with how everything turned out. The foundation is very solid, completely level, and I’m excited to see the shed delivered. I’ll be sure to add pictures when it arrives.

Here are some additional pictures now that the shed has arrived!

Original article and pictures take www.oneprojectcloser.com site
Комментариев нет:
Отправить комментарий