Oh, hello, Alabama in July. Welcome to the burning lake of fire here on Earth. Right at this moment, I’ve got 5 separate box fans running on high in my garage as I work. They don’t really help with the heat, but they do keep the mosquitos from gaining traction on my skin, so there’s that.
Can I just tell you that the sweltering Southern heat is not for the faint of heart? Well, it’s not so much the heat, but the humidity. Seriously, I can’t walk from the front door to the mailbox without an oxygen tank. It sounds like I’m complaining. Well, that’s because I am. Why can’t it be a breezy 72º all the time? You all know how 72 is my favorite degree.
My brother-in-law asked me to build him a pair of nightstands and a matching dresser. “Sure!” I said. “No big deal!” I said. That was before I realized that Alabama is a blazing inferno.
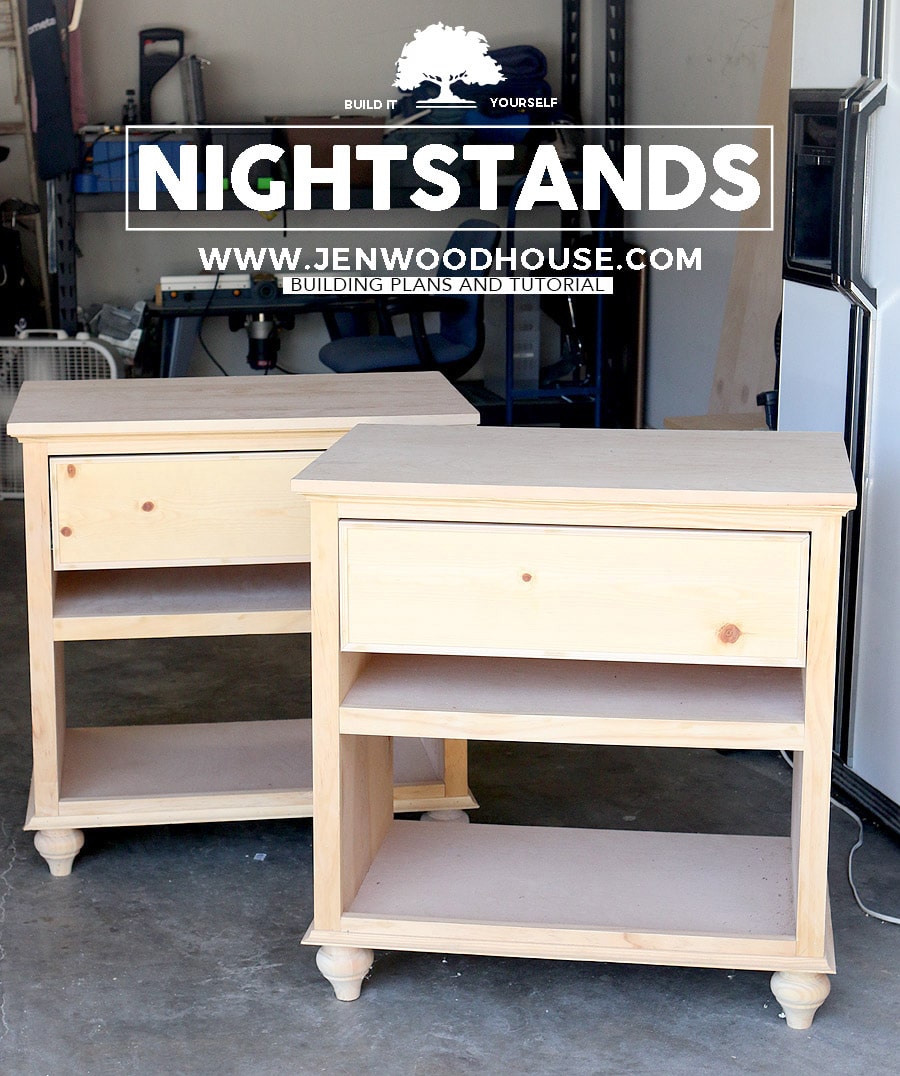
Welp. Despite the heat, I built him these nightstands and drew up the design plans for you. I suffer for my loved ones. It’s my cross to bear. You’re welcome, Brother dear.

*This post contains affiliate links. To read my full disclosure policy, click here.
As usual, I started with my favorite plywood, Purebond Plywood. I chose the 3/4″ maple species.
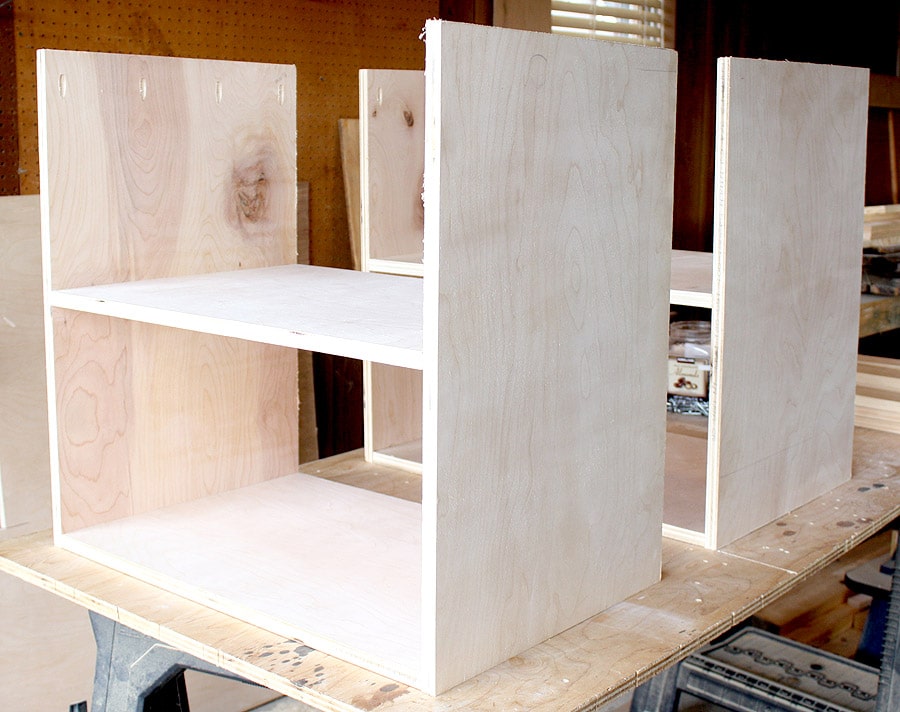
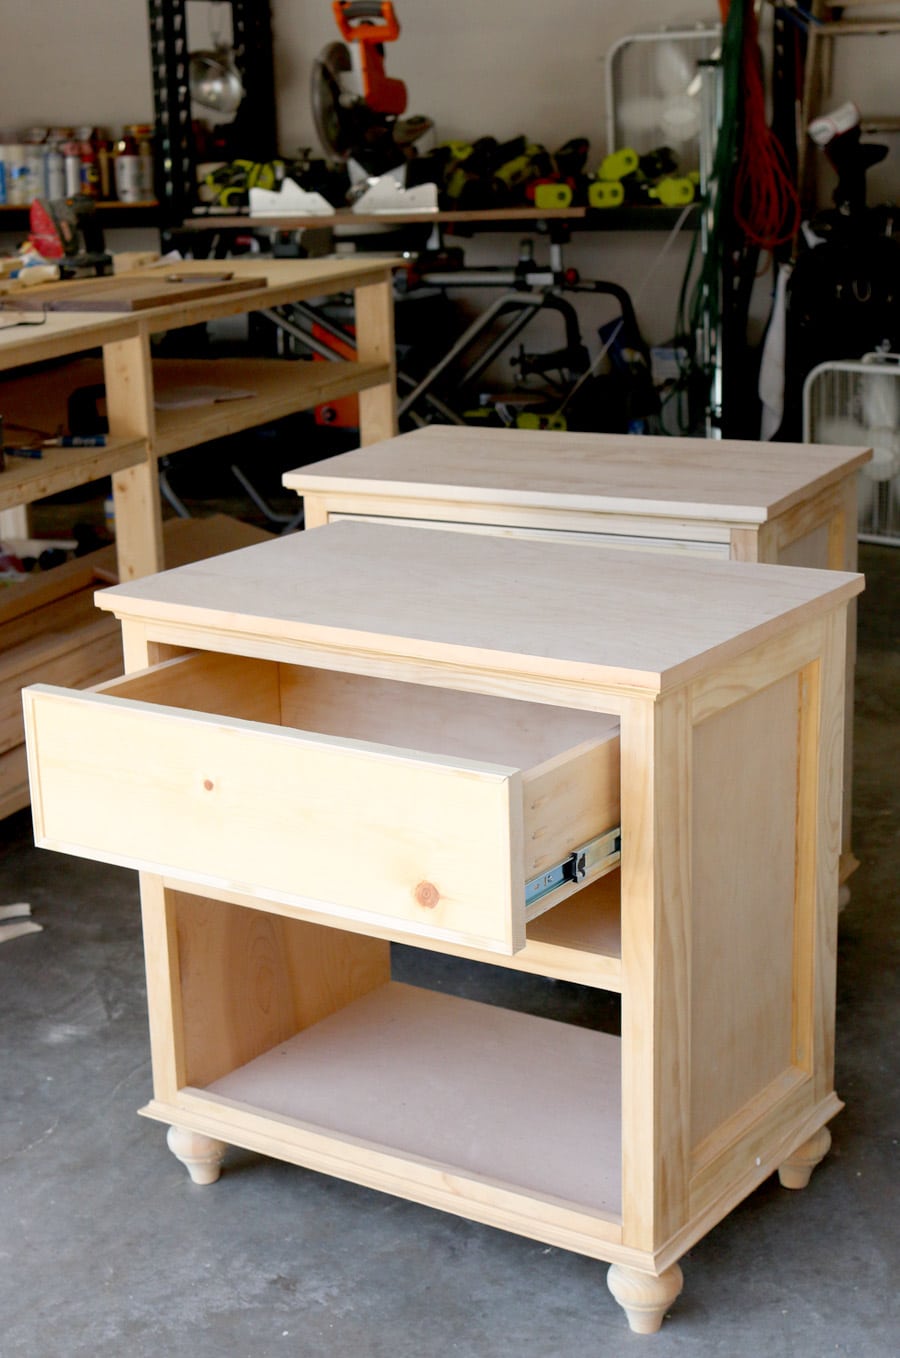
First I built the carcass, using my Kreg Pocket Hole Jig. If you don’t already have one of these thingamajiggys, I highly recommend you get one. I rarely build anything without it. Here’s a great video tutorial on how to use it, from my beautiful and fiercely talented friend, Jenn from Build-Basic.
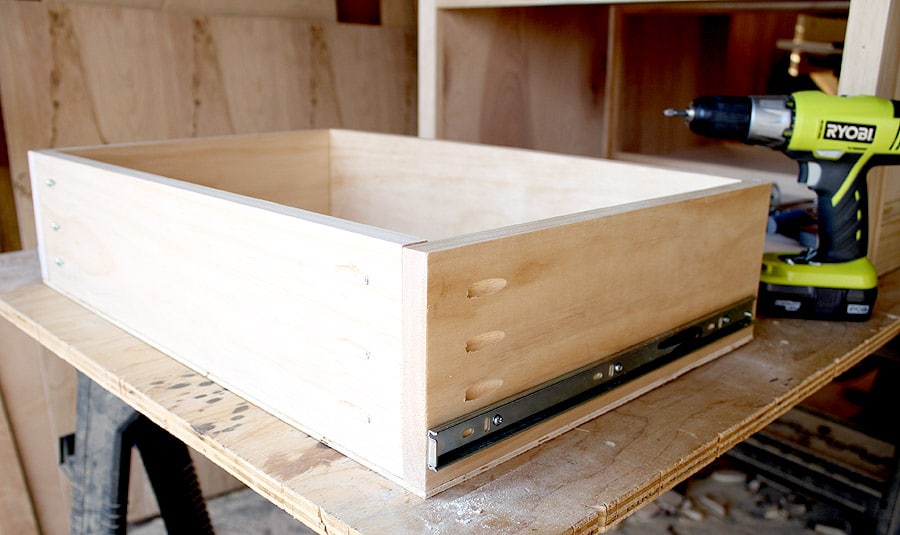
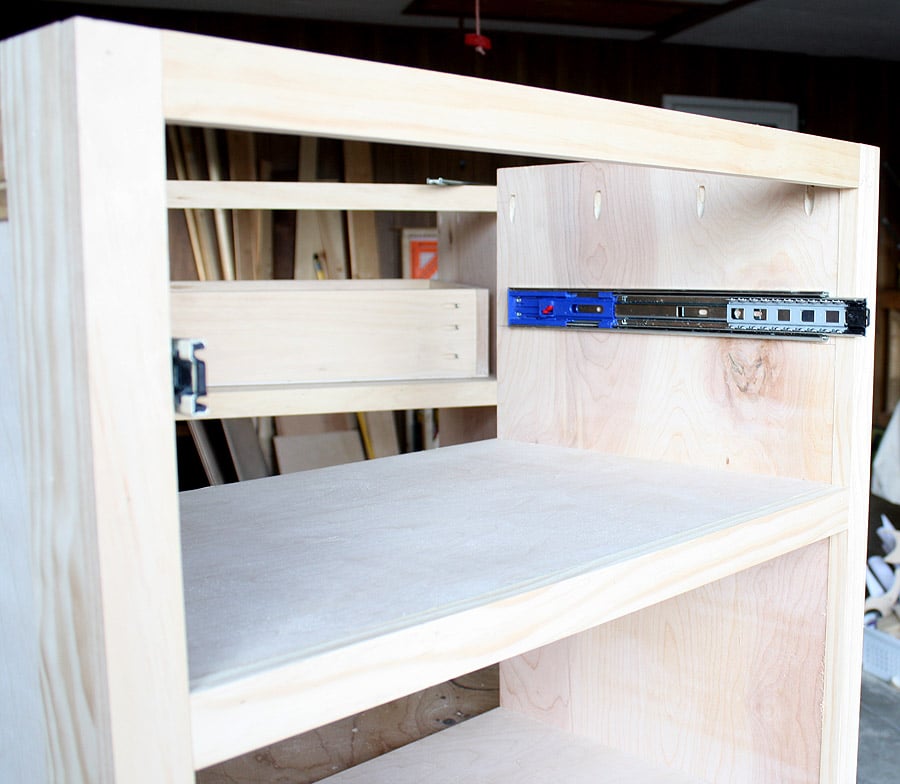
I chose these soft-closing ball bearing drawer slides. I prefer these heavier duty slides to the cheaper, flimsy white ones. They do cost a bit more, but the added strength and durability are worth the cost in my opinion. They’re full extension slides and that soft-closing feature is so fancy!
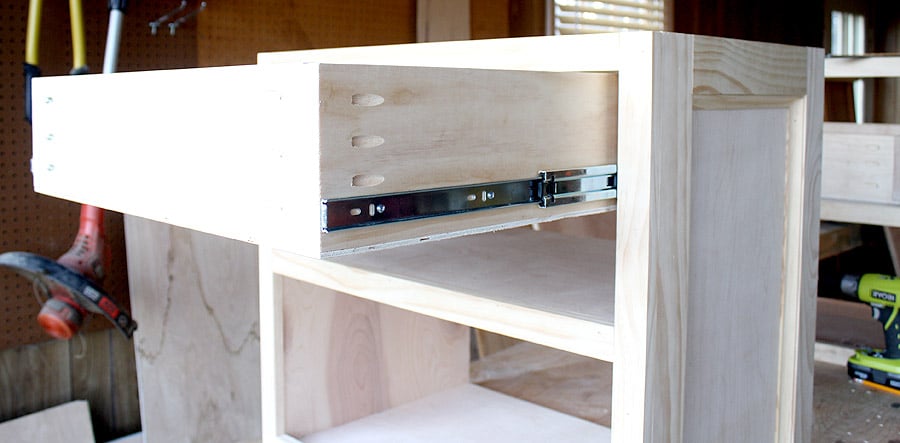
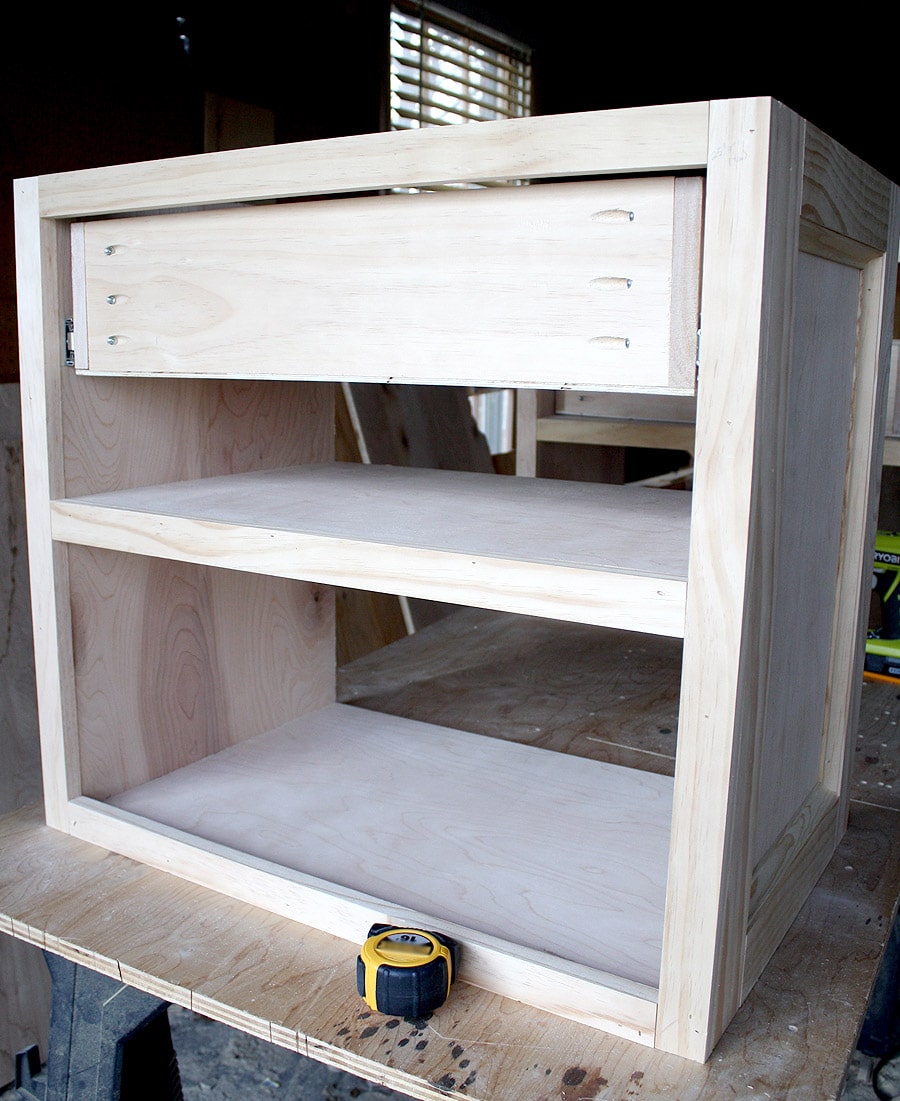
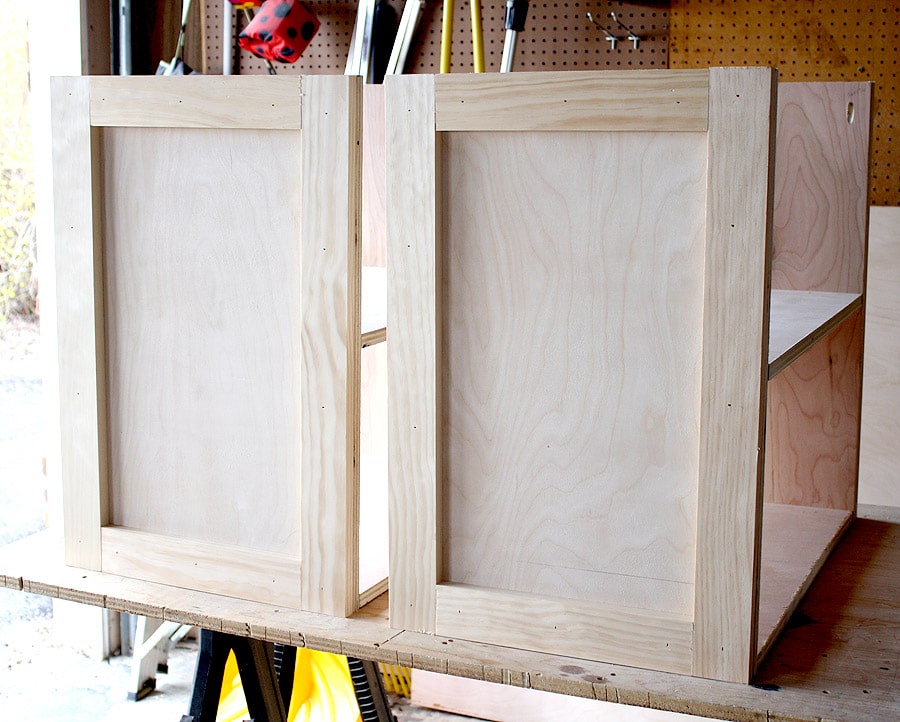
Then I attached the drawer faces, a back panel to the back of the nightstands, and finally, added these bun feet that I got from Osborne Wood. I left the bottom part of the backs open because my brother-in-law has a couple of vents where these nightstands will go.
Here’s how they turned out:
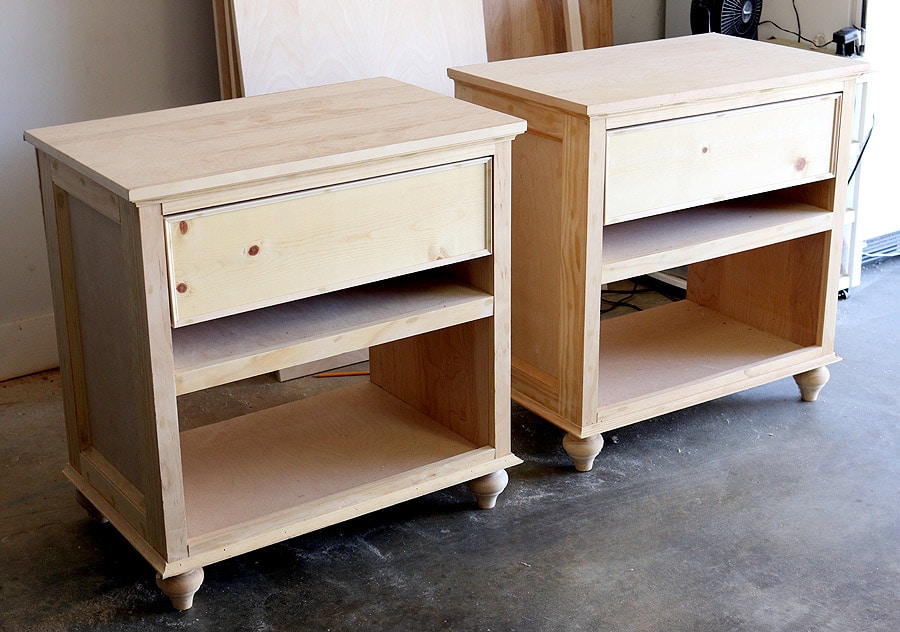
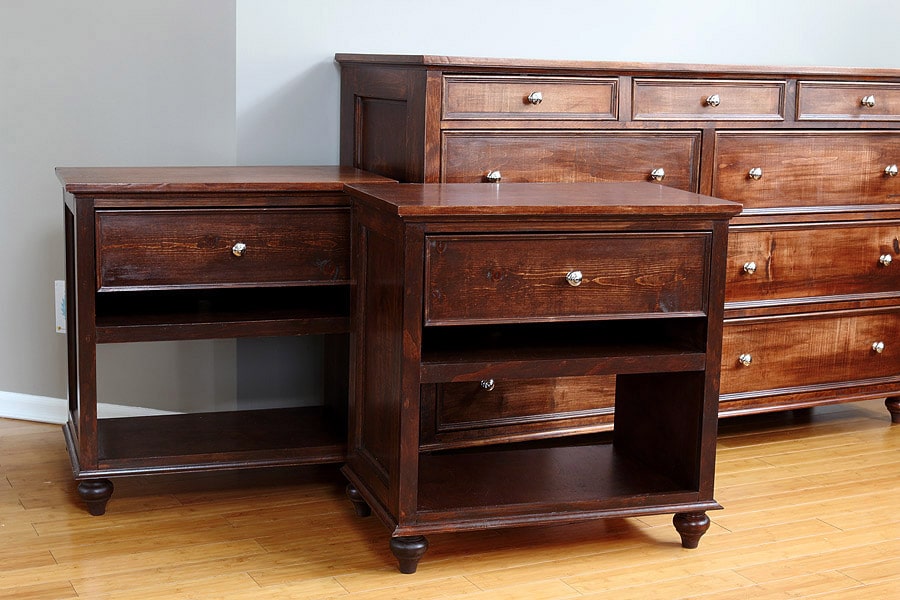
*Update: Here’s part one of the matching dresser tutorial. And here’s the complete set:
Thanks for reading, friends. If you’d like to pin and share this project, I will love you forever. Just use the image below and pin to your heart’s desire! Also, join me on Instagram, where I share sneak peeks of upcoming projects.
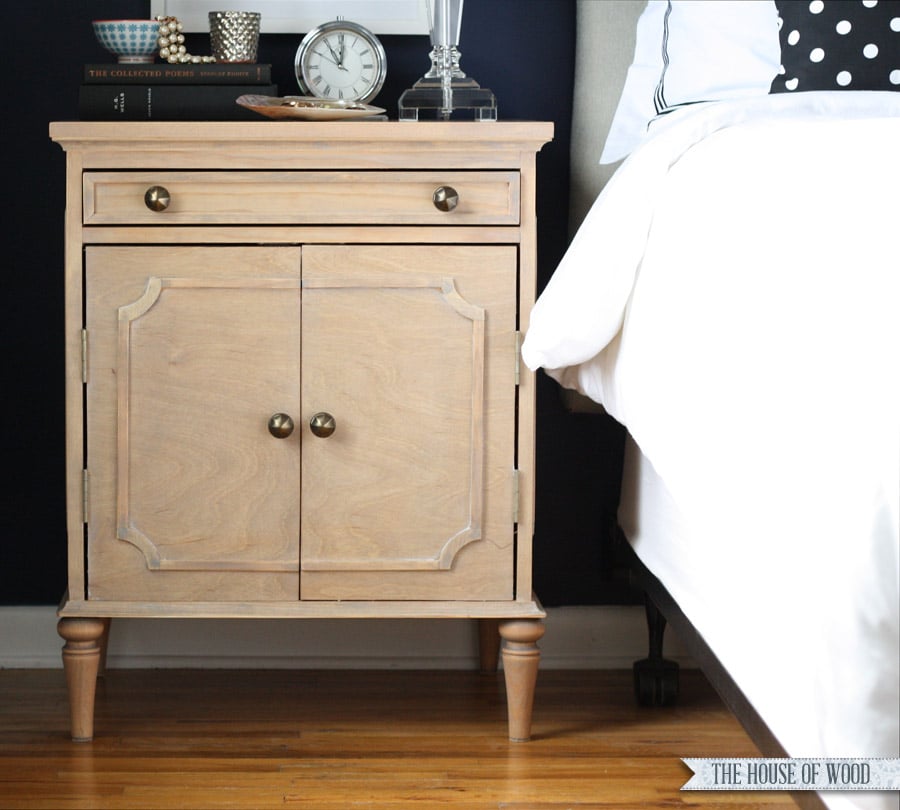
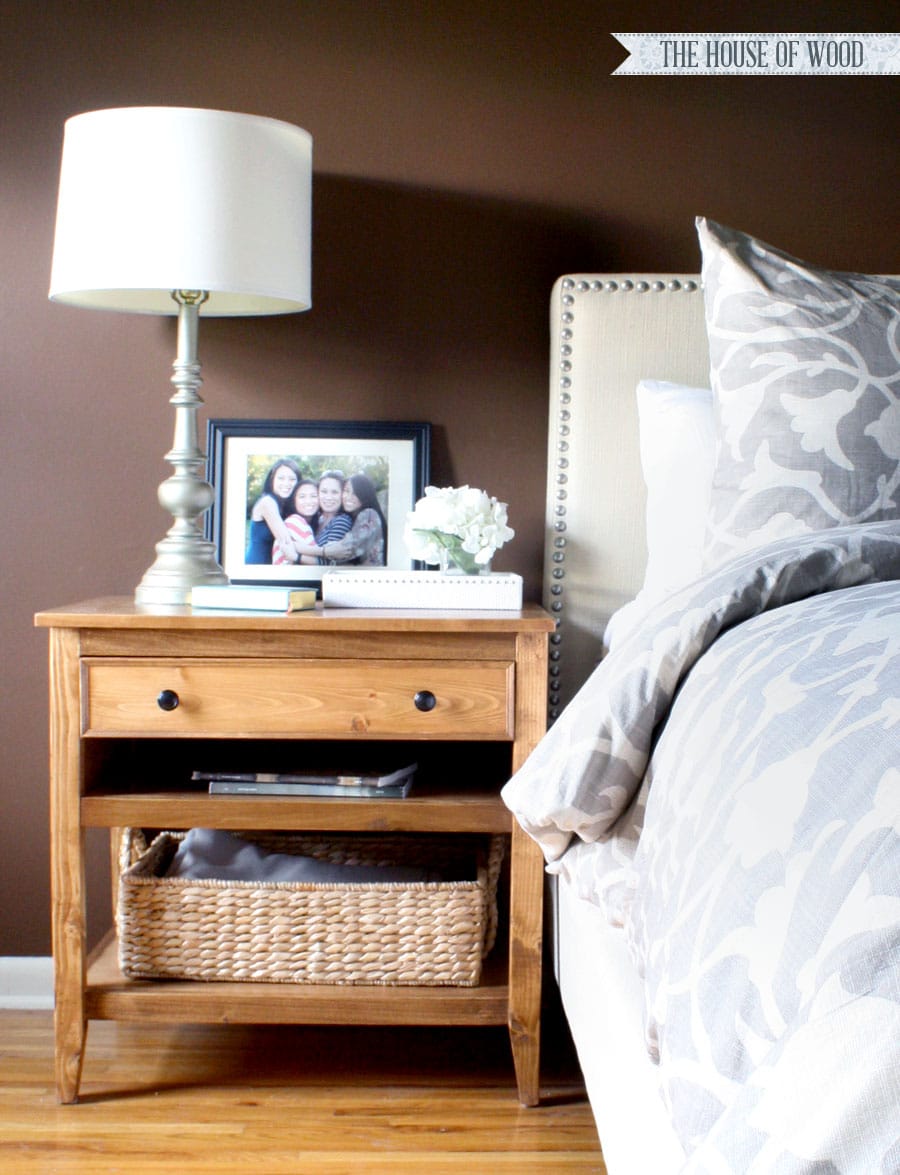
Want to see other DIY nightstand plans?
Original article and pictures take jenwoodhouse.com site
Комментариев нет:
Отправить комментарий