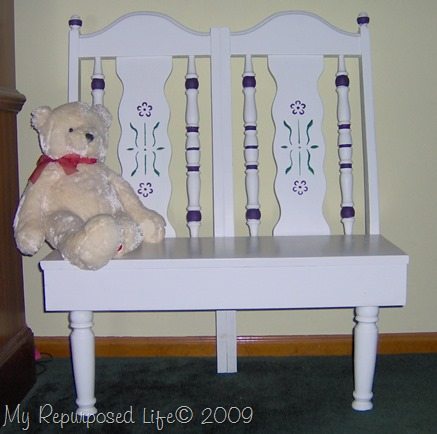
I made this little doll bench almost 6 years ago. It was one of my very first projects. It’s been in storage ever since. As I was tidying up in the last few weeks I dug it out and decided to rework the poor little thing into a garden bench. Note: this is before I got a Kreg Jig , meaning I had to put legs inside of the “box”. (skirt)
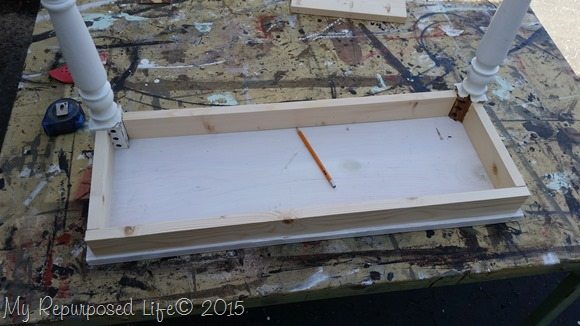
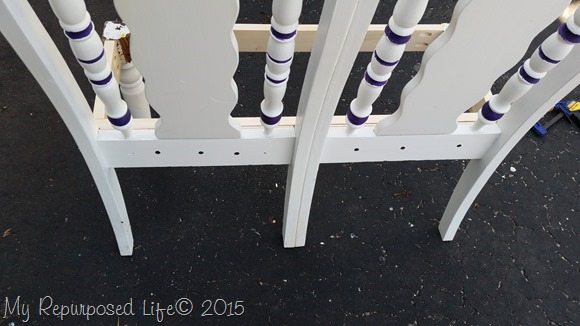
I took the bench apart and started reworking it with the same seat and legs. I used pieces of 1x’s for the box/skirt. You can already tell it’s going to look better with the legs butted up against the box instead of resting inside the box.
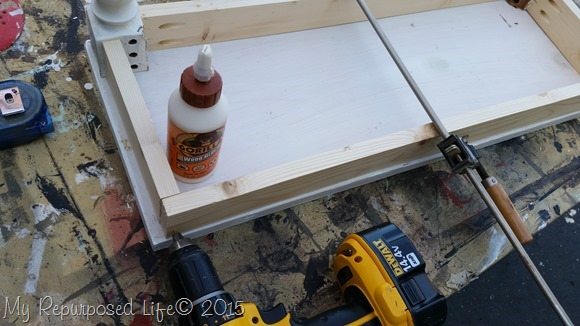
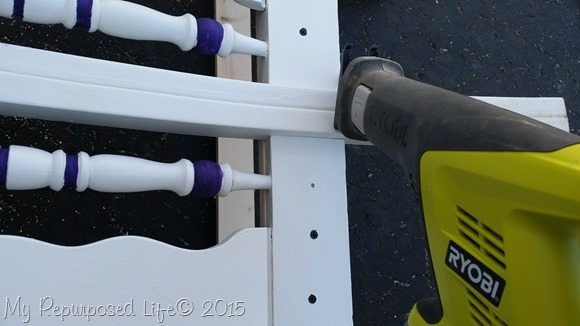
You will notice I have drilled the pocket holes for the front and side pieces. For the back piece I drilled pilot holes and secured the pieces with screws and Gorilla Wood Glue. I used a clamp to hold it all together as I secured all the screws.
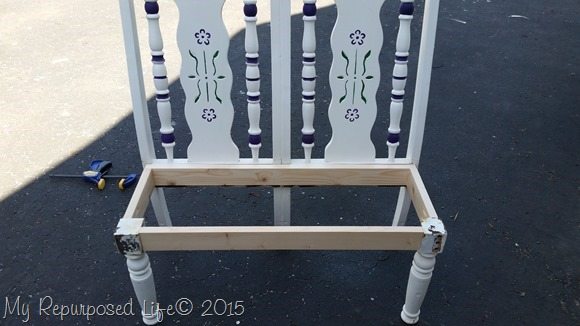
It’s already looking better with those legs toward the front, don’t you think? I attached the back of the box to the chairs with screws. oops! I just realized something—I secured it the same way it was when I took it apart. Now, looking at this picture I see that I should have inserted the screws through the 1x into the chair backs. That’s so funny that I build totally different than I use to. But I fell right back into the old way as I was reusing the same holes. I share this with you so you can learn from my mistakes.
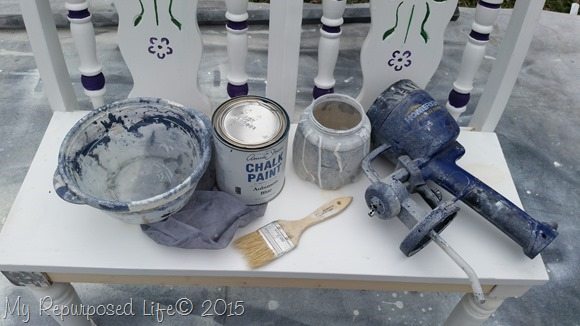
I dug through my stash of blue paints and found this Aubusson Blue from ASCP and took the easy way out by spraying it with my HomeRight Finish Max . Did you know you can use chalk paint in a paint sprayer?
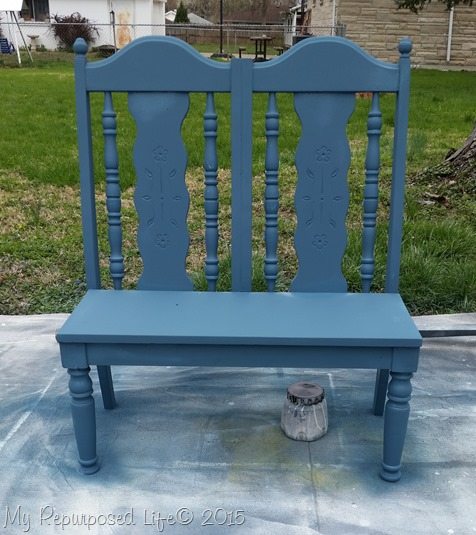
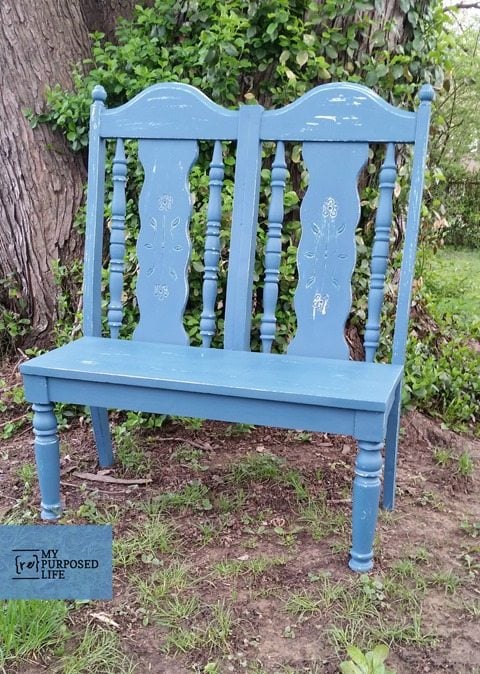
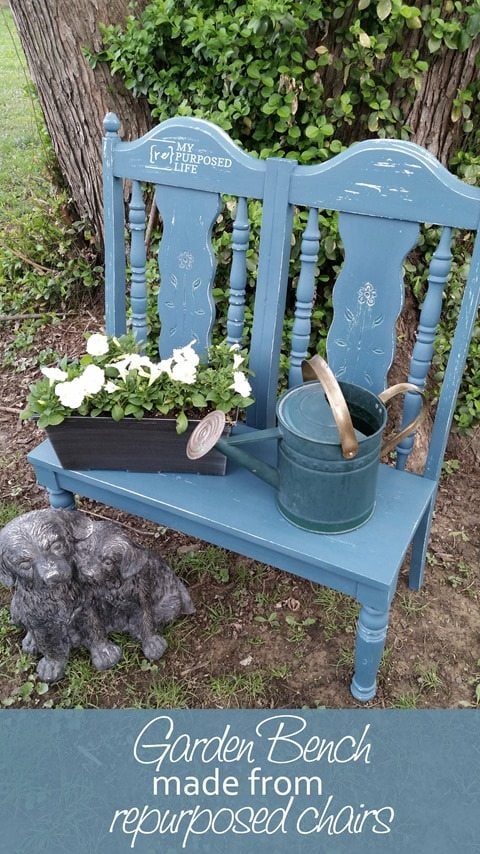
When I showed the pics to some friends, they liked the white one (before) better. How about you? Do you like the older version or the new and improved blue bench better?
gail
See one of my first, and an all-time favorite chair projects here
and how about some chair ideas?
Original article and pictures take www.myrepurposedlife.com site
Комментариев нет:
Отправить комментарий