Happy Friday guys! I am SO VERY EXCITED to share my latest build with you guys today!
Before showing you, I must start by prefacing this with the cost of lumber… $85. That’s right… $85 and 16 boards. Here is how my new outdoor dining table turned out!
How cute is that? And did I mention $85?? Cool. Just checking.
I teamed up with my sweet friend Miss Ana White to design this bad boy. I ran across a similar one in the PB catalog that I liked, but with that $1000 price tag I decided to pass! That is the great thing about DIY. We were able to build something very similar for less than a tenth of the cost, and beef it up a bit making it look better than the original (or at least I think so!!)
I will share some tips on this build here, and you can get the full set of free plans over at Ana White”s site!
This is a very easy table to build!
I would totally suggest using a Kreg Jig to build it. I used mine on the entire build, and I don’t think I would have built it if I didn’t have one.

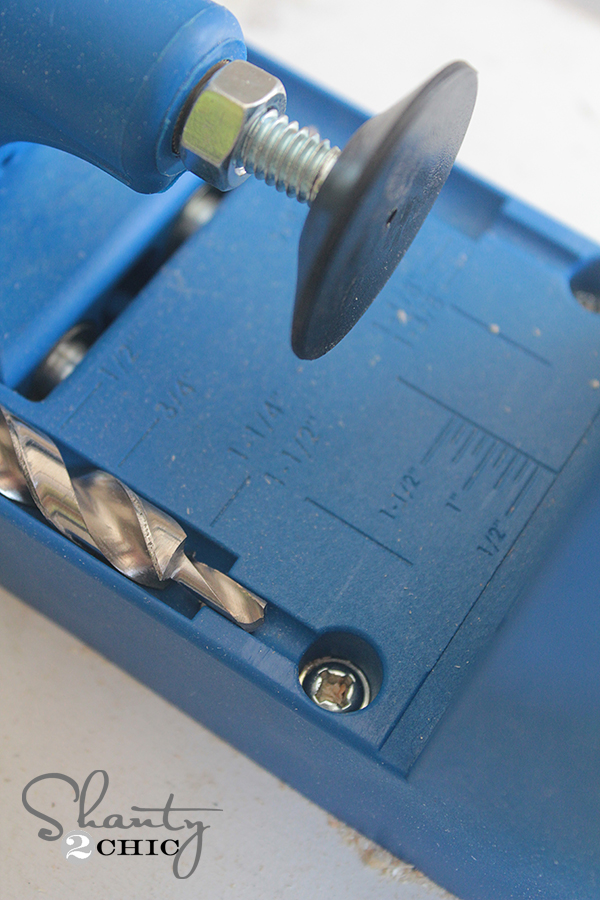
Since this table will be outdoors, I used Kreg’s Blue-Kote screws. These are weather resistant screws that won’t rust. They are amazing screws and I actually use them on lots of different projects that don’t require the Kreg Jig.
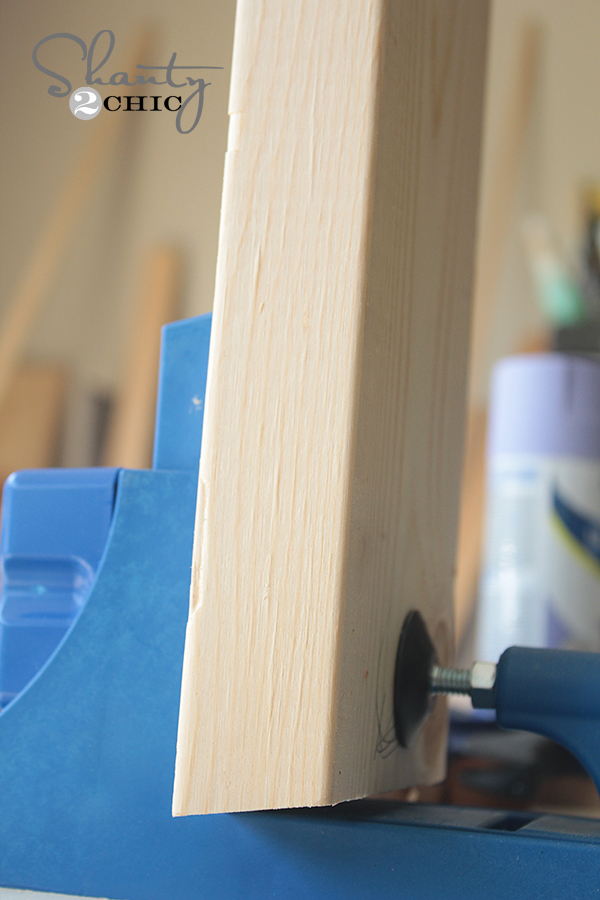
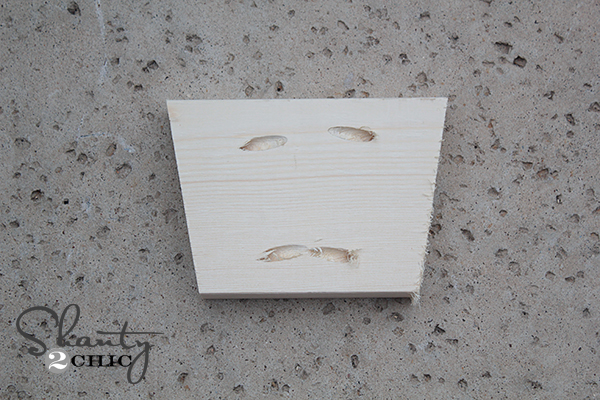
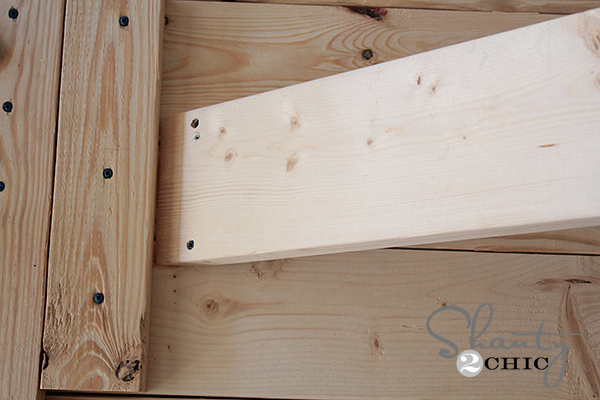
For the 10-degree angle cuts, I lined my boards up in the Kreg Jig like this…
Before adding the pocket holes to the legs, I marked where I would be putting them. This kept me from making extra holes I didn’t need in the wrong places (not that I have ever done that before ;-))
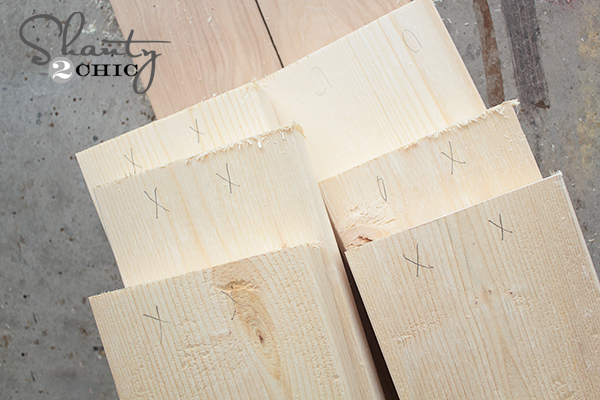
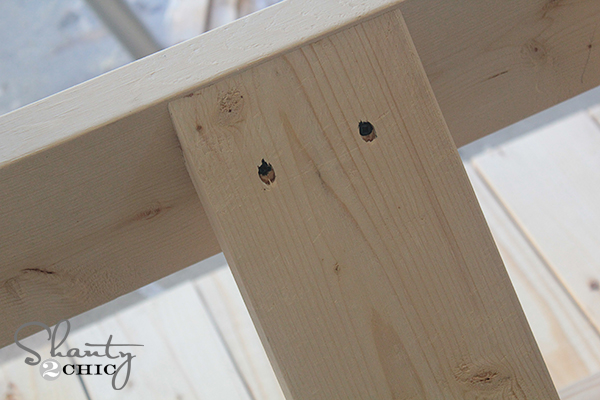
This is where I put the pocket holes at the tops of each leg.
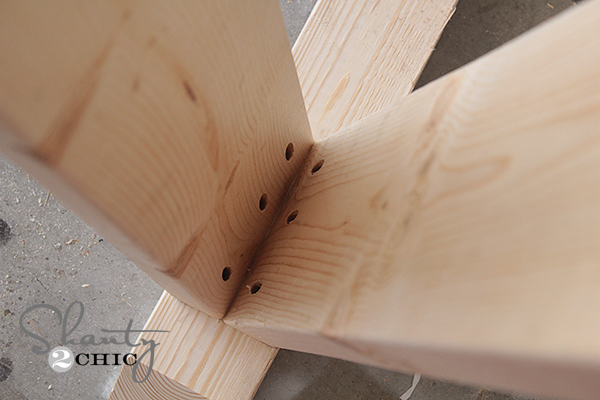
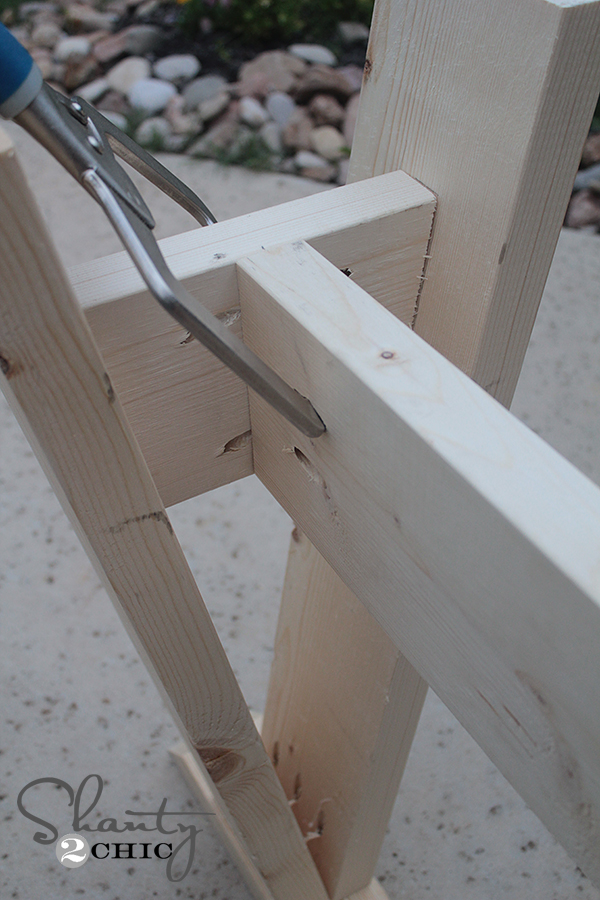
That is my Kreg Jig Right Angle Clamp I used to hold things together while attaching. This thing is SO handy. It is like having another set of hands helping you. It just fits inside one of your existing pocket holes and holds the boards secure until you can add additional screws in the other holes. Too legit to quit.

I filled all of my pocket holes with wood filler that was paintable and ok for outdoors. This is a great way to cover those pocket holes quick and easy. Now you can’t even tell they are there.
I laid my boards out on the ground and separated with shims like this.

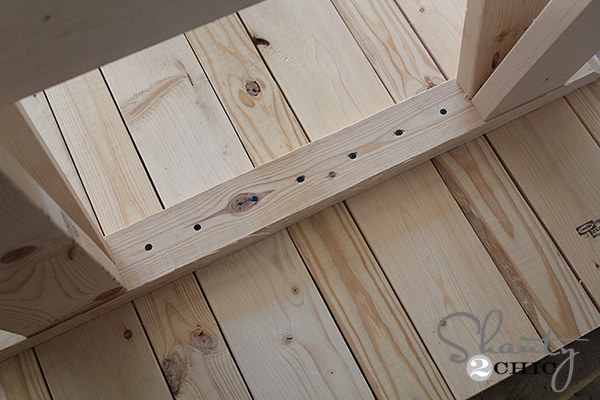
Here is how I attached the diagonal boards.

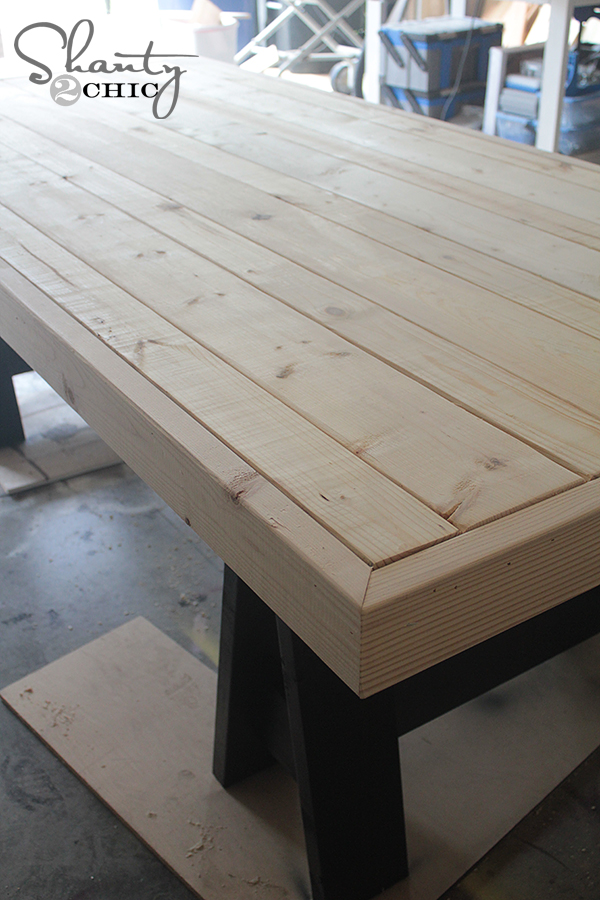
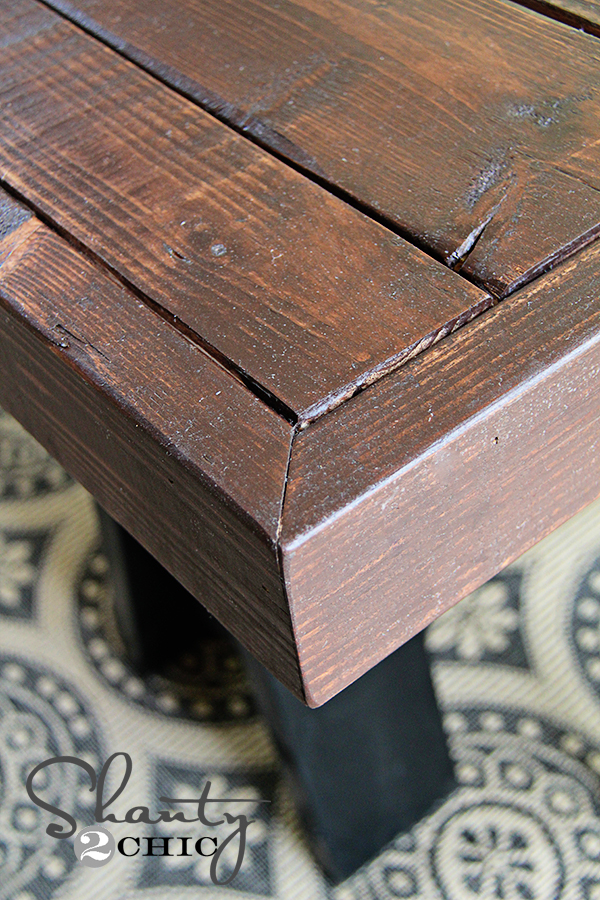
I chose to add some 2×4 around the table top to beef it up a bit. This required 3 extra 2×4’s but I think it really finished off the table well. I used the Kreg Jig to attach those as well. I added pocket holes all the way around the table top and secured the boards in place.
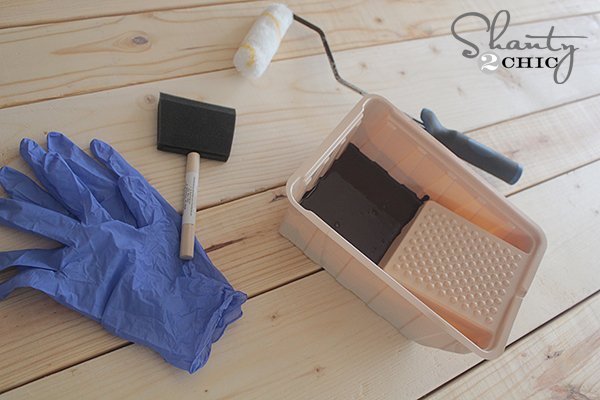
Now for the finish!
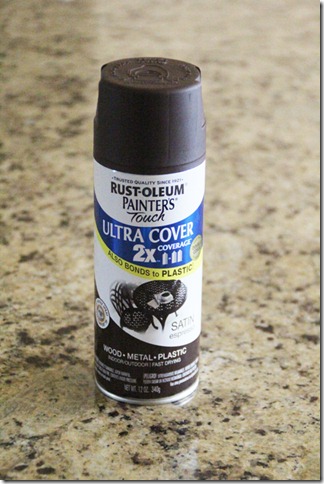
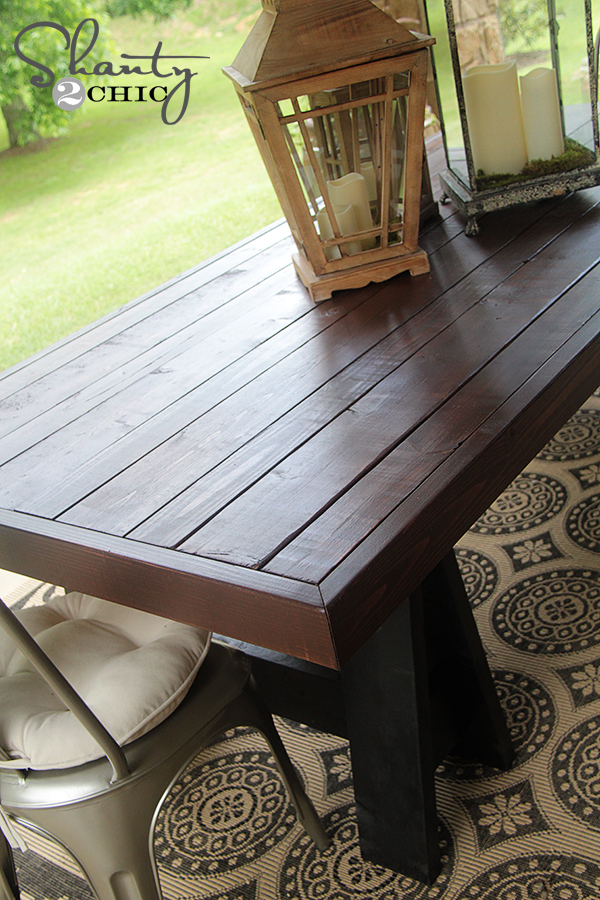
I wanted something a little different for this table, so I decided to go 2 tone. I used one of my favorite spray paints for the legs…
Rust-Oleum Painter’s Choice in Semi-gloss Black
You can find it at Home Depot and Walmart!

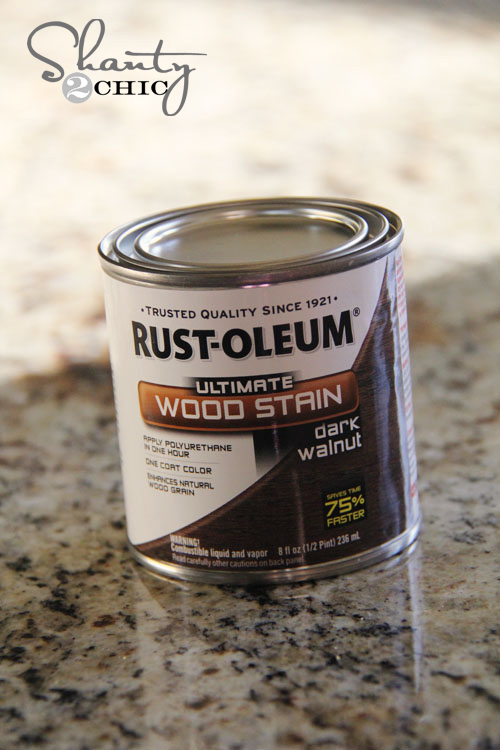
Rust-Oleum Ultimate Wood Stain in Dark Walnut
This stain is found at Lowe’s and comes in a TON of really great colors! The best part… It dries in under an hour and only requires one coat! Woohoo!
Now… To keep this weather proof, I gave the table top three coats of this…
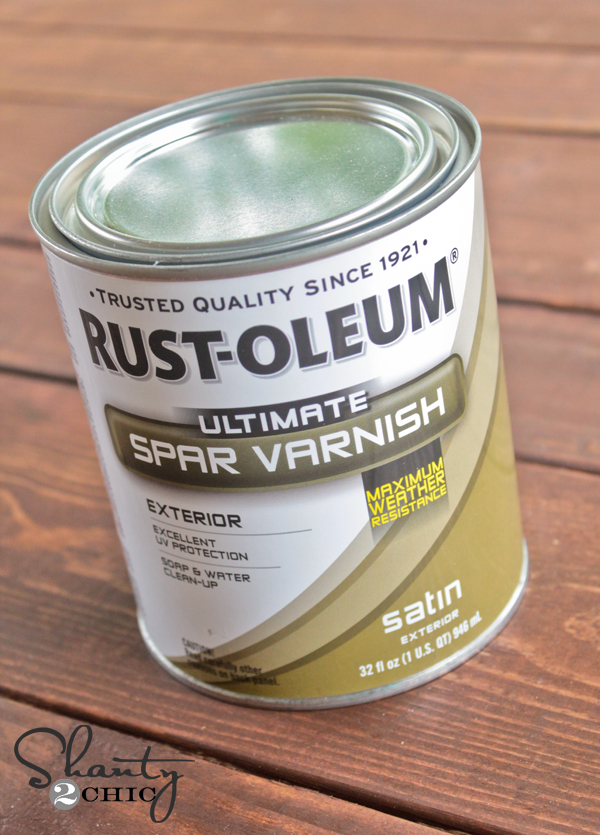
This stuff is super easy to apply. It dries quickly between coats and doesn’t smell strong when you are applying. It is my new go-to for finishing projects that will be outside! LOVE. You can also find this at Lowe’s.
That’s it! You wan to see a few more pictures?? Me too!
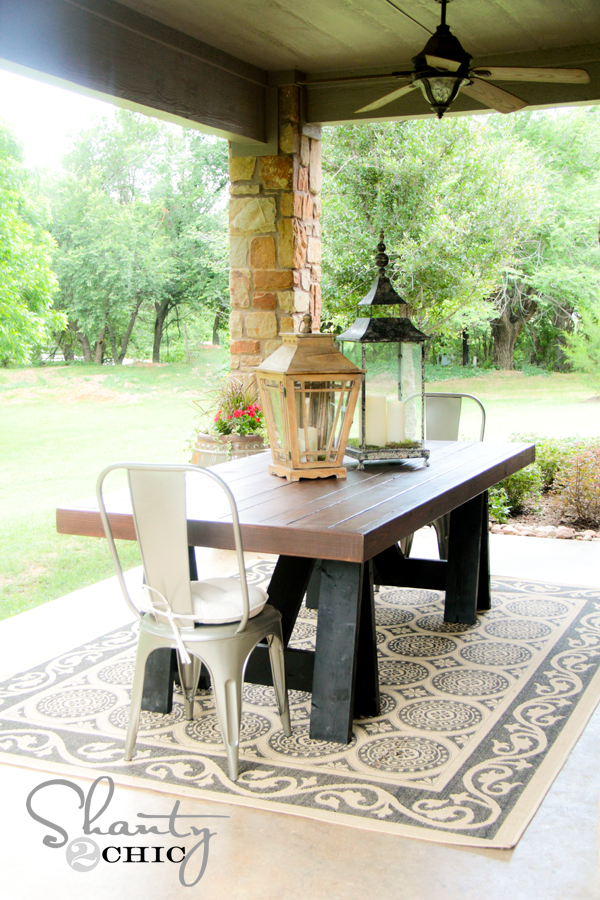


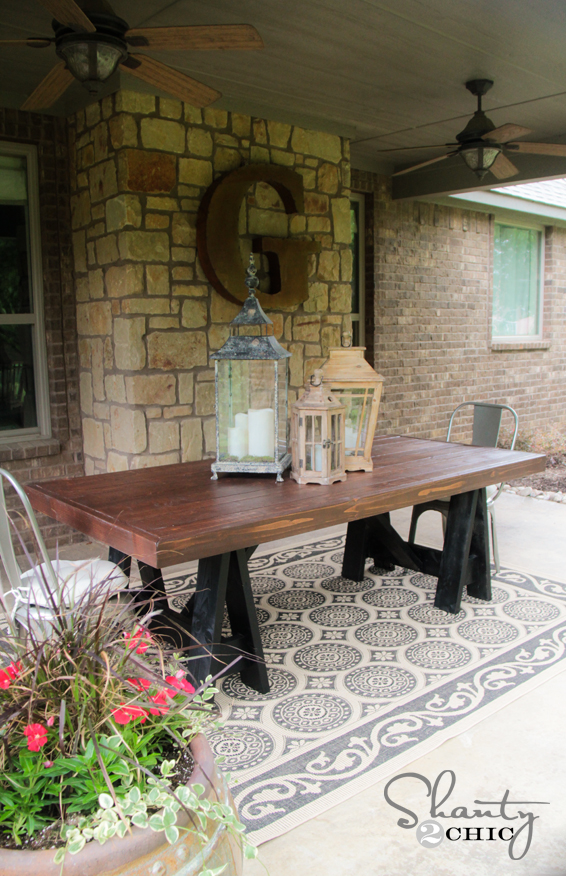
How great are those chairs??! I found them at World Market for a steal and LOVE them… I think they perfectly finish off this table!
I found the rug at Garden Ridge.
I found the lanterns at Home Goods and the tallest is from Hobby Lobby.
The candles inside the lanterns are one of my new fav products. They are indoor/outdoor LED candles that have the option to run on a timer. I found them on Amazon for a great price! You can see them HERE!
Thanks so much for stopping by guys! I would LOVE for you to SHARE and PIN this post to all your peeps!
Make sure to check out the full set of free plans for this great table over at Ana White”s site!
Have an awesome weekend!
~Whitney
Original article and pictures take www.shanty-2-chic.com site
Комментариев нет:
Отправить комментарий