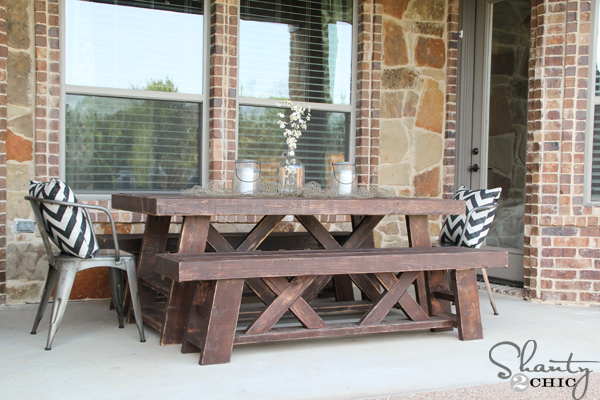
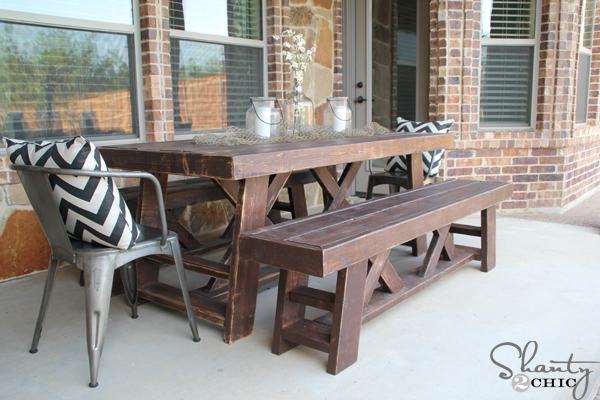
Hey there! As, promised, I am back with the matching benches to my Outdoor Dining Table! If you missed the free plans and the Outdoor Table tutorial, you can see it HERE! The benches are so great with the table but they would make great stand-alone benches too!
And, of course, FREE Printable Plans! You can click HERE or the image below to print your own
A special thanks to our awesome, very talented friend Jay, from Jay’s Custom Creations, for making these plans printable! Make sure to check-out all of his plans that he offers on his site as well!
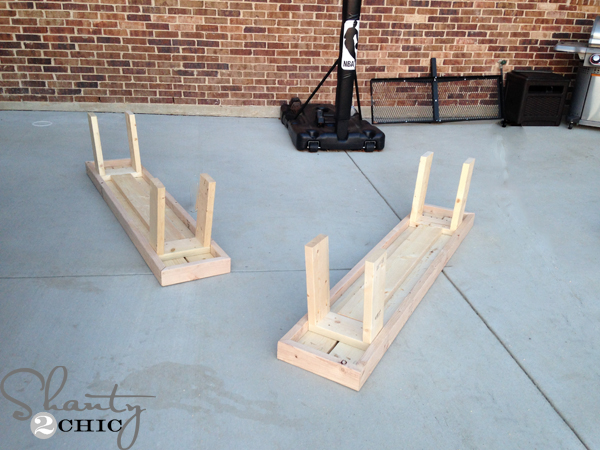
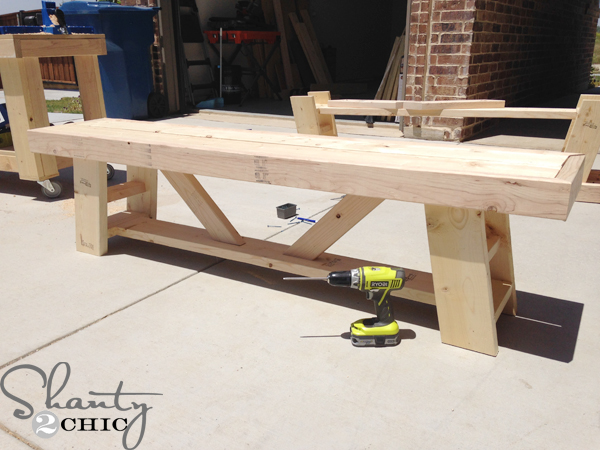
I also have the step-by-step tutorial and pictures to help you as you go! If you built the table, it’s basically the same idea on a smaller scale. Both the table and the benches are very easy to build so let’s get to work!
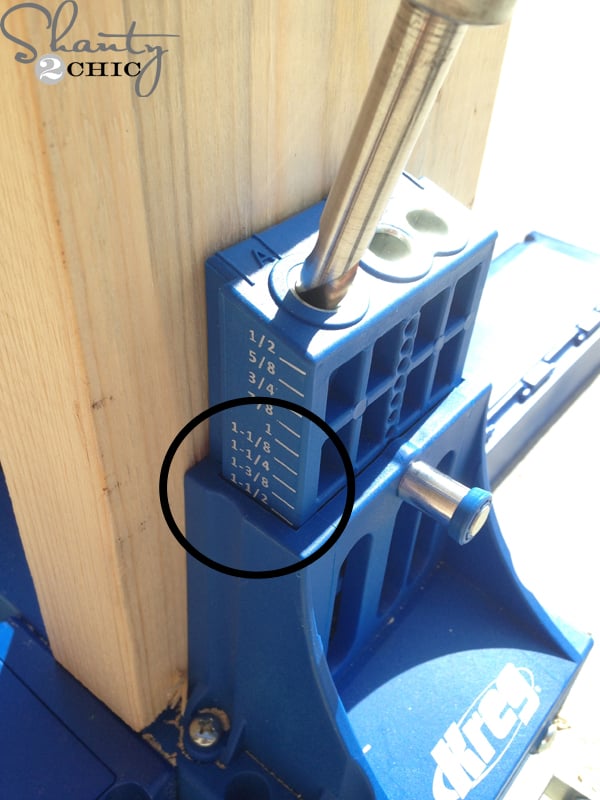
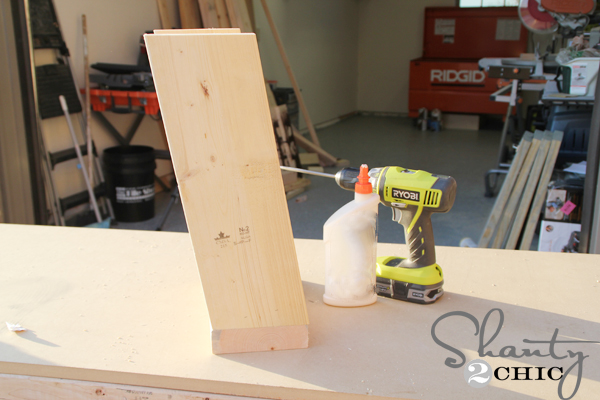
Then, I drilled all of the pocket holes into the 2×6 boards. I set my Kreg Jig and the depth collar to 1.5″. To check out our beginner how-to video on the Kreg Jig, just click HERE!
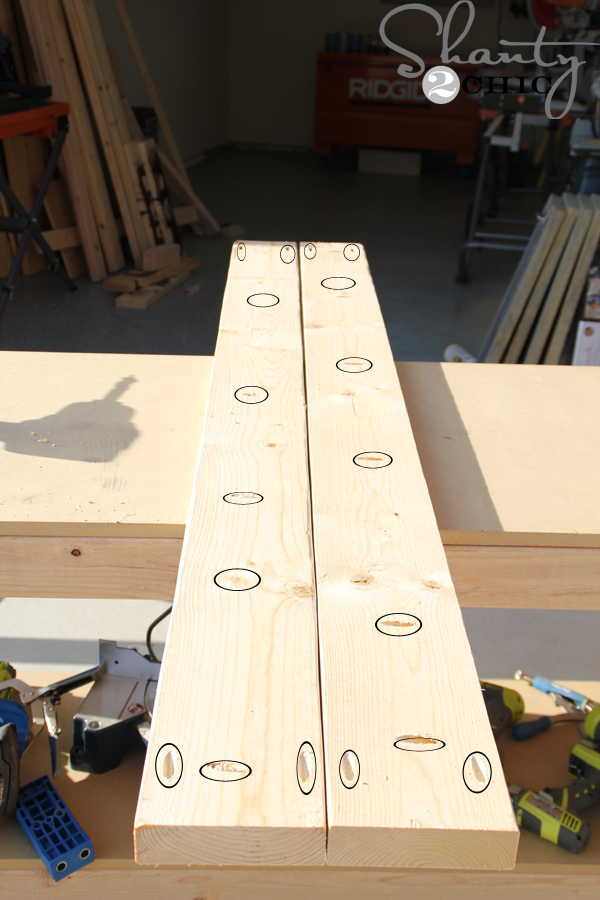
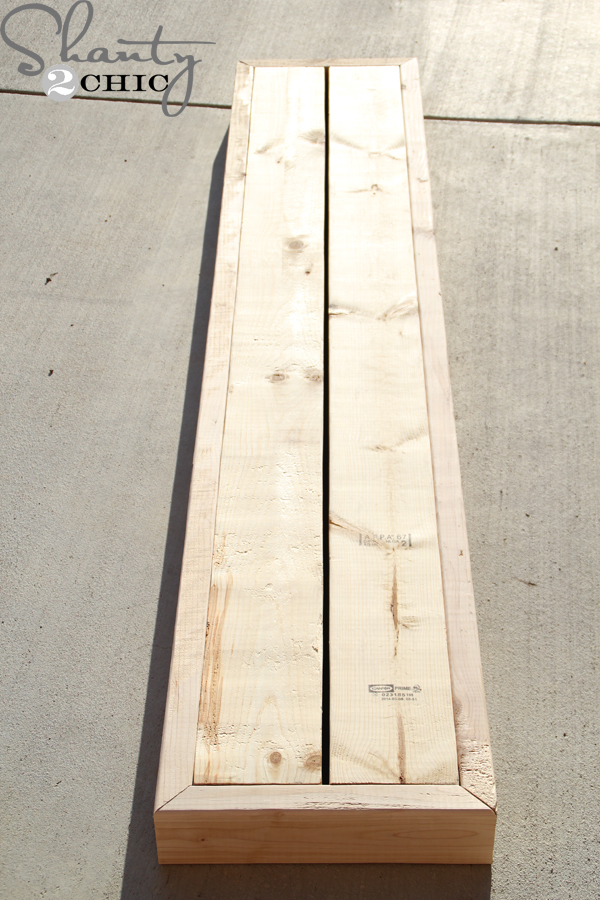
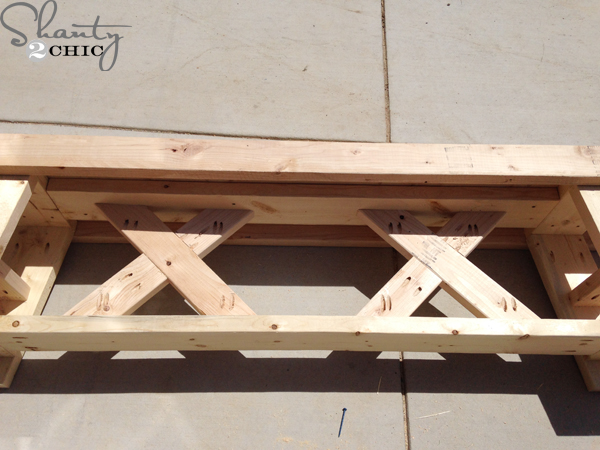
Here are the two boards for the top of the bench and you can see that I have circled all of the pocket holes. The boards won’t attach in the middle (they need space between them since they will be outside) so there are only pocket holes towards the outer edges to attach the trim).
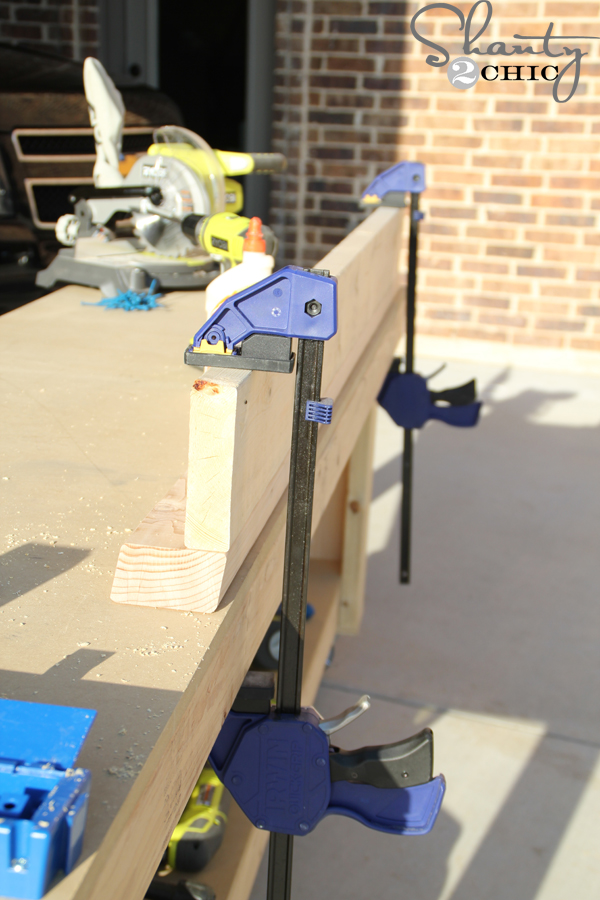
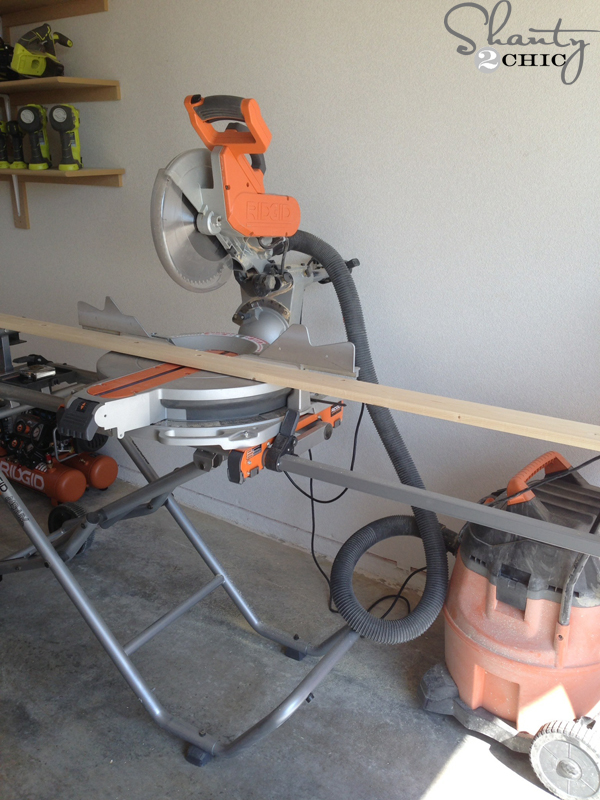
I measured for the trim and then cut it (45 degrees on both ends – not parallel). To attach the trim to the planks, I used 1.5″ Kreg pocket hole screws and wood glue. You don’t have to clamp here but it does make it easier if you are limited to your own hands
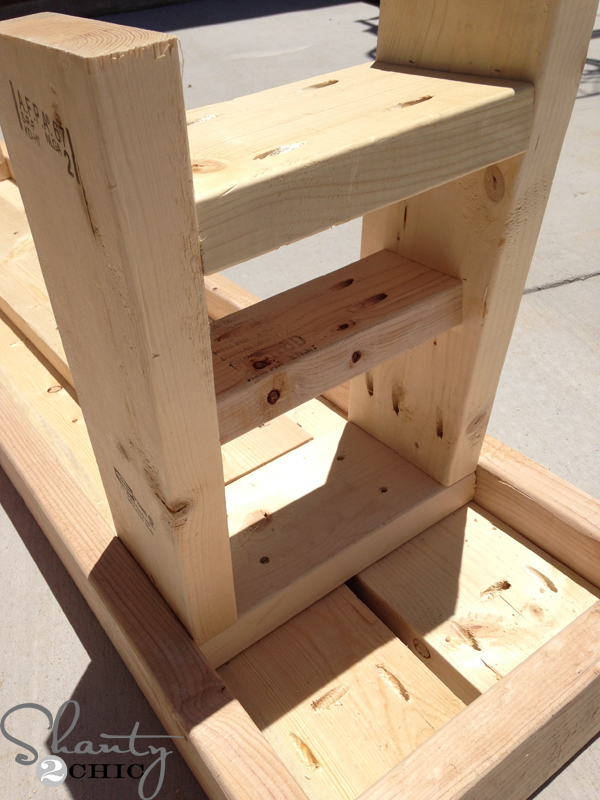
Then, I attached them to the benches with 2.5″ wood screws. ( I like to use the Spax screws from Home Depot so that I don’t have to pre drill but they are pricey. Standard wood screws will work fine here too.) I also added the top stretcher here with 2.5″ wood screws.
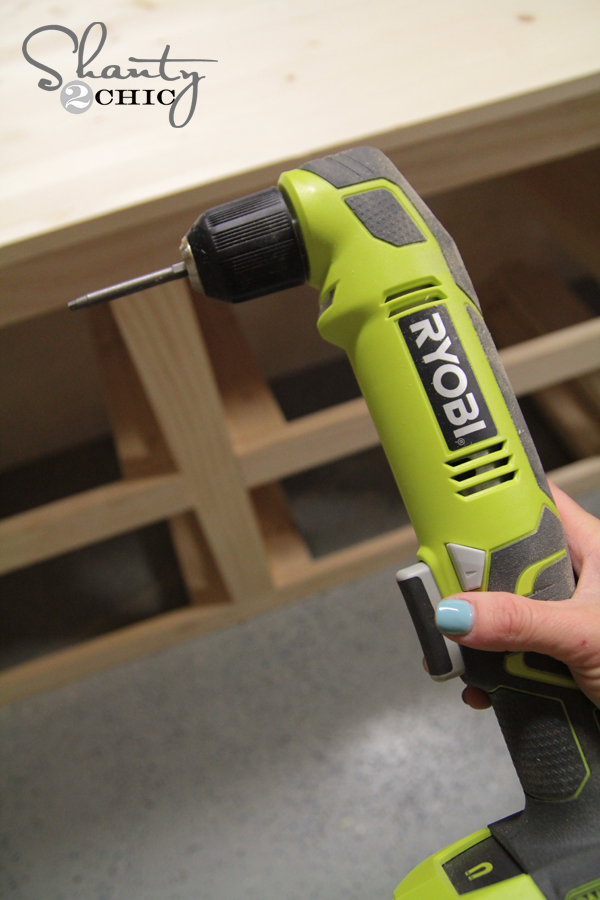
It’s a tight area, so I used my Ryobi Right Angle Drill and a short Kreg driver to attach but you could also use 2.5″ wood screws and drill them through the sides of the legs and cover the holes with wood filler.

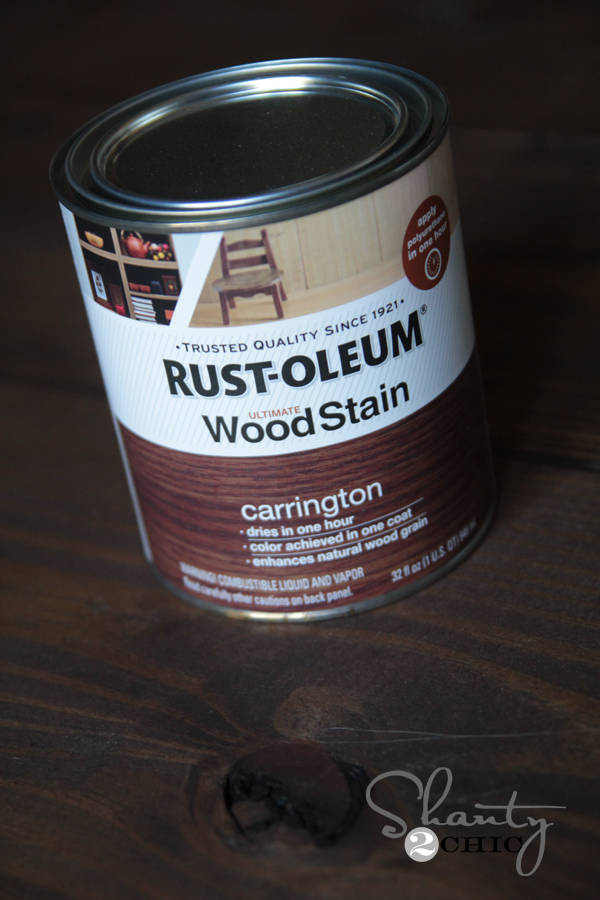
I applied 1-coat of Rust-Oleum Carrington stain with a clean cloth, let it sit for 5-minutes then blended it wit a new, clean cloth. Rust-Oleum is hands-down our favorite stain because it is 1-coat, looks super rich and it dries in 1 hour! Perfect for busy mommas and daddies

After the stain dried, I used my Ryobi Corner Cat Sander to distress all of the edges! This isn’t a must – we just like our furniture to look a little old
Done!
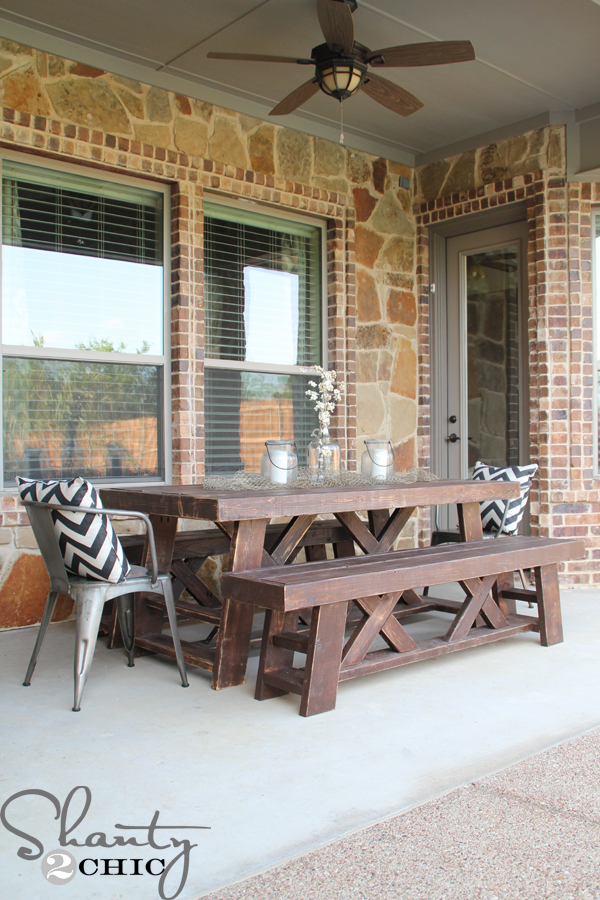
I found the smaller lanterns, pillows and LED candles at Target (outdoor section) and the large gallon jug and decorative fishing net are from Amazon. You can click the boxes below to purchase them!
Thanks so much for stopping by!!!
~Ashley
Original article and pictures take www.shanty-2-chic.com site
Комментариев нет:
Отправить комментарий