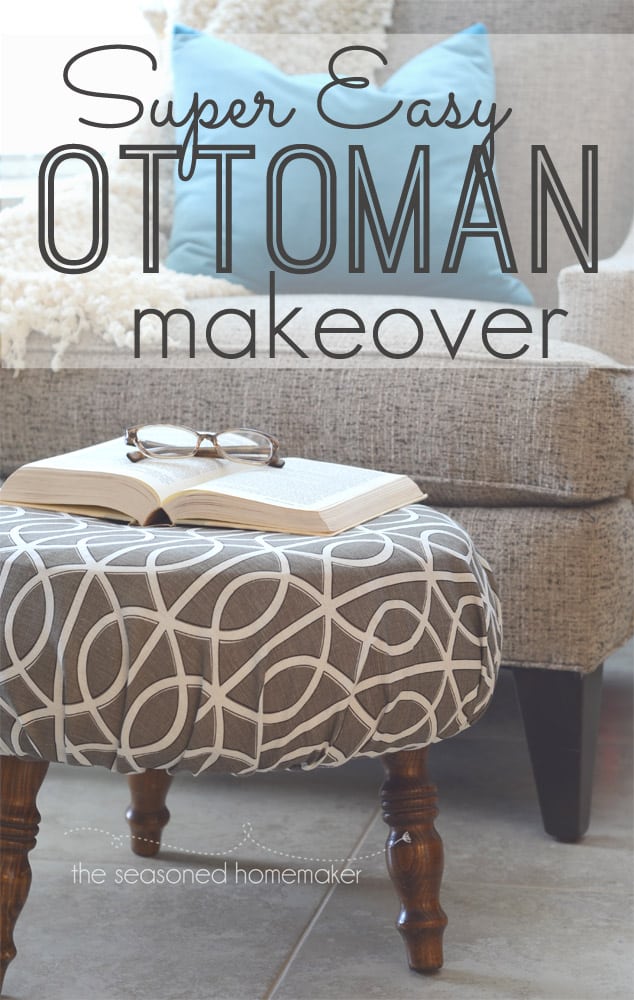
Raise your hand if you’ve read The Nesting Place: It Doesn’t Have to Be Perfect to Be Beautiful. If so, then you will know exactly why I took the time for this DIY Ottoman Makeover. More on the book below.
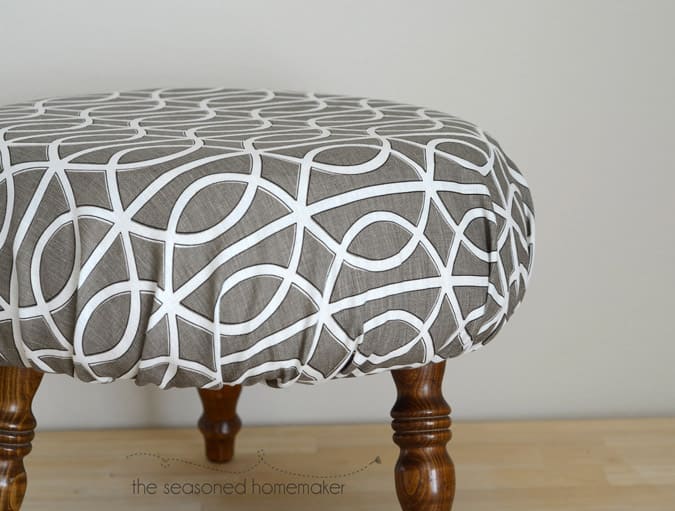
Let’s talk about this ottoman, shall we. Technically, I think it should be called a Footstool. But, I like the word ottoman ~ so that’s what we’re calling it.
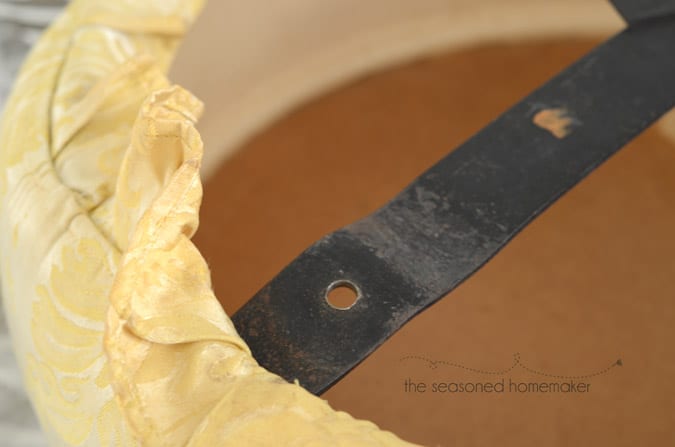
Anyhoo, years ago, this ottoman came to me after my grandmother passed away. It was old and ratty back then. It was probably purchased post WWII and used to sit in her faux Colonial furnitured den. It wasn’t expensive furniture back then.
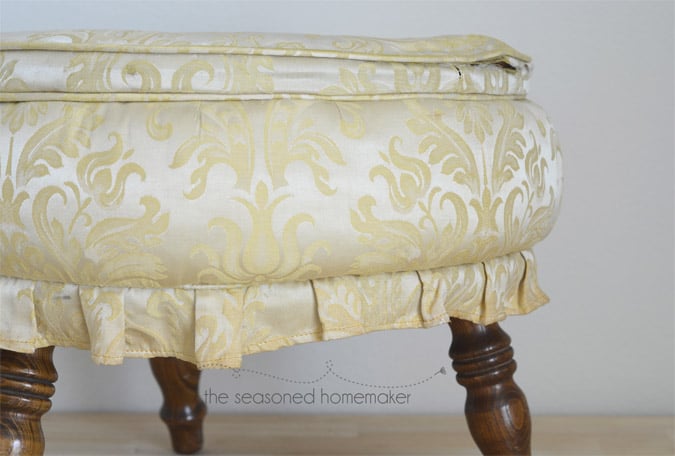
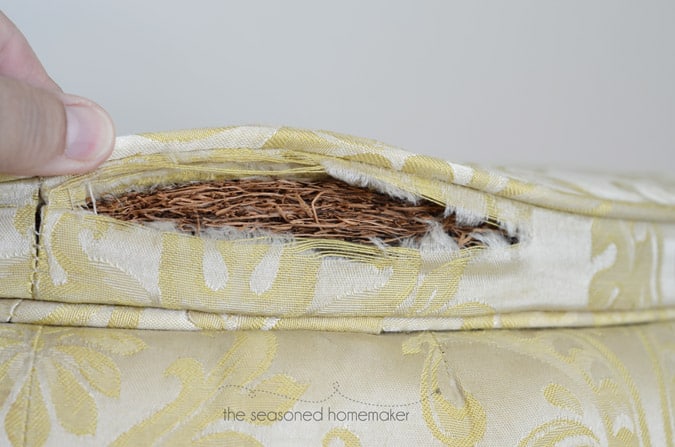
Like I said, really, REALLY ratty. Uh, that’s shredded wood in there.
It came into our family when the kids were little and money was scarce. I had some leftover fabric from recovering an antique rocking chair so I made a slip cover for the ottoman and called it done.
A few years back, I didn’t need it anymore and was ready to send it on to its reward. At that time my daughter and her husband were setting up their first home and a recovered ratty ottoman worked perfectly.
After moving into our home about a year ago I was still cleaning out fabric stuff when I came across a piece of fabric that I gave to my daughter. She thought it would be perfect for recovering The Ottoman. Well, with homeschooling two boys plus all of their extra activities, a year went by and said ottoman was rattier ratty-er worse than ever.
So, I told her to send bring it to me and I would try to do something with it. And I did. And, I’m going to show you how easy it is so you can save your grandmother’s ratty ottoman and cover it with a piece of fabric someone gave you.
1. Take Measurements
I used a loosely-based formula for calculating the measurement for cutting out my fabric. It’s standard when you want to make a circular skirt to cover a table. I thought, “Heck, if it will cover a round table, surely it will cover a round ottoman.”
Here’s the formula for the cutting length/cutting width:
Diameter of the Ottoman + Drop + Drop + 1″ (for hem allowances) = The cutting length/cutting width (stay with me here, this will all make sense).
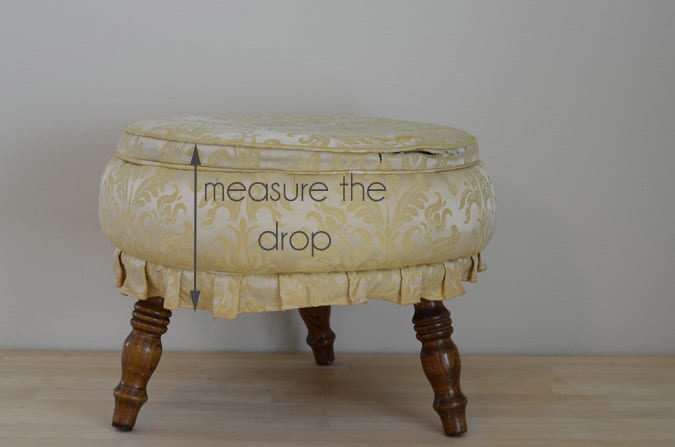
This is a picture of the Diameter of the Ottoman which is about 18.5″ across.

For the drop I measured to the bottom of the little ruffle. My cover is going to be gathered with a cord on the underside, so this was my best guess-ti-mate since the dang thing is all wonky. But that won’t really matter ~ you’ll see.
The Drop is 10″ so now our formula looks like this: 18.5 + 10 + 10 + 1 = 39.5″. Remember, 39.5″.
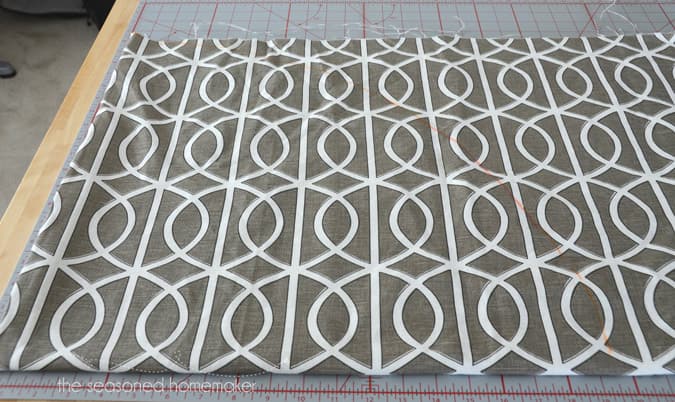
2. Fold the Fabric
This is how you’re going to get your perfect circle. Fold the fabric in half, matching up selvages and raw edges.
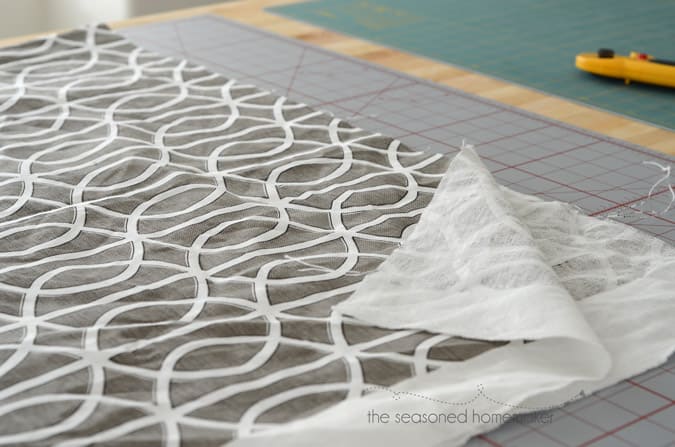
Now fold the fabric again in quarters, matching raw edges. It’s a good idea to pin this ~ but you will notice that I skipped this step.
Note: If your fabric isn’t going to be wide enough to cover the drop, then you will need to add a piece to both sides of the length to widen the fabric before folding. That’s an entirely different tutorial.
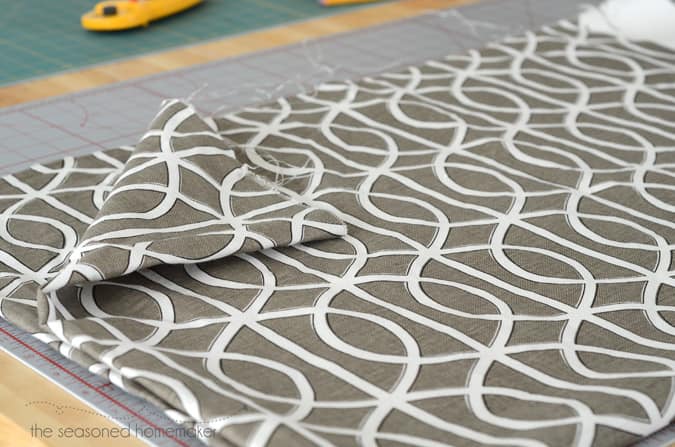
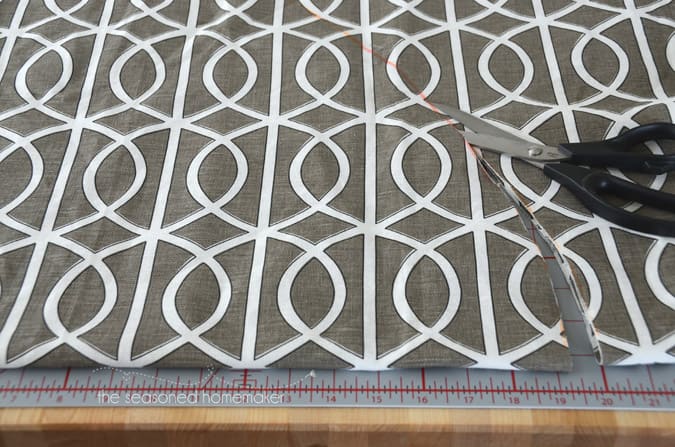
3. Marking the Fabric
Now for the fun part. Pin or hold your tape measure at the center fold point and use it like a compass to mark the Radius. In case you’ve forgotten how to find the radius, it is one-half of our measurement of 39.5″ ~ that means our radius is 19.75″. I rounded down to 19″ because I planned to use my serger on the raw edge. If you don’t have a serger, then keep the extra 3/4 inch.

Now, just like a compass, swing the tape measure left and right marking the fabric with the radius.
Now, my fabric is a 19″ quarter circle.
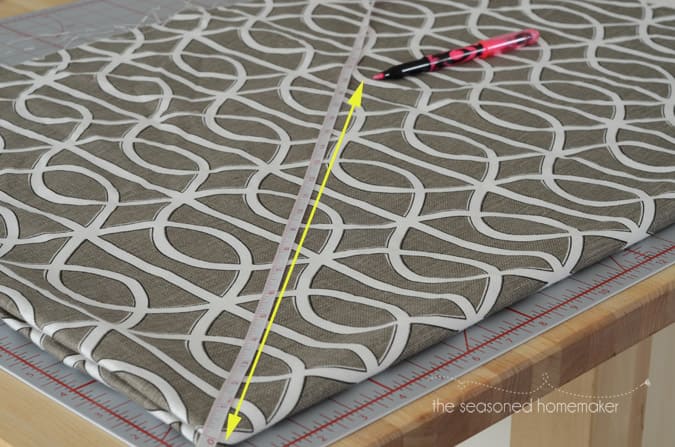
4. Cut the Fabric
This is the easy part and there is no math. Just cut along your marked line.
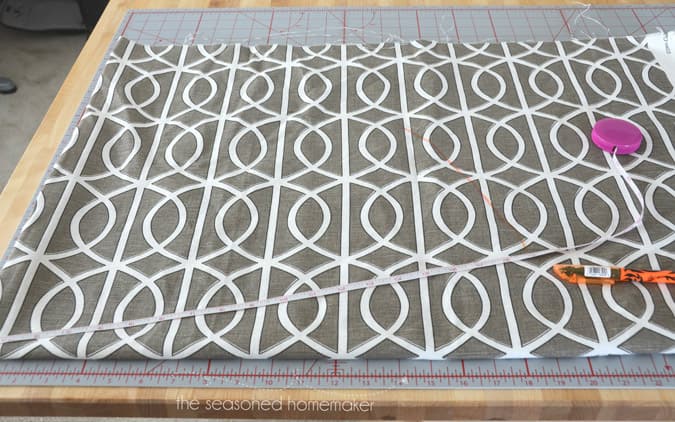
And, this is what you’ll get. Isn’t that great. But wait, we’re not finished yet.
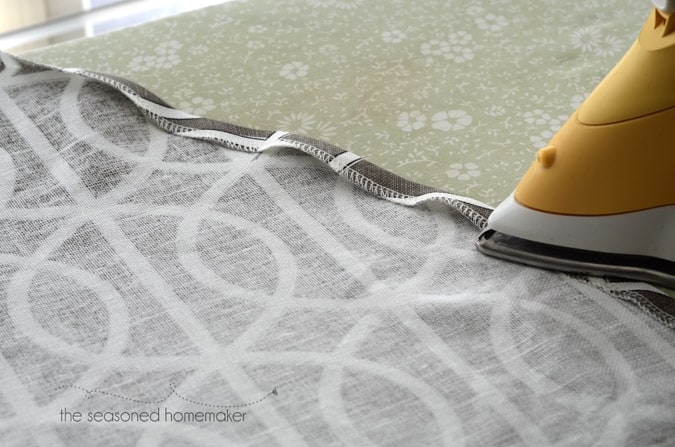
5. Create a Casing
So, I cheated a little and serged my circular raw edge. I also raised the differential feed to the highest number. This caused my fabric to pull in a bit. If you don’t have a serger then you will need to fold under the raw edge before creating the casing.
After serging the raw edge I folded it under about 1/2″ and pressed in a hem. Next, I stitched down the casing, leaving an opening for adding the gathering cord.
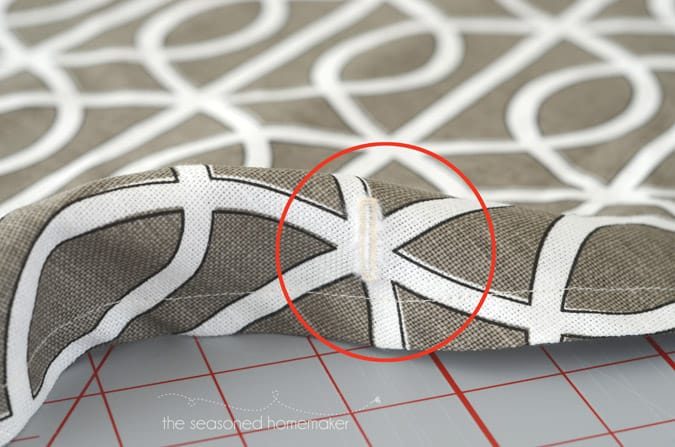
6. Optional Buttonhole
When I turned over the underside of my footstool ottoman I noticed that the legs unscrewed. Hmm. This is a bit of a game-changer. I had originally planned to just add the cord and pull up the cover until it fit.
This opens up a whole new way to recover the ottoman. By making buttonholes I can now put the leg screw through the buttonhole and attach the bolt on the underside.
So, off came the legs and I added three buttonholes to my cover. I measured three spots each 39″ apart and this roughly gave me three places to set buttonholes. My one mistake ~ I should’ve made them a little larger. #hindsightis2020
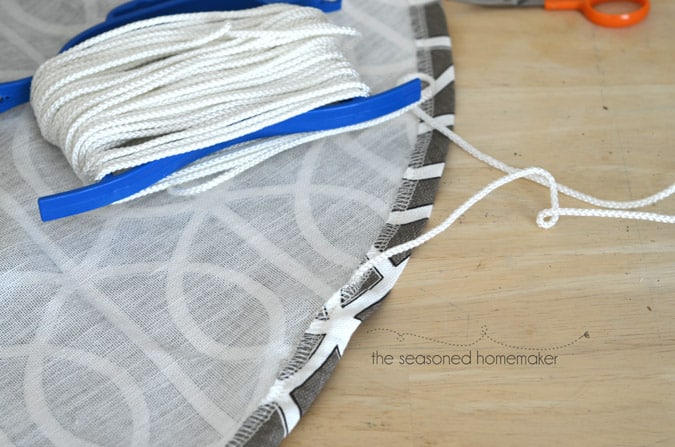
7. Add Cording to the Casing and Pull!
This part is a little time consuming but super easy. I took a safety pin and threaded the pull-cord around the entire ottoman cover. I used some nylon cord that was in my sewing room {I have no idea how it came to be there ~ I think something similar is available at Joanns}.
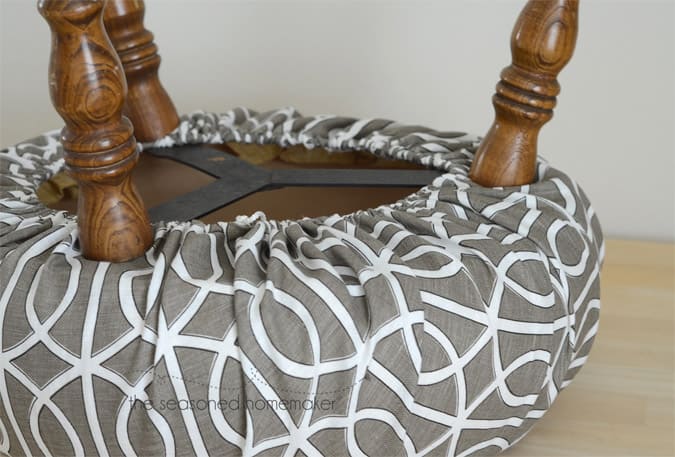
Time to now add the cover to the ottoman. I placed the ottoman in the center of my fabric and began pulling the cording. This required that I carefully shift the gathers so they were even.
As I adjusted the gathers I placed the screw-end of the legs through the buttonholes. Once the gathers were fairly even then I added the nut that attaches the legs and tightened everything up.
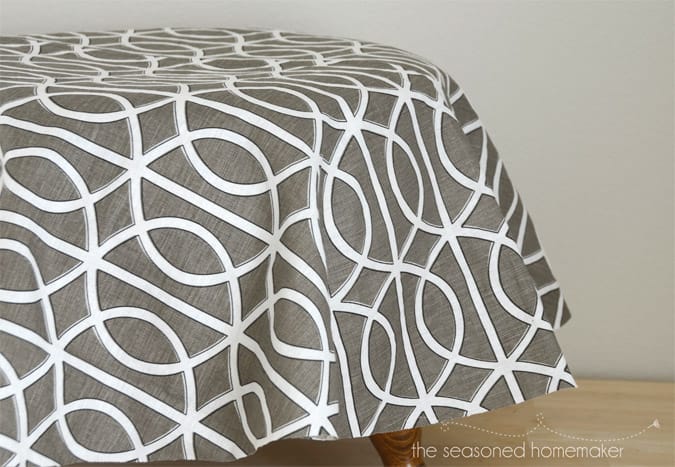
And, that my friends, is all there is to it. It probably would’ve taken me about an hour to make, but I was taking pictures so that changes the time. Also, I made a practice cover from some $2/yard fabric that I had in my stash. So, technically, this was really my second cover.
Now, back to the book, The Nesting Place: It Doesn’t Have to Be Perfect to Be Beautiful (affiliate). I love this book because {while not my personal style} it perfectly expresses what I’ve been saying about less is more and not overdoing the decorating thing.
Even though this footstool ottoman had seen better days, the recovering fits the budget of a small family because it cost nothing, nada, zip, zero.
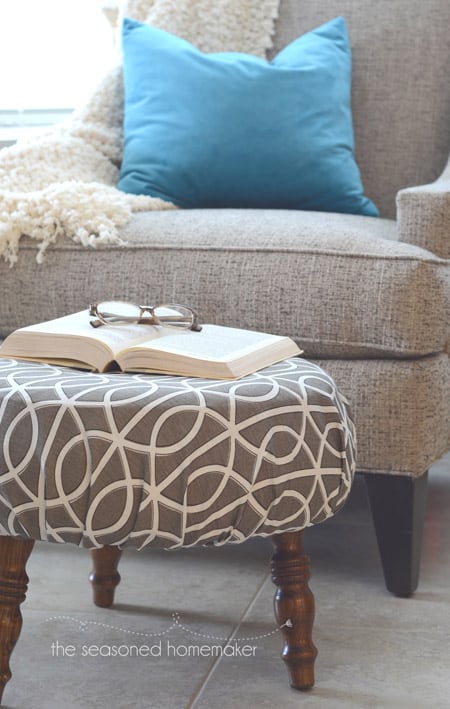
Breathing a little more life into a less-than-perfect ottoman is always rewarding. Have you given an old piece of furniture new life lately? I’d love to hear about it.
Original article and pictures take www.seasonedhomemaker.com site
Комментариев нет:
Отправить комментарий