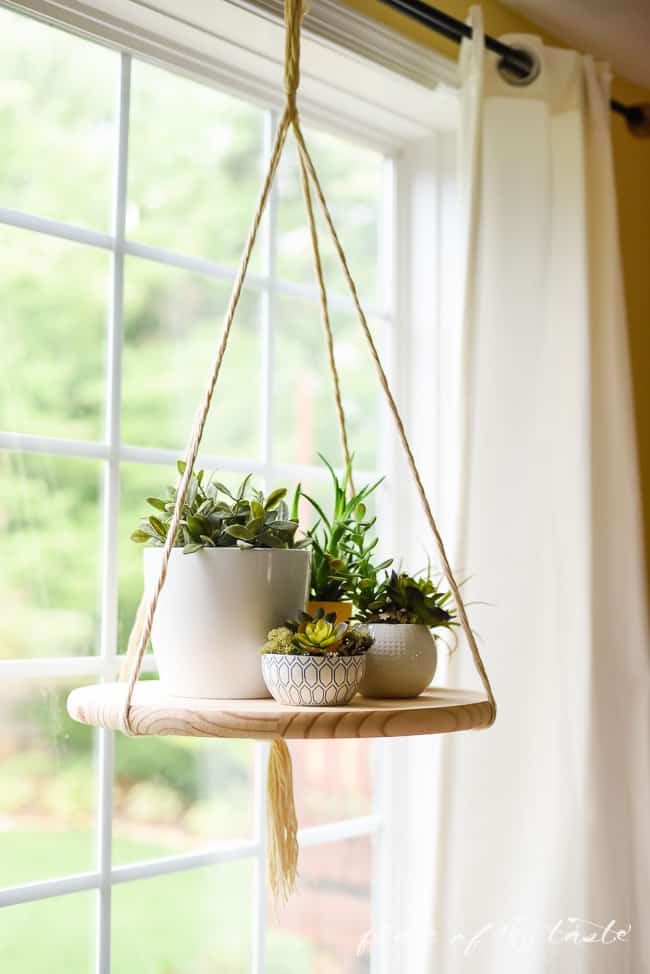
You can’t even imagine how easy is to make this fun DIY FLOATING SHELF. Check it out! This simple project looks amazing!
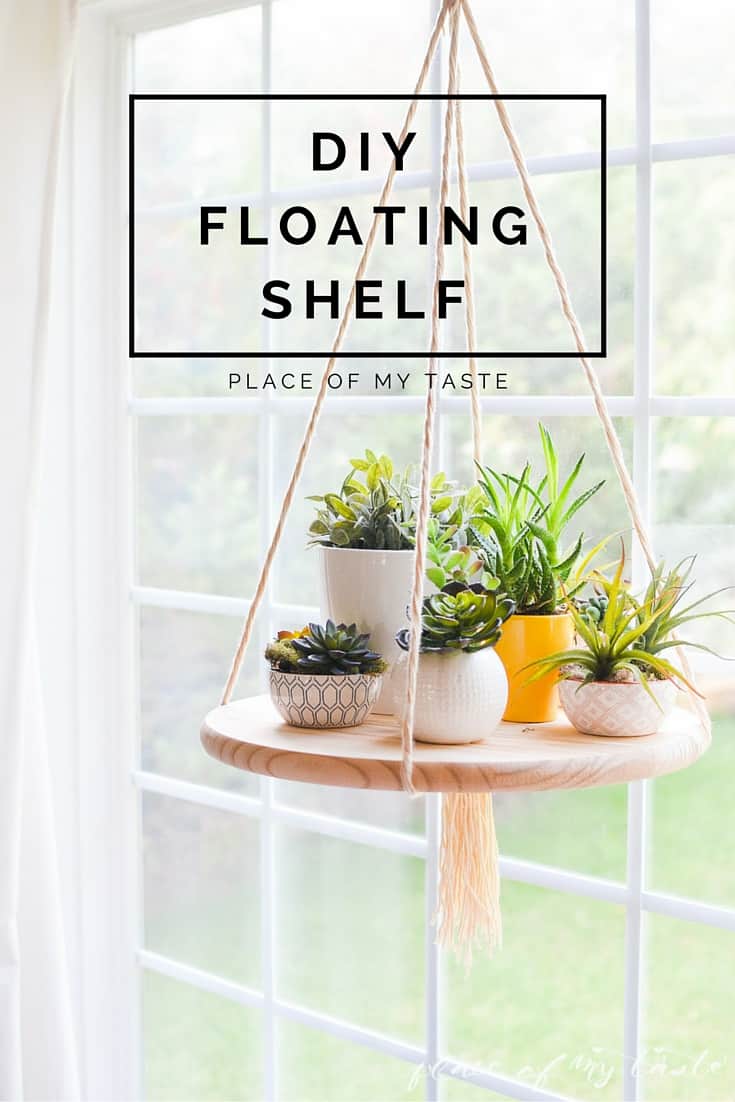
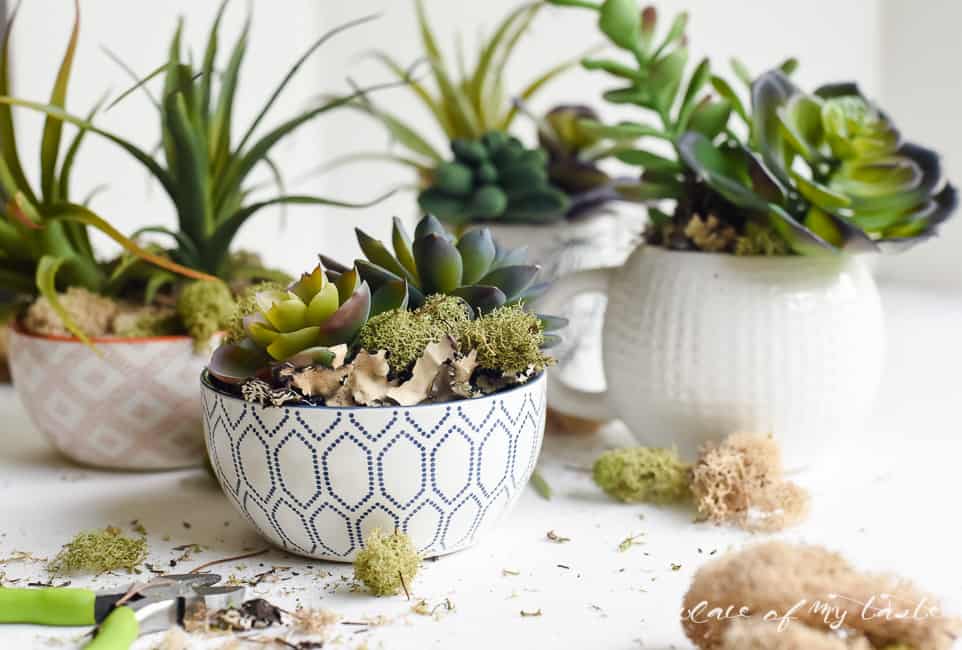
Yesterday I shared how I had created some cute DIY succulent planters, and today I am going to show you how to make
this quick floating shelf display for plants, succulents or other home decor items.
I love to browse my favorite stores online for inspiration. While I was doing that couple weeks ago, I found this cool floating shelf over at Urban Outfitters (**update: I discovered that the original product had been made by Jenny over at Recycled Lovers ).
The moment I saw this shelf, I knew that I need this piece in my life.
As a DIYer, I always think of how I can DIY things first,
of course, to stay on budget.
It’s no secret that I love to switch my decor often around here.
Paying full price for things would not let me do that, which is why I choose to DIY :-).
I love modern, minimalist lines with a little bohemian twist. It seems that my design style is always evolving, especially since I have been writing my blog, and I read other ones. I must say that I get better with age, haha! ��
This modern shelf was easy enough to make, and it fits the style that I have created in my dining room.
If you missed yesterday how I had made some cute faux succulent planters, you could check them out below.
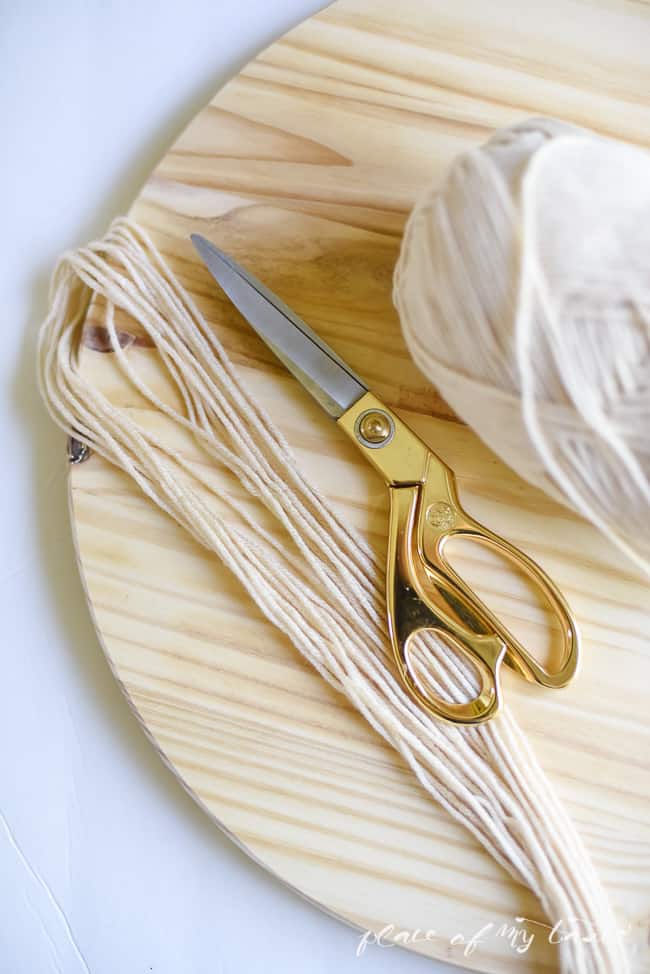
MATERIALS NEEDED:
– round wooden plate from Home Depot
– scissors
– yarn
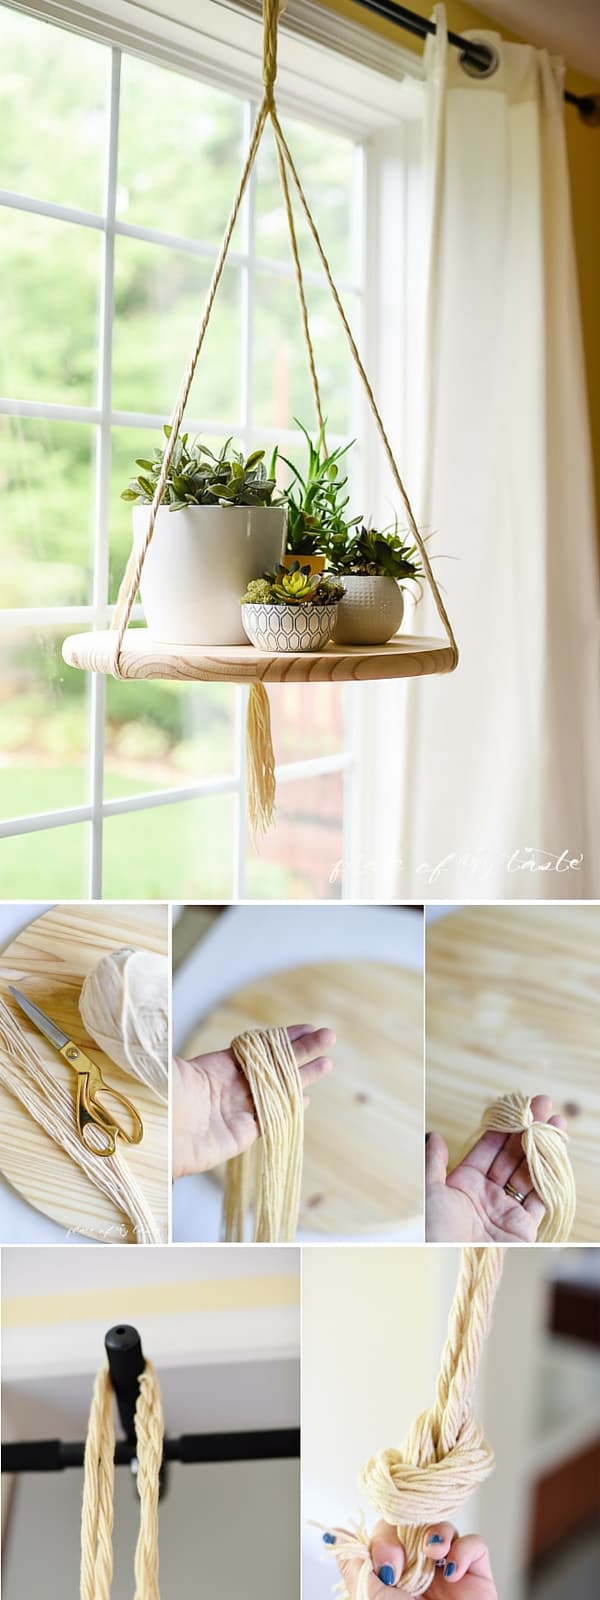
STEPS:
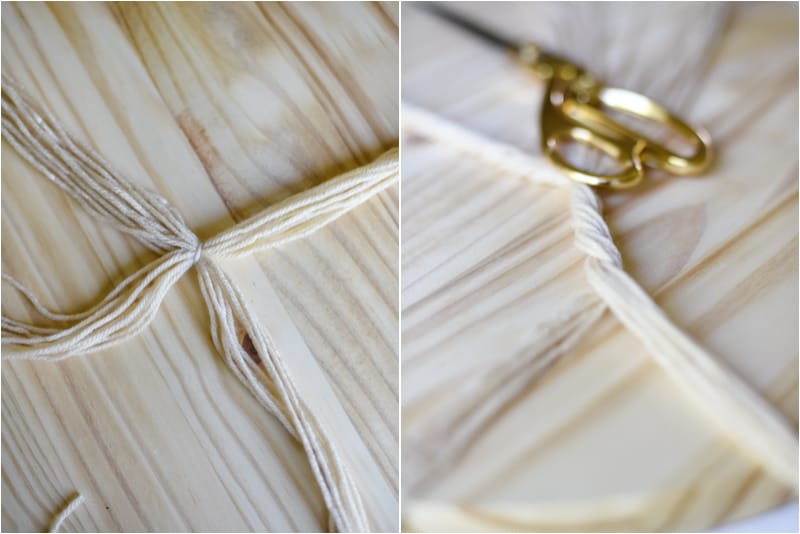
1. Cut about 48, 3.5 yards pieces of yarn (it’s going to be quick, I promise)
2. Tie a knot in their center. It’s going to be the centerpiece of the hanger.
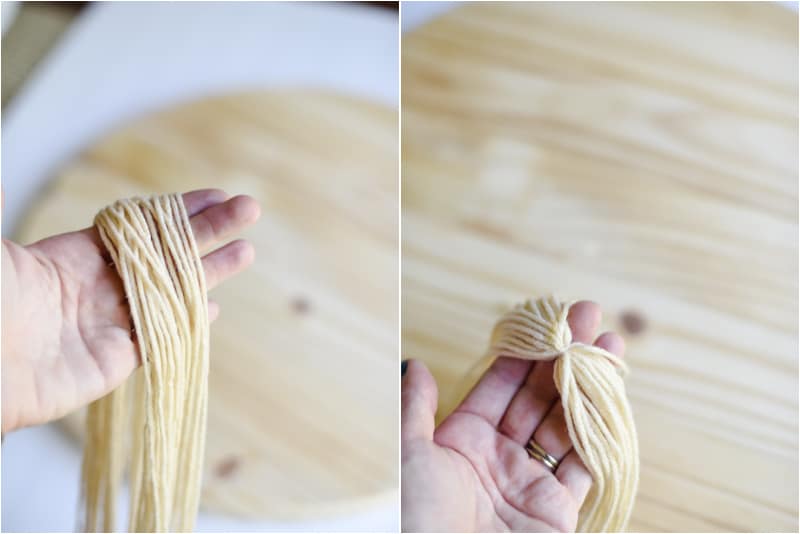
3. Divide your yarn into four equal sections of 12.
4. Then divide each part into two sections of 6 and twist them together.
You can also separate your sections to three and braid them.
5. Hang your piece someplace high. Tie a knot approximately 4 inches below the top.
6. As the last step tie a knot at the bottom.
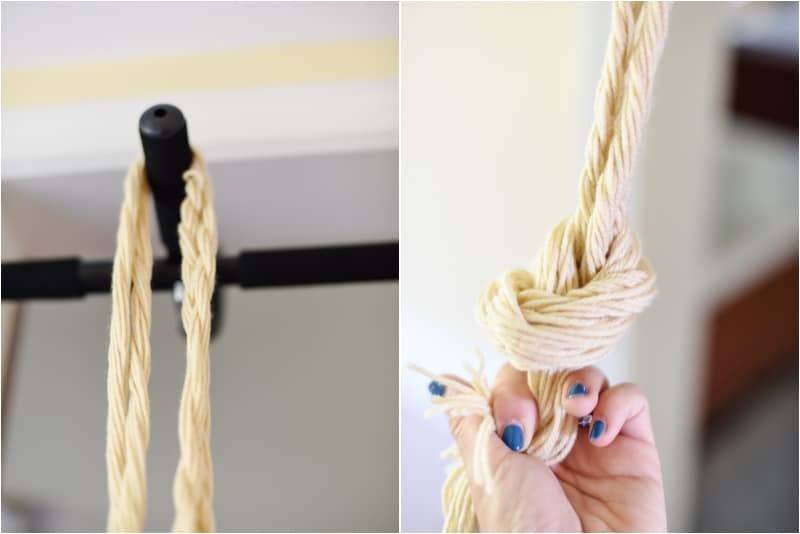
Slip on your wooden plate.
I love the natural wood look, so I did not stain my wooden plate, but you can stain it.
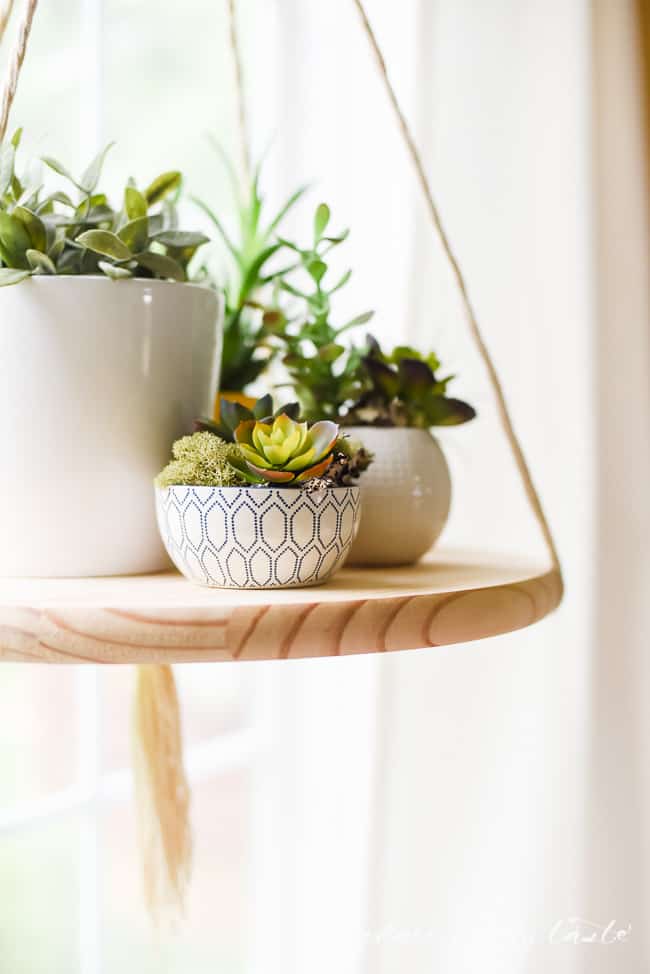
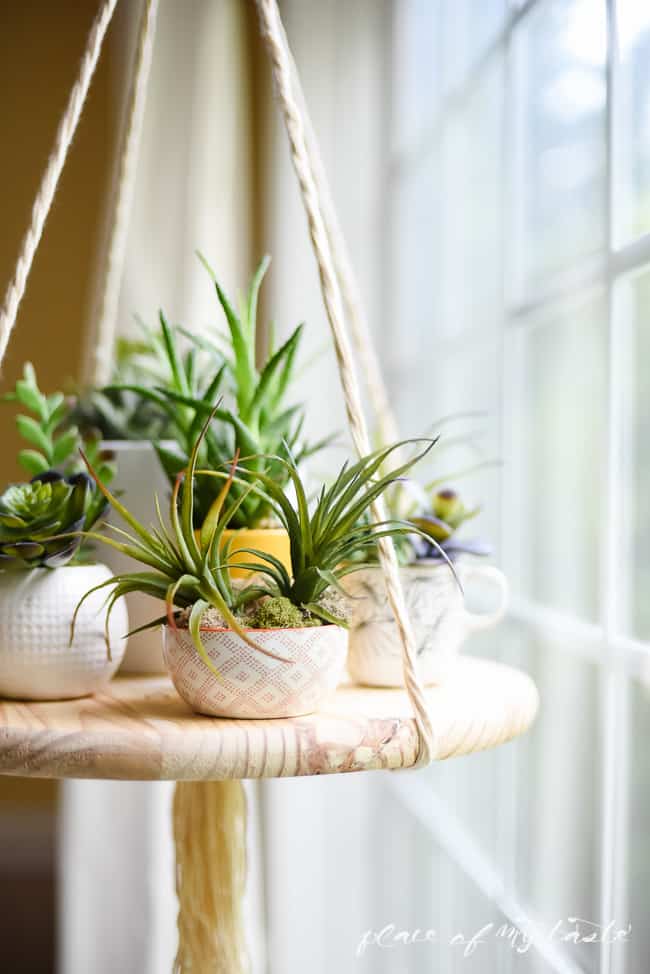
I arranged my cute succulent planters on my floating shelf, and it looks chic and fresh in my dining room. What do you think?
How do you like this floating shelf?
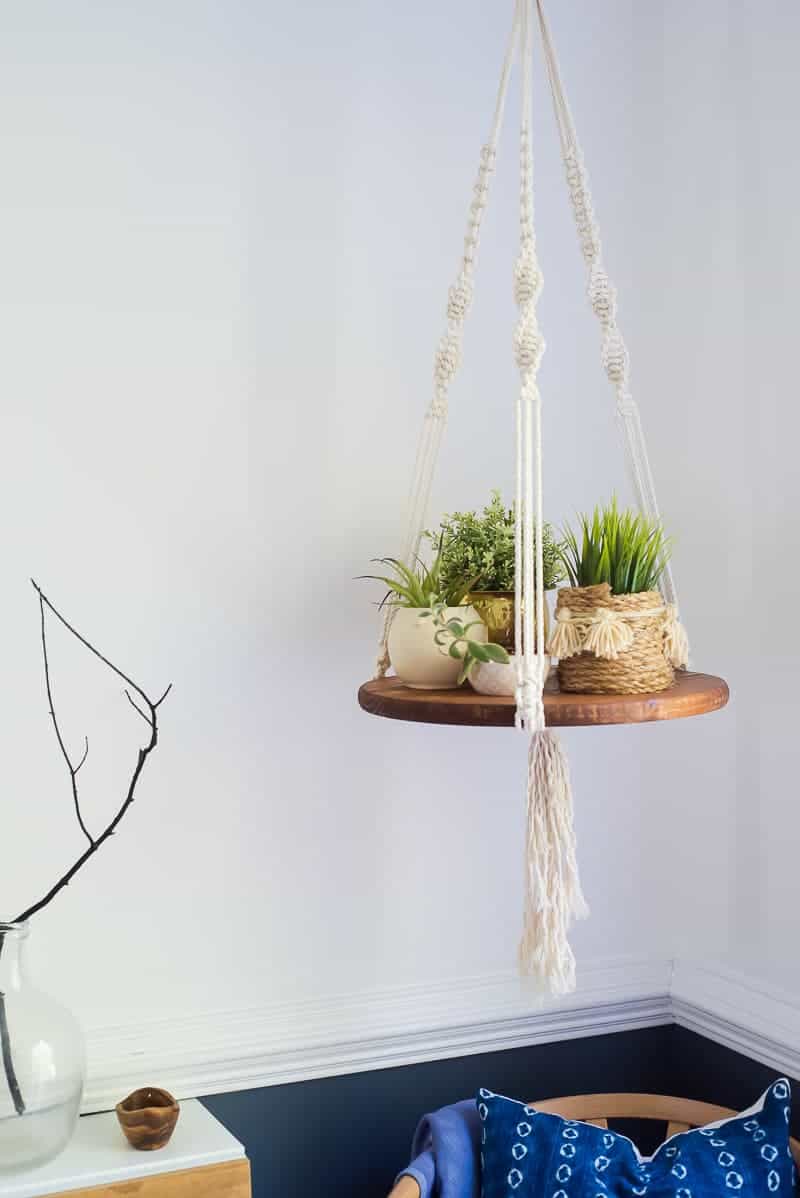
***UPDATE***
Well, well, well…
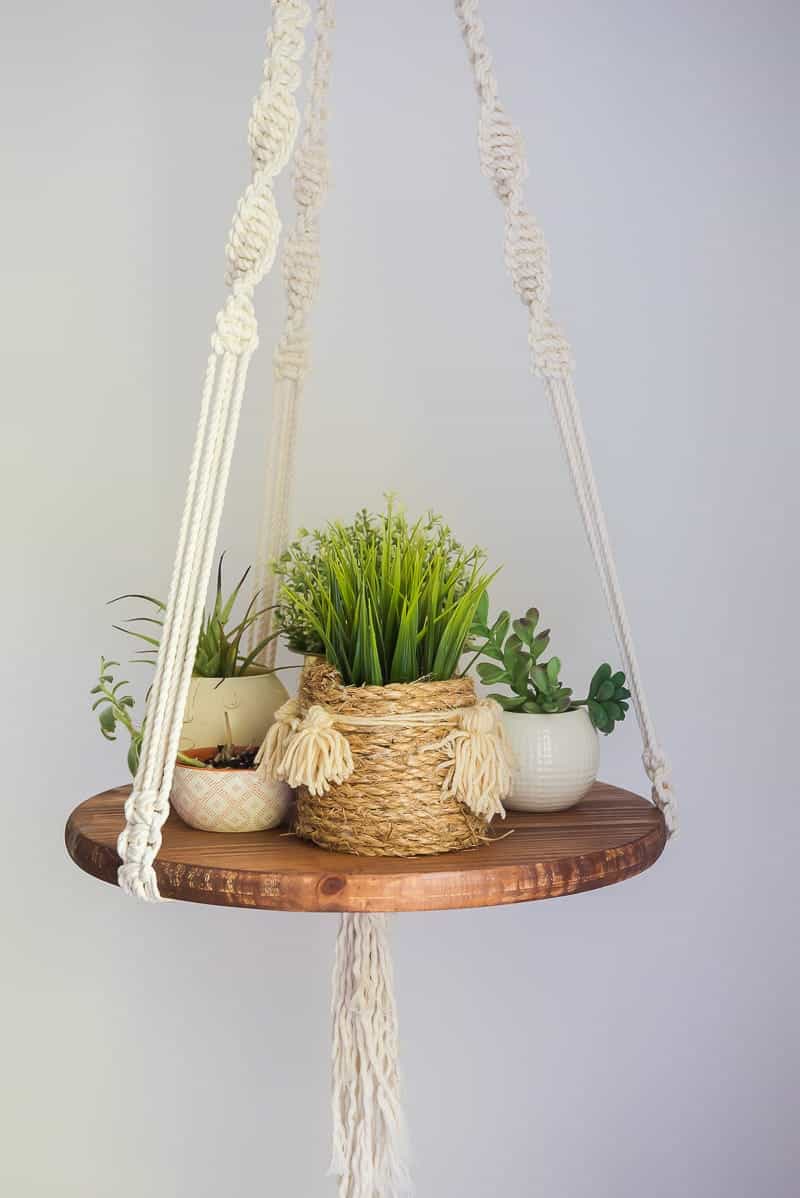
After a few years down the road, I decided to make another version of this cool shelf. I learned how to macrame since this first tutorial, and I prettied up this simple shelf with some impressive macrame knots, and I gave the neutral plate a little touch of stain.
Here is my NEW version. Learn more about it HERE or BUY it in my Etsy shop!
Check out some other great projects in my dining room before you leave
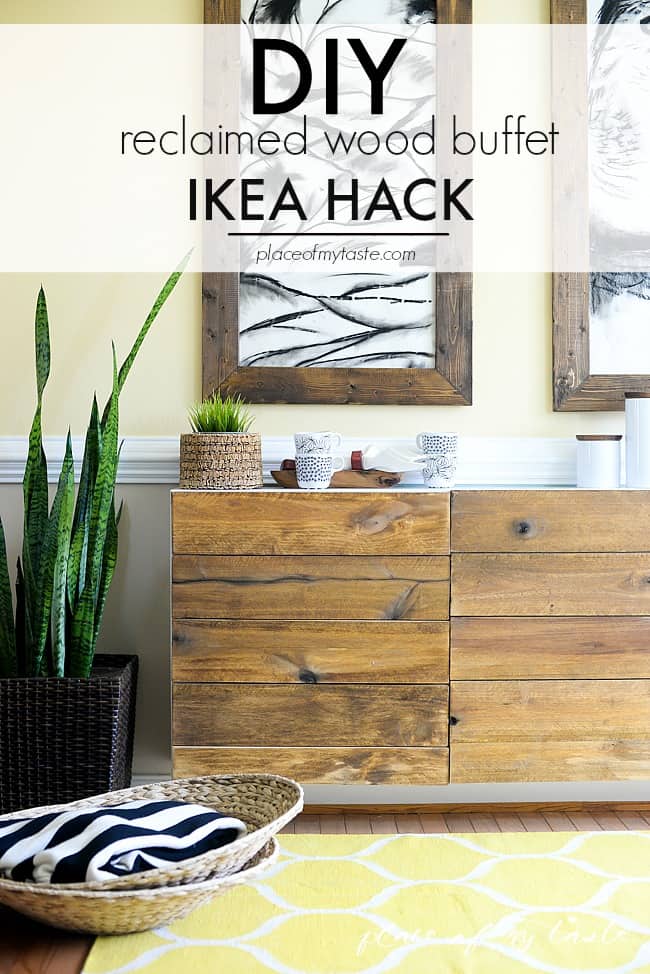
DIY RECLAIMED WOOD BUFFET
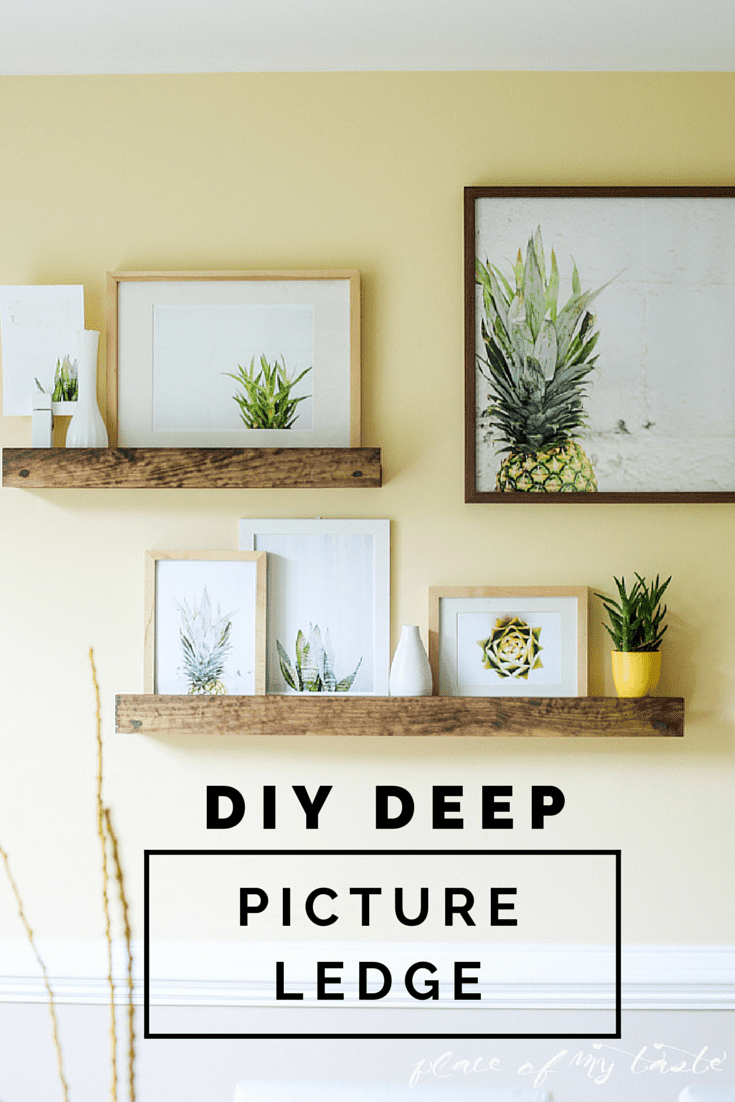
DIY DEEP PICTURE LEDGE
Thanks for reading today! Have a fantastic weekend!
Cheers-
Original article and pictures take placeofmytaste.com site
Комментариев нет:
Отправить комментарий