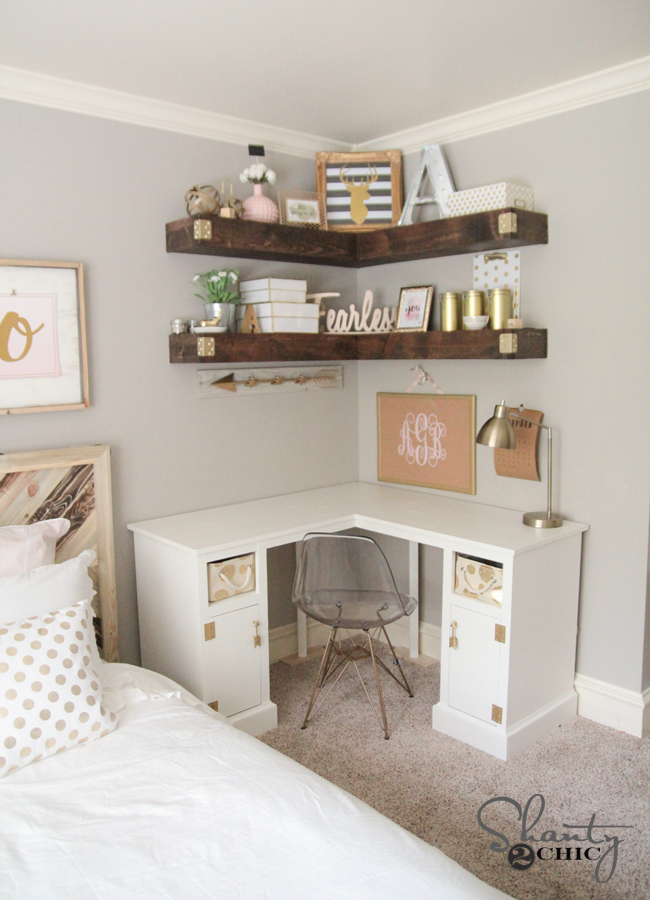
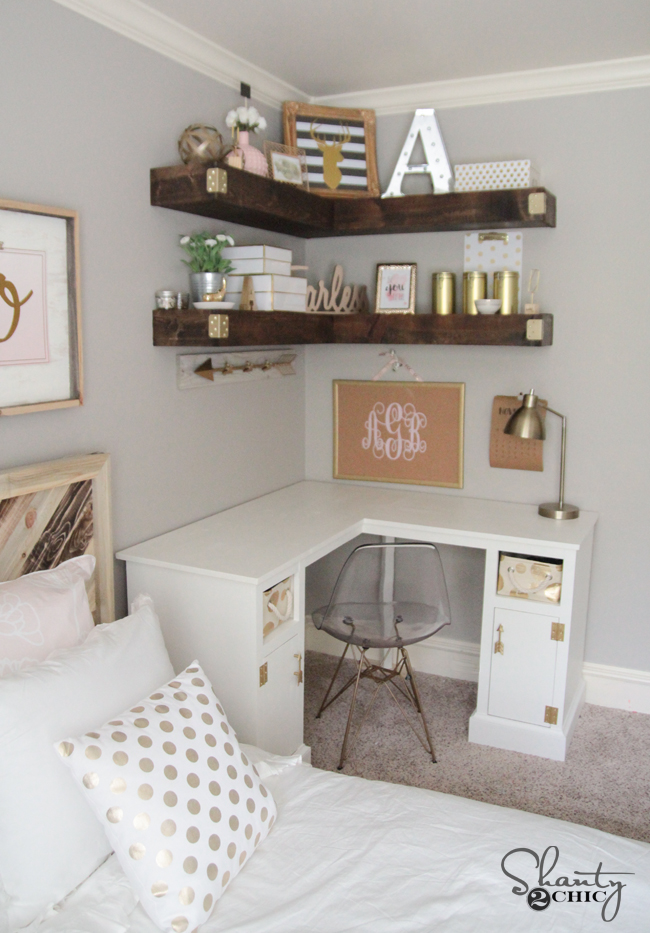
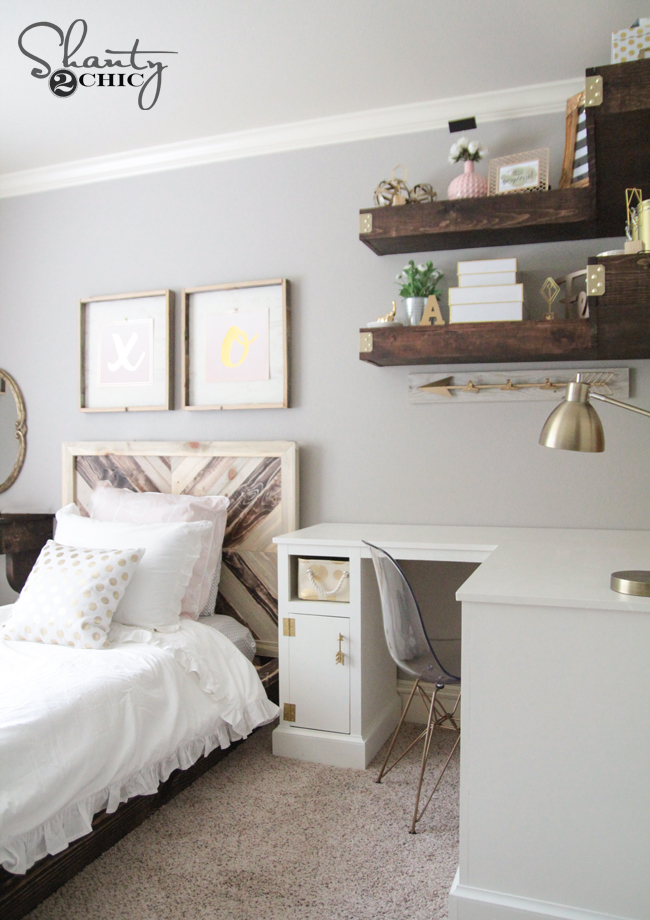
Hey friends! So excited about how this latest build turned out! I seriously now want a set of corner shelves in every room. I am in the middle of revamping my daughter’s room, and just finished up one big corner. Check out how these DIY Floating Corner Shelves turned out!
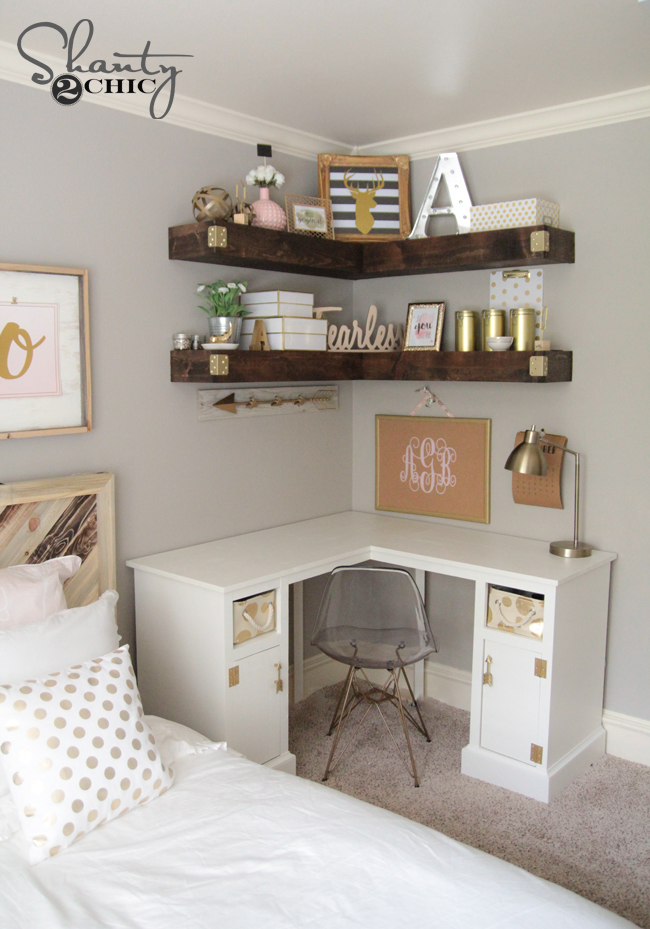
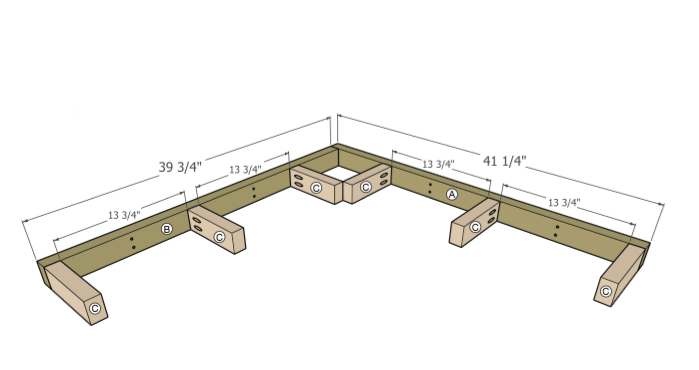
This is a variation of our original DIY floating shelves, and so simple to build! The best part? Each shelf cost under $40 in lumber. I will share the full tutorial below, and you can also download and print the FREE plans by clicking HERE !
Check out our How to Build a Floating Shelf Video HERE!
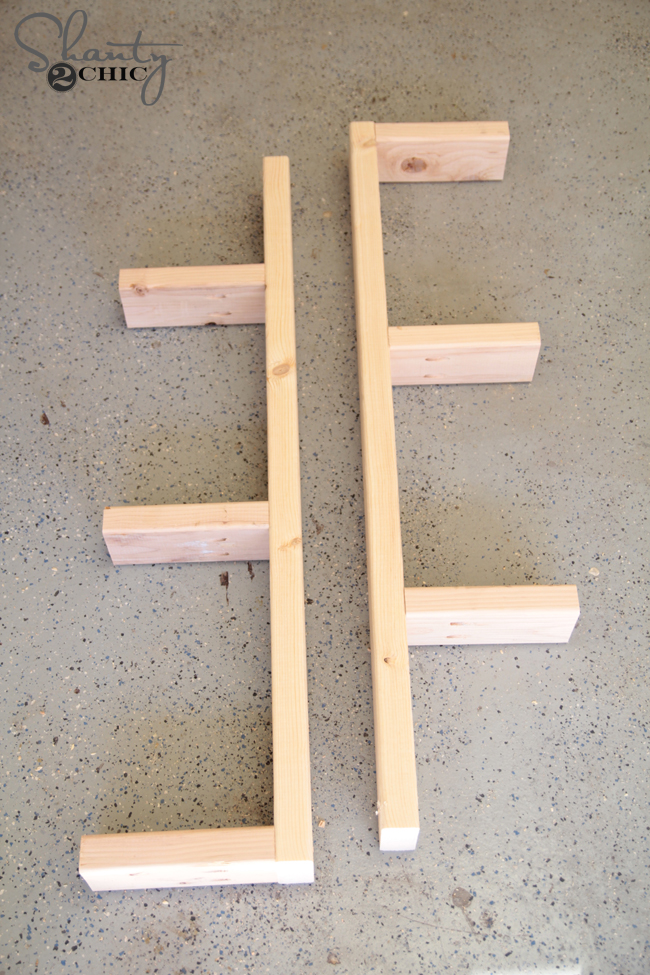
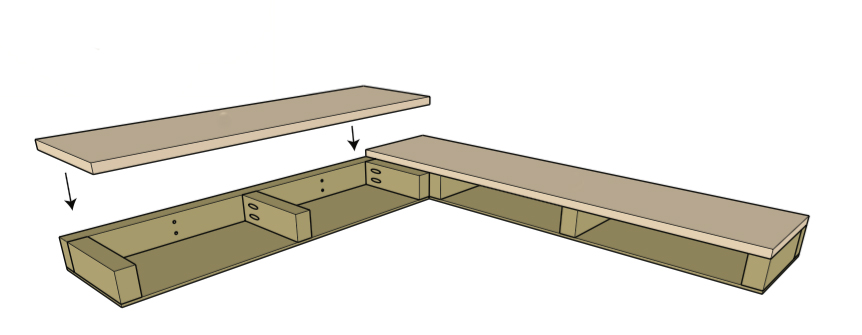
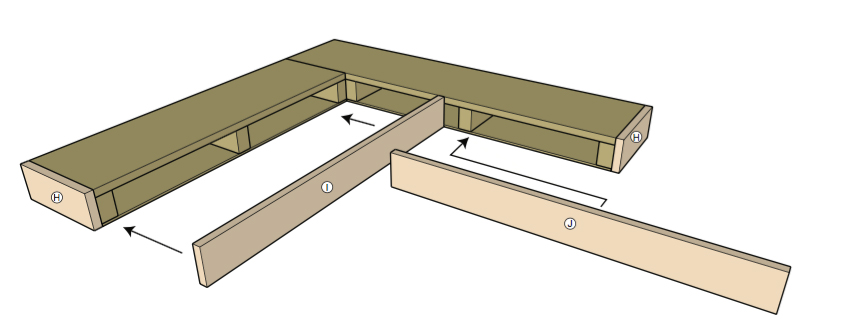
I used my miter saw to cut the frames for my shelves first. This part uses 2×4 lumber.
Watch our How to Use a Miter Saw video HERE!
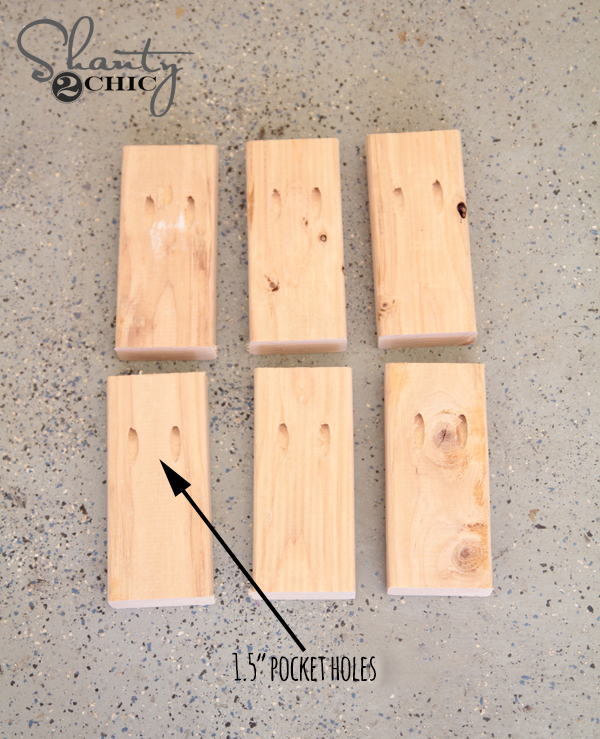
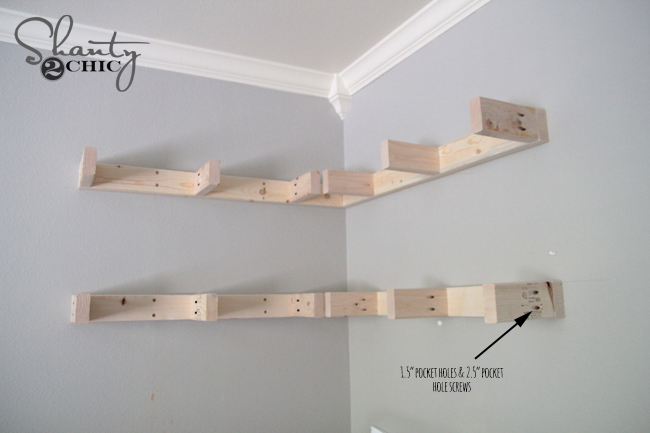
Once those were cut, I used my K5 Kreg Jig
to create 1.5″ pocket holes into each of my small pieces.

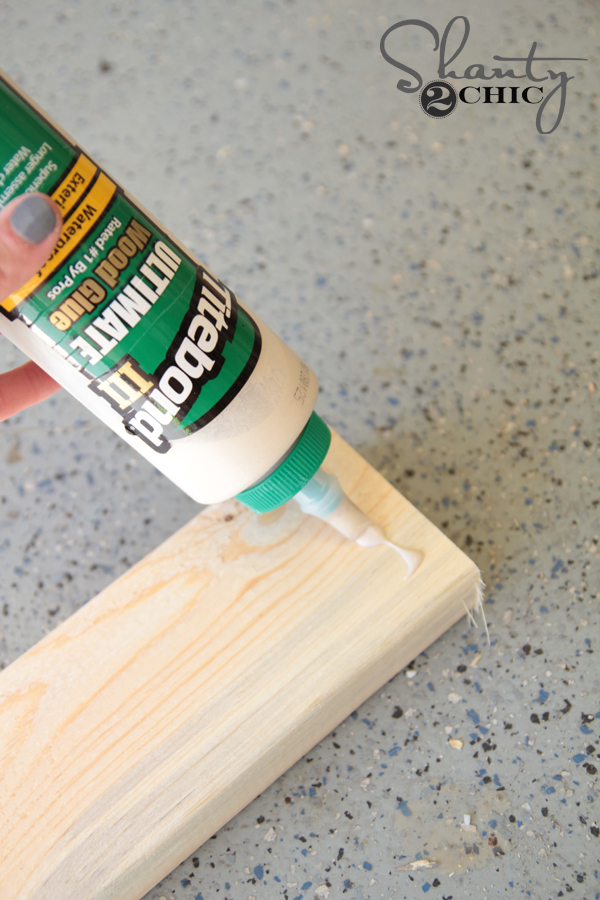
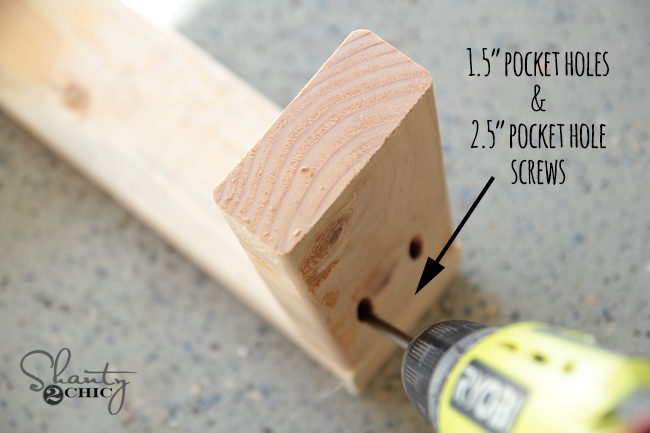
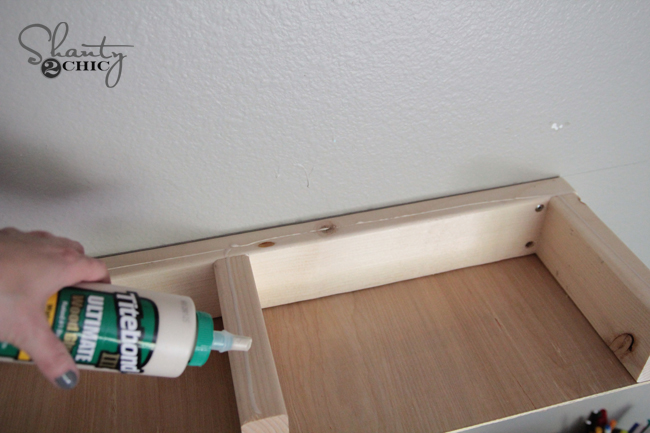
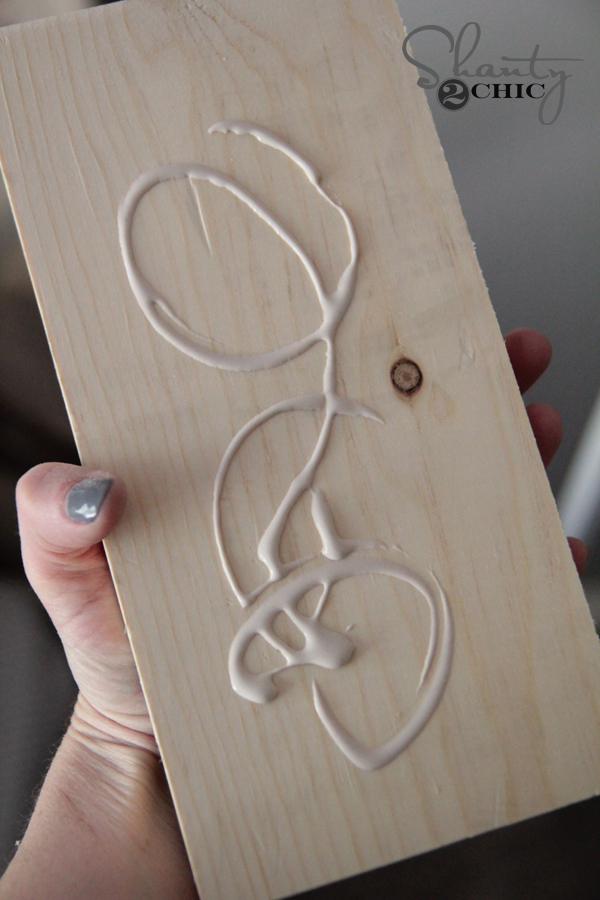
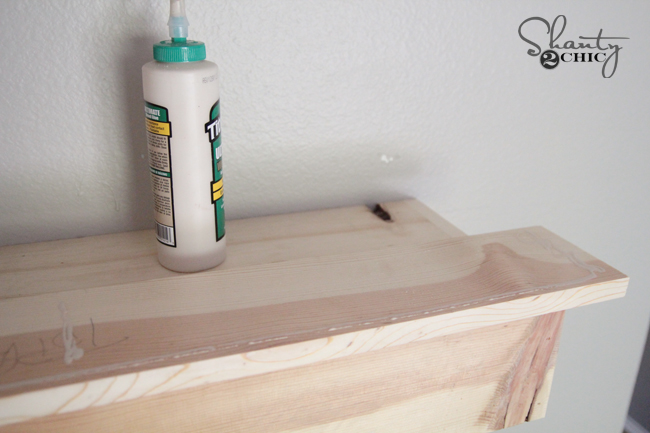
Next, I used my Ryobi 18V drill to connect the small pieces to the longer wall cleats with 2.5″ pocket hole screws. I added a line of Titebond wood glue under each small piece before connecting…
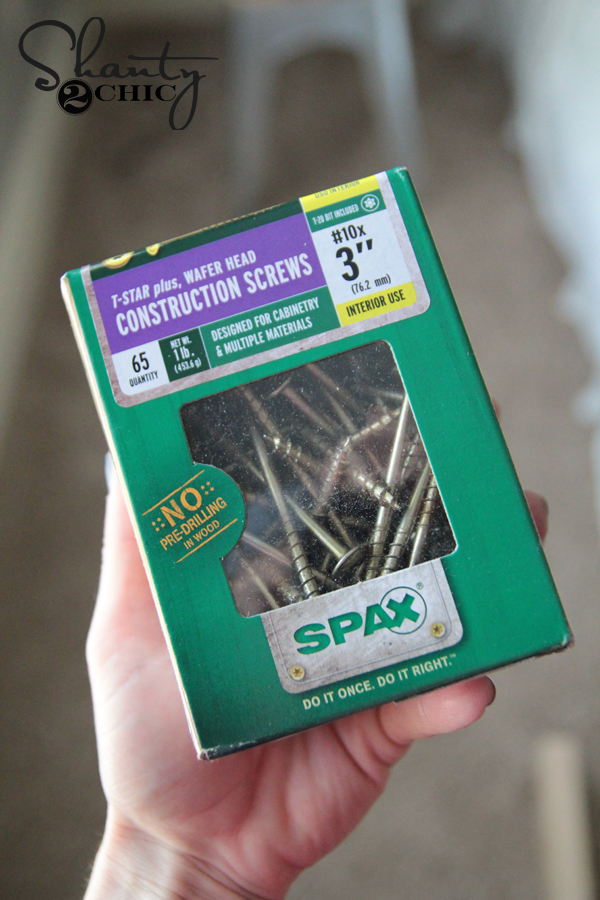
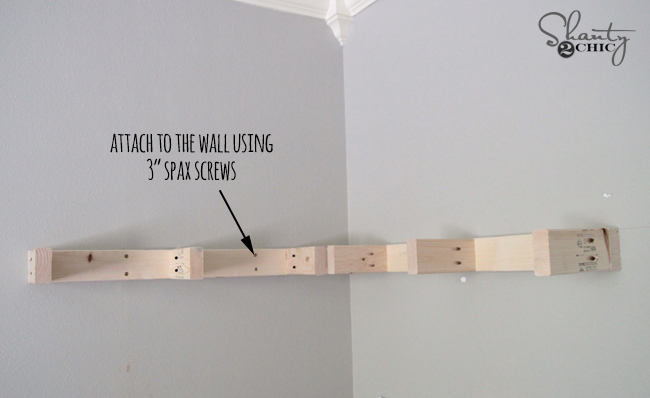
These are the Spax screws I used to attach the braces to the wall. These are self-tapping and 3″ long. 3.5″ is a great length too.
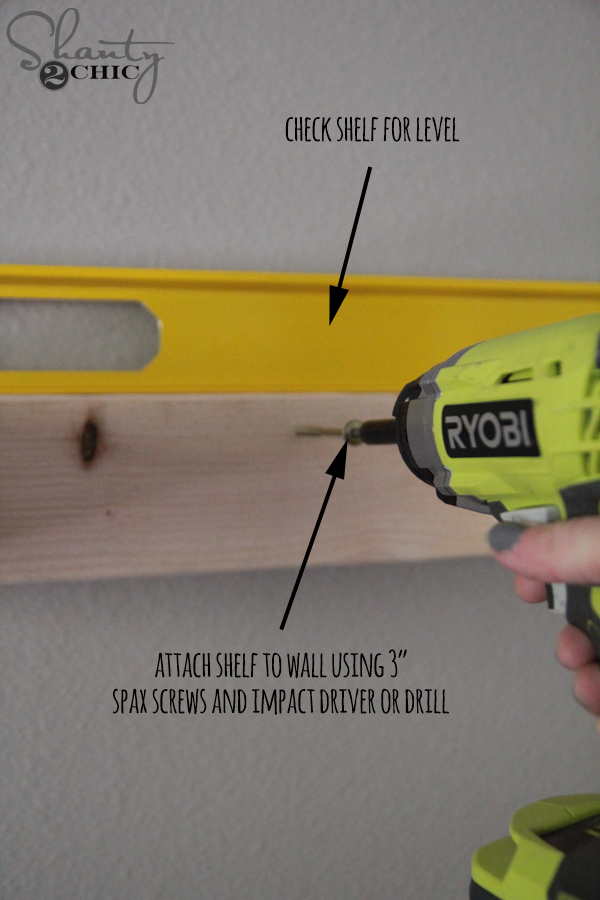
I marked lines on the wall where I wanted my shelves to sit. I used a stud finder to mark my studs on the wall. These are the 2×4 that are under the sheetrock. Anytime you are mounting to the wall, it is best to try to screw into these studs for support. I used my Ryobi Impact driver to go through the braces and into the studs in the wall. Make sure to check for level so your shelf doesn’t sit wonky. This is the level I use… Cheap and works like a charm!
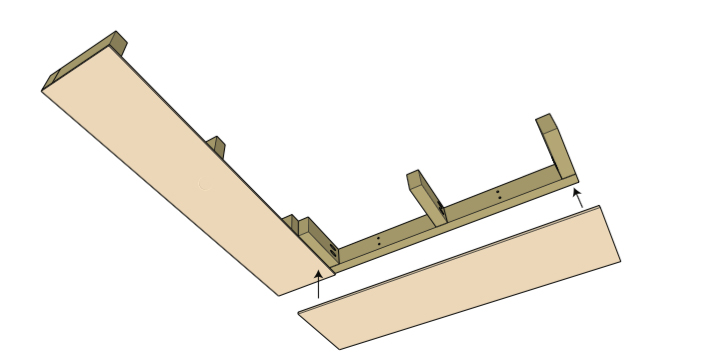
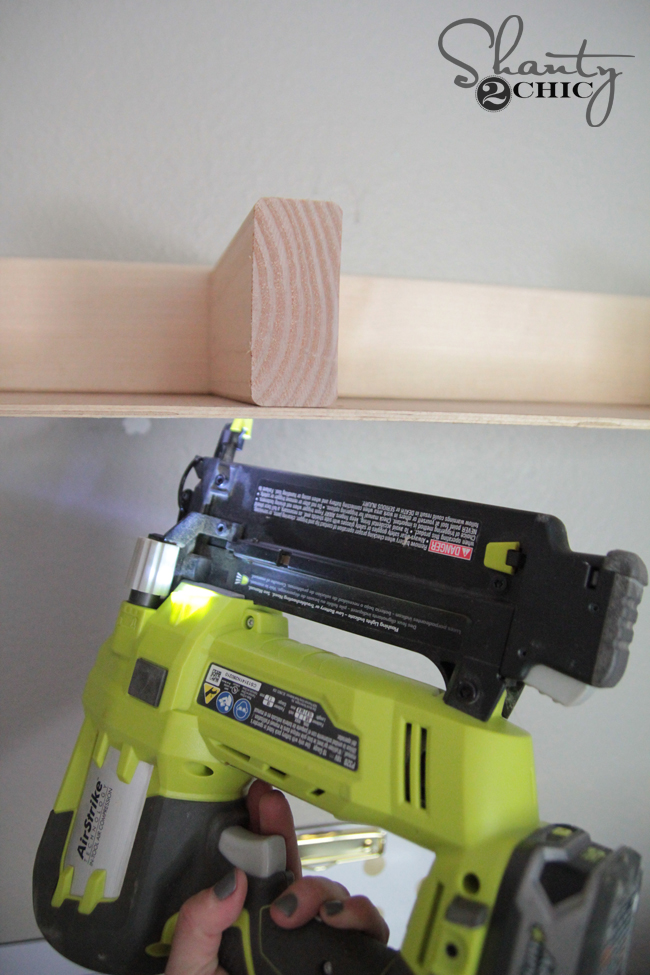
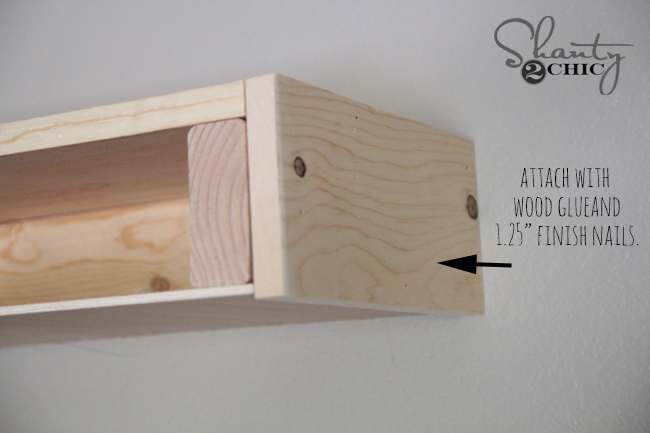
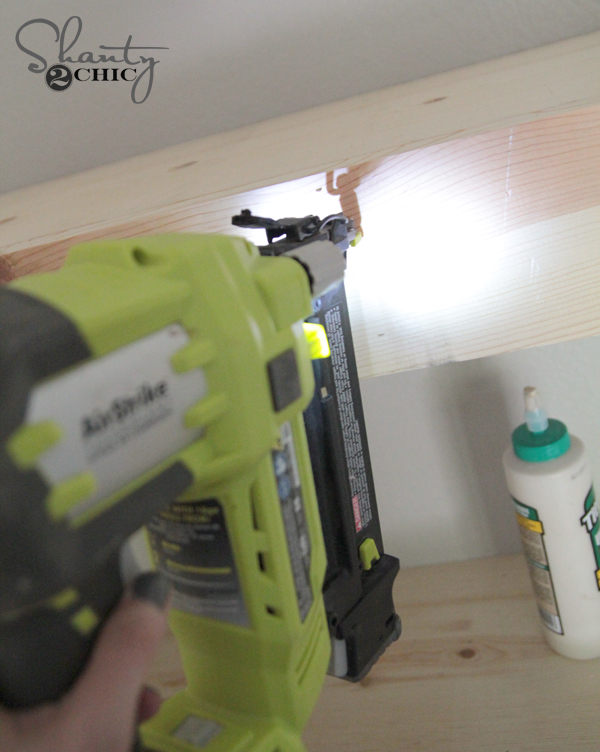
Next, I basically wrapped the brace pieces. I started with the 1/4″ plywood for the bottoms of each shelf. I used my Ryobi AirStrike nailer to attach these bottom pieces into the braces using wood glue and 1.25″ finish nails. A stapler will also work on this part. I used my table saw to rip down the 1/4″ wood for this part, but you can also have Home Depot rip it down for you.

That’s it! I stained these shelves using Varathane Kona stain. You can find it on Amazon HERE! I also found some Simpson Strong-Tie metal corners that I spray painted gold and attached using gold furniture tacks to each corner to dress each shelf up. I LOVE the outcome!
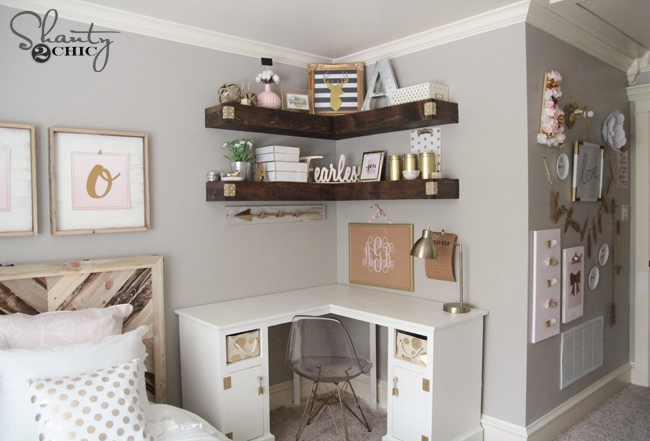

How cute is this wall too? I kind of love it!
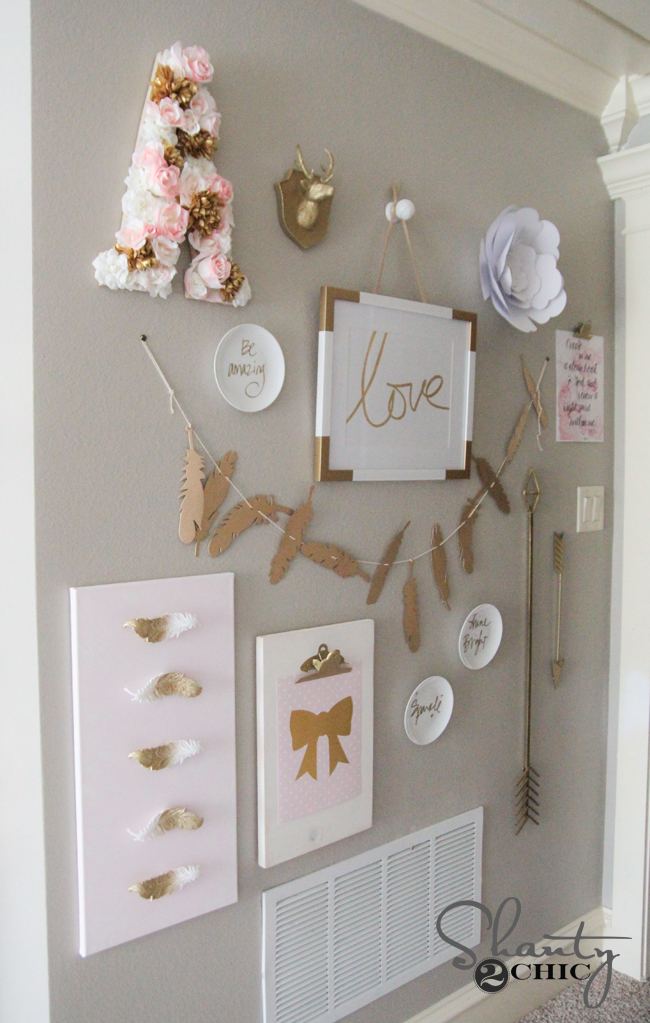
I painted a cheap canvas with pink acrylic paint and hot glued gold feather ornaments to it that I found at Hobby Lobby.
I used my Silhouette Cameo
to cut the gold bow out and attach it to a sheet of pink scrapbook paper. This is my very fav crafting tool!
I found the plates at At Home and the amazing gold feather garland is from Save-On-Crafts!
Hope that covers it!
Thanks so much for stopping by!! Let me know if you have any questions at all!
Original article and pictures take www.shanty-2-chic.com site
Комментариев нет:
Отправить комментарий