How to make DIY concrete planters in geometric shapes using a cardboard mold. Includes a free template!

Hey, Brent here! Today I am sharing these geometric concrete planters I made this past weekend using cardboard molds. You may have noticed things were a little slow around the blog last week. That is because Courtney and I spent the past week in San Francisco! We had a great time exploring the city.
Unfortunately, Courtney caught a cold on the way back home so while she was resting this weekend I took it upon myself to start a new project that was inexpensive and quick to put together (if you don’t count waiting for the concrete to dry).
I had fun experimenting and making these DIY concrete planters to display around the house.
How To Make DIY Concrete Planters

FREE TEMPLATE

STEPS

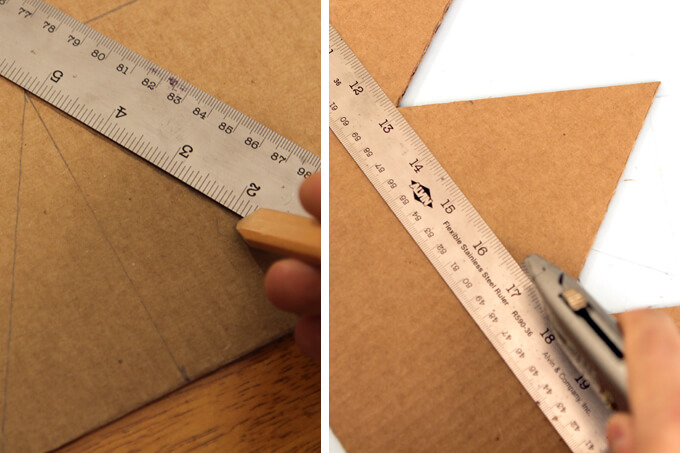
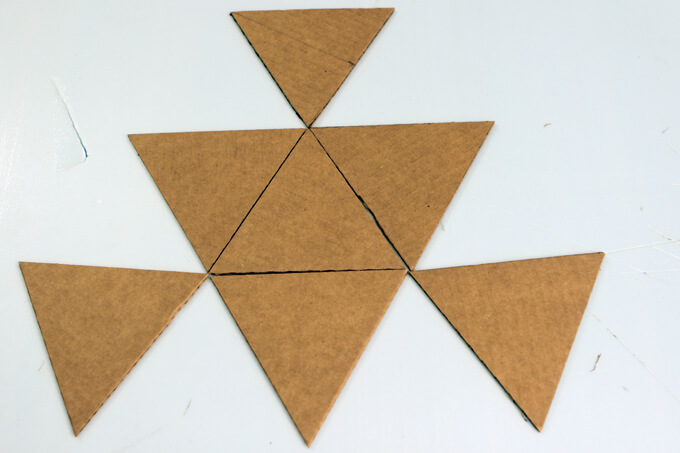
1. The first thing I did was measure and trace seven triangles on cardboard and then cut out each individual cardboard triangle with the box cutter. At the end of this post I have included a PDF of the pattern I created for our geometric concrete planters to download if you are interested in making your own.

2.

3.

4.

5.

6.

7. First, I prepped my materials which included the bucket, water and the concrete mix. I made sure to have twice as much water than needed on hand.

8. Then I poured the water into the bucket and mixed in the concrete mix with the mixer attached to a drill. I continue to add the dry concrete mix into the bucket until the mixture was thick and evenly mixed with the water. To test for the right consistency, I dug a little hole in the mixture. When the mixture didn’t fill in the gap, I knew it was ready to use.

9. Once the concrete mixture was ready, I filled the bottom of the outer mold. Then I placed the inner mold into the outer mold. The inner mold acts as a plug and creates the hole in the planter for the plant.

10. When you mix concrete it traps air bubbles inside of it so after I poured the concrete into the mold I used an electric sander to vibrate the concrete forcing the air bubbles out which gave me a smooth finish.

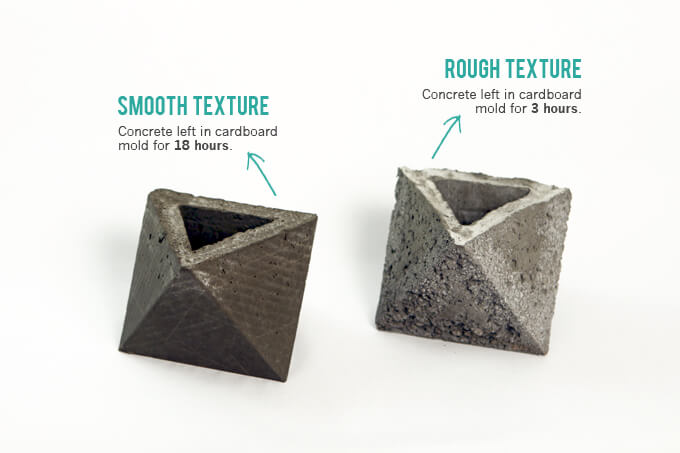
11. I let the concrete sit in the mold for several hours and then I removed it from the cardboard. I found that depending how long you leave the concrete in the mold, you get different textures on the concrete which I like because it makes each planter unique.

12. You can see the difference in the photo above. For the planter on the left I let the concrete dry in the mold for approximately 18 hours which gave me a smoother texture. The planter on the right was the first one I made and I only let it dry in the mold for around 3 hours which gave me a rough cinderblock like texture.

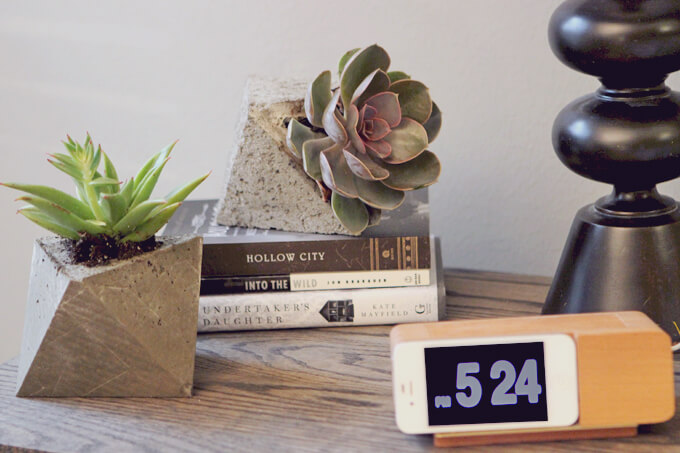
I planted succulents in them and placed them on the nightstand in our bedroom. These were so easy, inexpensive and fun to make that I am sure I will be making many more to add throughout the house.
PIN THIS PROJECT
Like this idea and want to save it for later? Pin it by hovering over the image and clicking the P.

Original article and pictures take studiograyhouse.com site
Комментариев нет:
Отправить комментарий