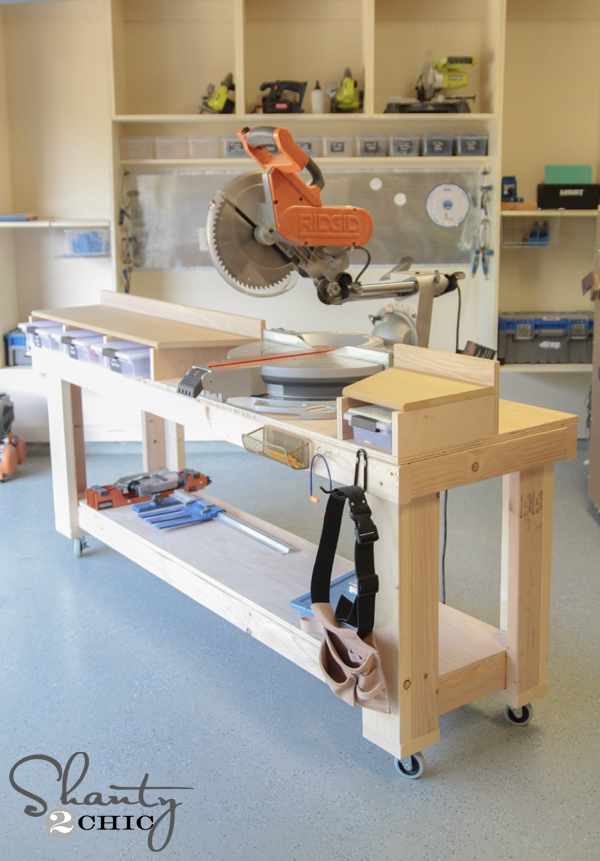
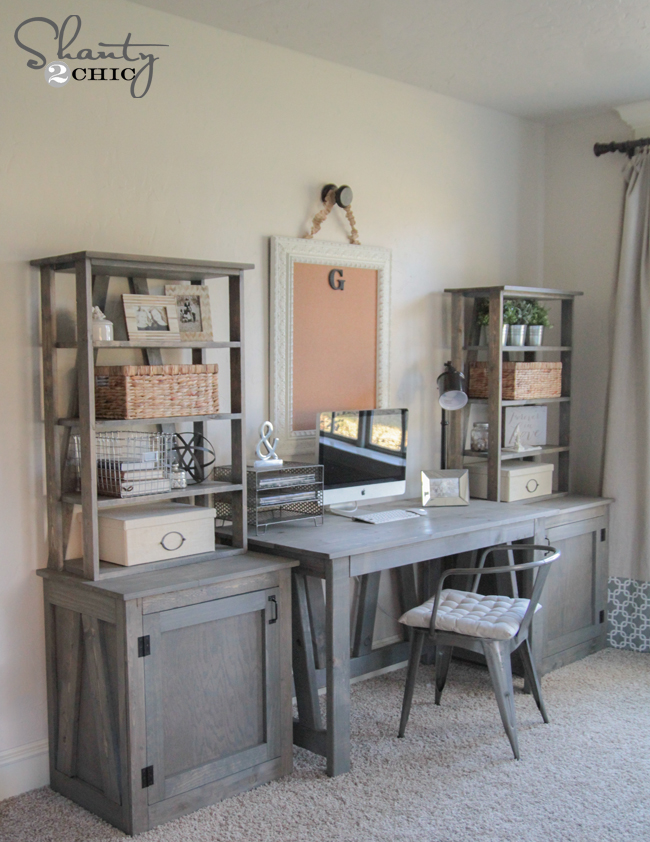
I am so excited to share the third and final part of my DIY Desk System with you guys today. I shared the desk HERE, and the side tables which double as nightstands HERE. Time for the third! Check out the DIY Bookcases I added!
![Free Woodworking Plans - DIY Desk and Bookcase]](https://www.shanty-2-chic.com/wp-content/uploads/2014/11/Free-Woodworking-Plans-DIY-Desk-and-Bookcase.jpg)
I love my desk. That’s all.
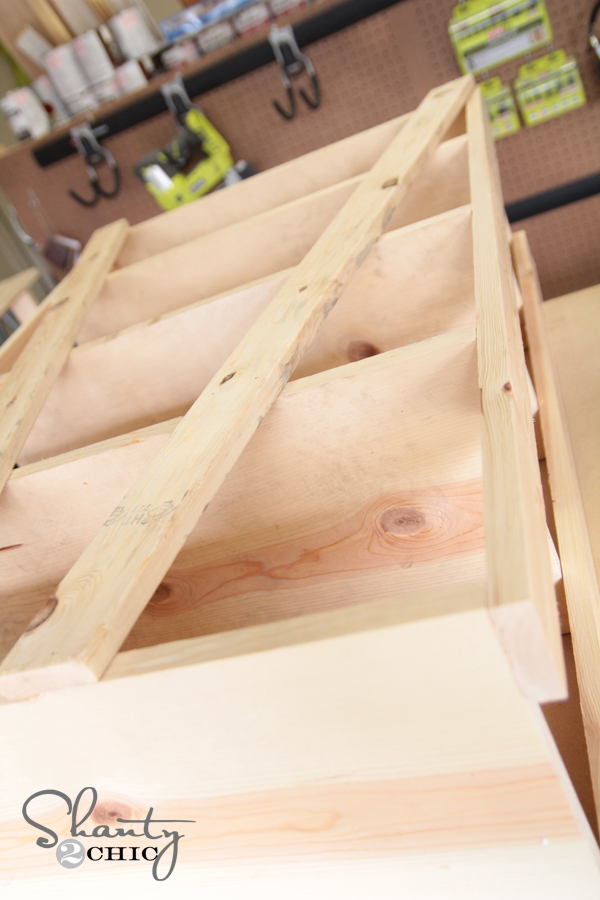
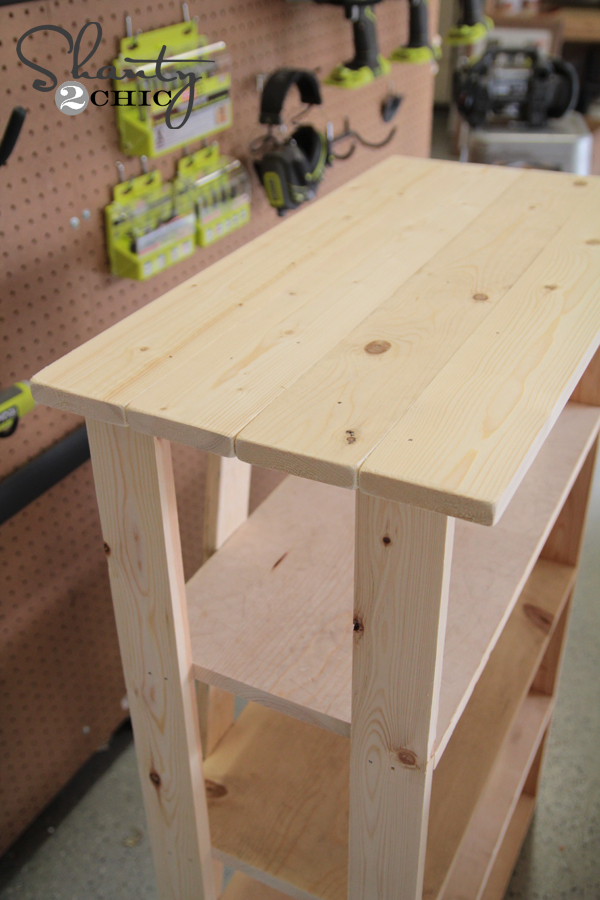
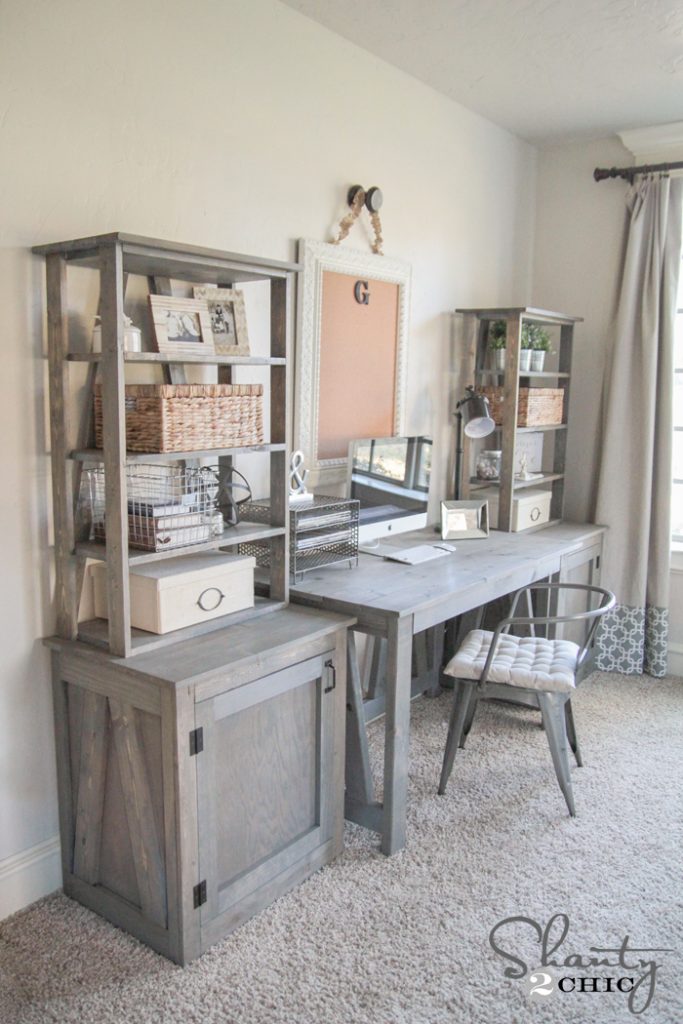
This may be the most simple bookcase yet. It’s great too, because you can put it on top of different pieces making it very versatile. You can also use it by itself if you are working with a shorter space.
As always, I will walk you through the entire build here, and you can also download and print the FREE woodworking plans by clicking here or the button below. Thanks so much to Jay of Jay’s Custom Creations for putting all of our original ideas into printable plans for our readers… He’s awesome. Check him out!

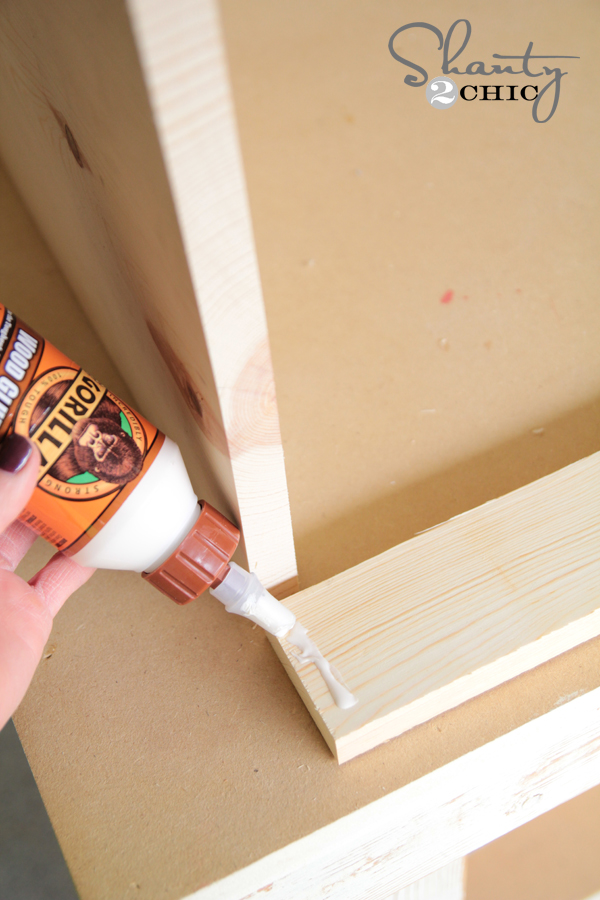
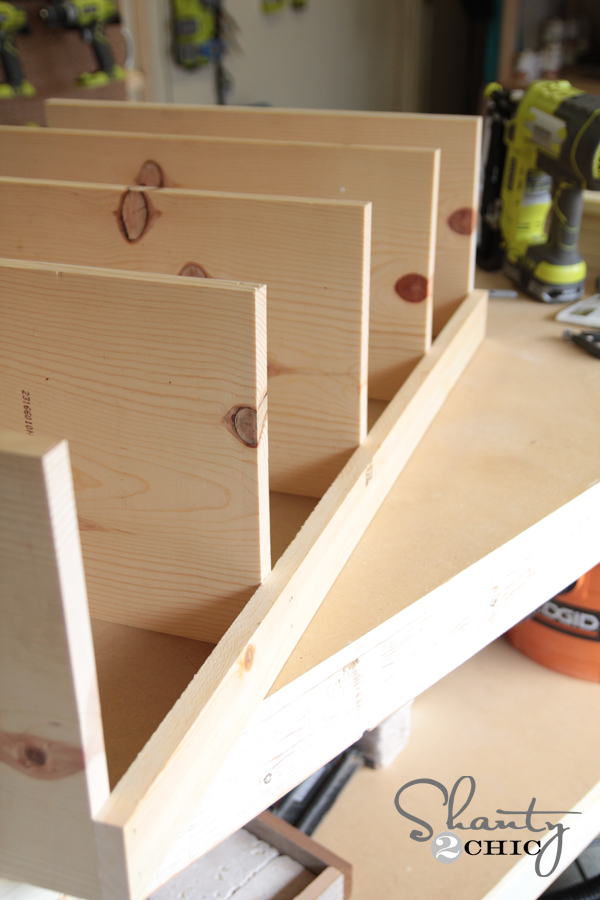
These bookcases use 1×12 for all of the shelves. I chose to use whitewood for mine, but you can also use select pine or any other type you want. I like the cost of the whitewood the best, but it can be a booger to find a straight one at the hardware store. It’s worth it to dig though! And, I love how rustic it stains. Love all those knots.
I used my Ridgid Miter Saw to make all of these cuts. Both Ash and I use a 12″ sliding compound miter saw.
The bigger the blade, the longer the cut. The sliding mechanism is SUPER handy, and I would say that if you are serious about building some furniture, go ahead and get a sliding saw. Mine will do almost 30″ when you flip the board after one sliding cut. That is super helpful when working with long boards like these 1×12 or even larger ones.
Ryobi just came out with an awesome 10″ sliding saw. You can see it HERE. This saw will build nearly every plan on our site, and the price point is awesome. Perfect Christmas gift!
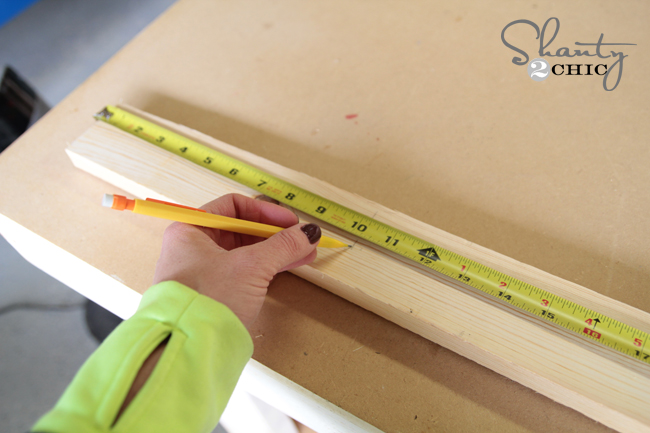
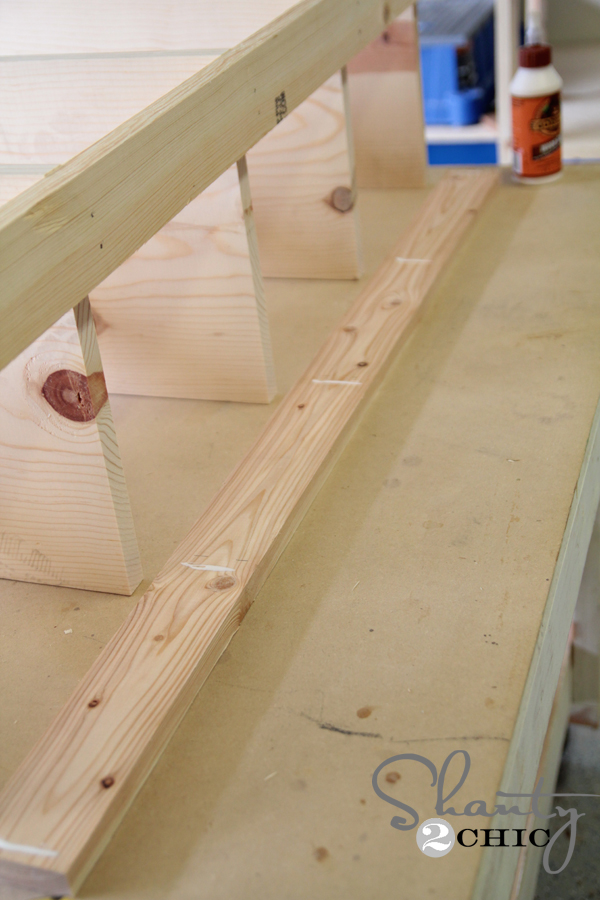
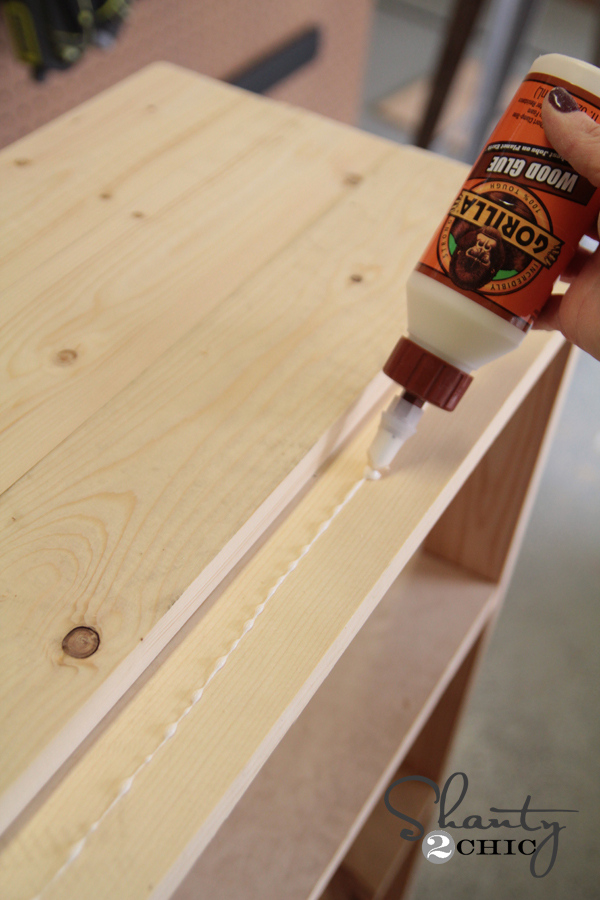
After making all of my shelf piece cuts, I used a pencil and tape measure to mark off where each of the shelf pieces would line up.


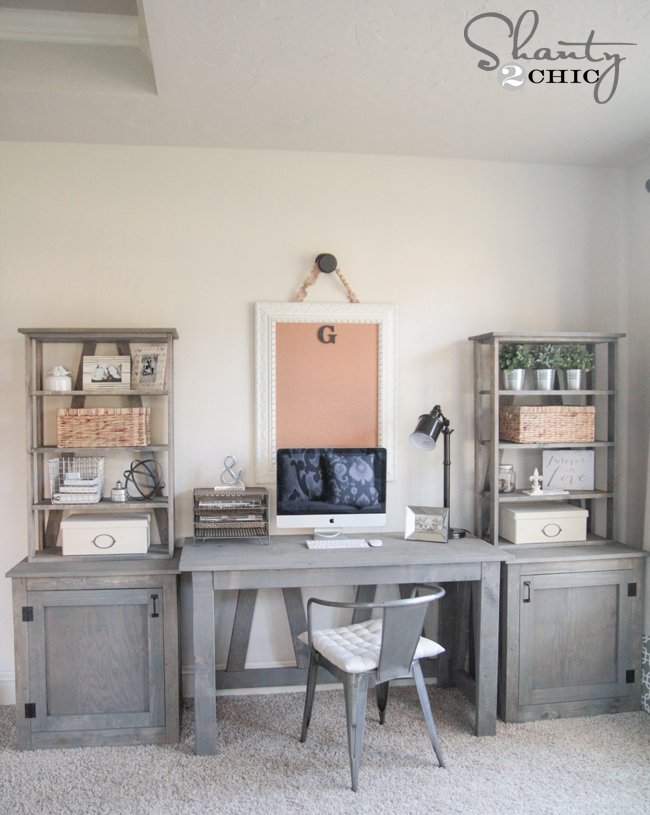
I stained mine before moving them into my bedroom. I went with the same awesome stain combo as the rest of the desk system.
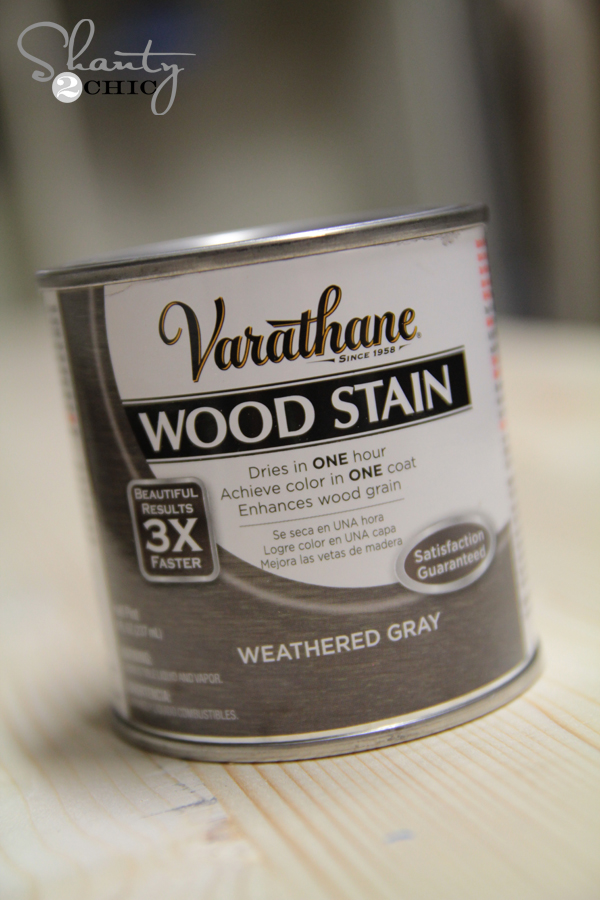
I used one of my new fav stain combos for the finish! I started by staining the whole thing with Varathane wood stain in Weathered Grey. You can find this at Home Depot! It only requires one coat and dries in an hour… Yes please!
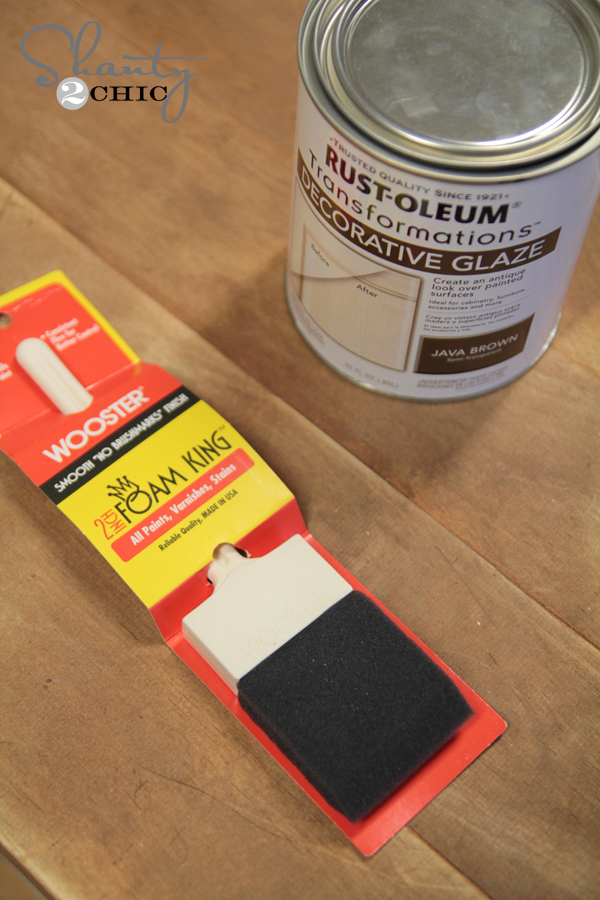
I wanted mine to look a bit more distressed, so I used Rust-Oleum decorative glaze on top of the stain once it dried. You just brush this stuff on and then wipe the excess off. Work on one side at a time as it does dry pretty quickly. You can also find this at Home Depot.
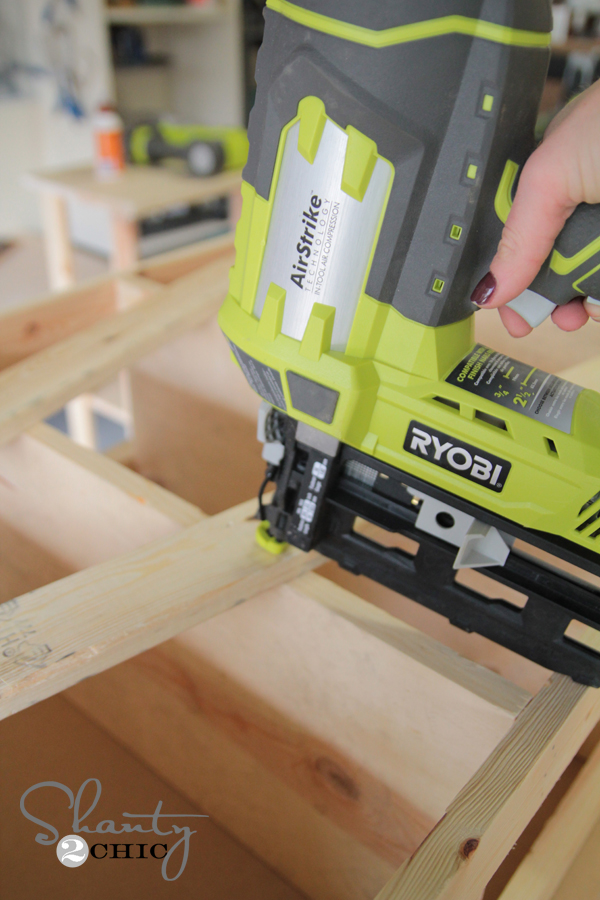
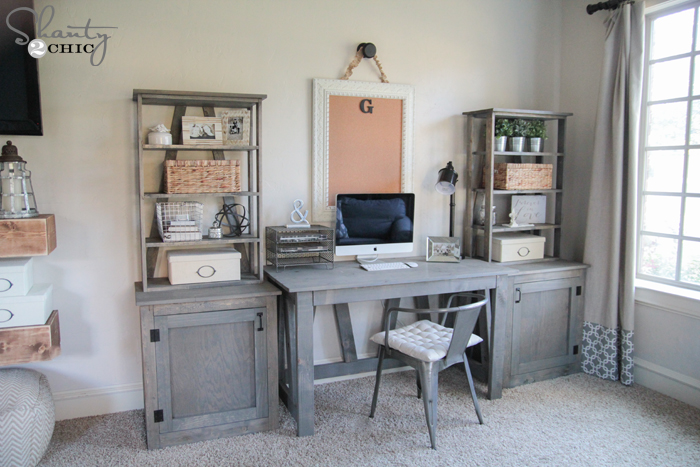
That’s it! I set it all up and I was finished. I did decide to attach mine to the actual side tables. I did this by using 2″ wood screws from inside the top of the cabinet and into the base of the bookcase. I didn’t glue because I want to be able to take these apart and move them if needed.
Here she is all set up… My desk fit for a queen ;-)…

Thanks so much for stopping by guys! I would LOVE for you to share this and PIN it with your friends!
Let me know if you have any questions at all
~Whitney
Original article and pictures take www.shanty-2-chic.com site
Комментариев нет:
Отправить комментарий