Hi friends! If you follow me on Facebook or Instagram (thank you – you rock!), you would’ve already seen sneak peeks of this project. I’m super excited to finally share the plans and tutorial with you!
If you’re just joining us, here’s the skinny: this Summer, myself, along with four other DIY bloggers have each tackled a different project inspired by an item in the West Elm catalog. Check out our June and July projects.
It’s the final month of our West Elm Knockoff Decor Series and I’m a little weepy about it because it was so much fun to be a part of. I’m grateful my beautiful friend Aniko of Place Of My Taste included me in this Summer series; she put together a stellar lineup. These girls are all DIY Rockstars and it was an honor to be among the very best.

For this month’s challenge, we each chose to knock off either a piece of furniture or home decor item and this Alexa Reclaimed Wood Bed was my pick. West Elm’s version will set you back about $1,700. I built mine for under $200.
I knowwwww, right? Bananas!
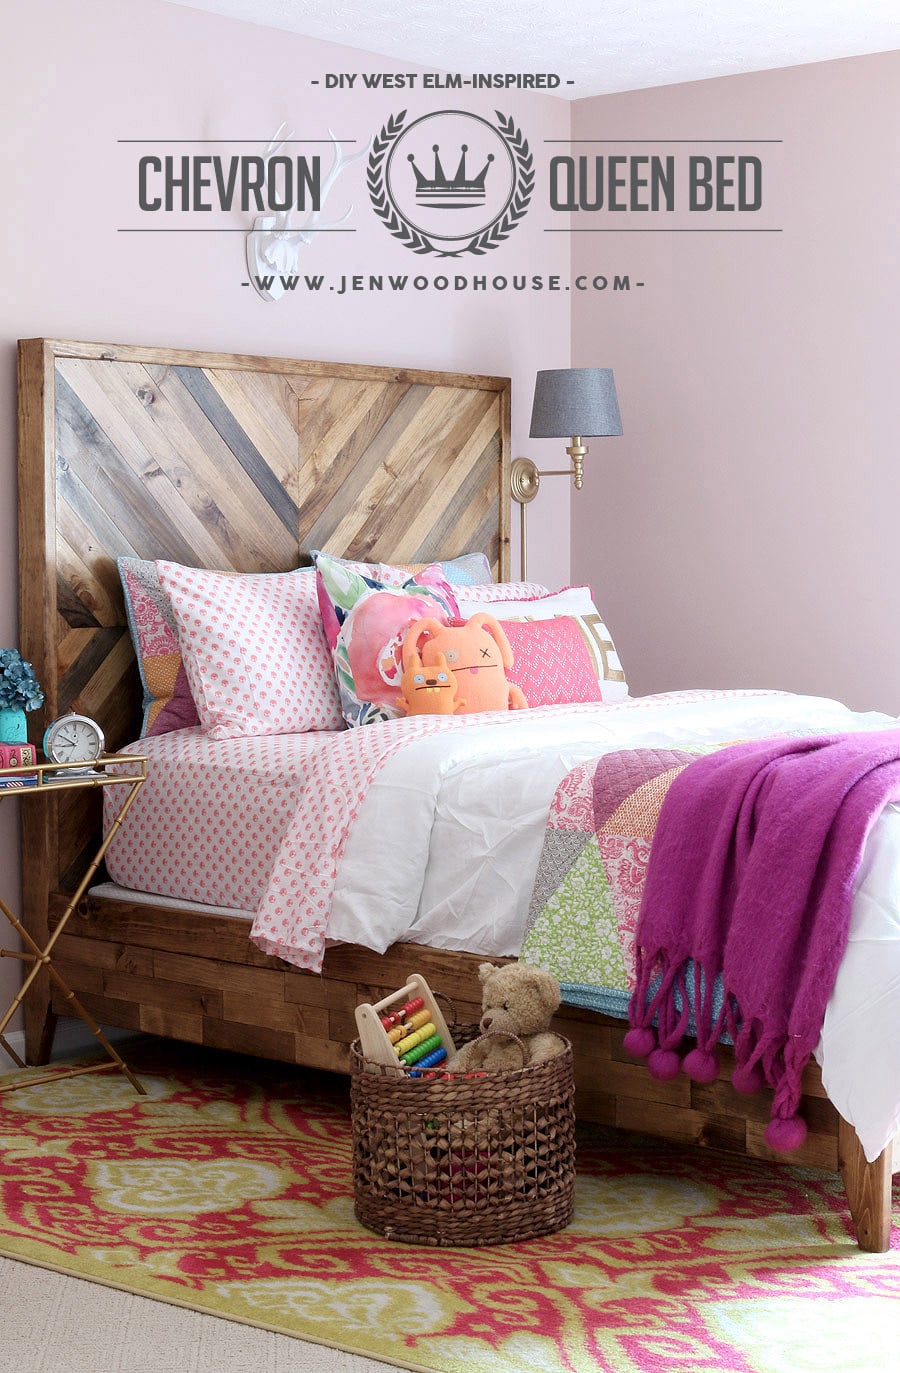
And because I built this bed for my daughter, I’m renaming it the Evelyn Chevron Queen Bed. This is the second bed I’ve built for my four-year-old sweet pea and she’s thrilled about her new ‘big girl bed.’
Check out the Restoration Hardware-Inspired Toddler Bed I built for her a couple of years ago. I love how her new bed turned out, but I’m getting a little teary-eyed about her growing up. She also started Kindergarten this month. You guys. I AM TRYING TO KEEP IT TOGETHER. The days are long but the years are wayyyyy too short, amiright?
*This post contains affiliate links. To read my full disclosure policy, click here.If you’re wondering where to purchase her bedding or any other item in her room, I’ve included a complete source list at the end of this post.
Alright, so let’s get started.

HOW TO BUILD A WEST ELM-INSPIRED CHEVRON RECLAIMED WOOD BED
You can use any kind of plywood here because it will be hidden from view, but I used my favorite brand, Purebond Hardwood Plywood. Read about why Purebond is the healthier alternative here. The frame is built out of regular ‘ole Spruce 2×4 studs.
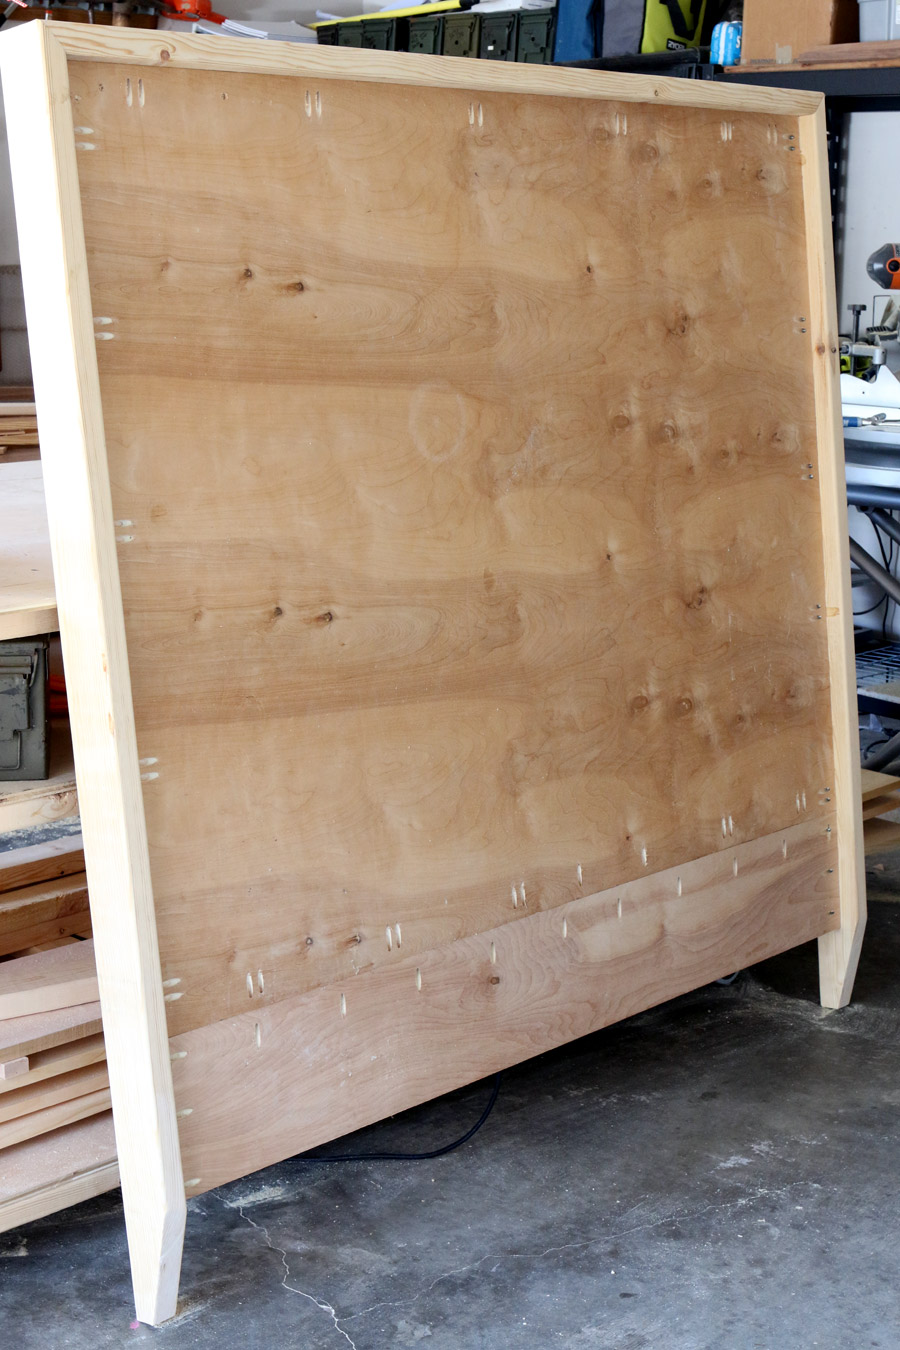
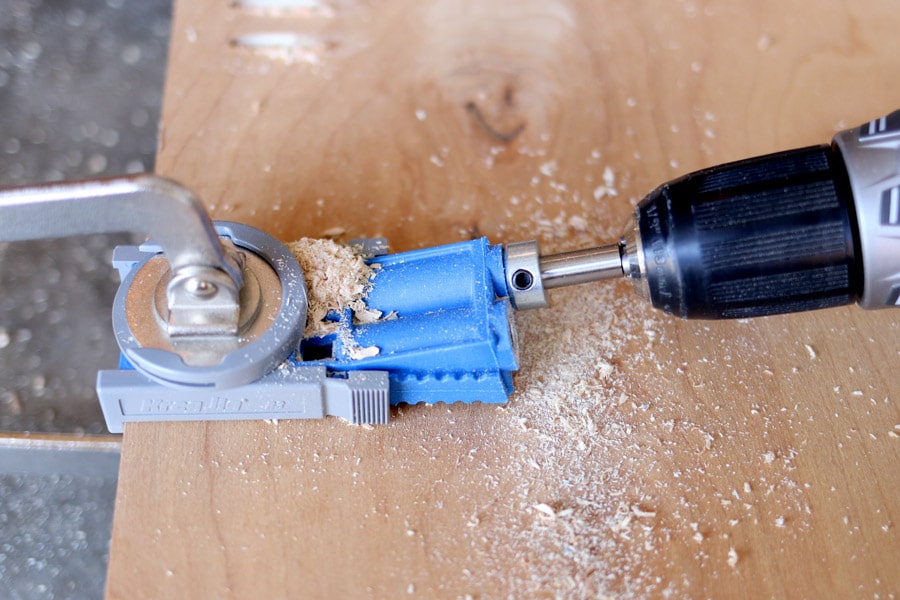
And check out all those pocket holes. If you’ve spent any time around here, you’ll know that I rarely build without my Kreg Jig. Well, this was the first time I used the R3 model. It was so much easier and more efficient to move the tiny R3 around the edges of the large sheet of plywood, rather than trying to wrestle this behemoth into the K4 or K5 model (which would’ve been impossible for me —> tiny Asian lady). #worksmarternotharder
Awww… will you just look at that adorable R3? It’s so cute, it’s like a little baby unicorn! #namethatmovie
Although I built a massive workbench, the headboard was just too heavy and cumbersome to hoist up there, so I had to build on the floor. I am now rethinking that decision because I did about 10 hours worth of squats going back and forth from the floor to the saw. Ouch!
Overall, this is a super simple project to tackle, albeit extremely tedious. You’ll need to hydrate, stretch out your quads, glutes, maybe chug a protein shake or something because it’s “leg day” at the workshop and YOU WILL BE SORE for the next three days.
You’re welcome. But hey, at least your backside will look spectacular.
Measure, mark, cut, sand, stain, glue, nail. That will be your mantra for the next 10 hours. Repeat after me: “measure, mark, cut, sand, stain, glue, nail.”
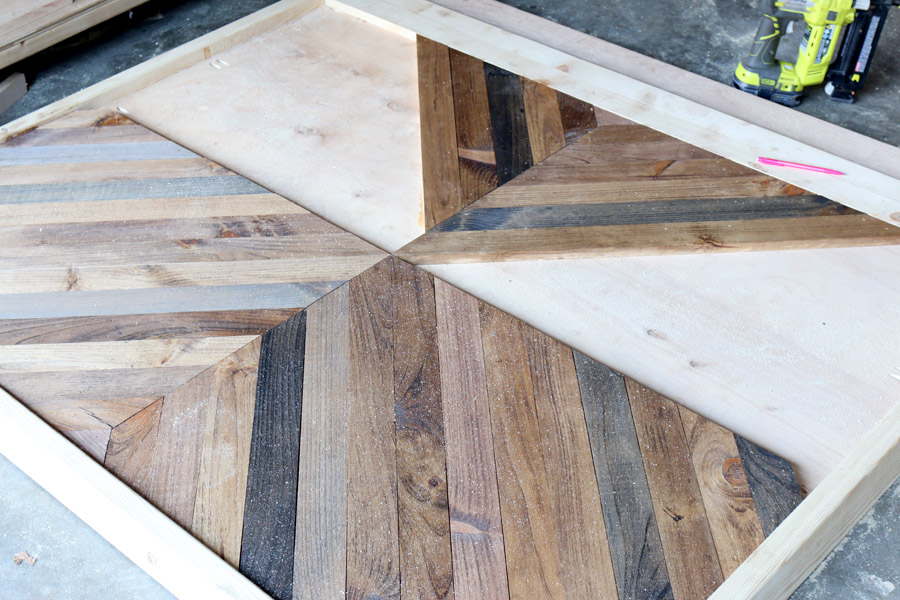
I started with the smallest triangle pieces on the top and bottom and worked my way towards the center. I highly recommend holding your boards in place and marking them that way, instead of using a tape measure. Cut the boards about 1/4″ long then trim them down 1/16″ (about half a saw blade width) at a time to ensure the most precise fit. All of the ends are cut at a 45º angle. Notice that most pieces are trapezoids but a few are parallelograms.
You like that? Welcome back to 7th grade Geometry, aka my nemesis.
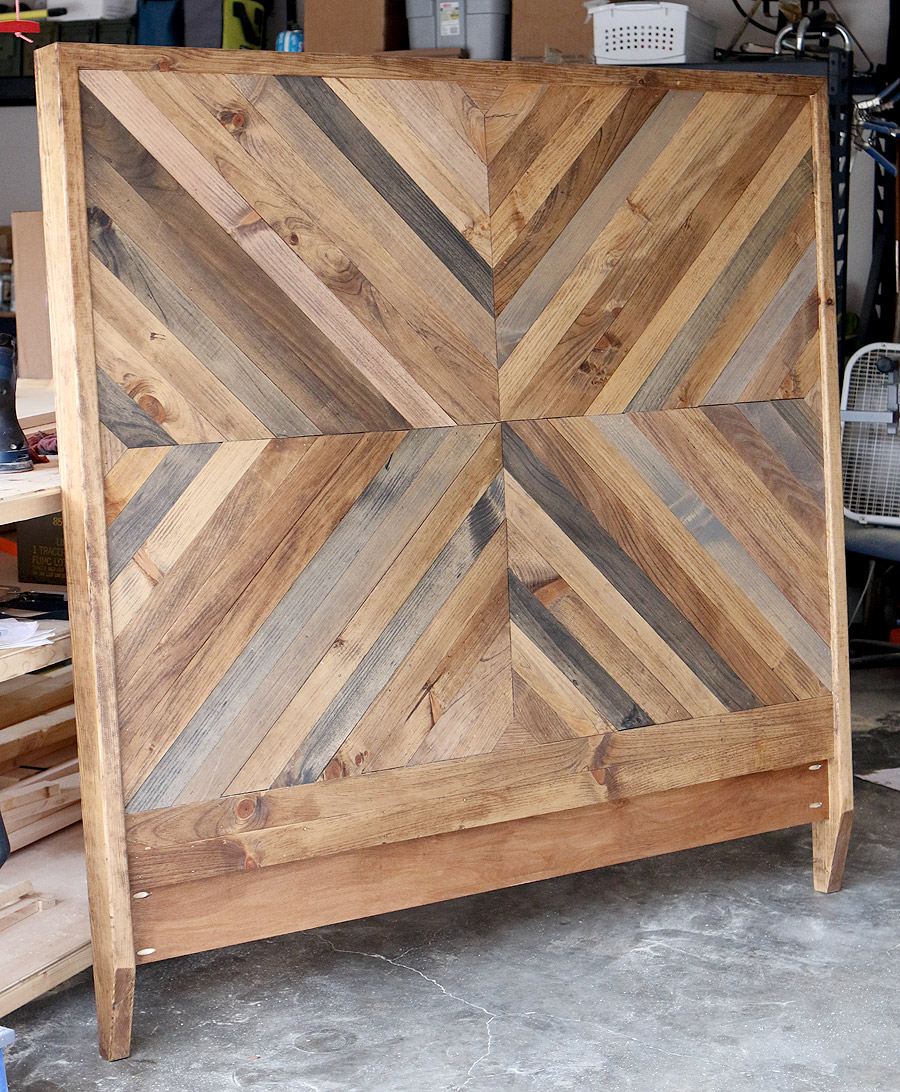
I used ordinary pine for the planks; I just stained the boards a variety of colors to achieve the ‘reclaimed wood’ look. Also, you’ll want to stain them before attaching them to the bed, so you don’t have to worry about taping each board off with the risk of bleed through.
I used several different stains: Minwax Provincial, Special Walnut, Early American, and Ebony. I also used a little Weathered Gray by Varathane. Honestly, there’s no method to my madness, no right or wrong, no rhyme or reason – I just stained the boards randomly, sometimes using one color, other times, layering on two or three different stains.
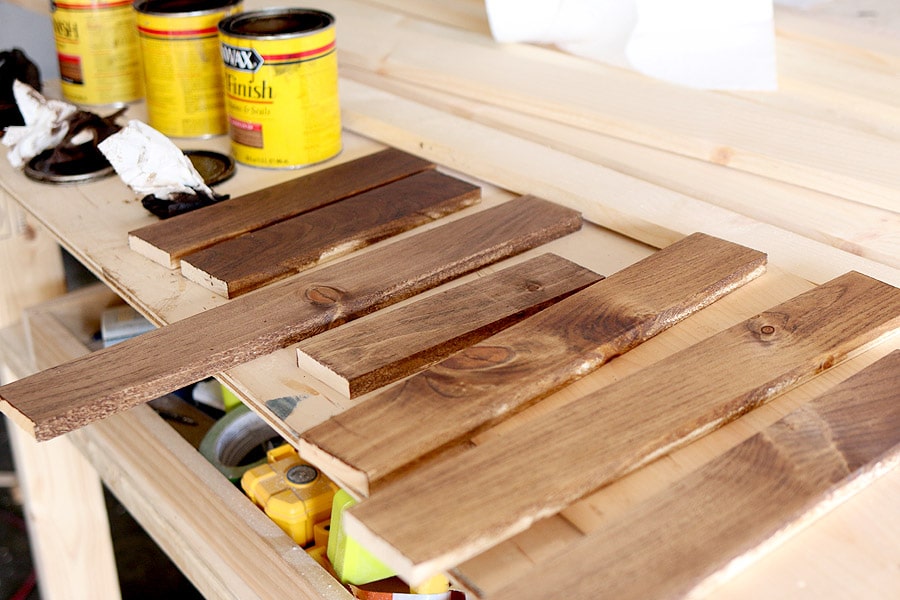
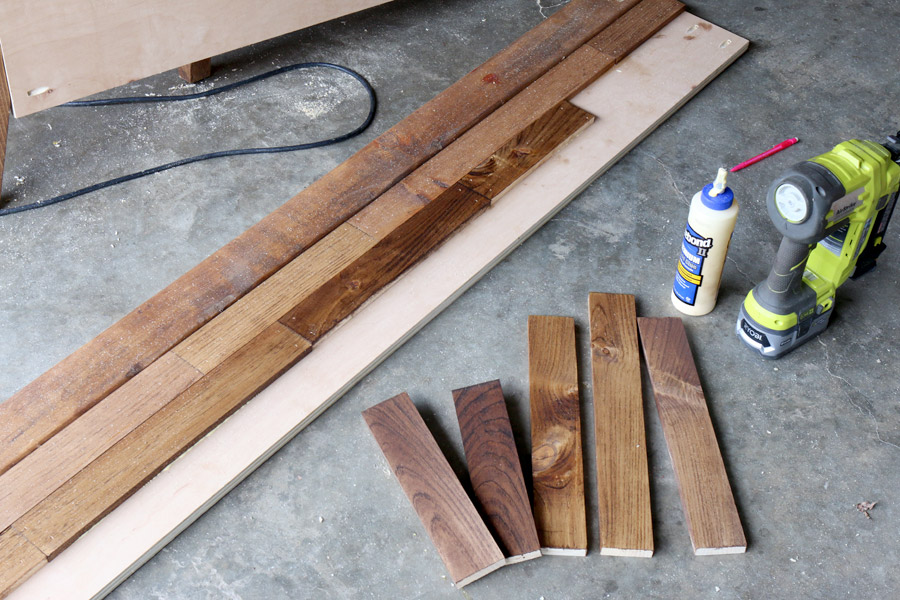
As a military family, we move around a lot, which means we need furniture that can easily be assembled and disassembled. After a bit of searching online, I found these metal bed rail brackets and they were a dream to install. You just screw them into the wood and the two pieces hook into each other. Easy peasy. I love that the headboard, footboard, and side rails all come apart. It’ll make the movers happy, I’m sure.

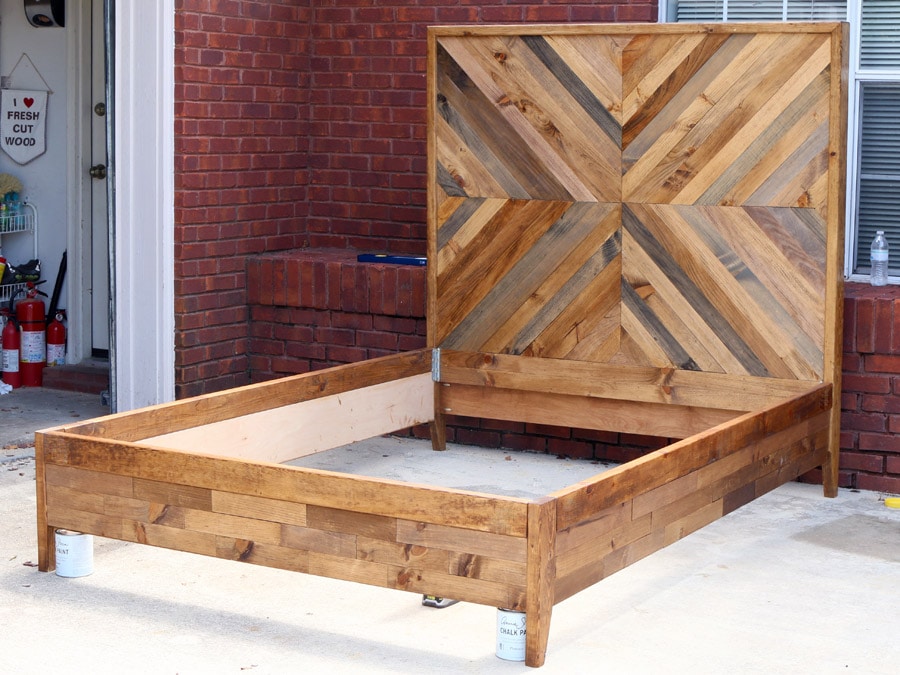
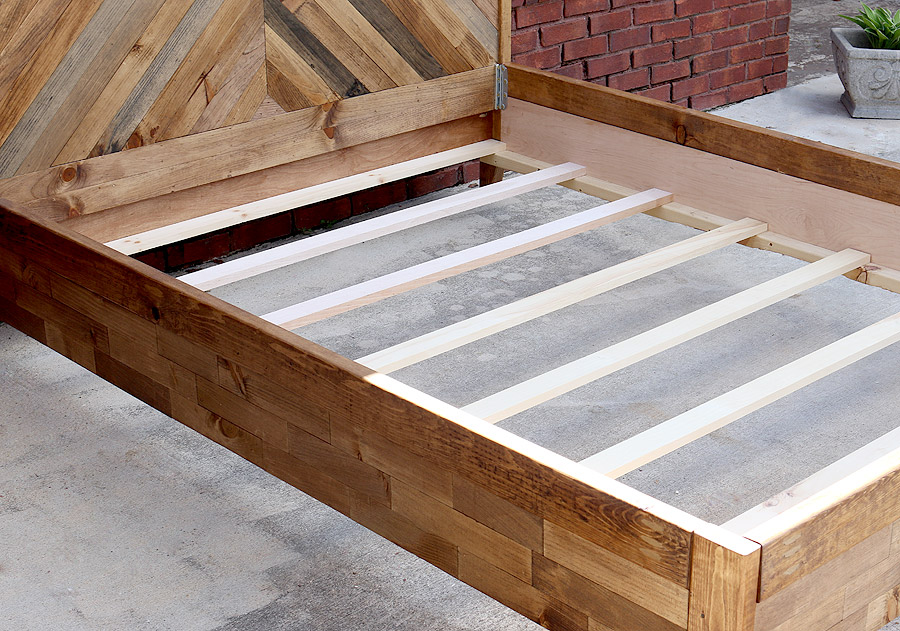
After finishing the whole thing off with several coats of Arm-R-Seal (my new favorite topcoat!), I got it all set up in her room. And by “I,” I mean, “my husband.” He’s the grunt labor around here. I just build it; he hauls it. We’ve got a great thing going.
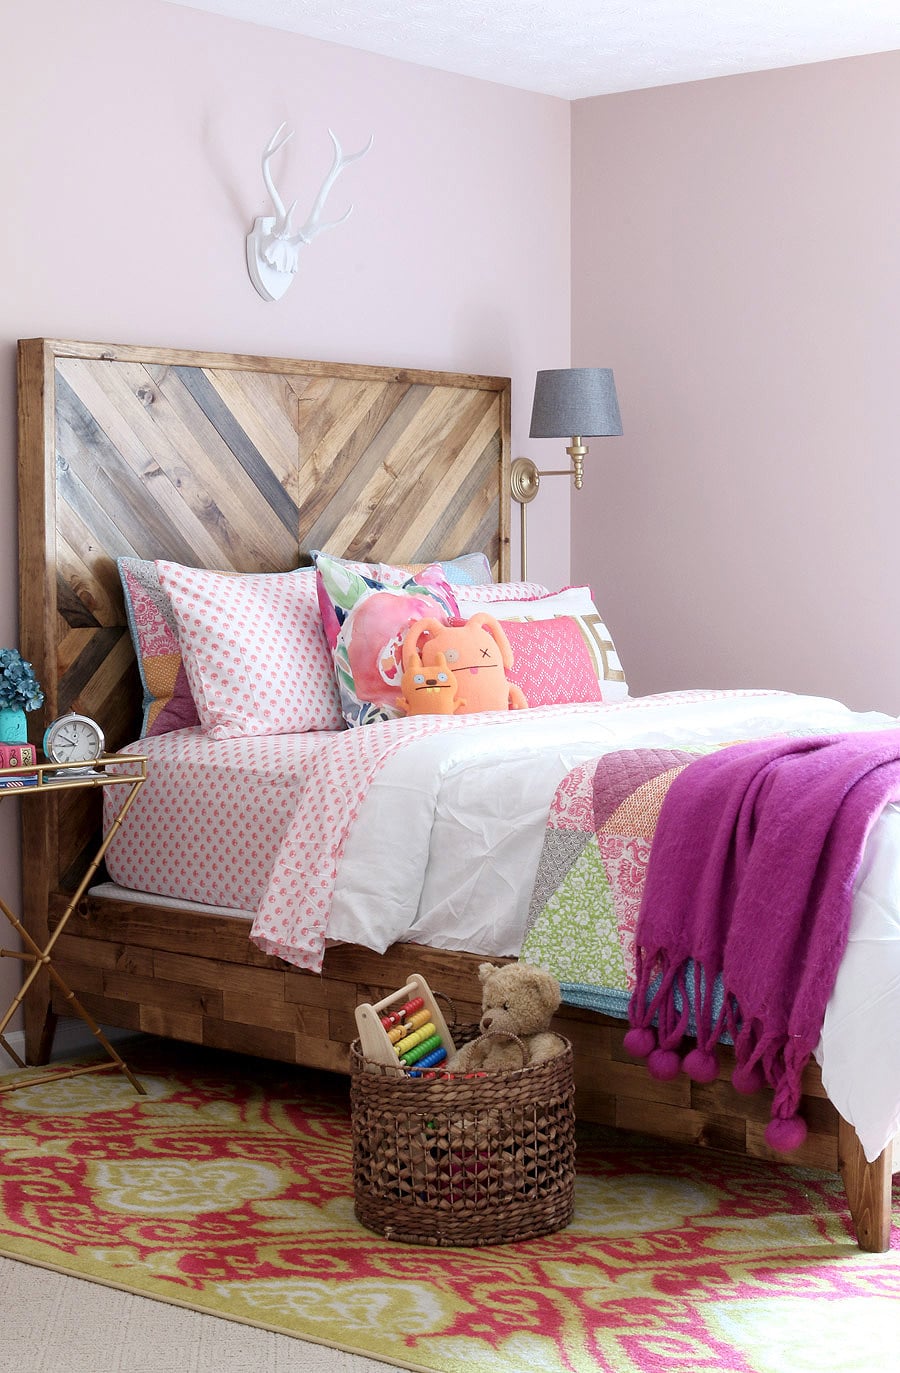
SHOP MY DAUGHTER’S ROOM
- Bedside Table – no longer available, similar
- Area Rug – no longer available, Joss & Main
- Round Basket – no longer available, similar
- Pom Pom Blanket – no longer available, World Market
- Swing-arm Lamp (came in chrome, I spray-painted it gold)
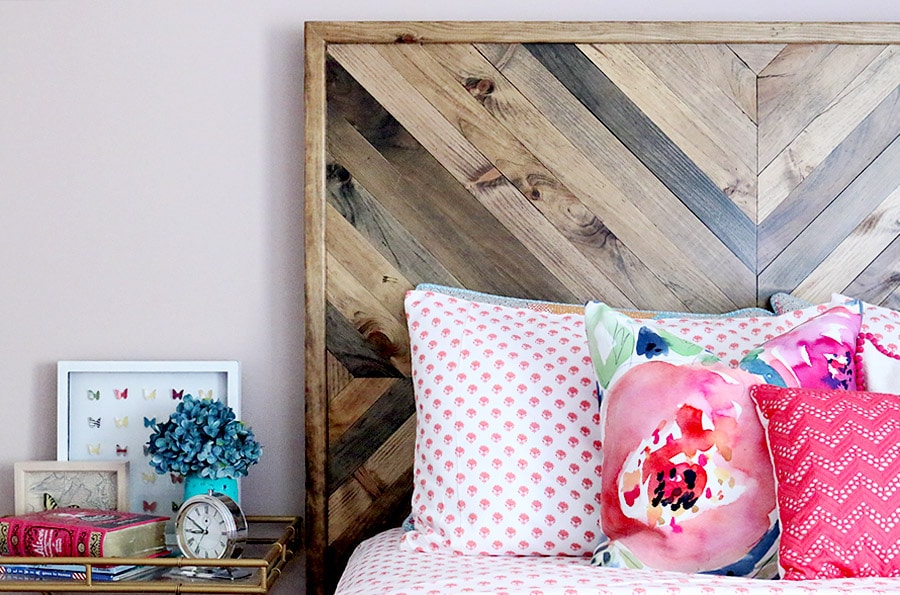
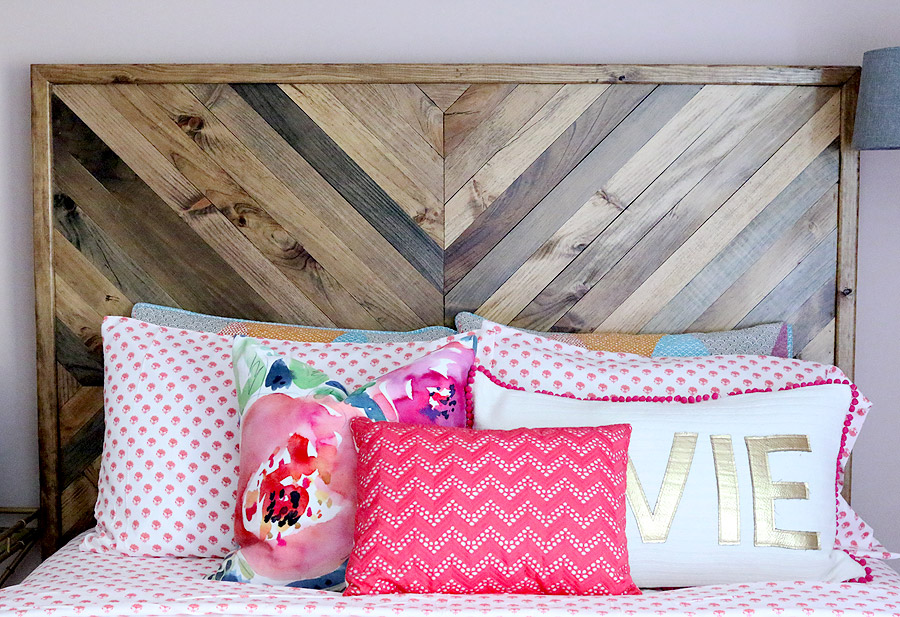
Okay, fine. I’ll take some of the pillows away so you can see more of that beautiful headboard.
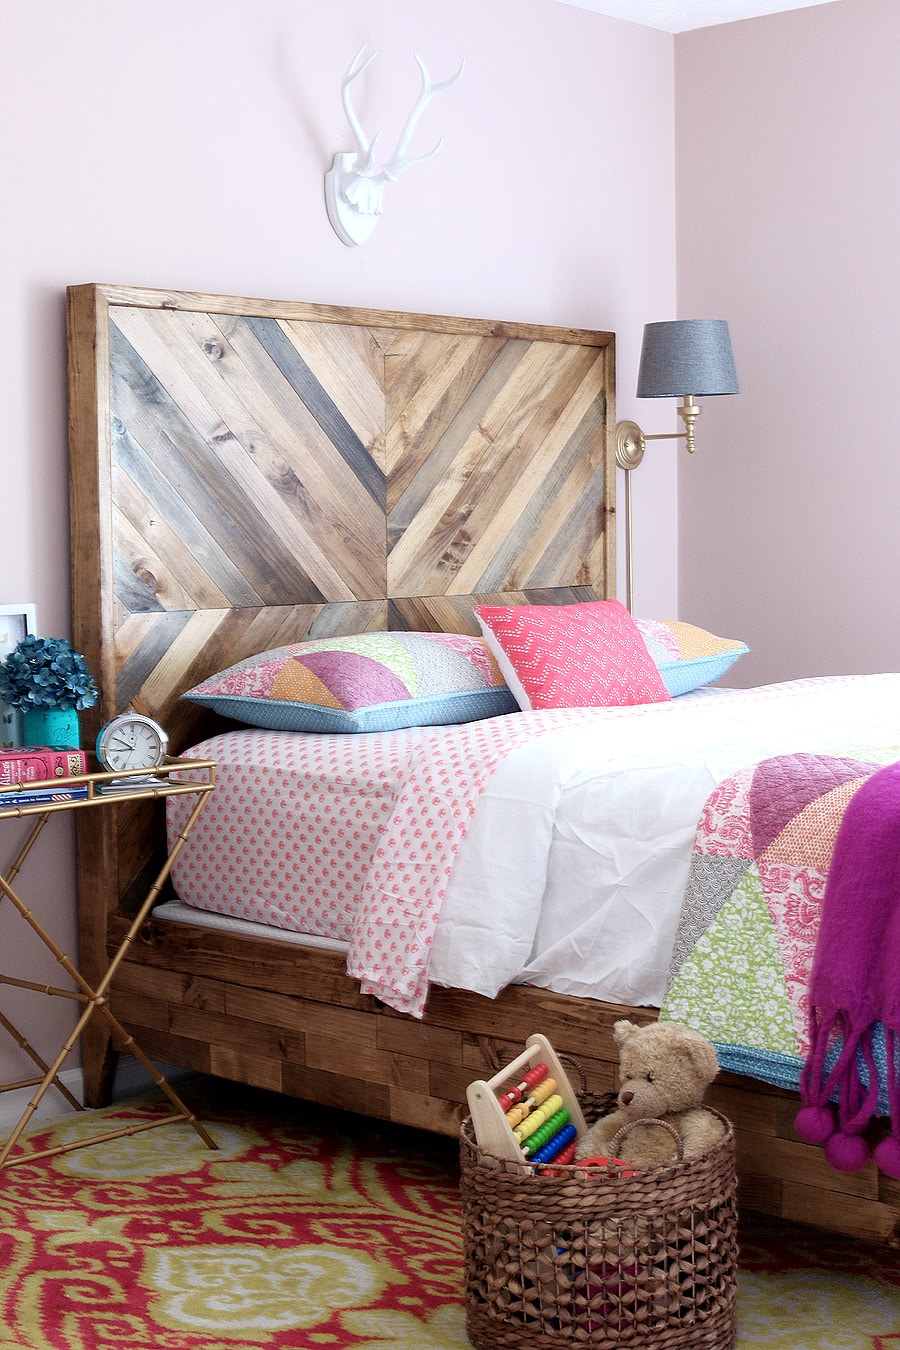
So what do you think? I think I have fallen in love with it. Mostly, because my butt looks fabulous now. #buildingismycardio
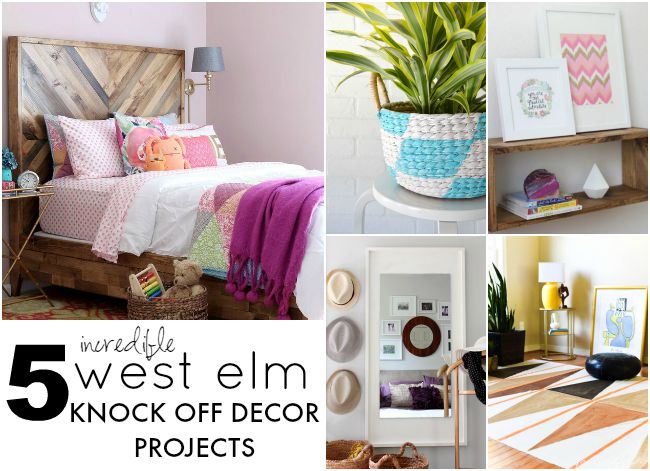
If you enjoyed this project, I’d love for you to PIN IT so you don’t forget it! Oh, and be sure to download the printable PDF plans by clicking the links below.
Now go get your build on and be sure to tag me (@jenwoodhouse #jenwoodhouse #houseofwood) so I can see your handiwork!
Did you miss our previous West Elm Knockoff projects? Take a peek here:
SLAB BENCH | FLOATING WOOD MIRROR | ACRYLIC SIDED SHELF
WOOD AND PIPE ENTRYWAY STAND | WOOD SLAT BENCH | RECLAIMED PINE BOX SHELF
PAINTED TERRAZZO RUG | DEEP PICTURE LEDGE | HAND-PAINTED STRIPED POUF
RECLAIMED PINE CUBBY SHELF | CHEVRON RECLAIMED WOOD BED | BUTLER STAND
WOODEN PLANT STANDS | EXPERT NOTICE BOARD | GRAPHIC PRINTED BASKET
Original article and pictures take jenwoodhouse.com site
Комментариев нет:
Отправить комментарий