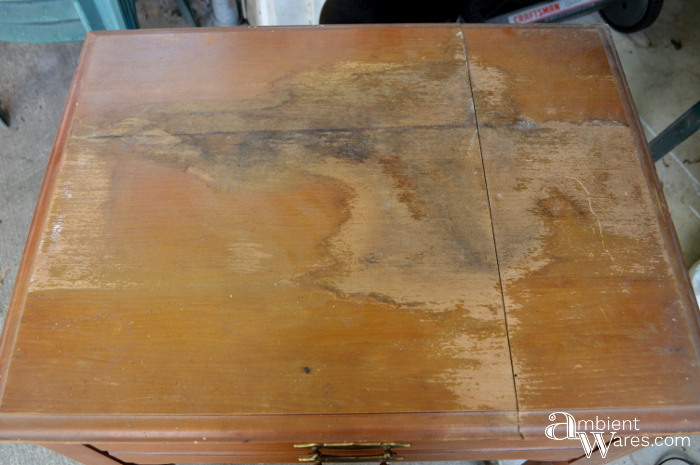
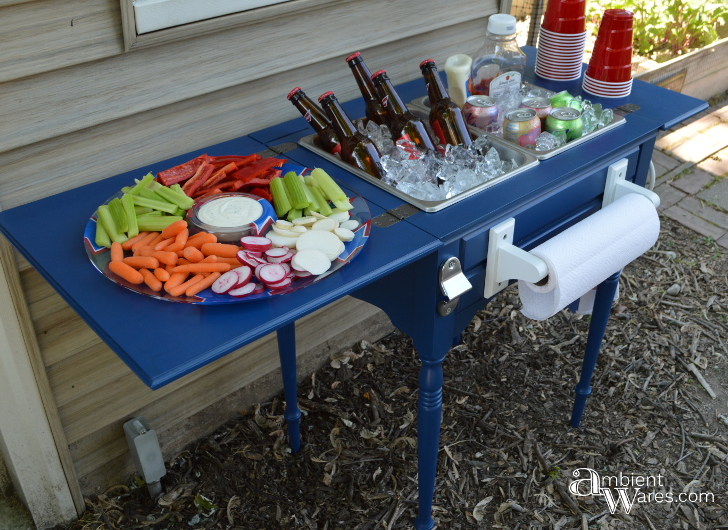
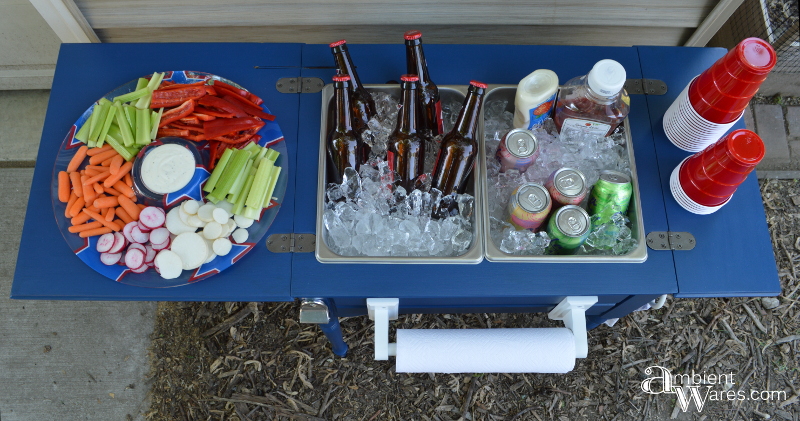
Summer is in full swing. Its been in the 90s for at least a couple of weeks and along with sweltering weather comes parties to distract from (or draw more attention to) the fact you’re sweating and I’m not the only one suffering the effects of water damage. This old thrift store sewing table was too. Follow along and see how I convert this antique sewing machine table into a DIY party food and beverage station.
Turn an Old Sewing Machine Table into a Bar
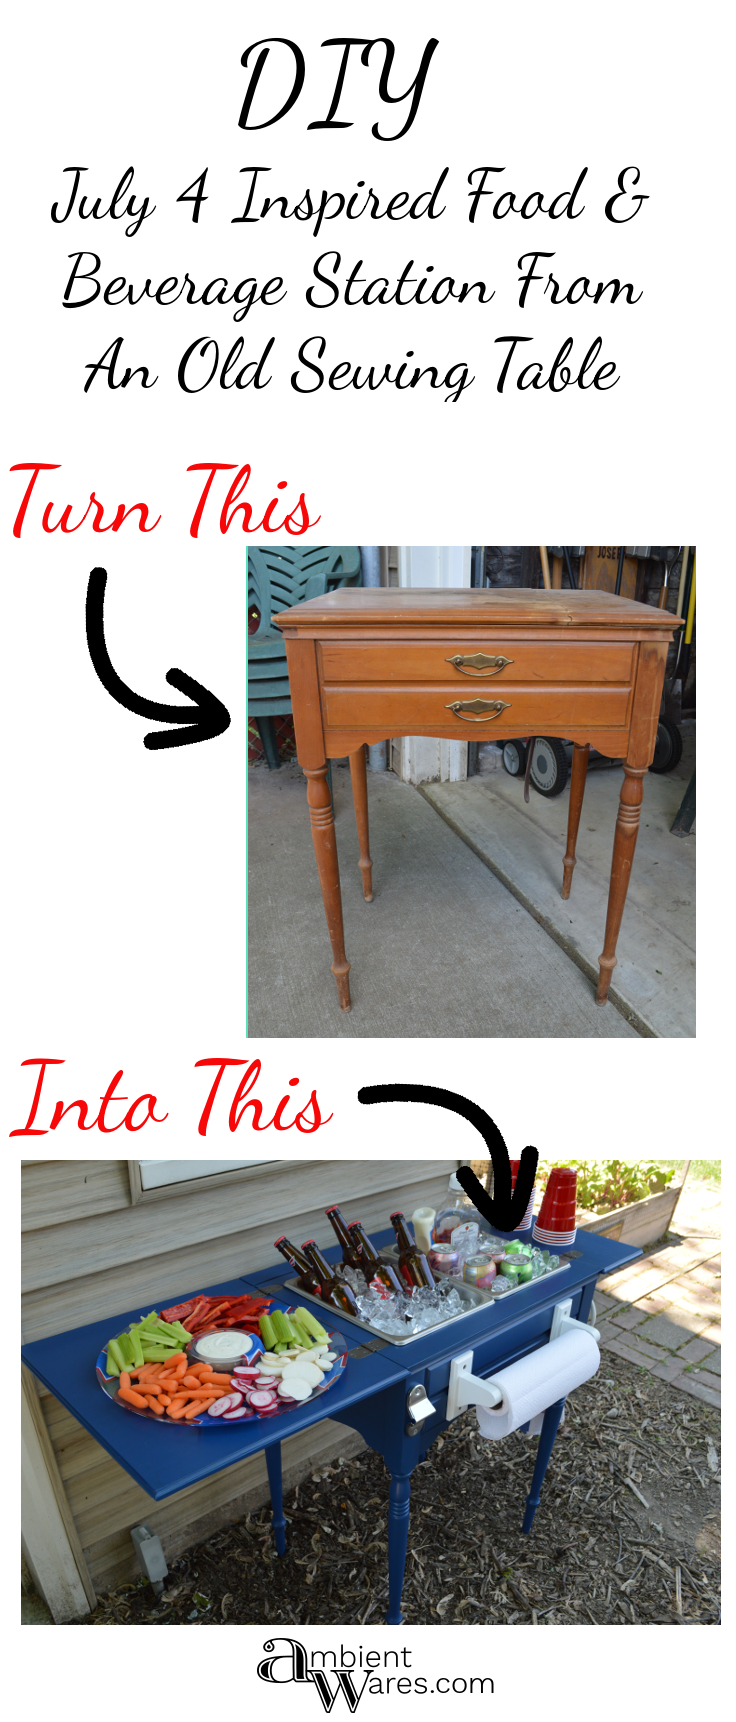
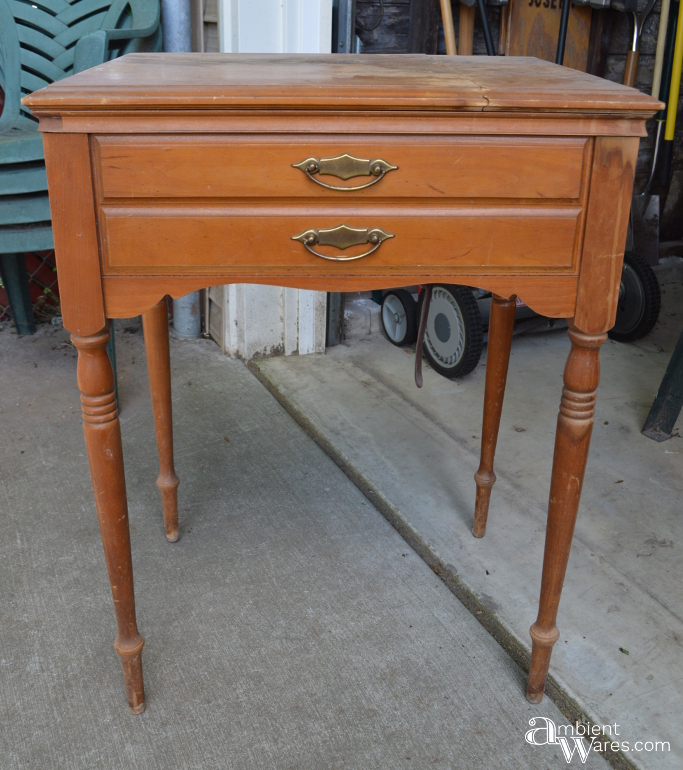
Maybe you have one of these old sewing tables in the house right now or maybe you’ll find one while out thrifting like I did and you’re here because you’re looking for old sewing machine table ideas. Repurposing it is a fun, unique way to show your own unique style. There are so many different ways this can be done too. I’ve seen plastic tubs used as sinks or actual metal sinks used as the drink, condiment, and ice older. The sinks would be nice because it comes with a drain!
Your sewing table will hopefully be in much better shape to begin with which will cut down on the time to make. You could use spray paint for an even quicker turnaround time. Sky is the limit and the point is to have fun and unleash your creativity no matter what.
Please know this post includes affiliate links. If you click on a link & make a purchase, I will receive a small commission with no additional cost to you. Click here for my full disclosure. Thank you!
From the day I bought the table, a food and beverage station was all I could think about. I measured the opening; recorded the dimensions in my phone and while out garage sale-ing, saw two restaurant style food pans similar to these. Went to grab my tape measure and it wasn’t in my purse. I picked ’em up anyway crossing my fingers.
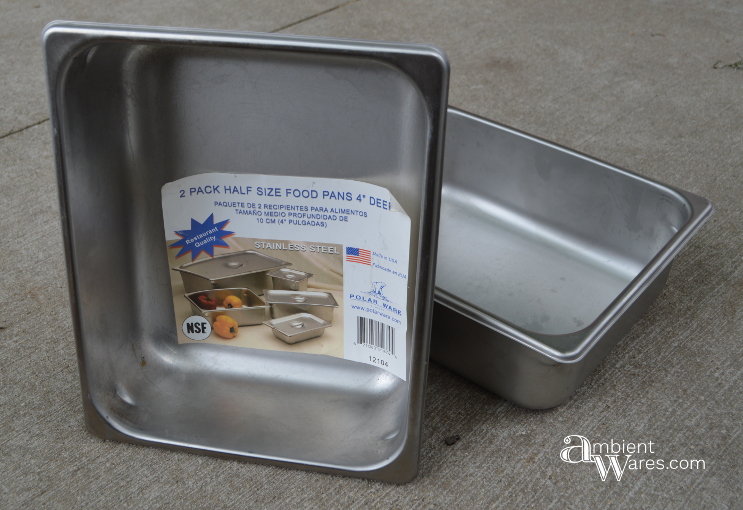
Unfortunately it was a no go. You won’t believe how much I thought, without a doubt and for no logical reason, they’d fit.
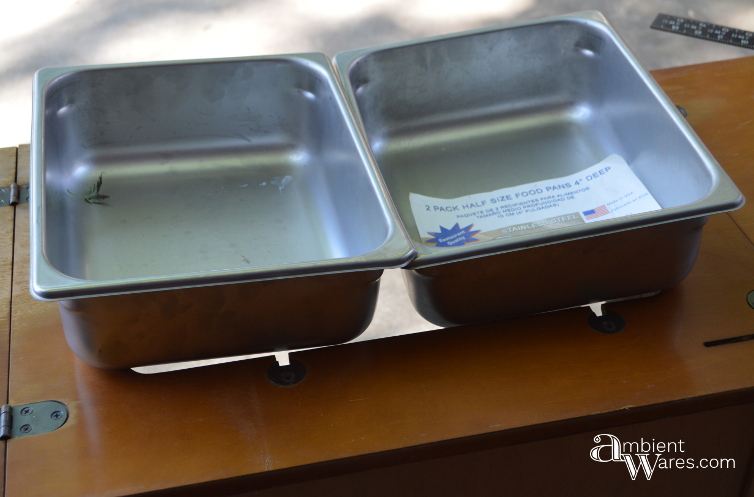
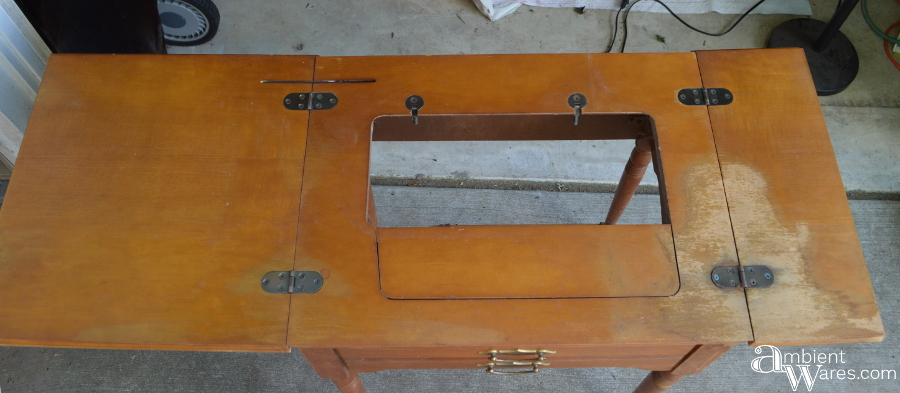
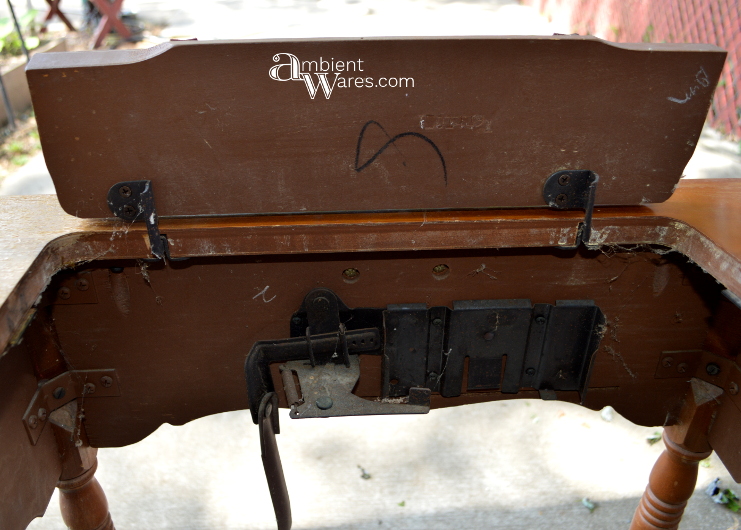
Obviously the opening must be made larger but, all of the various pieces left over from where the sewing machine rested would need to be removed.
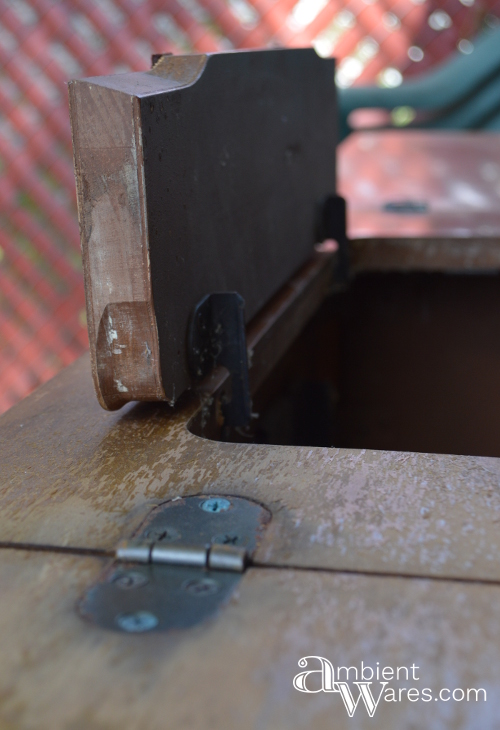
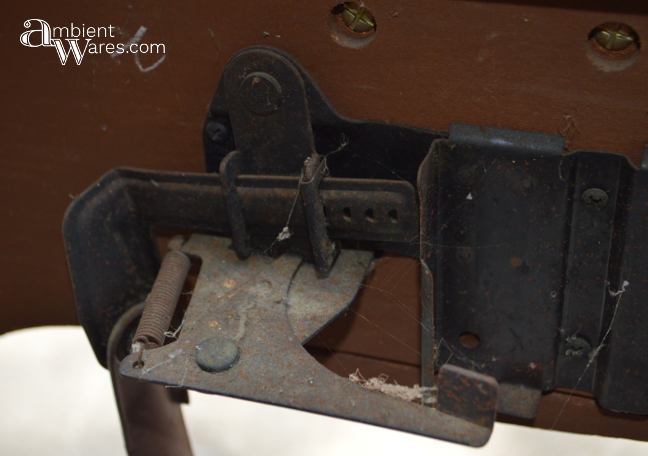
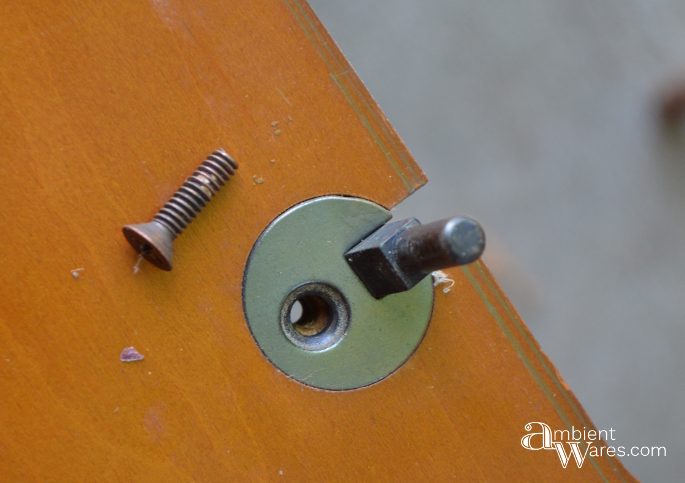
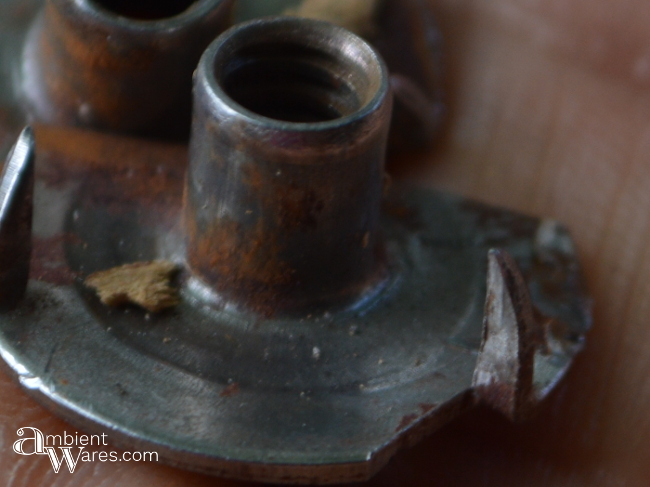
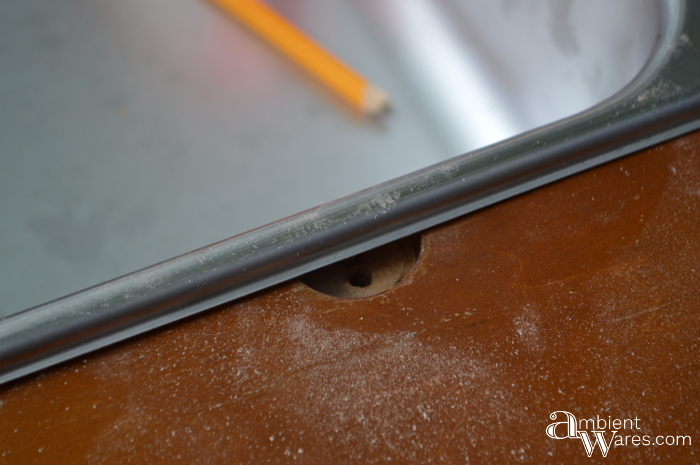
These circular pieces below would not come out even with the screw removed. There were metal pieces on the other side which were pronged and wedged snuggly into the wood preventing them from coming out easily. You’ll see later on how the holes these parts left behind actually come in handy.
The hardest part was trying to figure out exactly how much needed to be trimmed off of the opening to allow the pans to fit comfortably next to each other. The hinges on either side of the opening and the pans being slightly tapered needed to be taken into account.
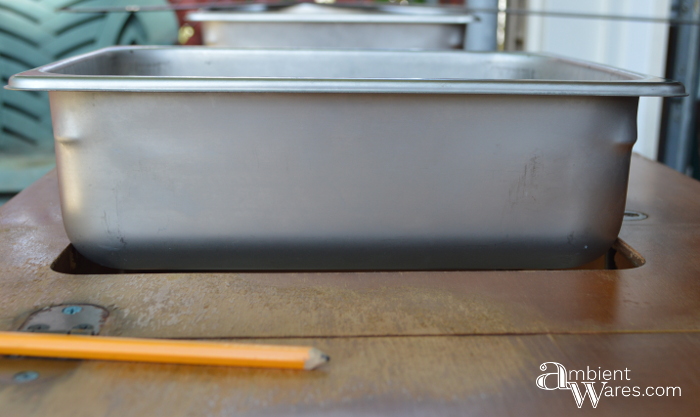
In order to center the pans in between the hinges, I resorted to measuring, drawing lines and repeating this process removing a little at a time, using our older model of this jigsaw, until the space was big enough. You can’t add back if you take out too much, right?
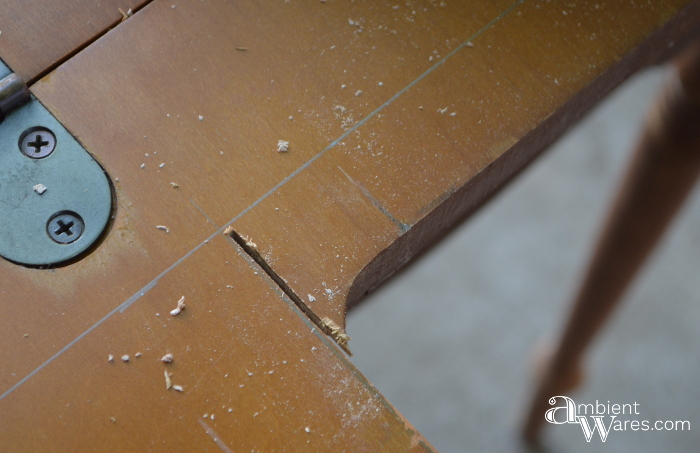
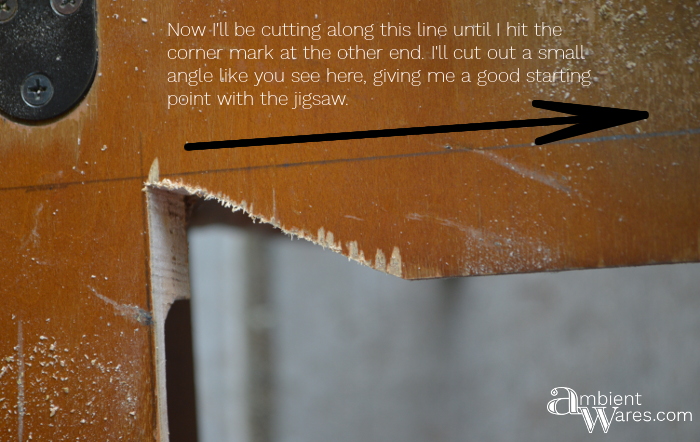
As you can see below, one pencil line is cut. When you’re ready to cut along another line, you can go in at an angle and cut until you reach the corner. Then, you’ll have a starting point to go down the next line.
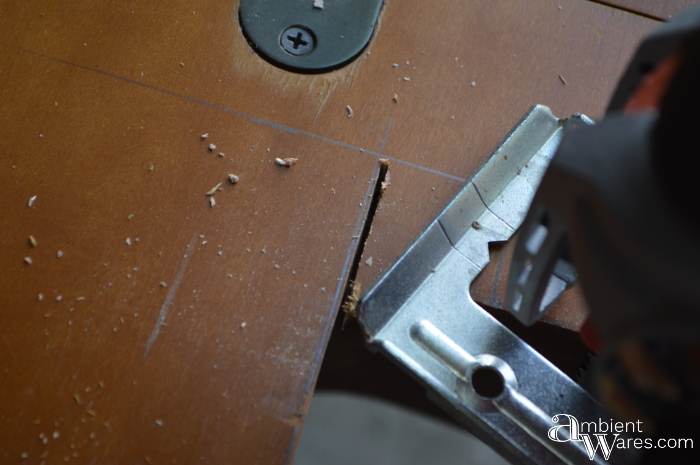
Here’s the final test fit. You can see the overhangs of the pans do overlap the hinges but, the cutout itself is still a decent distance from them.
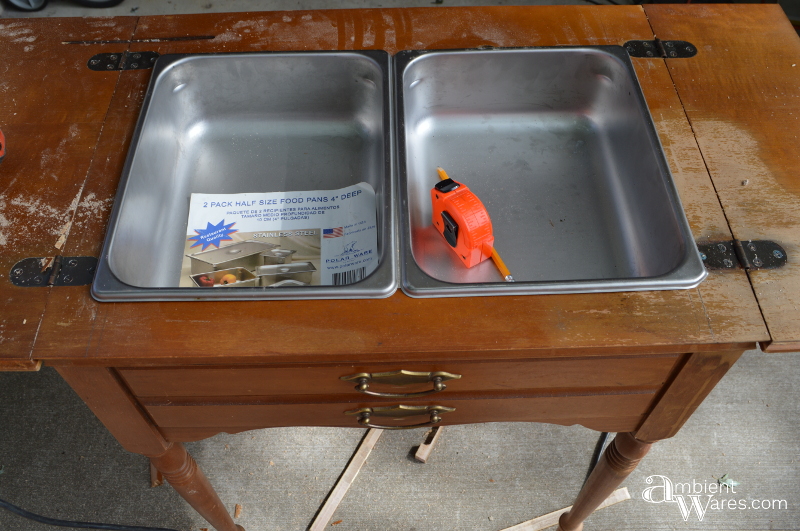
Here are those little circular recesses I said would come in handy. They’re perfect for assisting in lifting out each pan.
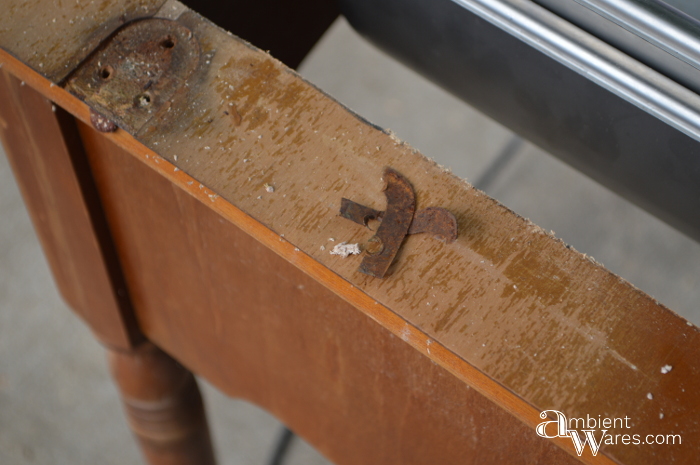
The next steps were to remove the hinges for the folding tops. You could see the effects of the water damage on the one hinge and it lost a few layers.
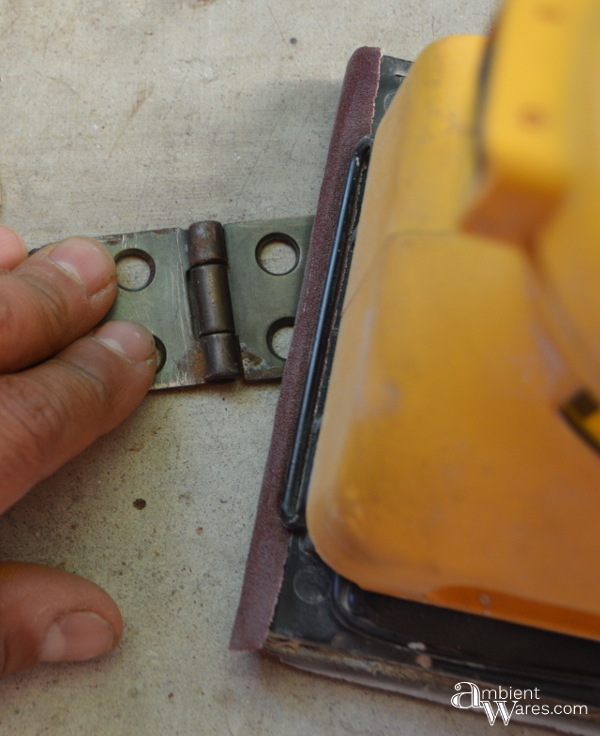
To knock off the rust, I used my older version of this palm hand sander with 120 grit paper. If you do this you need to make sure you have a good grip on the hinge and you don’t need much pressure. To be safe you could go the hand sanding route.
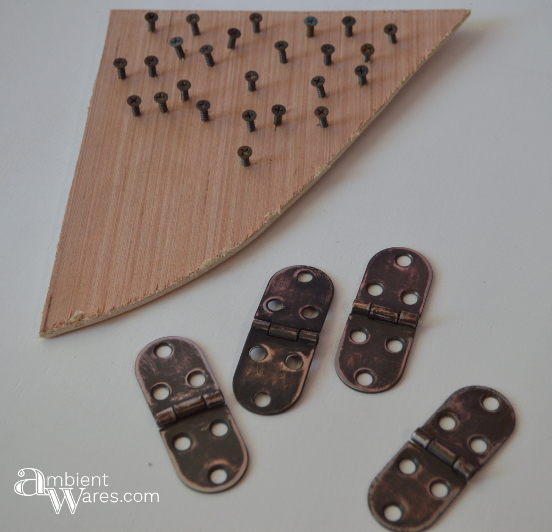
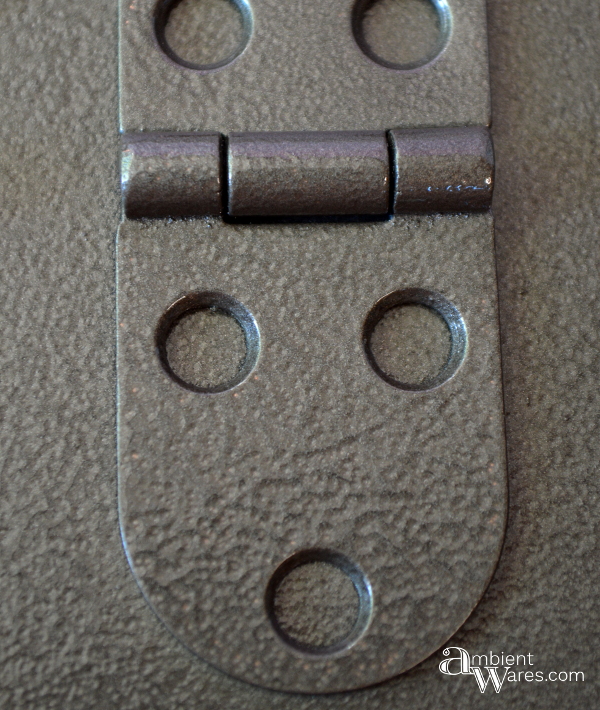
I painted all the hardware with Hammered Bronze, same as I used on the repurposed changing table and the lid I made for a planter.
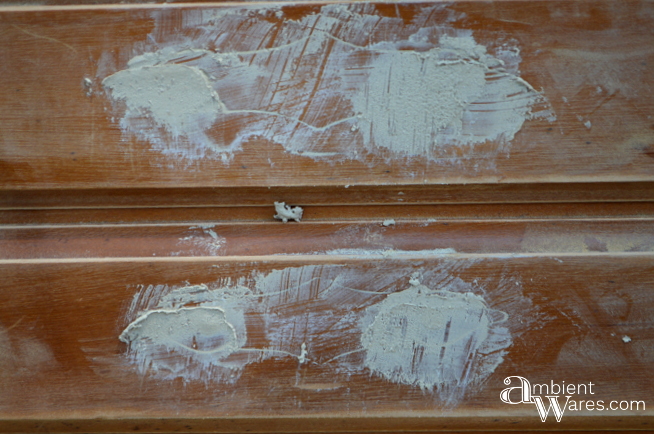
I sanded down the table thoroughly using 80 grit sandpaper with my older version of this belt sander. I also decided to remove the solely decorative handles with the thought of replacing them with a paper towel holder.
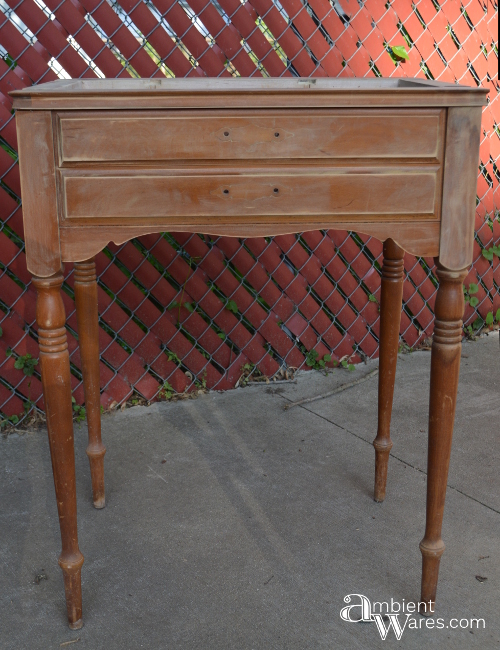
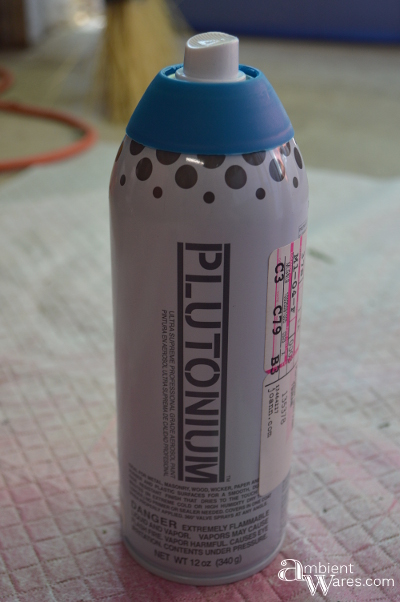
For the table, I first flipped it upside down painting the inside only with Plutonium paint in blue called Tsunami.
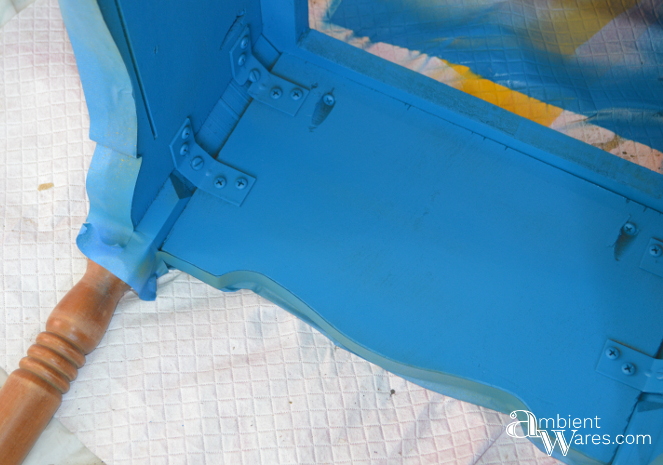
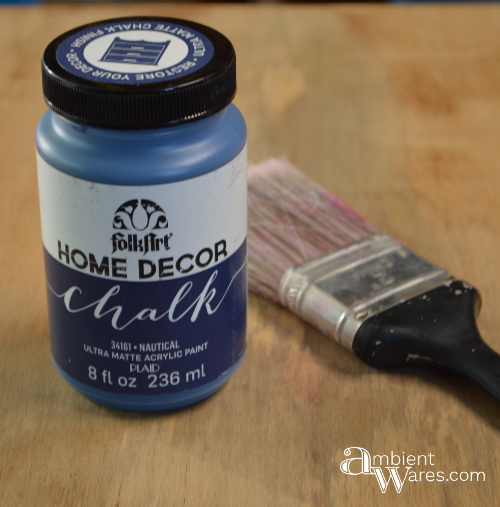
Over the rest of the base, I used 3 coats total of chalk paint in “Nautical” Blue which is darker than the Plutonium color. In my opinion, it is extremely important to stir, stir, stir, then stir more.
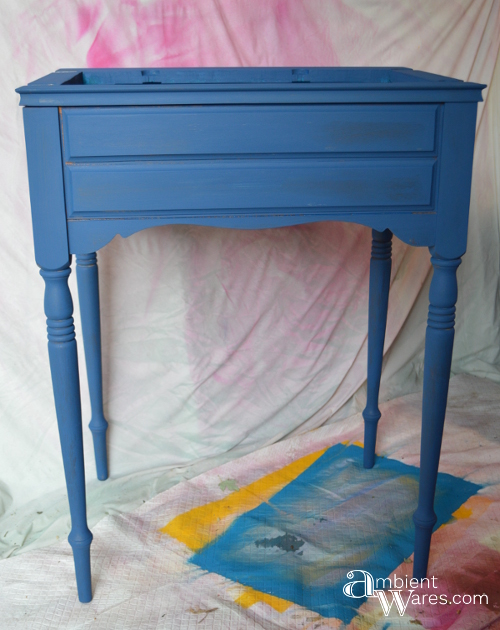
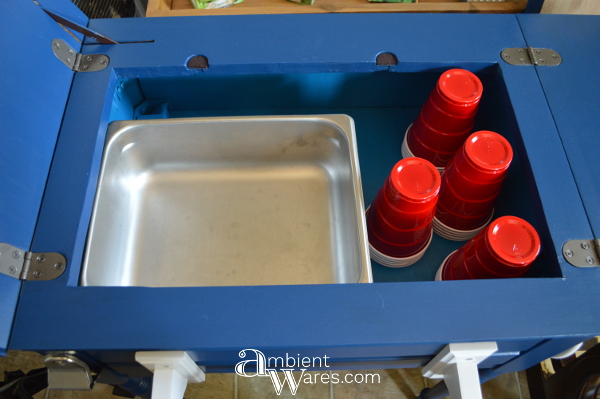
At this point, I think back to when I was testing the fit of the food pans and found the folding top could not close if the pans remained in place. I figured a base was needed. So, I created a shelf where the pans could be stored until the next use.
Using a piece of 1/4″ plywood cut to the overall dimensions, we eyeballed where to cut out small notches to fit around the corner protrusions.
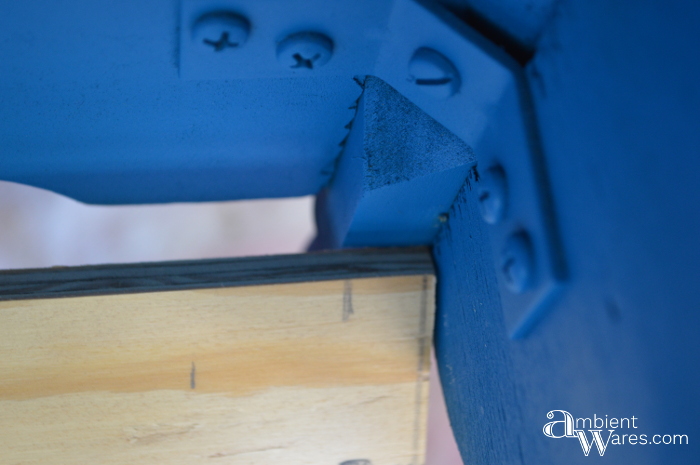
Sliced piping (conduit) straps were used to attach to both the shelf and the base. The gold one is an example of what the sliced ones used to look like.
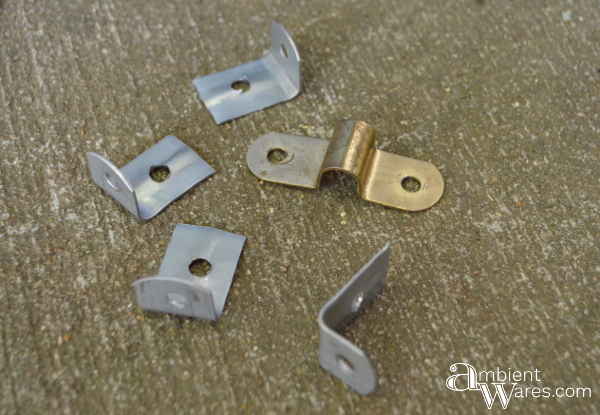
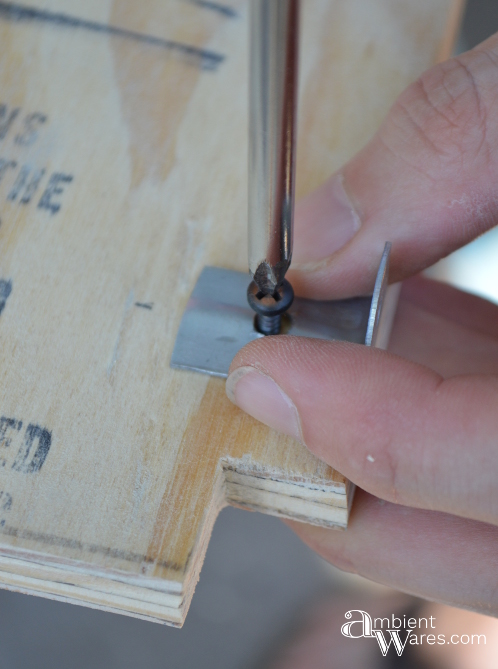
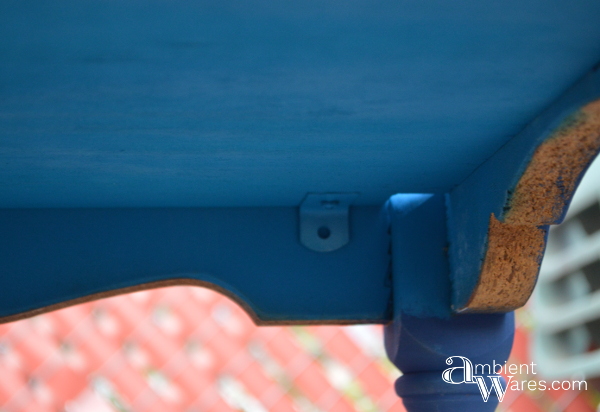
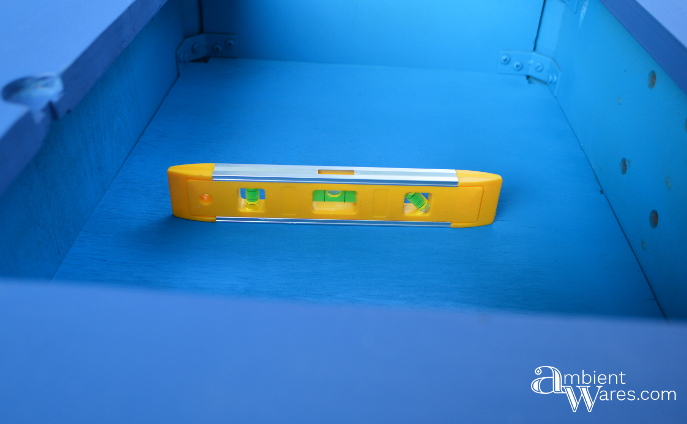
The shelf got a couple coats of Plutonium as well. After attaching the straps to the bottom of the shelf, we lined it up to the base, making sure it was level, marked the holes with a pencil, pre-drilled the holes, then attached. Everything then got a few coats of Minwax Spar Urethane since it’s for outdoor use. Maybe light rains wouldn’t pose too many issues but, I personally wouldn’t leave it out in the rains.
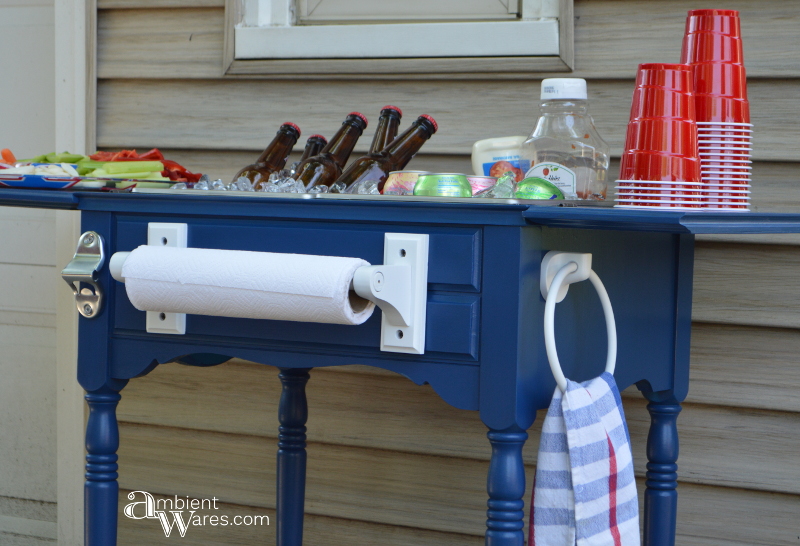
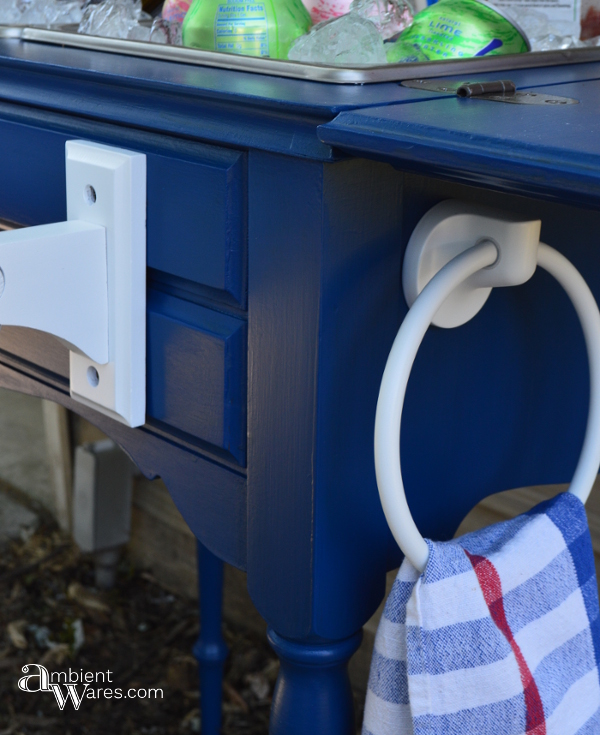
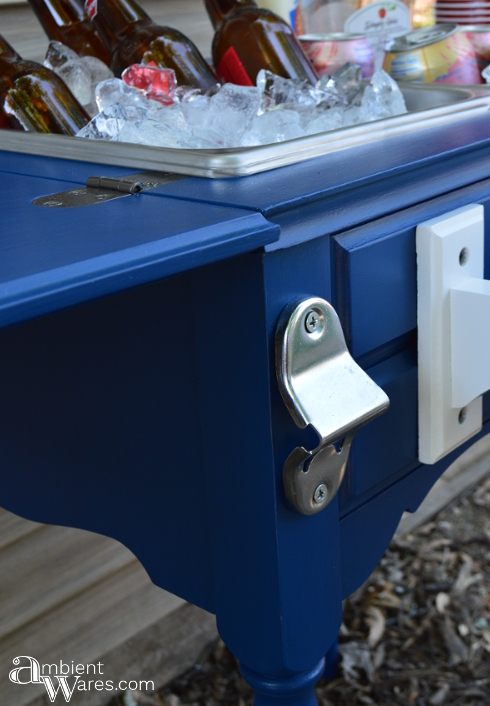
Then it was onto the “extras”. I wanted a paper towel holder, a hand towel holder and a bottle opener.
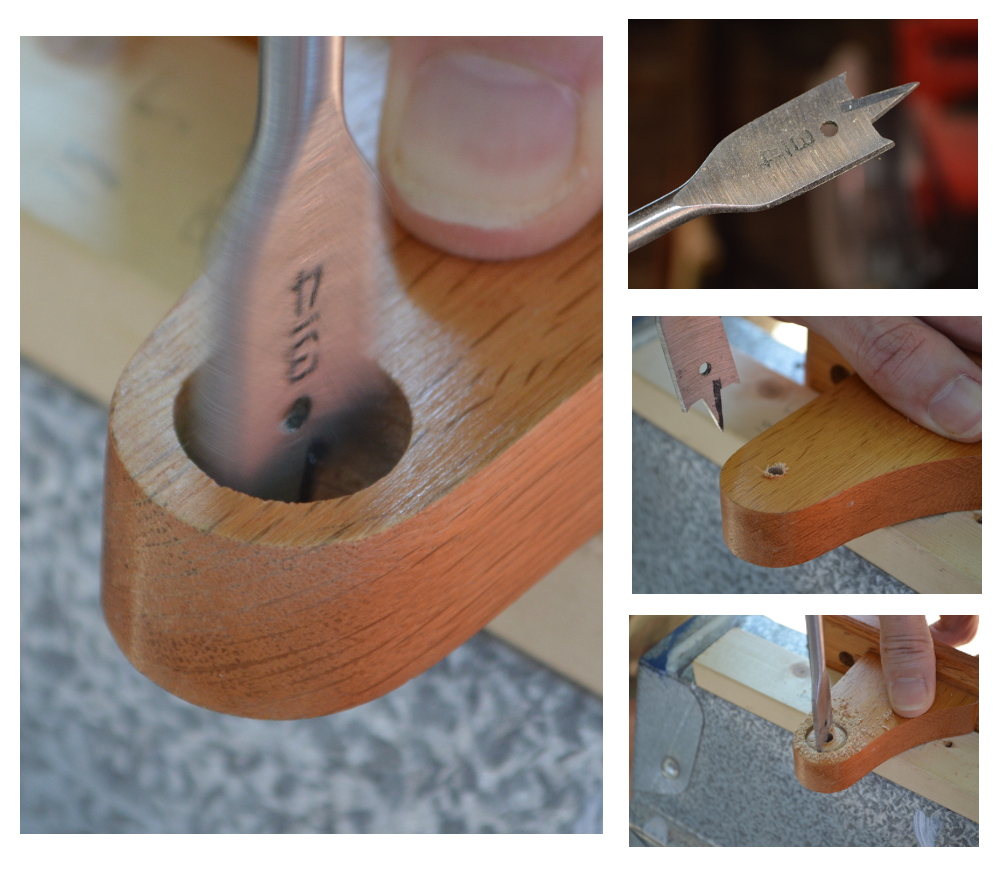
I believe what we bought at our local Habitat for Humanity, for the paper towels, was actually a regular towel bar because you can’t slide the bar out one of the ends so, using a 3/4″ wood boring bit, we drilled out, one side only, all the way through.
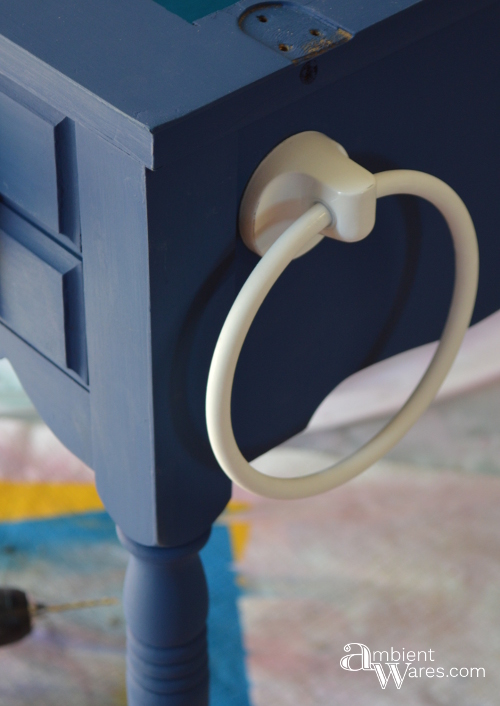
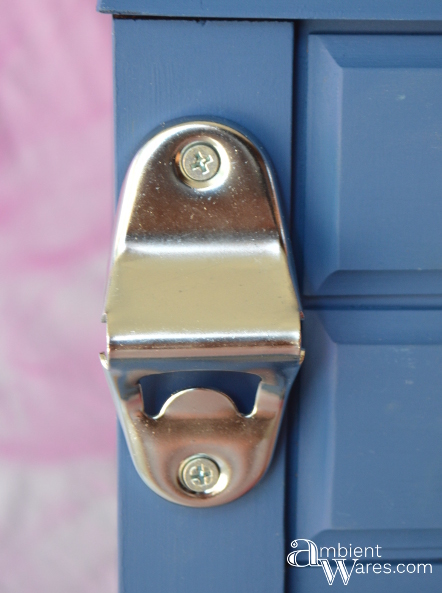
At this point, I’d like to say this is the end. It’s all painted, sealed, the extras are good to go and the lids close freely without interruption.
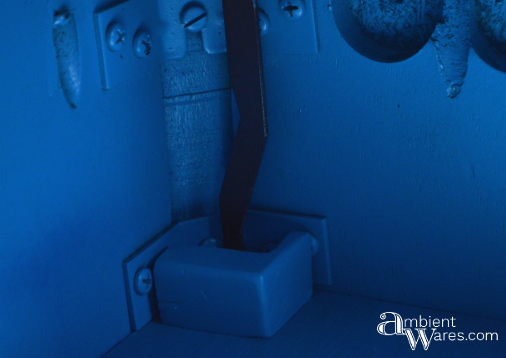
Here’s the thing though; since there’s now a shelf in the bottom, the hinge which helps to hold the large, left sided top up when open, doesn’t have anywhere to go when closed.
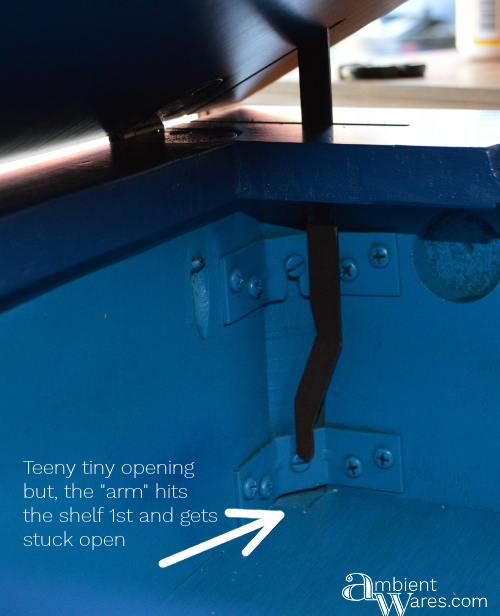
Joe to the rescue! He comes up with some cool fixes and this is one of them. He thought somehow the hinge/arm needed to be coaxed down the rabbit hole.
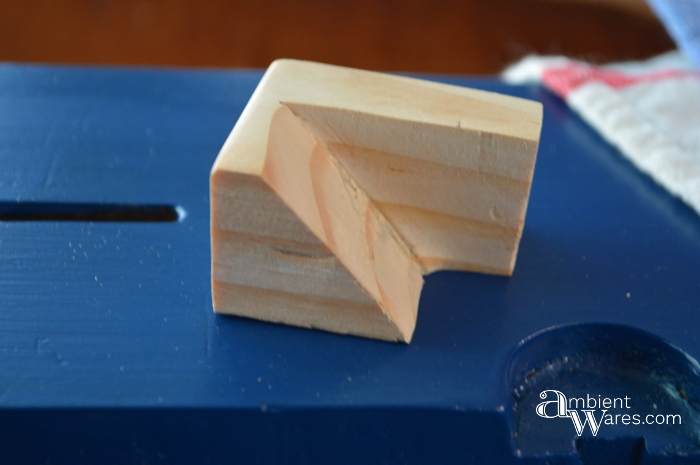
Here it is, in place. Once the arm hits it, it will glide right down into the small opening. Problem solved!
I’m happy to say this vintage sewing table turned food and beverage station has a new lease on life. It found it’s way into a new home and I hope they’re loving it. What color will you paint yours? Party on!
For more unique upcycling project ideas, check these out!
Related ambient wares posts:
Original article and pictures take ambientwares.com site
Комментариев нет:
Отправить комментарий