Hey, y'all! I have a makeover to share with y'all today that I've actually had complete for a while. I took final project pics at least a month ago, but I didn't like them, so I haven't posted the project. (I'm so critical of myself.) Yesterday I had a chance to take some new pics, and even thought I'm still not completely satisfied with them, I'm FINALLY sharing my South Carolina End Table Makeover today.

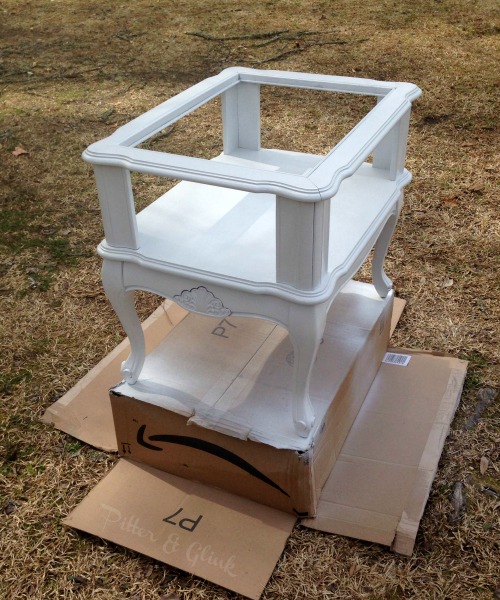
A few months ago I was at my local Habitat Restore, and I stumbled upon a table with a cracked marble top that was being sold for $5. I couldn't pass up that deal because I knew the marble could be easily removed. In fact after I purchased the table, I told the cashier that he could keep the marble because I didn't want to have to carry it to my car.


I followed my usual spray paint process: a coat of Kilz spray primer, followed by sanding with 220 grit sandpaper, followed by a few coats of white spray paint. I then distressed the table and waxed it. The table was much improved, but it still had a big gaping rectangle in the middle. I decided that since the table only cost me $5, I could afford to do something a little crazy with it. I cut a piece of wood the size of the table top and stained it dark.

Then it was time for my bit of craziness. I'm proud to be a South Carolinian, so I thought it would be fun for the table top to pay homage to that. Yep, that's right. I decided to essentially create a large sign for my table top. I used PicMonkey to design a graphic the size of my table following my "How to Create Large Custom-Sized Graphics in PicMonkey" tutorial. I printed the graphic using my "How to Print Large Graphics with Microsoft Word" tutorial and taped the image together. I originally planned to transfer the graphic using the same technique I used to create my Vintage Quote Sign, but I wasn't able to. Why? The penciled transfer wouldn't show up on my dark wood table top. (I didn't think to try a chalk transfer like I did with my Thanksgiving Pallet Art.) So I scratched that transfer method and turned to my trusty Silhouette.


I used transfer paper to transfer the vinyl onto the new dark-stained wood table top. I sealed the edges of all the vinyl with Mod Podge to make sure that my paint didn't seep under the vinyl.


After the white paint dried, I used painters tape to create stripes. I painted the stripes an aqua color. While the paint was still wet, I removed the tape and the vinyl. (I have found that keeps the paint from peeling.) I then distressed the sign by sanding and aged it by rubbing a small amount of stain all over the table top. I sealed the entire top with Polyurethane.


I actually hate covering up the table top with accessories so much that I've considered removing the middle, hanging it on the wall, and replacing the table top. But then I wouldn't have a quirky end table, right? ;)
Original article and pictures take www.pitterandglink.com site
Комментариев нет:
Отправить комментарий