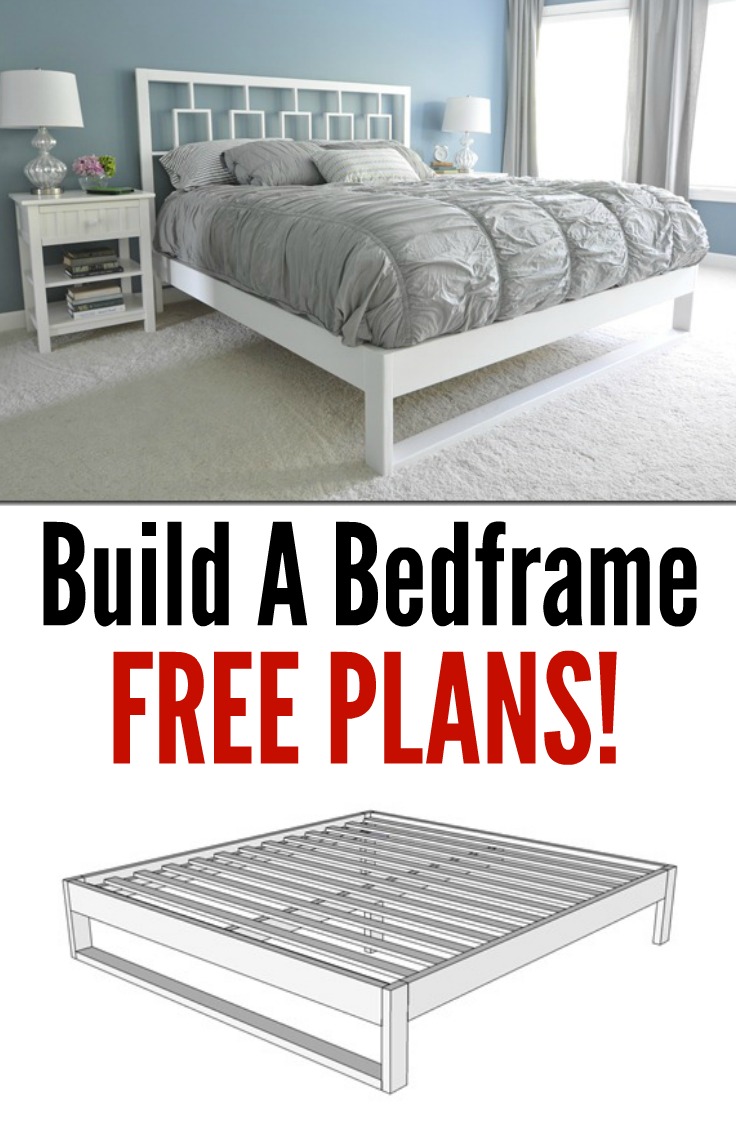
On Monday, we shared with you the bedframe we recently built.

We’re pretty ecstatic that we’ve slept on it for a week without falling through. So ecstatic that we’re going to share with you how we built it!


We're also going to get fancy pants blogger on you. SketchUps and real life photos. Be prepared to be amazed.
Start by putting together the front and back of the frame using pocket hole screws. Nate is a big fan of our $20 Kreg jig.


Attach the sides to the front and back sections with pocket hole screws. Clamps help to position the boards correctly.


Attach the corner supports at the bottom of each 2x6, first in the front corner, then the opposite corner as this will help square the bed frame.


Attach the side supports so the top of the board is 2" from the top. Wood glue will help secure the board.


Attach the center support leg to the center support in the middle of the board with a couple of pocket hold screws. This is only recommended for a King size bed. It wouldn’t hurt with a Queen. The center support leg isn’t needed for a Twin.


Attach the center support in the middle of the front and back boards, so the bottom of the support lines up with the bottom of the 2x6.


Attach the first support slat at the top, flush with the top 2x6. Then attach each slat 4" from the previous one. You should end with the last slat against the bottom 2x6.


Check it out! You’ve built a bedframe. Unfortunately, it’s not quite nap time. Man, I love nap time. I want to make nap time a requirement in the world. I digress...


Inform the dog that the bed will not permanently reside in front of the window for his barking/viewing pleasure.

Attach your bedframe to your headboard (may we recommend our DIY Window headboard). We used a couple large screws and L-brackets to attach ours.
Use wood filler to close up any gaps in the joints. Sand. Paint. (I did two coats prior to assembling and 1 coat after because Nate has disgusting, slimy hands. I tried not to complain. But seriously.)
Throw on your pretty comforter and enjoy your hard work!

Any questions? Who wants tips on how to con their husband into building them things? Who wants a nap? Yeah, me too...
Like our headboard? Check out the tutorial here! Be sure to check out more free furniture plans on our "Build It" page!
Any questions? Who wants tips on how to con their husband into building them things? Who wants a nap? Yeah, me too...
Original article and pictures take decorandthedog.net site
Комментариев нет:
Отправить комментарий