In our guest room, I had this blank wall that was a total conundrum. So big! So blank! So what the heck does a blogger do?! Decorate all the things!!! Get my bedazzler! Make a washi tape mural! Glue succulents to the entire thing!

Seriously though…it was big enough that I couldn’t leave it blank….but it could not have anything too deep like a console table or a bench.
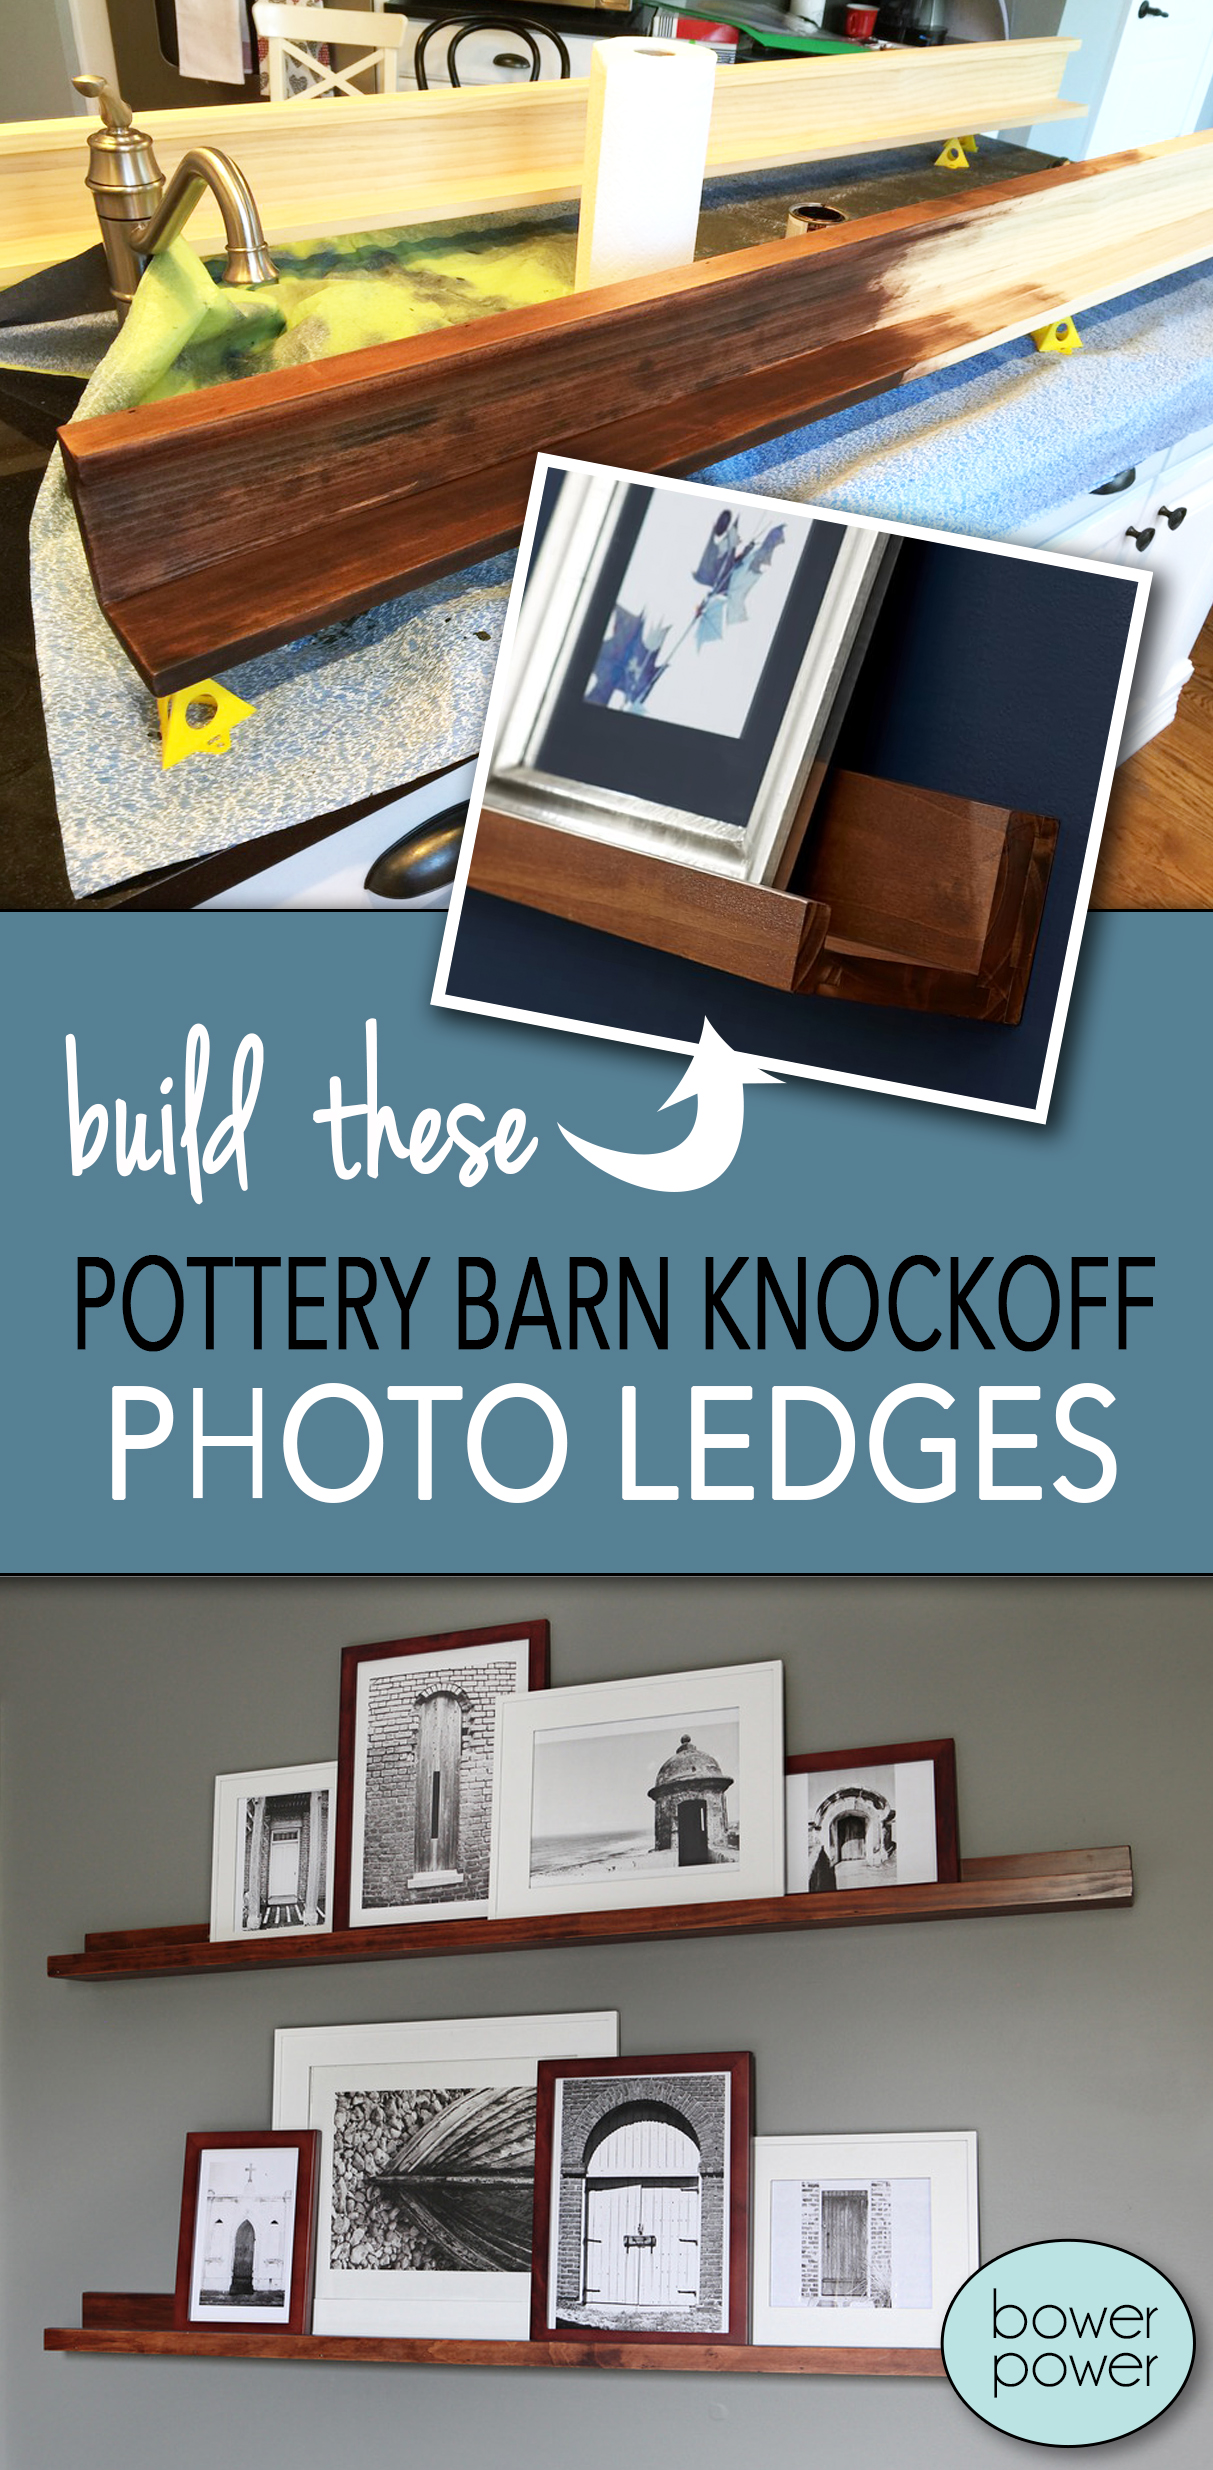
Here’s another angle so you can see what I mean. I wanted at least three feet around the bed to be cleared (there are recommendations out there about that kinda thing…here’s a random website that talks about it!) so I could add something shallow but not anything deeper than six inches or so. I went back and forth about adding picture ledges (is it original enough? Do I already have enough picture gallery areas in my house?) and finally decided to make some easy narrow ledges and stain them to match the furniture and do some photos that were non-people (no guests want to see my kids smiling at them when they are laying in bed….creepy!).

The building plans are super easy….
2 – 1×4’s and 1 – 1×2….attached together with glue and screws and then stained. For more step-by-step help, check out my friends Ashley & Whitney’s post.
Then came time to stain. I went with the Rustoleum Carrington stain color. It was more red than Dark Walnut and matched the furniture we had going on in the guest room.

I love staining wood. It’s so easy and instantaneously gratifying. Painting is fun too…but something recently about staining is just FUN. I discovered these dollar store brushes and they are perfect for this kinda job. They don’t get holes easily like foam brushes and still get that perfect coverage.

It’s important to blend stain evenly so if you can do the whole six foot length at once…do it….I did mine in two foot sections so it wasn’t too dark.

You can blend with the paper towel….just rub the excess away and boom…that deep red color is so rich and beautiful.

I started recently using those little yellow support pyramids. I love them. Jeremy thinks they are the coolest thing ever. They were a couple bucks but help get that project off the table top and allow you to stain more evenly and don’t let the project stick to your drop cloth!

I did one coat of stain…three minute wait time on each section.

The way I get super smooth factory finish on furniture is with polyurethane. You can use water based kinds or other urethanes based on your needs but I like these little samplers of Rustoleum poly because I can do a job quickly and not have to lug around an entire huge jar. I like to call them ‘project size’ because one will get you through an entire project and you don’t have to worry about storing a huge can.

So there are different ways to do the finish…some people like using triple thick poly but I don’t think the finish is as smooth. I like to do multiple thin coats with sanding between. You have to use the highest grit count sandpaper….400 or over.

Basically you brush the poly on…let dry….wipe quickly with 400….clean off the dust with a paper towel or tack cloth….and then repeat. I do it at least three coats of poly….sometimes more depending on the wear the piece will get. It’s not the most glamorous thing ever and it consumes so much time but in the end, it’s so worth it. It’s easier to clean, holds up better and looks more professionally-made. Also…this photo of LJ cracks me up…whenever I wear him in the back carrier, he likes to ‘lay back’ and look up….we call it ‘belly stretching’

Installation was super easy. We used the wall mounting laser level and got the placement of the bottom shelf first.

The bottom ledge is hung 37 1/2″ from the floor to the bottom of the shelf and the top one is 63 1/2″ from the floor to the bottom of the shelf.
Jeremy would hold it up and we attached it directly to the studs.

I went to Michaels during a big sale on frames and I got buy one get one free plus twenty percent off my total. All the frames were expensive ones with glass and nice wood frames….a first for me and my Ikea habit

We spaced the second shelf based on the tallest picture frame and left a little space.

LJ and Weston are constantly wrestling. It’s adorable and frustrating at the same time.
Anyhoo….the screws we left exposed but we could have easily painted them or used a french cleat to hang the shelf. I didn’t care if the screws showed because the picture frames would be in front of them.

Finally! Success!

I arranged the frames and LOVE it. Like serious infatuation.

It really helps balance the stuff on the other side of the room. I think the accent wall is great but with a giant open space next to it, it seemed like too much going on. Now, I feel like the room isn’t too heavy on one side and too light on the other.

Okay…so I know that it’s hard to appreciate the ledges with the frames that are filled with randoms….

So here is one with it filled with printed photos of my non-people pics. I went with the theme of doors (I still need to take one more door photo for the bottom one of the boat!) and I love that they are interesting but not too creepy but still so personal. Anytime we travel and I see an interesting door, I snap a photo so each one really invoke good memories for me. You can see here how beautiful the shelves turned out. They are a great blend and look completely store-bought!

So strike that task off my list….shelves that are shallow but beautiful. Kinda like me. Just kidding. I’m not beautiful….and only shallow when it comes to things that matter

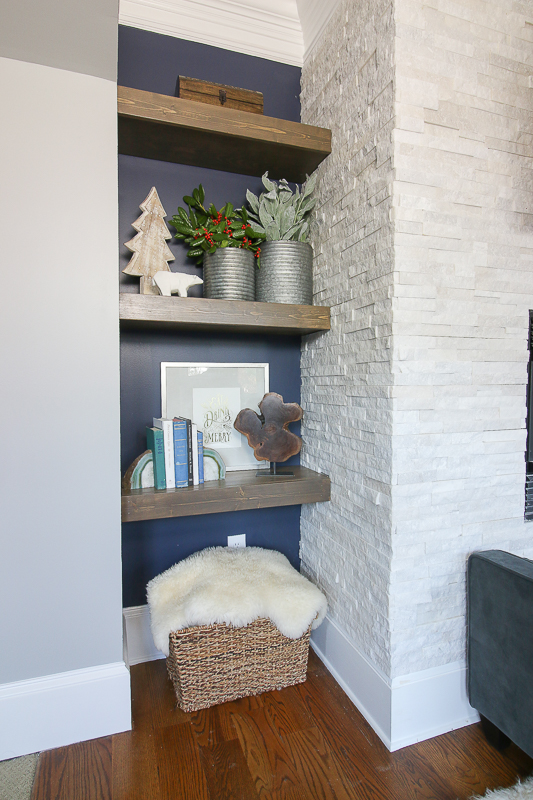
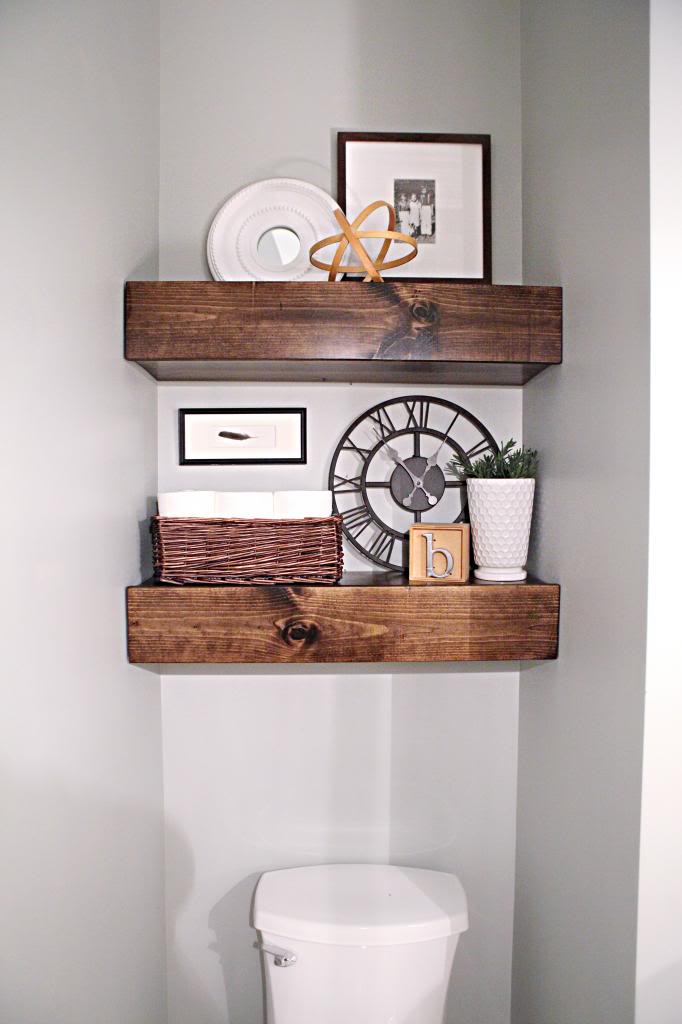
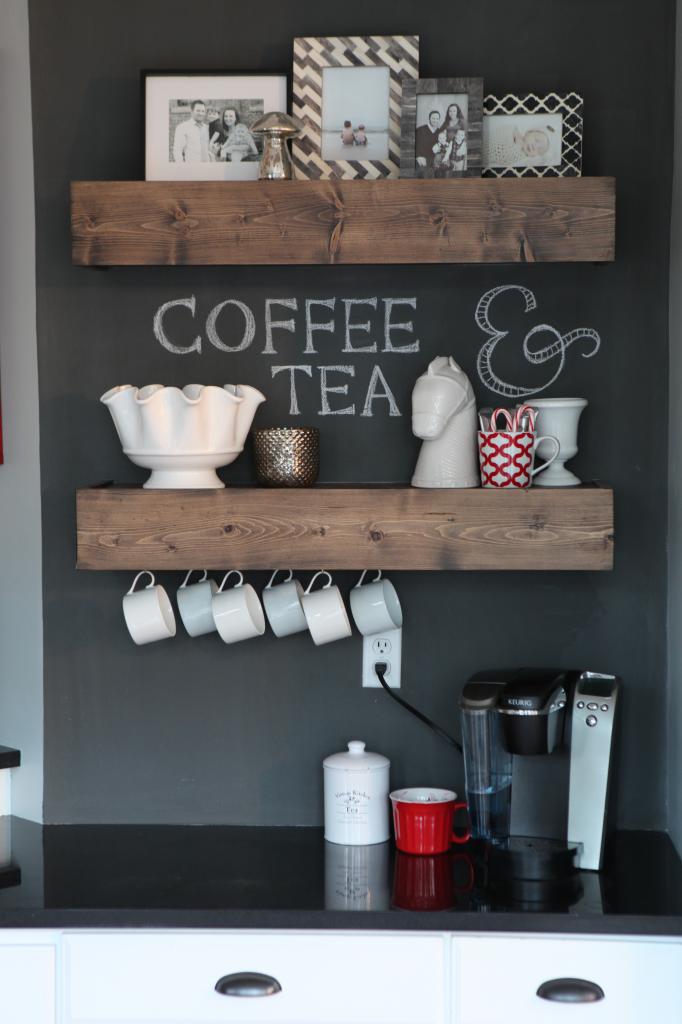
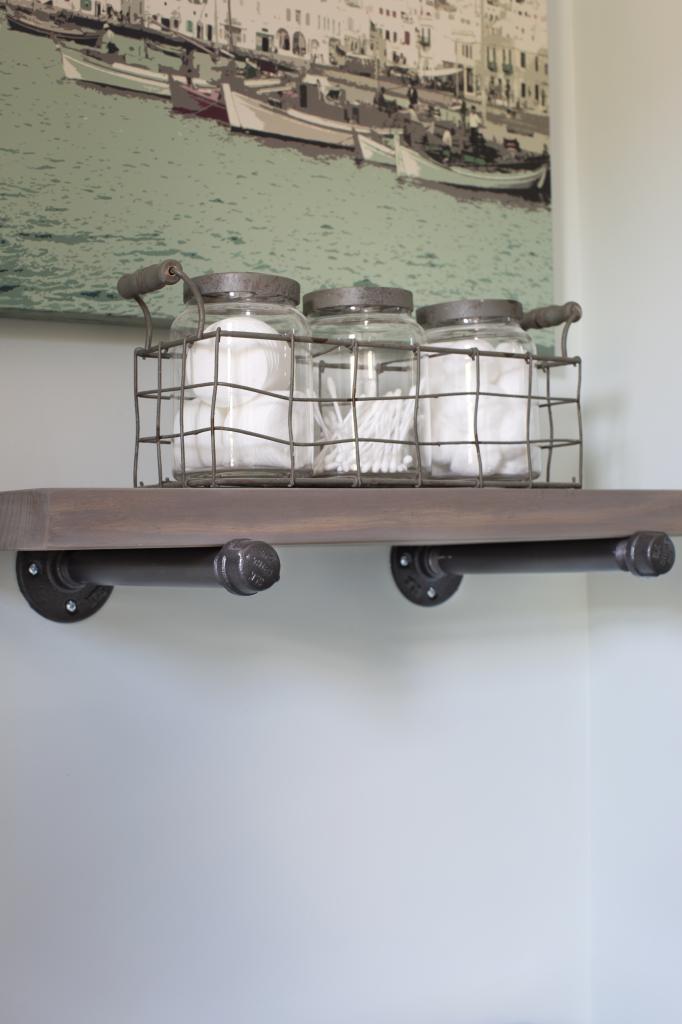
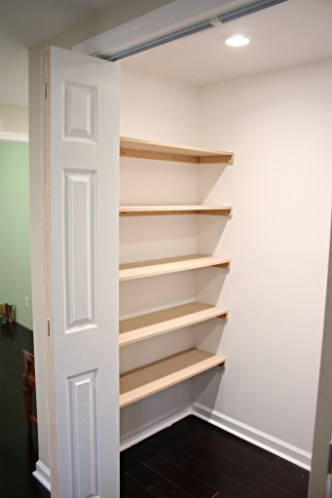
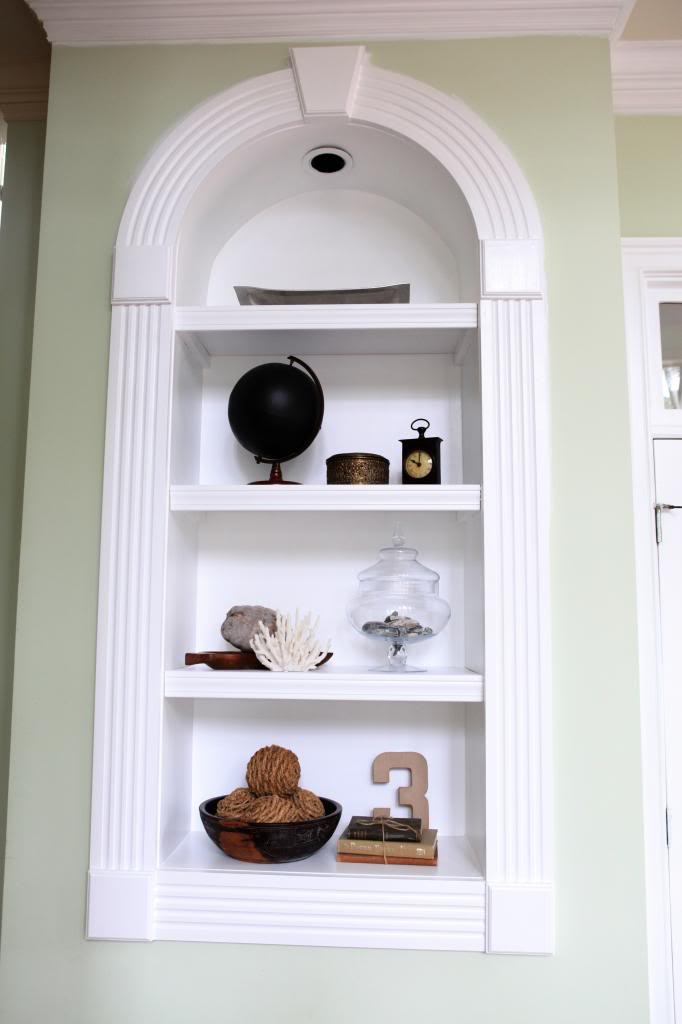
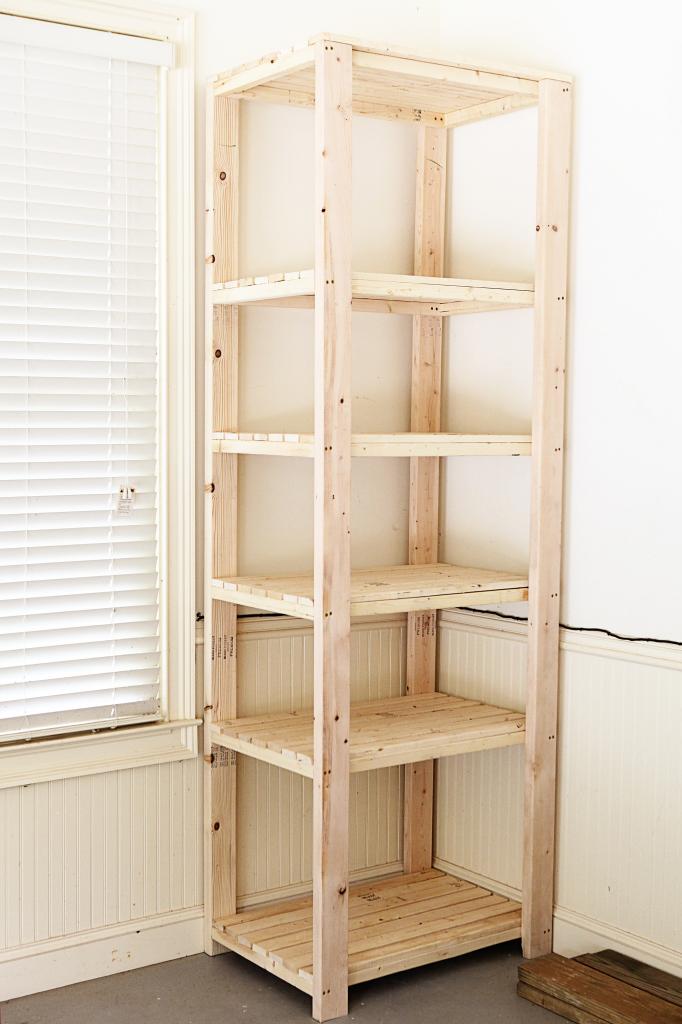
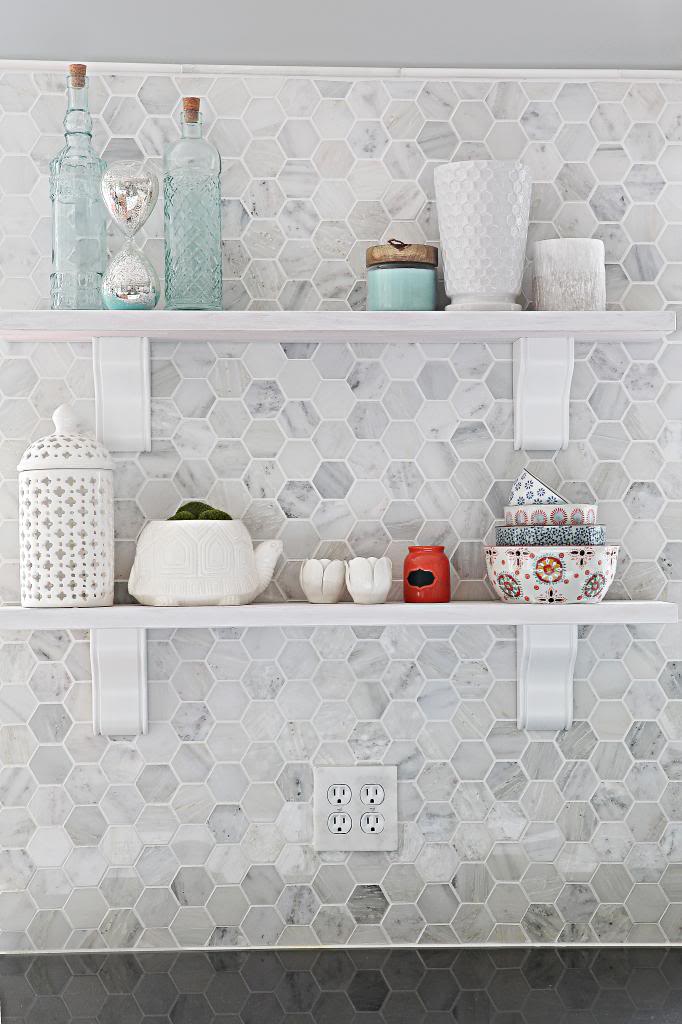
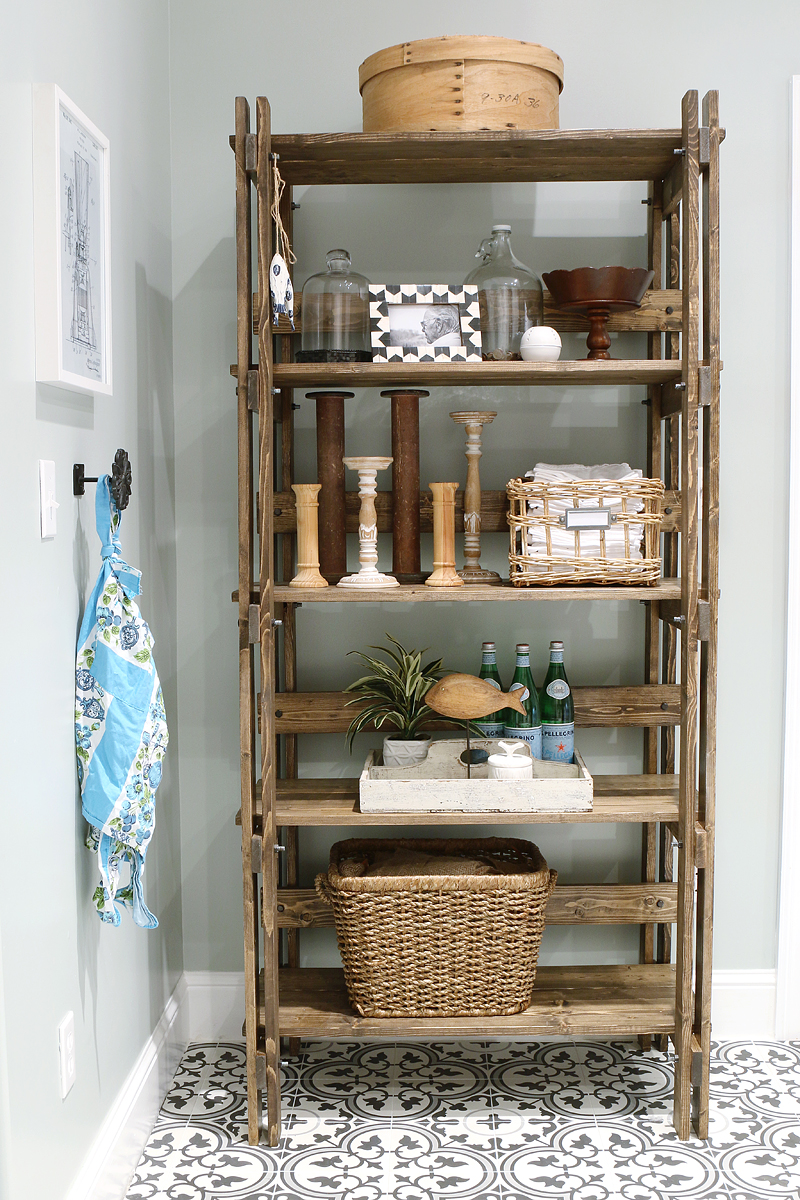
And if you are looking for similar projects, check out these past shelving posts….
Update : Looking for more info on something you see in our house? We have a Shop the Bower House page with paint colors and links to accessories, furniture and decor!
Original article and pictures take www.bowerpowerblog.com site
Комментариев нет:
Отправить комментарий