Sometime you purchase a piece of furniture and you love it.
You see it from across the room and your eyes meet. It’s almost like you have always known each other. It’s an easy relationship, no work is required. The piece is already in its perfect condition and you see no need to alter it.
Then there are those times that you see a piece of furniture from across the room and your eyes get large. You take a quick glance to your right and to your left.
You start to get a big fat smile on your face, but not too big. You don’t want anyone else to see how excited you are to find it.
You have this feeling deep down in the gut of your stomach, you know how to make that simple, imperfect piece of furniture, awesome.
It’s almost like the friend you always wanted but just haven’t found yet.
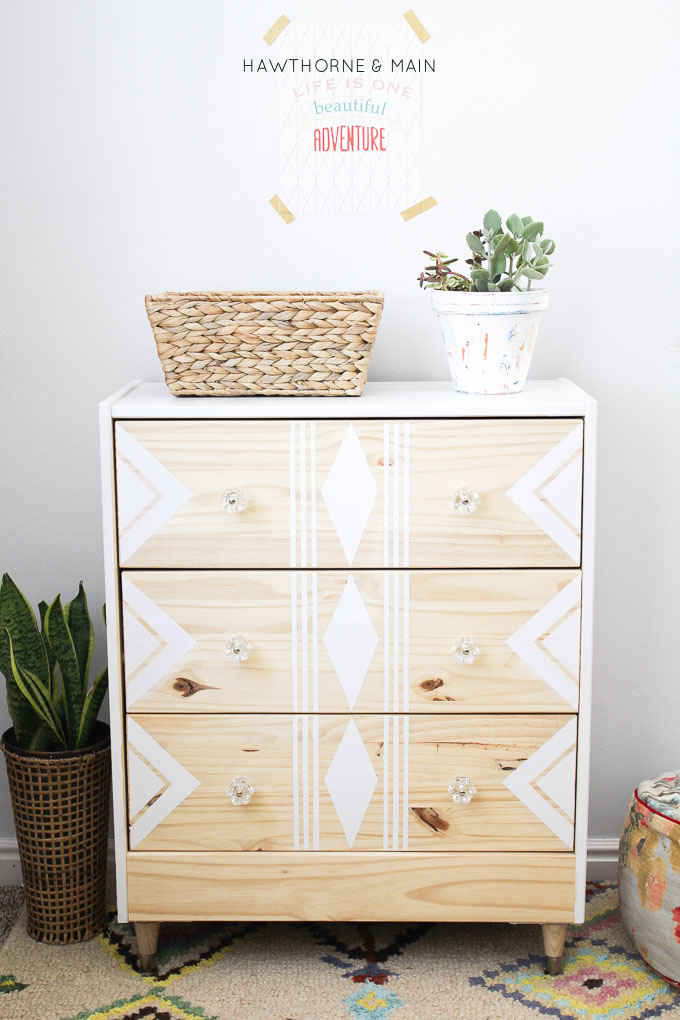
Meet my new friend, my latest RAST IKEA hack.
I love IKEA.
An awesome IKEA hack is pretty cool too.
The good news is, they probably aren’t going to run out of these dressers anytime soon.
Let me show you how I made over this simple RAST IKEA dresser.
This post contains some affiliate links for your connivence. See my full disclosure policy.
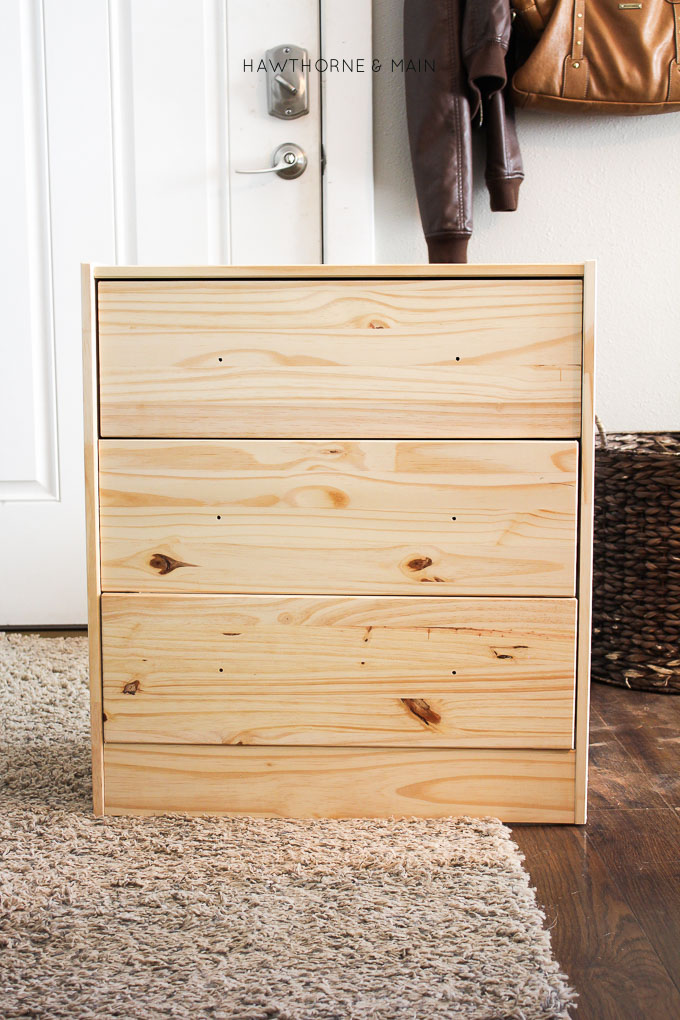
I assembled the dresser according to the instructions, except for one piece. The very bottom front piece below the third drawer is designed to be set back about 1 ½ inches. I made this piece flush with the front of the frame. I had to drill new holds and use wood screws and glue to secure it in place.
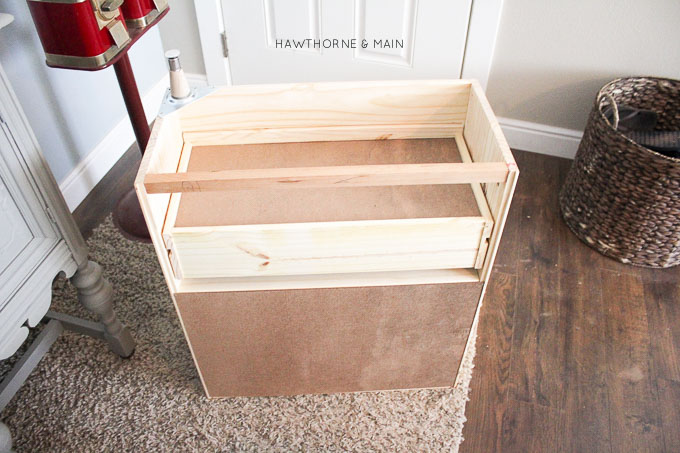
The other modification that I made was to flip the entire piece over and add a board along the back of the dresser. Making it flush with the back and bottom of the dresser. I used wood glue and screws to secure it in place.
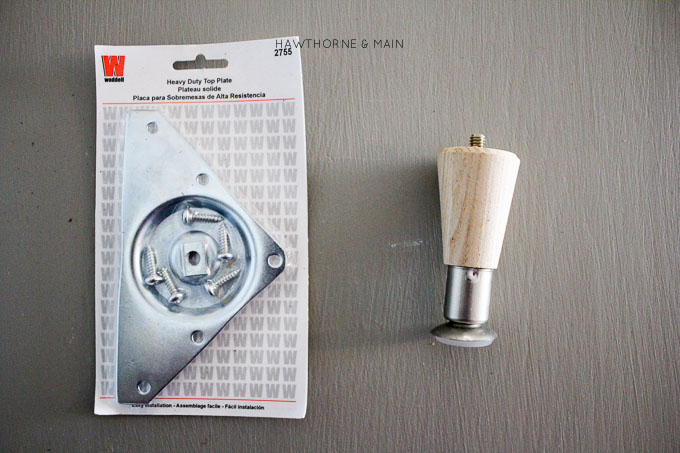
I wanted this RAST to look more modern and updated. I found these awesome 4″ legs at Home Depot as well as these mounting plates. Each mounting plate is screwed into each corner. Then all you have to do is screw the legs into the mounting plate.
[Check this out! KALAX IKEA hack Mid-Centry Modern Bookshelf- amazing!]
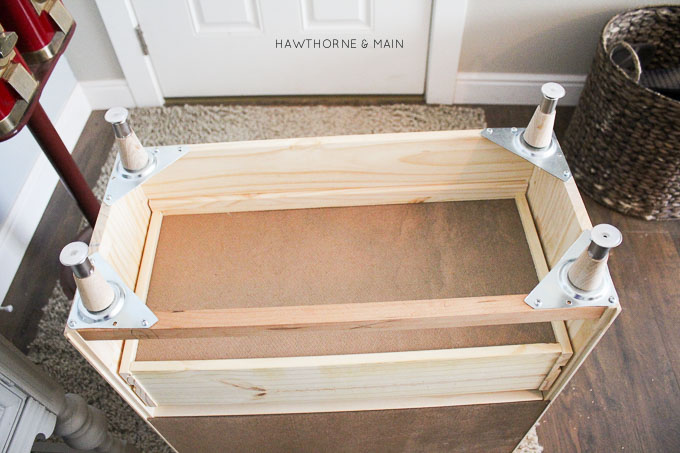
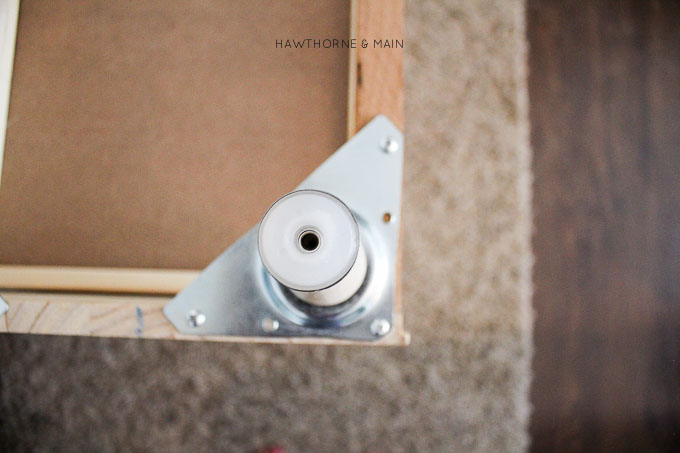
After the legs are now on it is time to add an awesome design on the front!
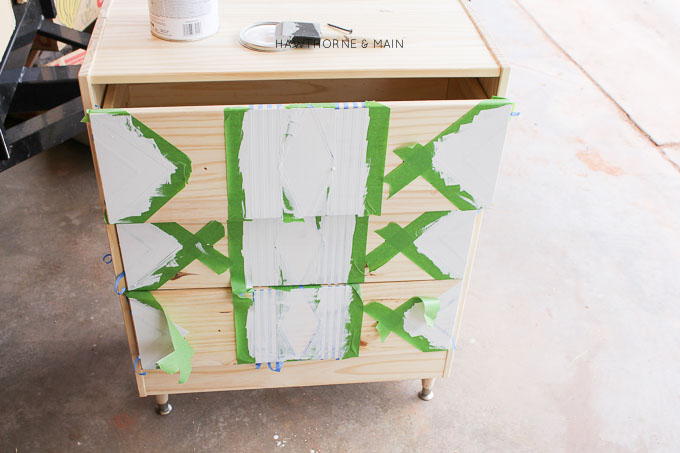
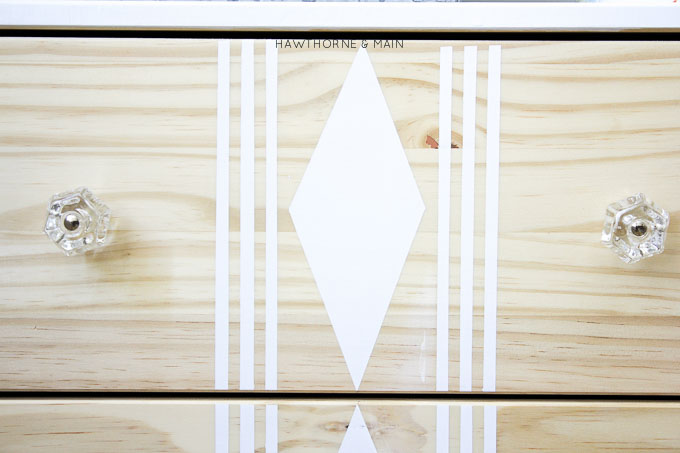
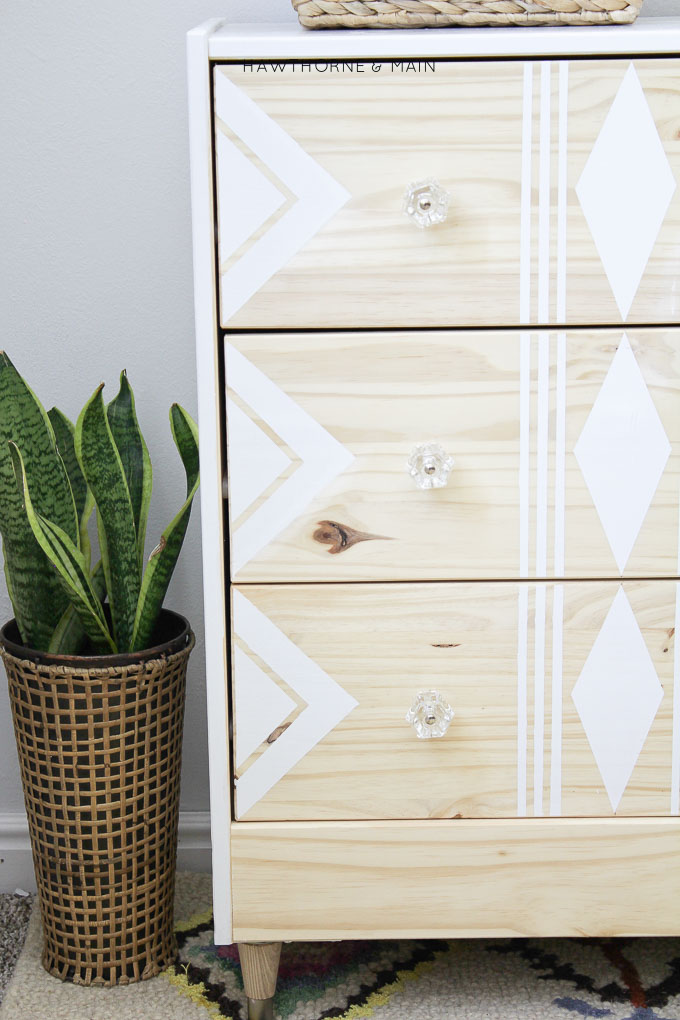
I used the knob holes on each of the draws as my guide. All of the points on all of the triangles ( on either side of the drawers as well as the one in the middle) meet in the line of the knob holes. Does that make sense?
I used 1 inch FrogTape for the tick lines, and 0.25 blue painters tape for the narrow lines.
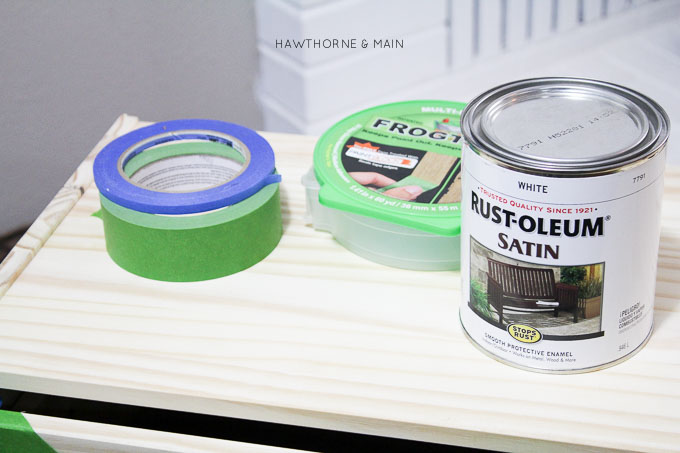
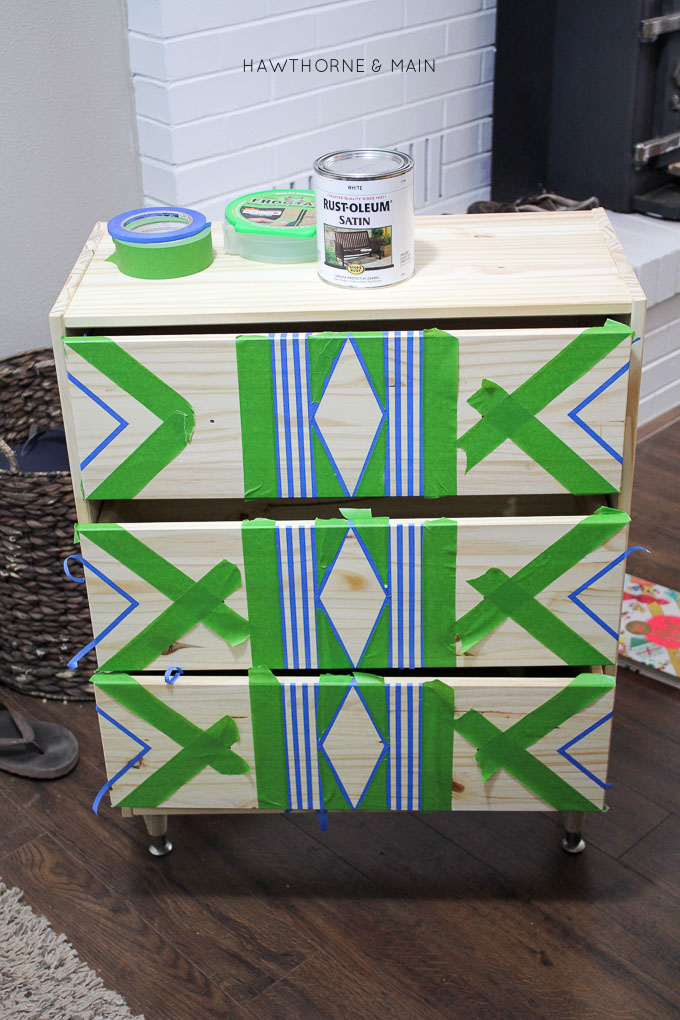
I have used oil based spray paint before but I have ever used it from a can. I decided that I wanted to have a really smooth durable surface on this dresser so I decided to give the canned Rust-Oleum oil based paint a try.
Oil based paint is a beast to clean up, not going to lie. I decided to use a foam brush for this reason. It does not leave the cleanest stroke lines, but after doing 3 coats of paint (letting it dry really good between coats) I am happy to report that this dresser is very smooth.
I ended up painting all of the taped off places on the front of the dresser, both sides, and the top. I love love how it turned out!
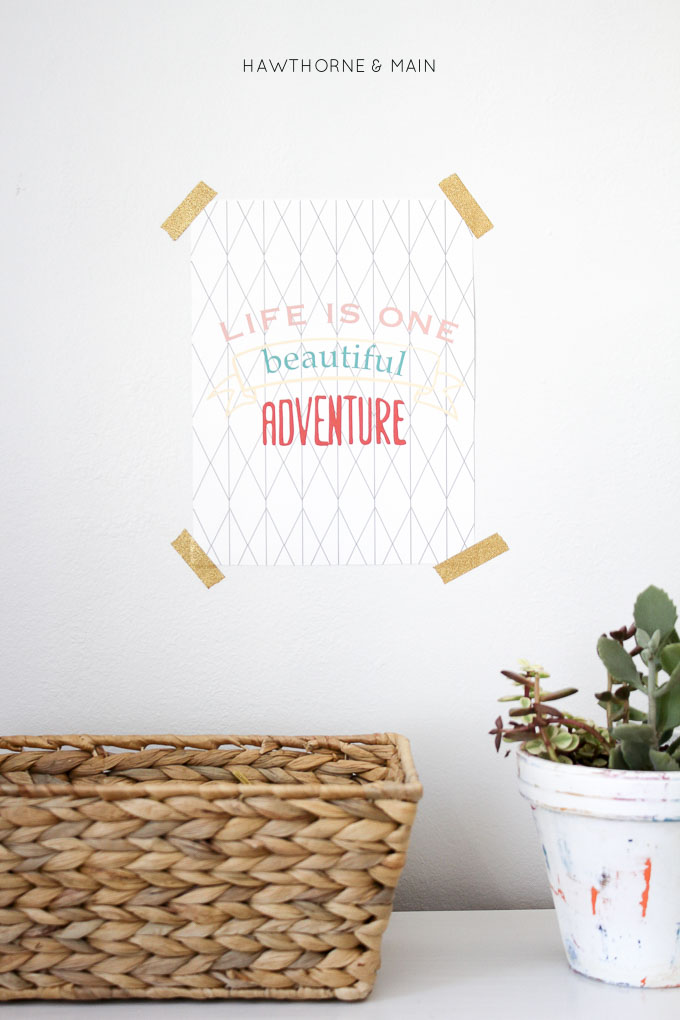
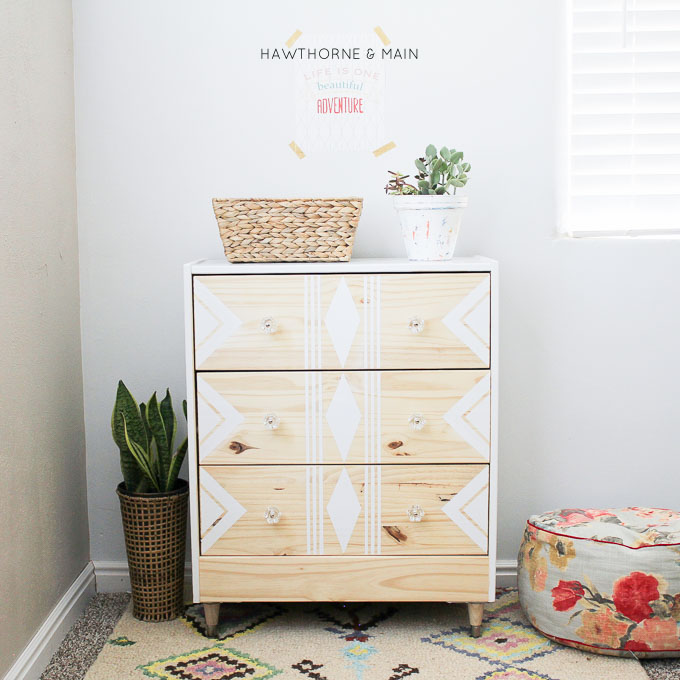
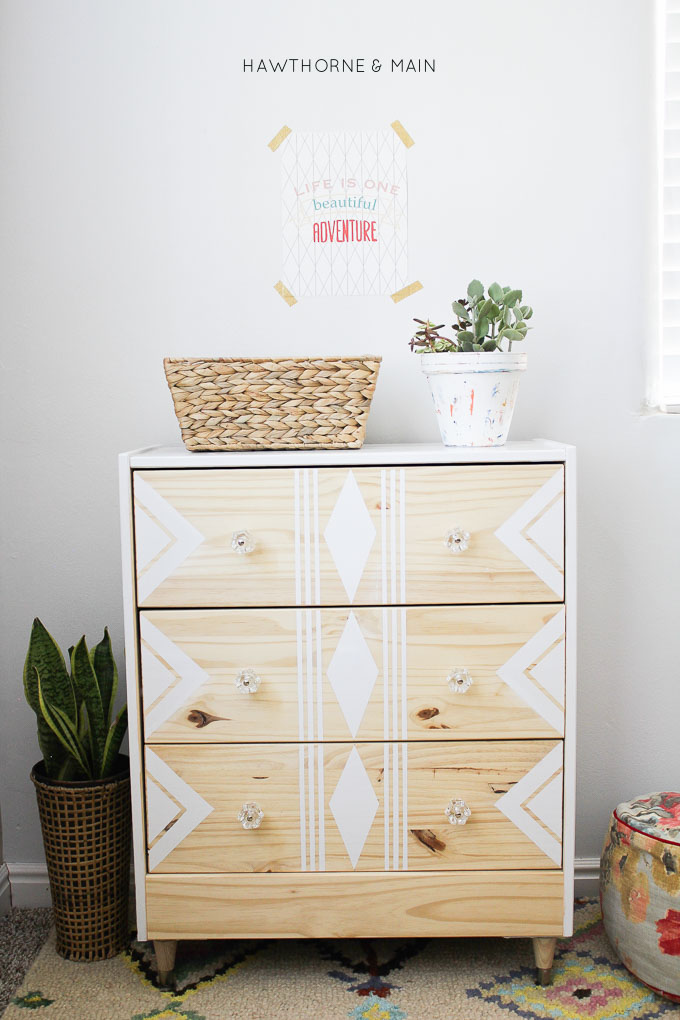
The FREE printable that is on the wall in these pics is available over here.
If you are looking for an awesome rug, this is the one I got.
The floor pouf is a DIY that I made.
What do you think of my RAST IKEA hack?
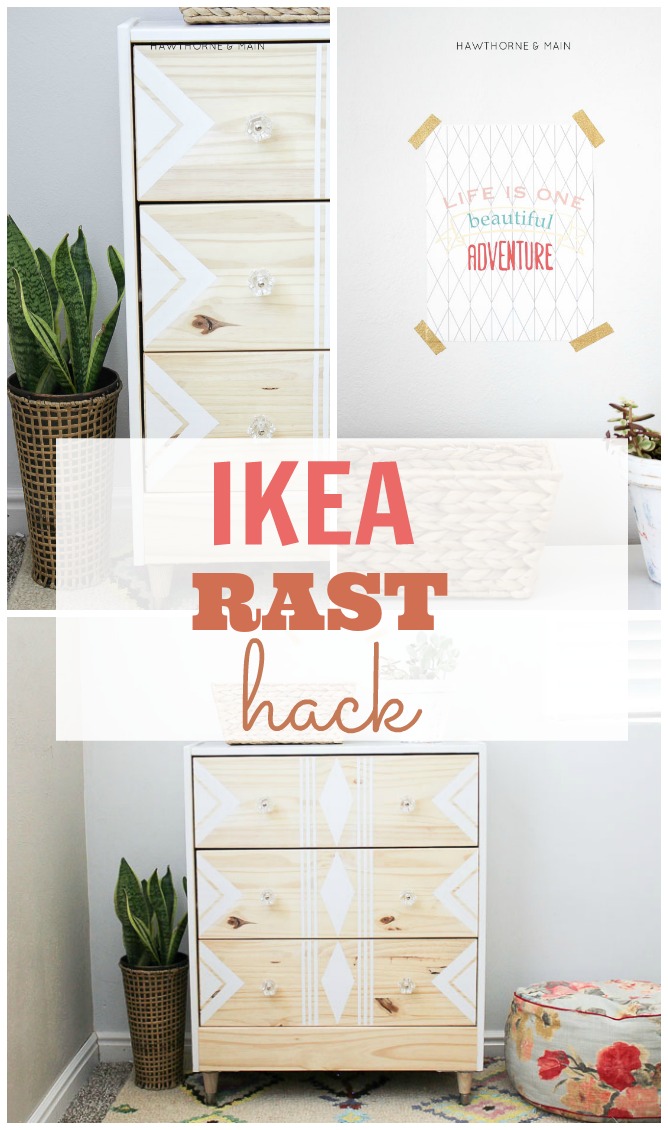
If you love IKEA hacks as much as I do, check out this round up of 50+ IKEA hacks.

Original article and pictures take www.hawthorneandmain.com site
Комментариев нет:
Отправить комментарий