The time finally arrived. After witnessing so many transformations around blog land, my time came. I couldn't hold it any longer, I had to give it a try!
Maybe it was my sister-in-law's fault. She was the one who needed paint to transform some pieces of furniture. She was the one who invited me to go paint shopping. Ha, I couldn't get out of that store without something in my hands!
At the time I was thinking of painting a pair of kitchen stools that are in need of a new coat of paint, but no, my eyes went instead toward these girls: My Chippendale chairs, of course, I have lots of those! 12 to be exact. Why? you might ask. Well let me tell you a story.
As soon as we started our family we wanted to fill our future house with good quality furniture. I went to many stores trying to find the perfect dining room set, and after many trips I finally found it! Beautiful Chippendale chairs that cried out loud to me: "high end" :) We bought six chairs but no table, NO. Just the chairs got all our budget! We had to wait to buy the table.
By the way, these are NOT those "high end" chairs we bought at that time.

Time passed, we moved into our new house and still no table! That's when we discovered Craiglist, there, I found a similar table to the one I kept on dreaming about, but it was waaaay cheaper than the one at the store, and that wasn't all! It came with SIX Chippendale chairs and a rug. What a deal, we got the whole package.
These are those CL Chippendale chairs.

They are a bit bulkier than the first ones I bought, but in general they are OK. Lately I've been thinking about selling them, we don't need that many chairs. But heck, they became the perfect project after having ASCP on my hands!
One of them had a damaged arm, that was one more reason to paint them.

First, it had to be fixed. That nail was pulled out, both sides were sanded, and after applying glue, a couple of new nails were driven to hold the arm in place. The gaps and nail holes were then filled with caulking

The other end of the arm received a similar fix. Lots of glue, some nails and clamps was all needed to make it strong once again.

So, the painting began. No sanding or prepping, that is really nice!

After one coat, this is how it looked. For my liking, it was not ready, it needed another coat!

That's when I began thinking I should've bought more paint, a SAMPLE might not be enough! Well, remember I wanted to paint two simple stools not two chairs with so many details! As usual, my project got bigger than what I first thought.
This was the remaining after applying one coat to one chair.
 |
That chair got a second coat, and the other chair its first coat of paint. Only one sample (4fl Ounces /118 ml), covered a lot!
Here you can see the difference from one to two coats.

But, unfortunately, it was NOT enough for both chairs! After three coats (two coats on one chair and one coat on the other), the remaining paint was very thick. I added a tablespoon of water, mixing it very well. Adding the water almost allowed me to give the second chair the final coat, but no. All the back on that chair was left with only one coat. :( I need to buy some more.

It looks like I didn't waste a bit! :D

Then the distressing part arrived. Using regular sand paper (280 grid), I did a light sanding, nothing too heavy.

They were all ready for the wax. These chairs have so much detail that it would've been hard to do it without using the proper brush. It is so good to work with the proper tools!
Very thin amounts of wax were applied in uniform coats.

You can see the difference from a simply painted to a painted and waxed surface.

After the wax dried, both chairs were buffed with a regular cotton cloth and oh boy, I'm happy with the results!

A new cover for those cushions and my not so "high end" chairs got in the spotlight!

Now the question is... Should I sell them?

I like those distressed edges.

Perhaps I'm going to enjoy them for a while.

Besides, I still need to finish the back on one of these and paint four more!
If you're thinking about transforming a piece of furniture with chalk paint here are some great posts from blogging friends that have done this not once, but several times.
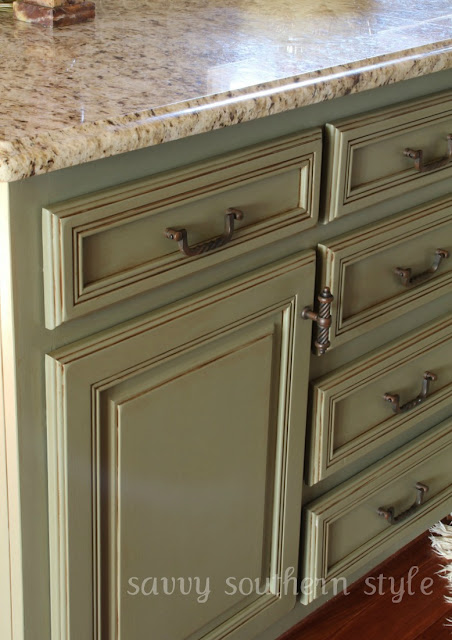
Kim at Savvy Southern Style, this post was about her Kitchen Cabinets Tutorial, but that's just one of the many transformations she has tackled around her home, you will be amazed.

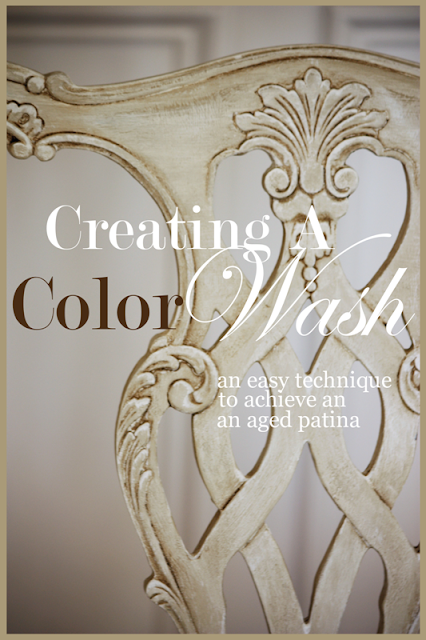
I also love the paint transformations and tutorials from Yvonne at Stone Gable. Creating a Color Wash Effect is one of my favorite tutorials from her.
.png)
One very well documented first experience with Annie Sloan is from Jenna at Sas Interiors. A really good starting point.
I'm definitely happy with the experience, my next project is already on a waiting list. What's your next project? Are you still waiting to give it a try?
Enjoy what you read today? Enter your email address below to subscribe to Remodelando la Casa:
Delivered by FeedBurner
Original article and pictures take www.remodelandolacasa.com site
Комментариев нет:
Отправить комментарий