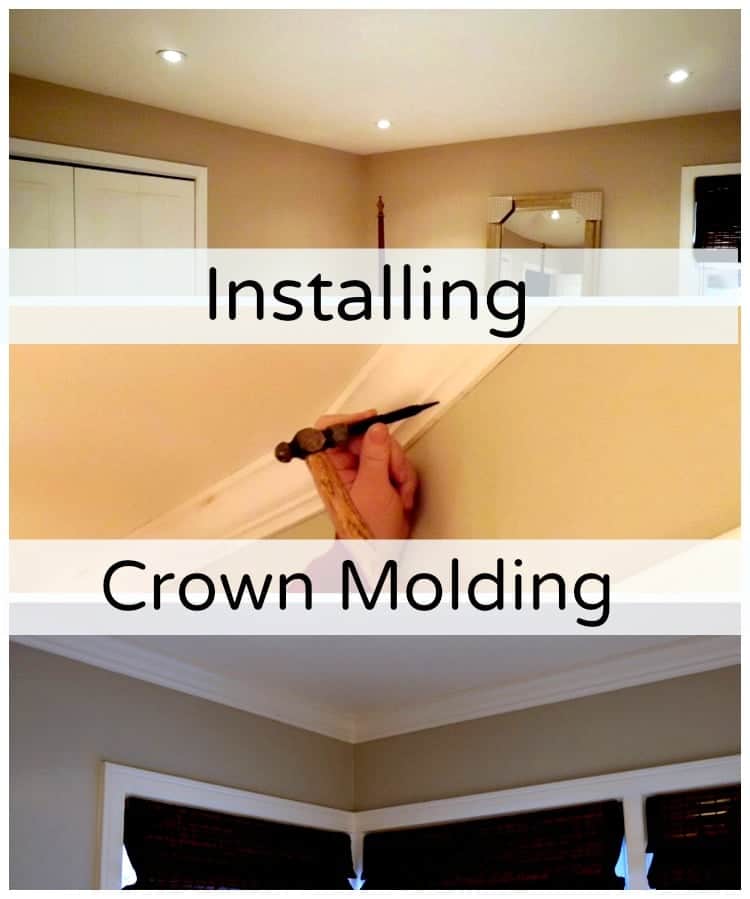
A couple of days ago I shared the start of my master bedroom redo, the painting of the ceiling with Benjamin Moore White Dove in Pearl, and now we’ll move onto painting the master bedroom walls and crown molding that we installed.

After the ceiling, I painted all of the trim in the whole room using Benjamin Moore White Dove Advance (the same gallon I used in my bathroom redo to paint the trim and vanity).

The walls had a couple of spots where the paint was puckered and loose. To fix it I scraped off the old paint, then I spackled and sanded and painted the walls, Benjamin Moore Hazy Skies Regal in eggshell finish.

After the walls were done, we started the crown. This is the first time we put it up and the first try was not successful. We couldn’t get the first two pieces lined up (maybe it was because the hubs was trying to put 2 different pieces of molding together, gah). Once he figured out what the problem was, the second day (second attempt) was much better. It all went up pretty quickly, in about 2 hours.

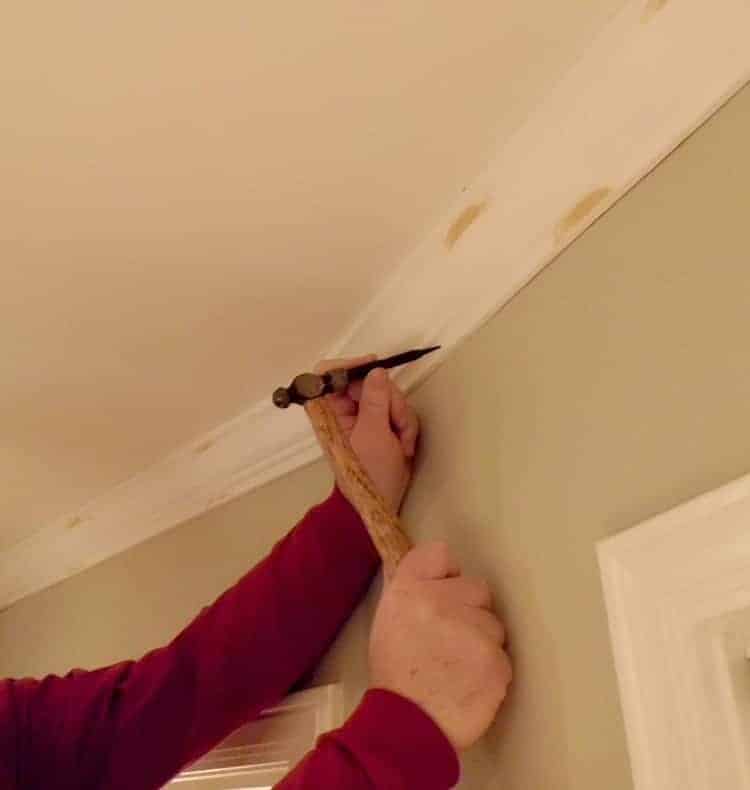
In the picture above, my husband is using a scrap piece of wood cut to size to mark the wall where the bottom of the crown molding has to sit. He marked the walls every two feet with a pencil around the whole room so that each piece would line up once it’s on the wall. After making his cuts outside on his chop saw, he put up the molding.

We did buy a nail gun, to use with his compressor, to make the job quicker and easier.

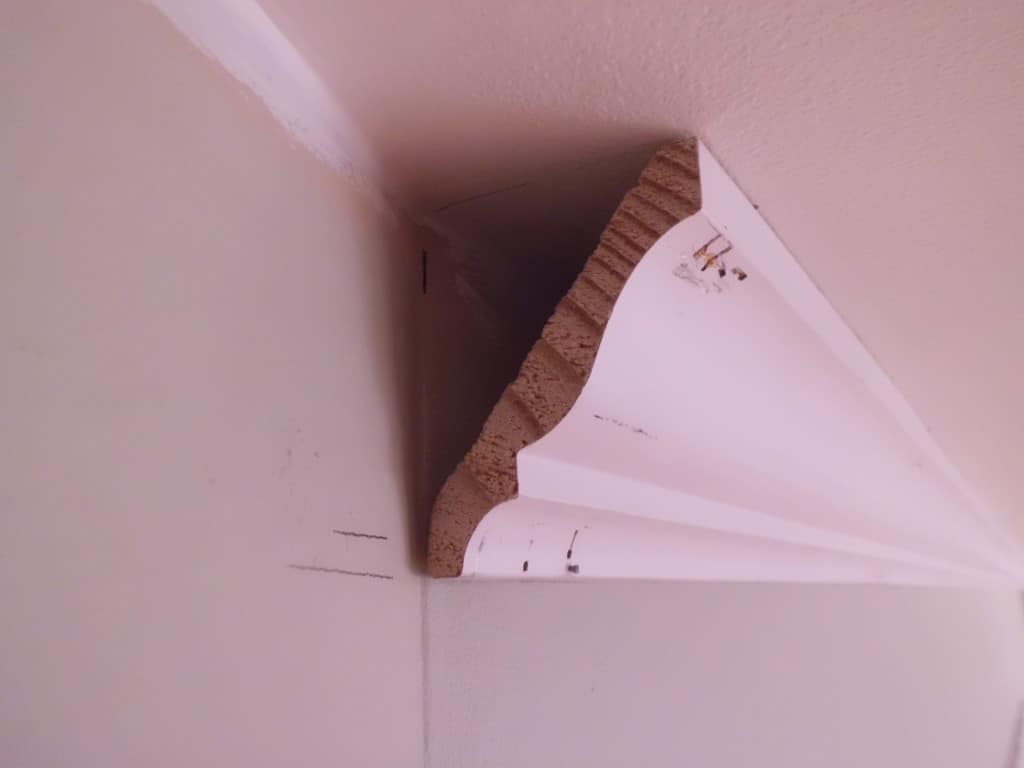
Here is a side view of the molding when it is up. You can also see the pencil marks where the bottom of the molding needed to sit.

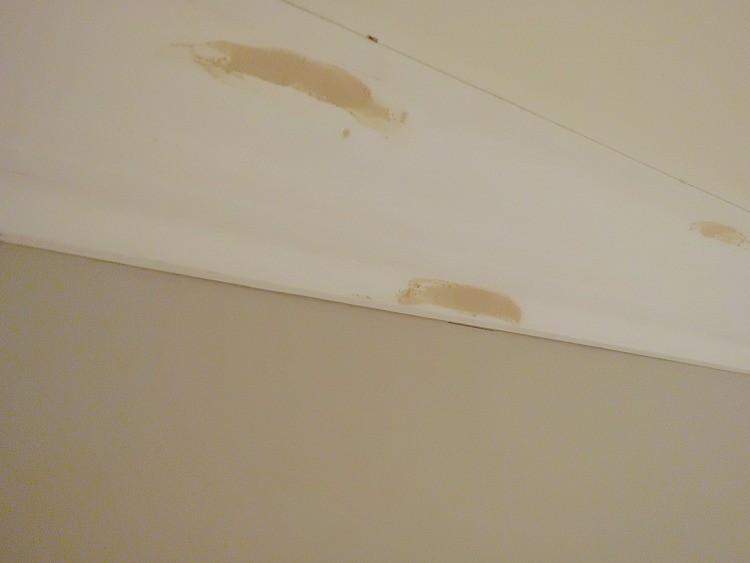
After all of the molding was up, my husband went around to all of the nails that were sticking out a little and used his nail set to tap the heads in. Then it was time to caulk all of the joints and to use wood putty on the nail holes. We used wood putty because caulk and spackle can rust the head of the nail, which can cause a spot on your finished paint. Once all of the putty dried, the hubs sanded the spots (he said this was the worst part of the whole job).

After the molding was all sanded and caulked, I got to work painting it. I used the BM White Dove that we used on all of the other trim in the room.

And that’s it. It wasn’t a necessarily hard job but it did take some time to do. I’m so glad we did it though because I think it makes the room look more finished. Next up is the reveal of the finished room and what we ended up spending for supplies.
Have you put up crown molding? What do you think is the worst part of the process?
Original article and pictures take www.chatfieldcourt.com site
Комментариев нет:
Отправить комментарий