If you like this Rast Hack, I’d really appreciate your vote here!

I am sooooo excited to share my latest attempt to be a DIY diva.
(Ha! I have no idea where I came up with that, but we’ll go with it…)
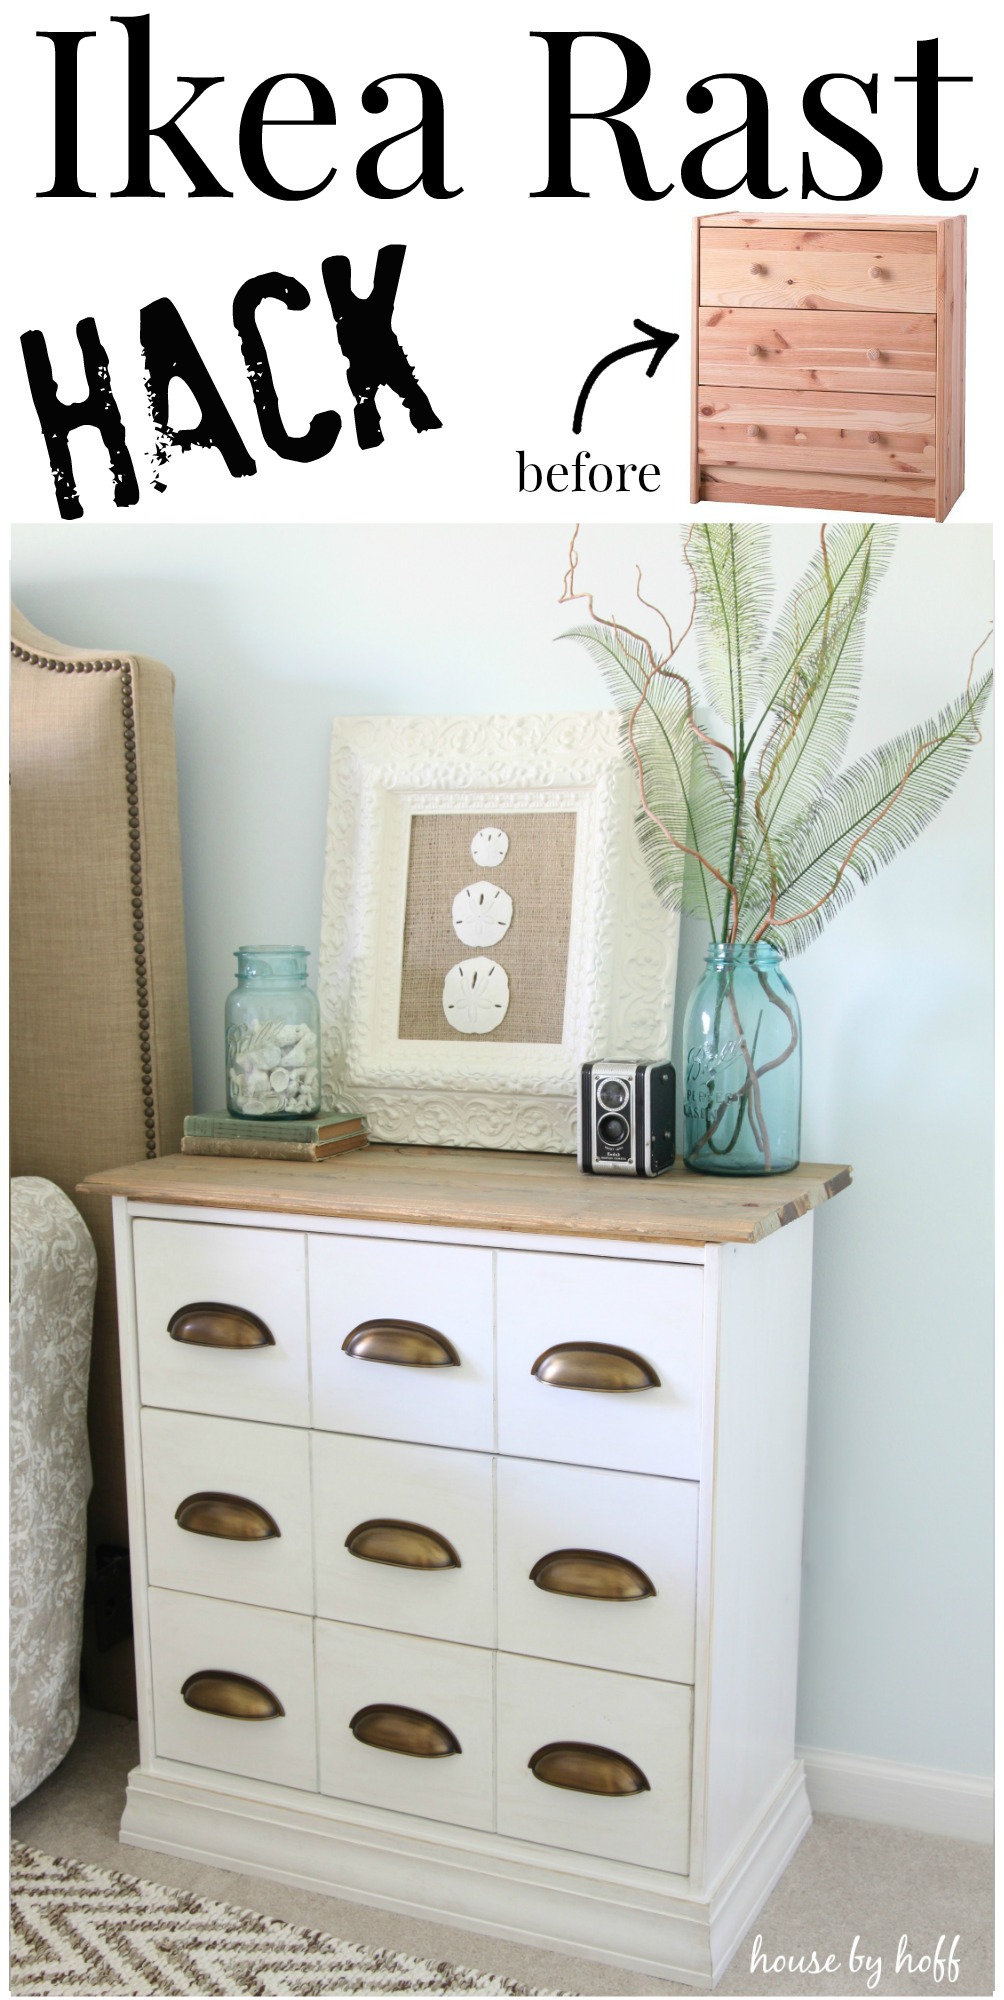
As is true with any diva, I required a team of assistants (my dad and Mr. Hoff) to help me accomplish the task. You see, the Ikea Rast dresser has been made-over time and time again in “blogland”, but it was the first time I’ve ever attempted to “hack” one of these basic dressers.
Let’s start with the tools and supplies, shall we?
Supplies for this Ikea Rast Hack:
– (9) 3 In. Williamsburg Satin Dover Cabinet Cup Pulls by Hickory Hardware
– Tongue and groove carsiding
– Liquid Nails
– Wood filler
– 3.25″ trim
– Plywood
– 1″ x 4″ piece of wood
– 2″ lattice wood
– Pittsburgh Paints & Stains‘ Trim, Door, and Furniture Paint in “Antique White”
– Pittsburgh Paints & Stains‘ Stain in Sealant in “Driftwood Gray”
– Paintbrush
Tools:
– Drill
– Miter Saw
– Table Saw
– Hammer/Nails (or Brad Nailer)
Instructions:
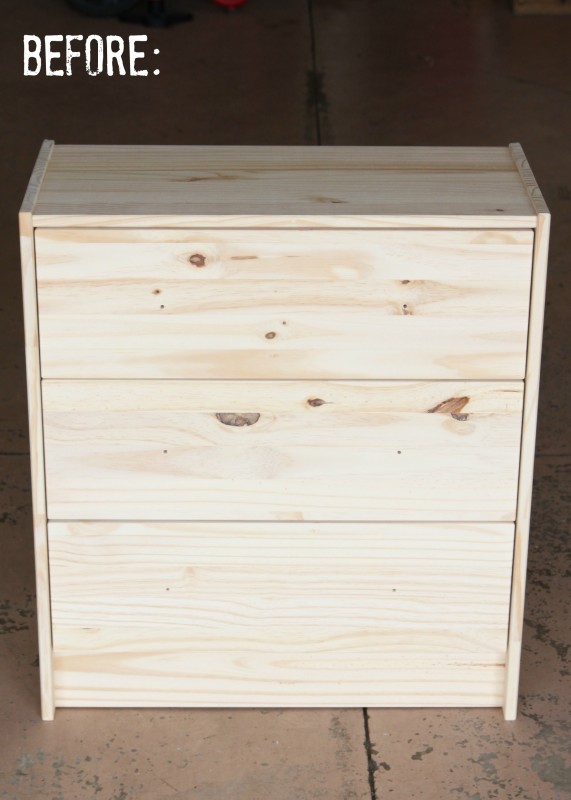
So, straight out of the box, the dresser looks like this. Pretty blah, no? I had a very basic idea of what I wanted to do, but it was an ever-evolving process of making decisions and talking my ideas through with my dad and Mr. Hoff.
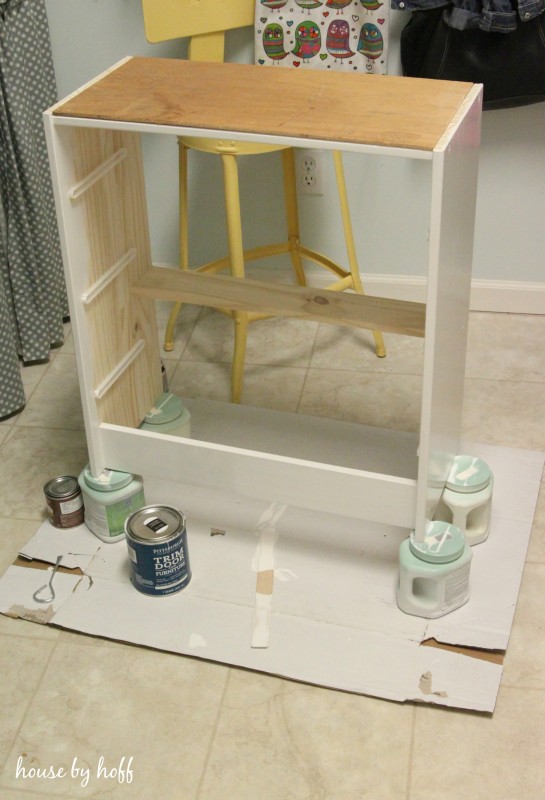
First I painted the frame of the Rast. I used Pittsburgh Paints & Stains‘ Trim, Door, and Furniture Paint in “Antique White”. (I would suggest priming the dresser first to cover up the knotty pine.) I painted one coat, let it dry, sanded it with a fine-grit sand paper, then painted another coat. This paint is great, and leaves no brush-strokes whatsoever! Next, to create a flush surface for our dresser’s top, we cut a piece of plywood to fit on top of the Rast, and used liquid nails to glue it down.
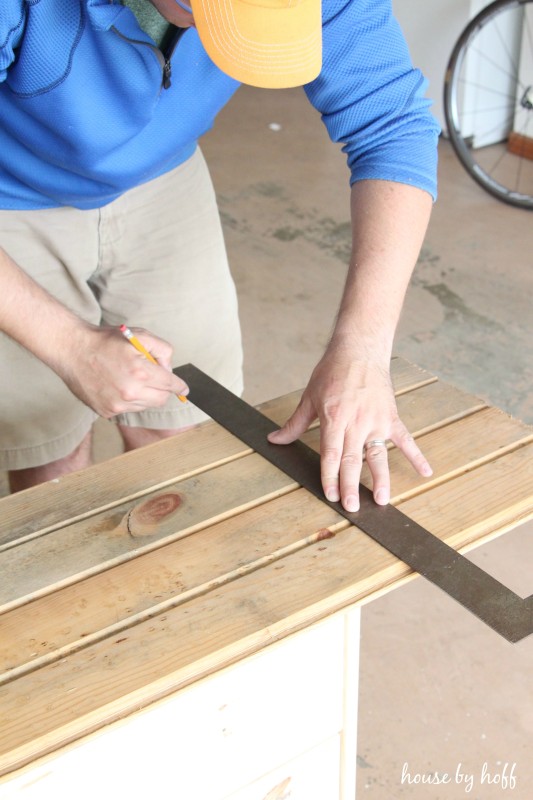
I knew I wanted to use wood for a two-toned look for this piece, so we used tongue and groove carsiding (that I had on hand) to create rustic top for the Rast. After I cleaned the old carsiding off, we fit the pieces together, and Mr. Hoff measured and cut the carsiding to leave approximately 1″ of overhang. The final top ended up being 26.5″ in length, and 14″ in width.
We used liquid nails to glue the carsiding table-top to the plywood underneath. Next, we attacked the bottom of the Rast. I wanted to create a flush surface across the bottom, so that we could add some 3.25″ trim. To “fill in the gap” at the bottom, Mr. Hoff used his brad nailer to attach a 1″ x 4″ piece of wood. It still wasn’t flush, so we used the brad nailer to add two pieces of 2″ lattice wood. Finally, we had a flush surface, and we were ready to add trim!
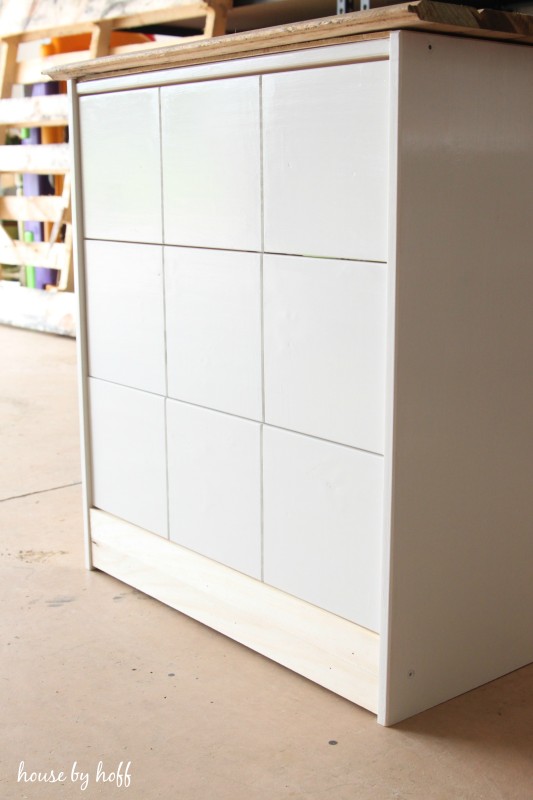
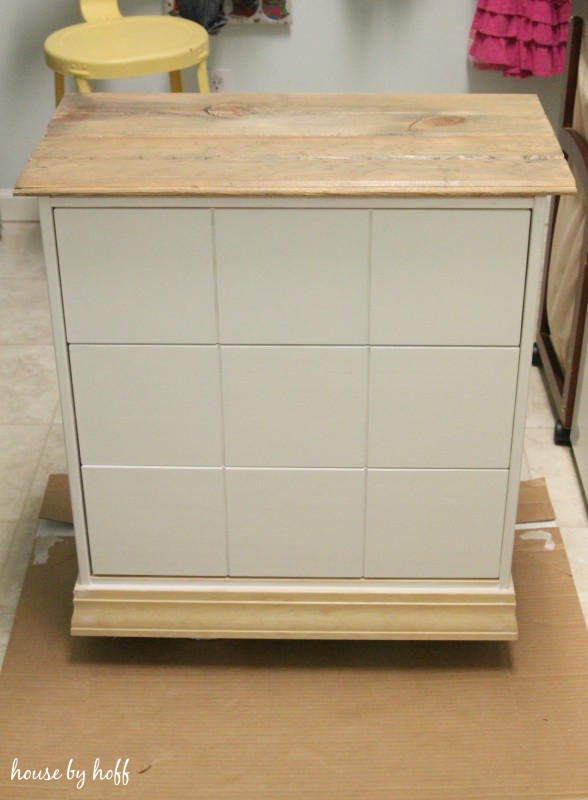
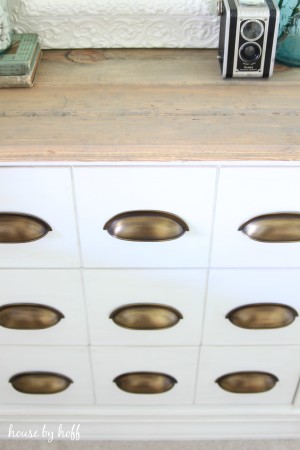
Mr. Hoff used his miter saw to cut the 3.25″ trim, and used his brad nailer to attach it to the bottom of the Rast. We caulked the gaps, filled the nail holes, and waited for it to dry before painting it. Now let’s talk about the drawers. My father used his table saw to create the grooves in each drawer. This made the three long drawers appear to be nine square drawers. I was very inspired by this Rast makeover by Thrifty & Chic. She offers a great tutorial on how to create grooves in the drawers.
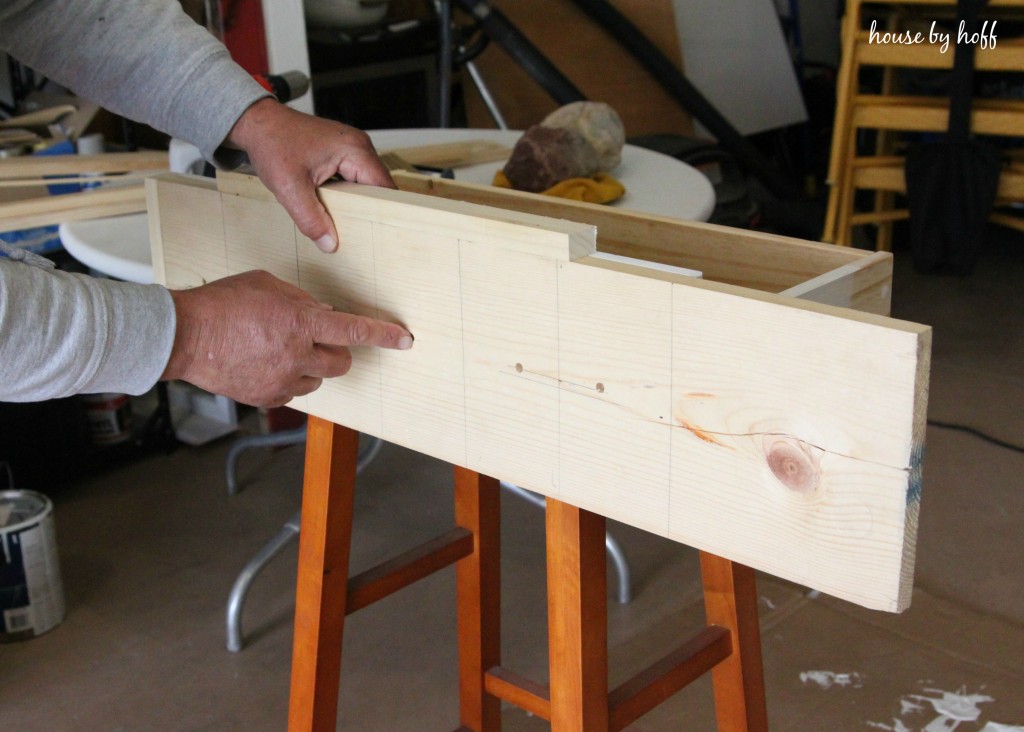
After my dad created the grooves in the drawers, he made this ingenious jig to make sure that we drilled the holes for the pulls in the exact same place on every drawer. This man has a talent for thinking things all the way through before executing. I consult him on every major DIY I attempt, and I love getting his input and help!
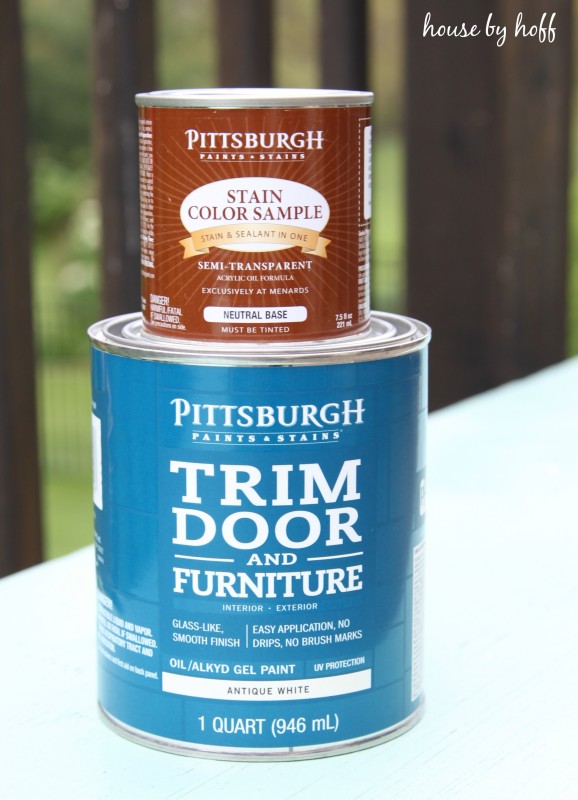
As I mentioned, I used Pittsburgh Paint’s Trim, Door and Furniture paint in “Antique White” for the base, and their stain in “Driftwood Gray” for the top of the dresser.
The Finished Product:
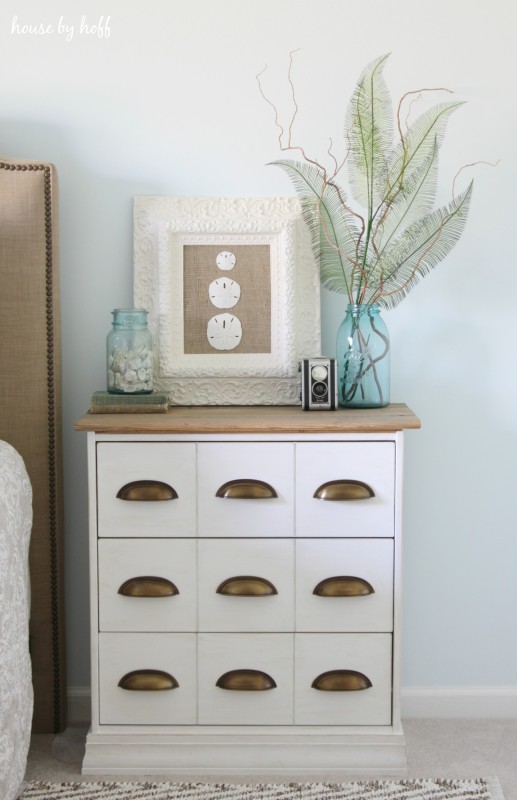

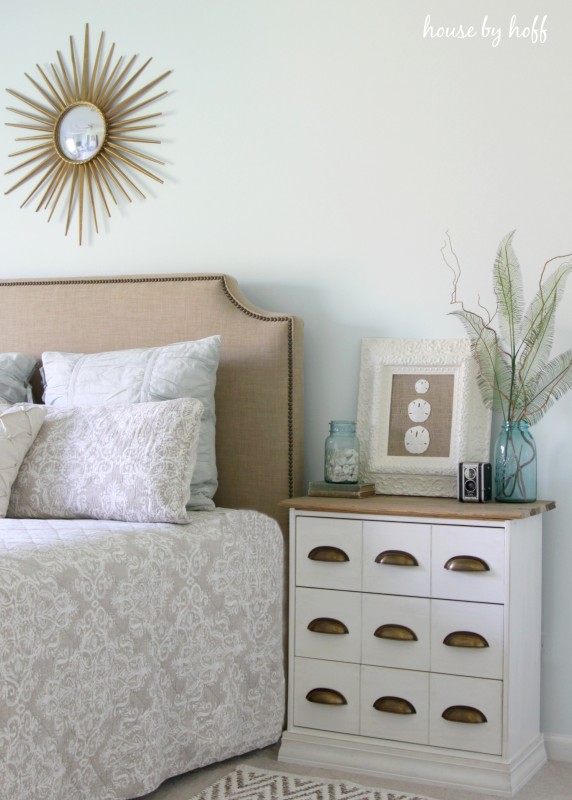
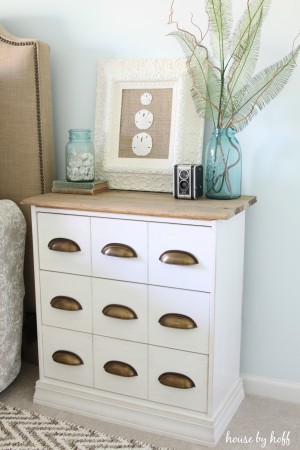
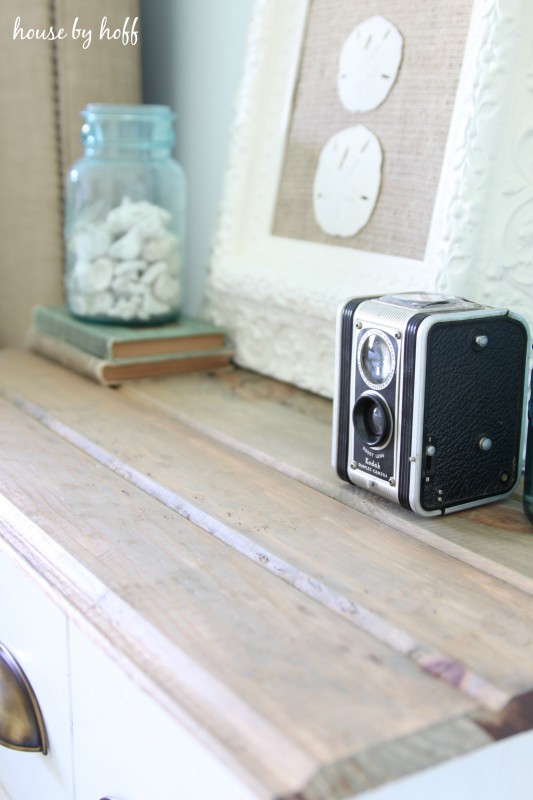
I am using my new dresser as a side table in our master bedroom. It’s the prefect size for a side table, and I kind of want to make another one for the other side!!! (I just need to get Dad and Mr. Hoff on board!)
Have a great day!
I’m linking up at: Link Party Palooza, Thrifty Decor Chick, Furniture Feature Friday
Original article and pictures take www.housebyhoff.com site
Комментариев нет:
Отправить комментарий