Some of the most timeless and beautiful designs are born out of necessity. Whitewash is one of them.
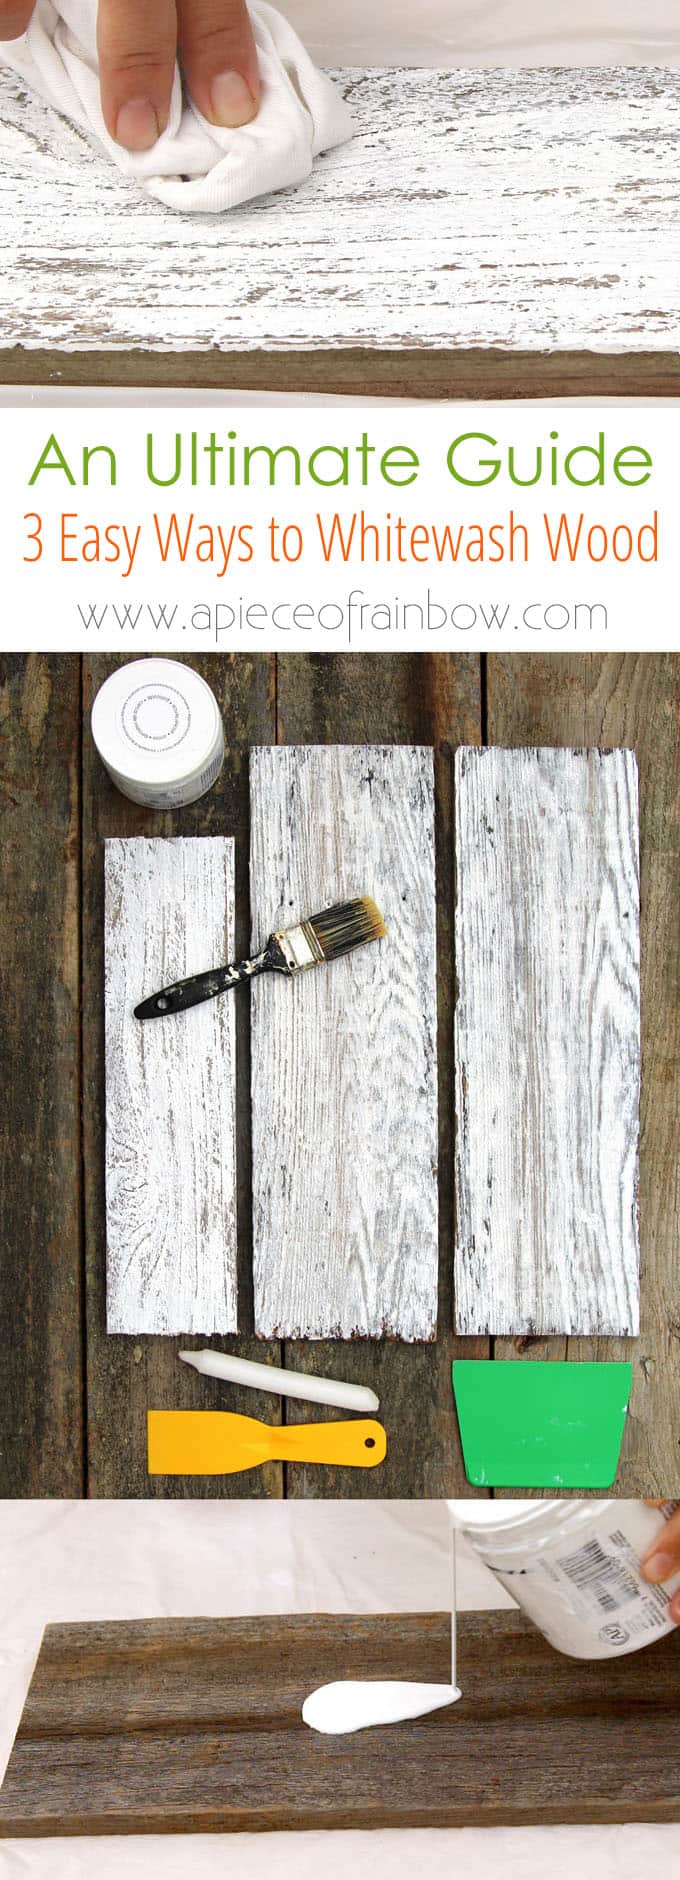
In this article with video tutorials, we will explore 3 super fun and easy techniques to whitewash wood, and some beautiful examples of whitewashed floors, walls and furniture.
When Tom Sawyer was punished to whitewash a fence, no one back in the 1800s would have thought that the whitewashed look would become one of the most popular interior and exterior design styles!
Traditionally, white wash is actually lime wash: a mixture of salt, water and hydrated lime used as an economical and easy way to make a farmhouse look clean and bright. You can learn a lot of interesting facts online about lime wash, such as its antibacterial properties.
In modern times, when we recreate the whitewashed look, it is usually done with diluted white paint, which is what we will be using in the tutorials today. However, I am so curious about real lime wash I may just have to try it soon!
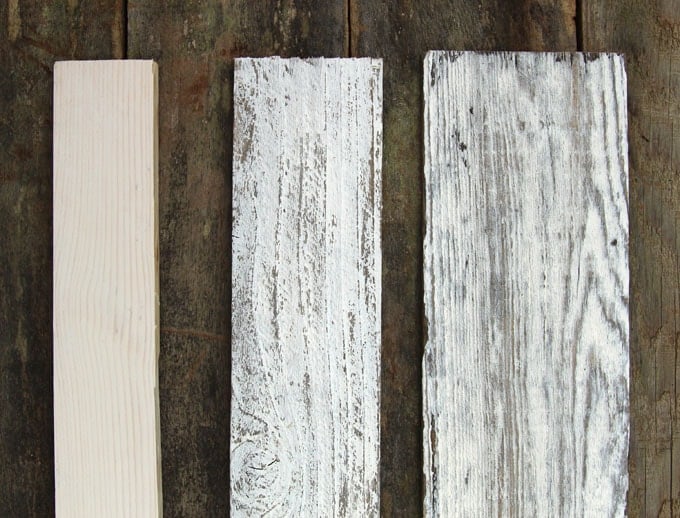
The 3 whitewashing techniques will create different looks on different types of wood, such as smooth pine wood, pallet wood, and reclaimed wood. They are all really easy, quick and fun! Check out the video tutorial below!
Materials: ( Some of the helpful resources are affiliate links. Full disclosure here. )
- white paint: I used Decoart Americana Outdoor Living Picket Fence White paint, which is non-toxic, water based and great for indoor and outdoor projects. A big thank you to our friends at Decoart for sending their gorgeous paints for our projects!
- mixing cups, rags, paint brush
- a scraper like this or a piece of hard plastic for technique #2, and a candle for technique #3
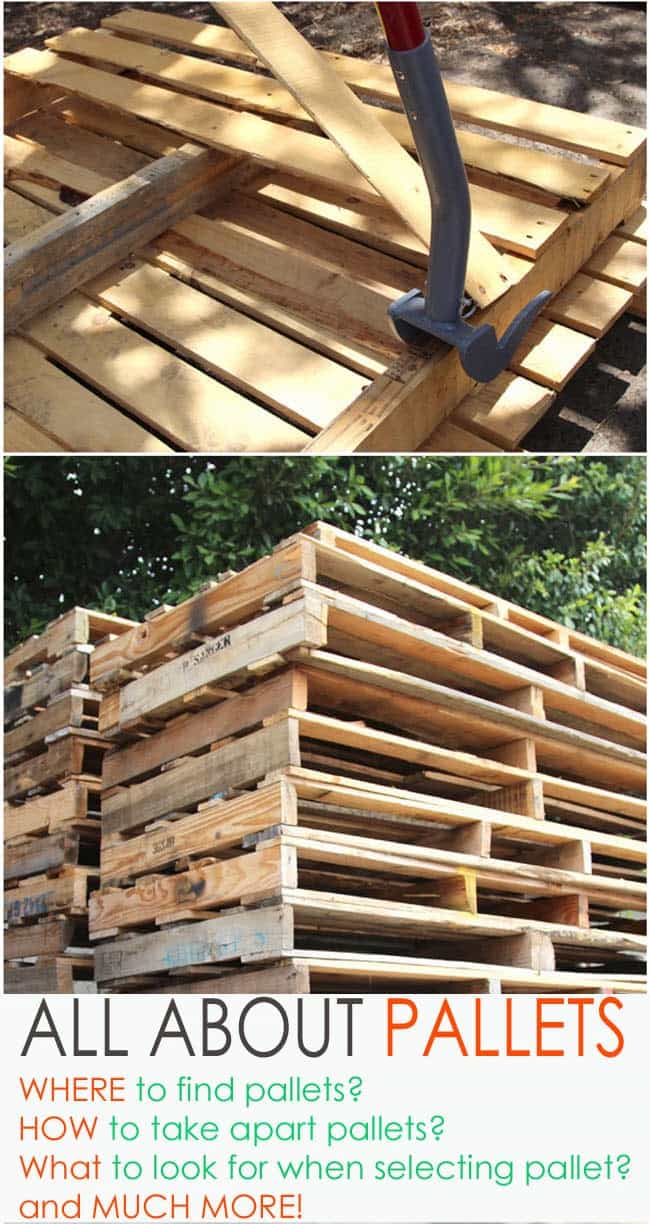
If you want to work with reclaimed wood, here’s a detailed guide on where to find pallets and how to work with pallet wood!
Update: I just put together 30 great examples of my favorite Pallet Wall and Shiplap Wall tutorials and inspirations you can check out here!
Now let’s start with the most basic method!
Technique 1: how to whitewash pine wood or other smooth finish wood using a rag
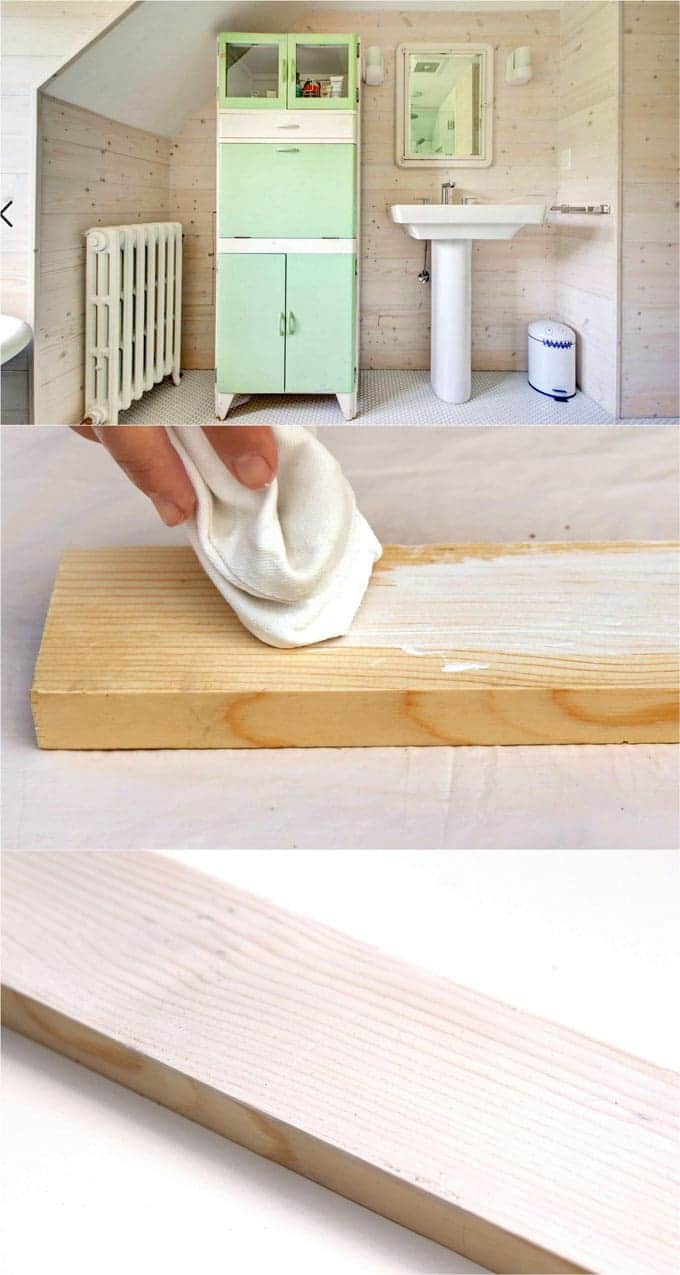
Many types of wood we get from hardware stores have a smooth finish surface, for example: 2x4s, common boards, plywood, etc.
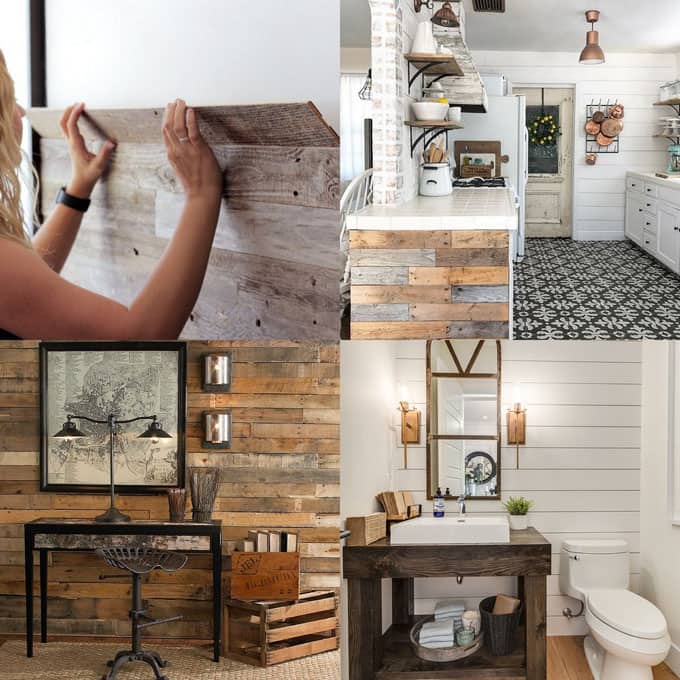
This whitewashing method is good for smooth and textured wood. It creates a clean, refreshing and bright look, great for modern, farmhouse, or Scandinavian style. The whitewashed wood plank wall in the photo at top ( source) from a modern farmhouse bathroom is a great example.
The beauty of white wash vs white paint is that the wood grain shows through and adds a richness to the finished piece.
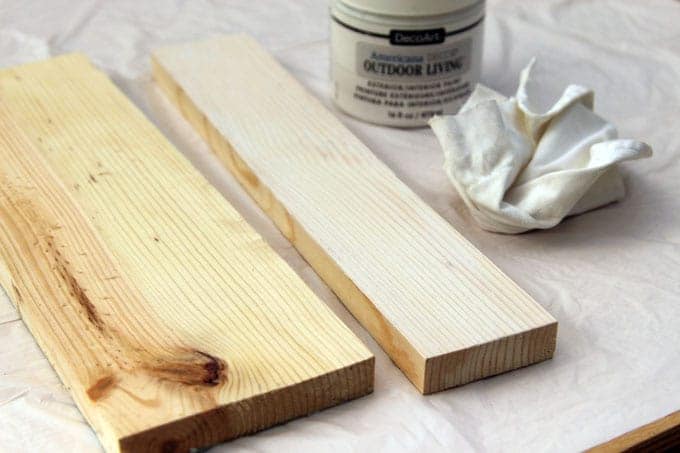
First dilute the white paint to a consistency of heavy cream. Dip a rag into the paint and wipe it onto the wood surface.
Use it as a white wash stain. Repeat with another 1-2 layers if you want it to look more white. Let dry between layers.
You can also use a paint brush. I like the rag because it creates a very even whitewash stain without leaving brush strokes.
Technique 2: how to white wash reclaimed wood in one easy step using a scraper
This method is incredibly fun! It works best on wood with lots of surface textures, such as reclaimed fence wood. Use this method when you want to create a rustic and aged look such as a plank wall made with old barn wood.

Clean the wood with soapy water and a brush. Let dry.
The Decoart Americana Outdoor Living Picket Fence White paint is the perfect consistency for this technique. If your paint is too thick, dilute the paint to a consistency of crepe batter.
Now the fun part: pour paint onto the wood surface. Take a scraper and scrape the paint along the wood grain.
Some paints will be soaked into the grooves. Let dry and we have a piece of rustic white washed wood!
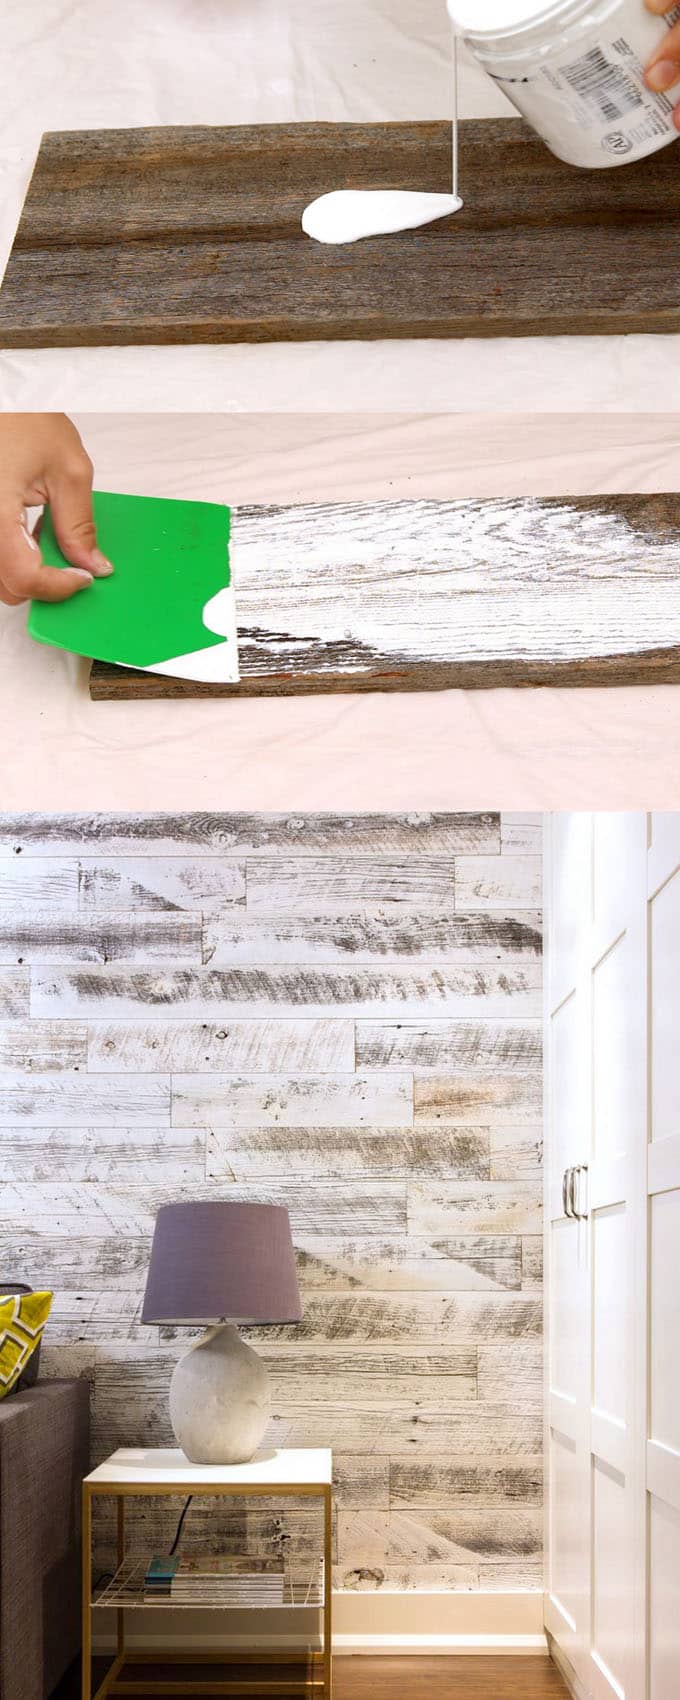
The beautiful aged barn wood plank wall example above is from here.
Technique 3: how to create shabby chic style whitewashed look with the candle method
Shabby chic, distressed, chippy paint. These words are often used to describe a charming aged peeling paint finish often seen on vintage furniture and decor pieces.
You can see a good example of this finish in the photography background of these 5 minute DIY designer knobs.

Take a clean piece of wood and a candle. The wood I used here is from an old pallet. It has a little bit of texture. This method will work with any type of wood. Rub the candle at random spots on the wood.


Paint the wood white. Let dry completely.
Use a rag and wipe the surface with some pressure. The paint will come off where the wax was rubbed onto the wood. How easy is that?
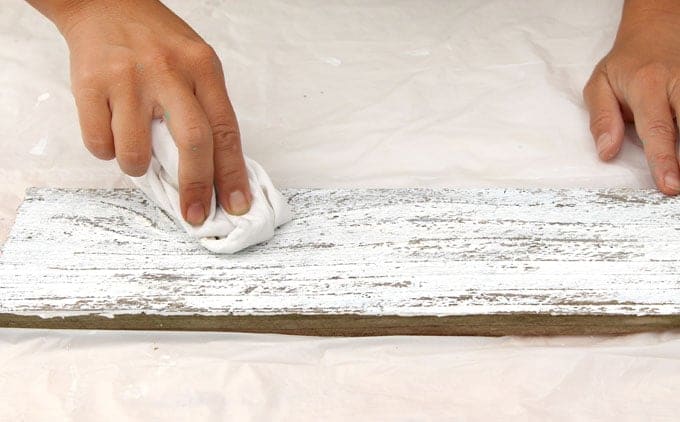
Below is an example of beautiful white washed wood floors ( source ). To be precise, they are actually ceramic tiles made to replicate distressed painted wood.

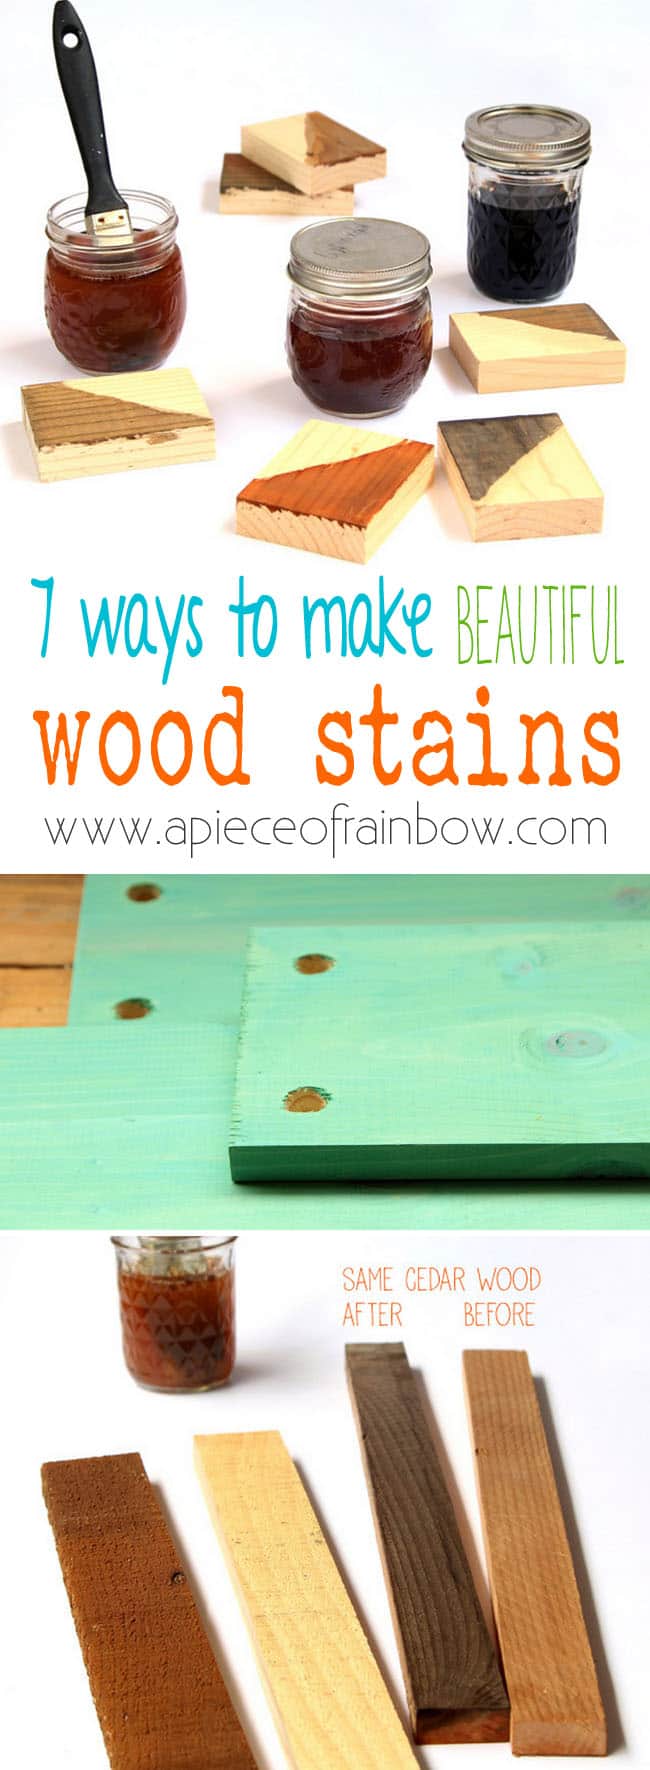
If you want to use this technique but only have new wood, you can start by making the new wood look aged by staining them with diluted paint or home made wood stains that are easy to make and very long lasting! See recipes here-
Happy painting! See you next week!
Original article and pictures take www.apieceofrainbow.com site
Комментариев нет:
Отправить комментарий