When you’re in the middle of about six different projects at once and you start to get overwhelmed, I find the best remedy is: Start a New Project. (That may not be the best advice.)
So, surprise! We’re doing a closet reno! First up, taking down these beauties:

YESSS. Popcorn ceilings in all their early 90’s glory!
Now. To whoever decided this was a fashionable look which should be installed in all homes, I have an important question for you:
WHYYYYY?
When we first moved into our house, step one was to remove the popcorn ceilings. We took them out of the entire house, except our coat closet.
I hadn’t realized until then how much light popcorn ceilings suck out of a room. All those tiny shadows make it feel so dark and yucky, but a flat ceiling bounces the light around and does wonders for the entire space. Check out the difference in our living room.
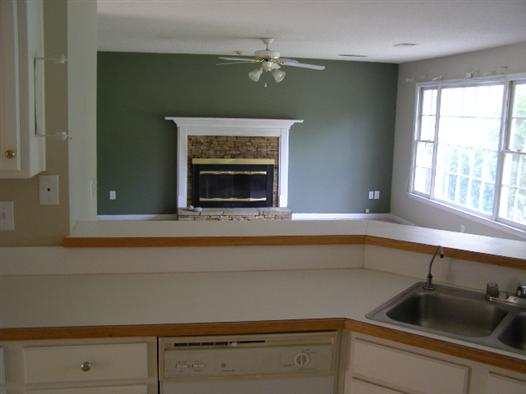
And after:

See how the light spreads across the ceiling without all those little chunky things to cast shadows? Yes, there are other things that make it look brighter now, like the paint colors and whatnot, but if you look at the ceiling specifically, you can see a difference. (More before and afters in a sec!)
Luckily, removing them is cheap, easy and SO insta-satisfying. If you were cursed with this kind of textural sin on your ceilings, here’s a quick how-to for taking those guys right down.
You’ll need:
- A spray bottle like this (for small spaces) or a lawn sprayer like this (for larger rooms)
- A popcorn ceiling scraper like this which will catch all the mess for you. (We’re using a putty knife because we had it on hand and weren’t concerned about the mess in this small space, but the idea is the same!)
- Good ol’ high-quality H2O. (I love you forever if you know that movie reference.)
Step 1. Make sure there’s no asbestos! They stopped using asbestos circa 1977, and since our home was built in the mid-90’s, we knew we were in the clear. Otherwise, this is not a DIY project. You’re gonna want a pro.
Step 2. Wet that bad boy down! You’re gonna want to soak the ceiling pretty well with your spray bottle or lawn sprayer. Don’t be shy! Work in small areas of a few square feet at a time so you can obtain maximum soakability.
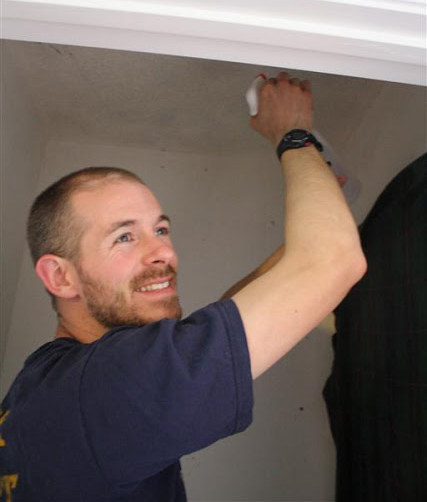
Andy helpfully posing with spray bottle
Step 3. Scrape. We used a putty knife, and just gently ran it along the (still wet) ceiling.

Weapon of choice!
This part is SOOO satisfying!
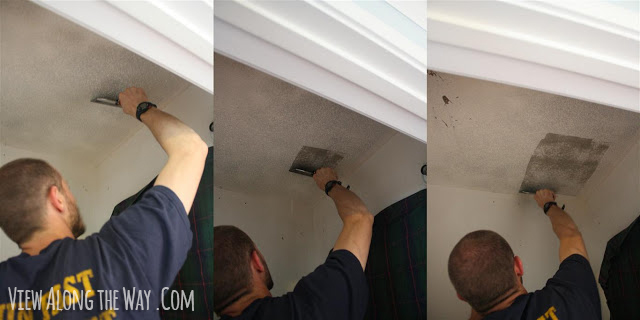
You get to watch as your home instantly teleports to present times. Here’s the ceiling with popcorn removed:
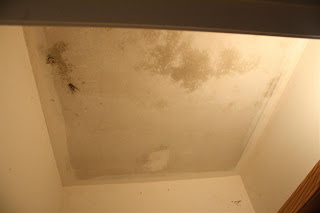
Yep, just good ol’ sheetrock under there.
5. Sand (if needed), prime and paint! Our ceilings didn’t require much sanding, but if there are any spots that don’t look perfectly flat to you, you may want to run a piece of sandpaper over it.
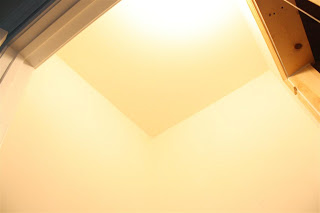
Flat ceilings = happy Kelly. Easy job, with HUGE results. Before and after:

(Sorry for these tiny pics! My other posts have bigger ones, promise.) See how much brighter the “after” looks in the pic above? Those two photos are taken under the exact same light conditions and settings.
FACT: Popcorn ceilings are BEARERS OF DARKNESS.
Okay, that’s a little dramatic. But seriously, this job is easy, fast and provides instant gratification, which always gets a thumbs-up from me.
Have you tackled anything like this recently?
Don’t forget to pin this so you have the instructions when you need ’em!
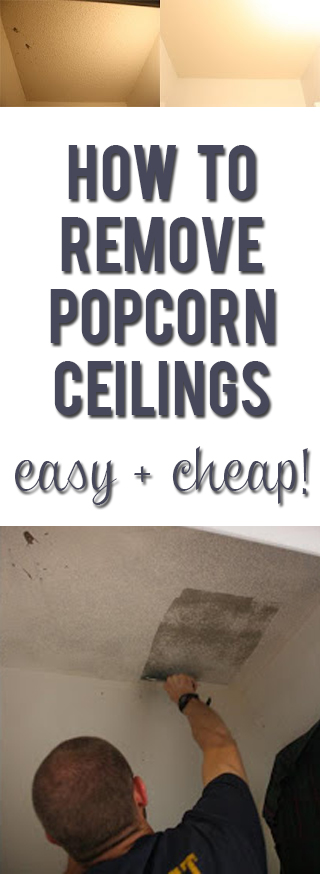
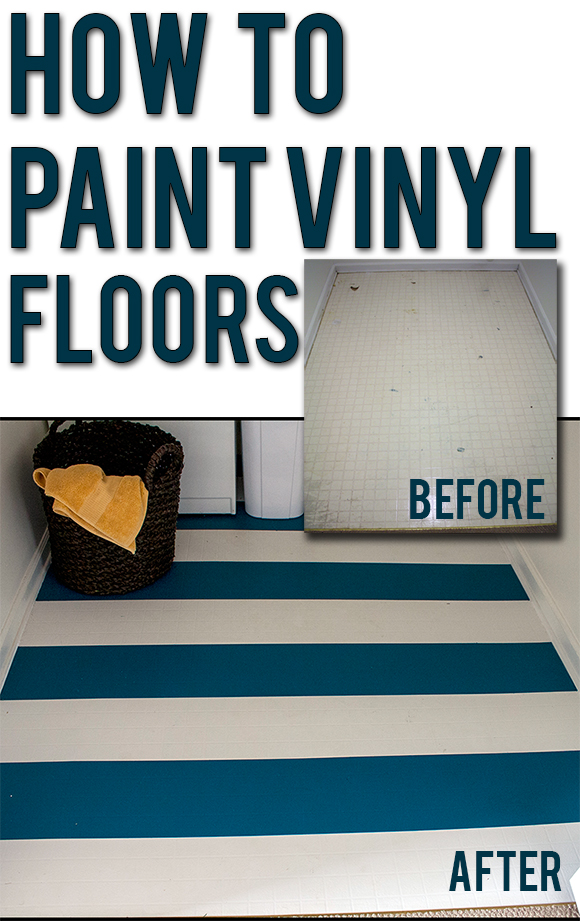
P.S.: If you’re looking for more easy-to-follow tutorials, make sure you swing by the project gallery. There are so many fun DIY ideas there, like how to install crown molding like the pros, or how to paint linoleum flooring. (YESSS!)
Original article and pictures take www.viewalongtheway.com site
Комментариев нет:
Отправить комментарий