If you love Fixer Upper, you'll love this simple tutorial on how to distress new wood into Joanna Gaines' signature Rustic Farmhouse and Shabby Chic style. In fact, our headboard is an exact replica of the one she has in her own bedroom!
This post may contain affiliate links. Read my full disclosure policy here.

Anyone else here a Fixer Upper fan?
I absolutely adore Chip and Joanna Gaines, and when I saw their home featured in an HGTV magazine, I immediately fell in love with her signature style. But the room I couldn't stop pining over was her bedroom……particularly the headboard.
Ohhh, I just L-O-V-E her headboard!!
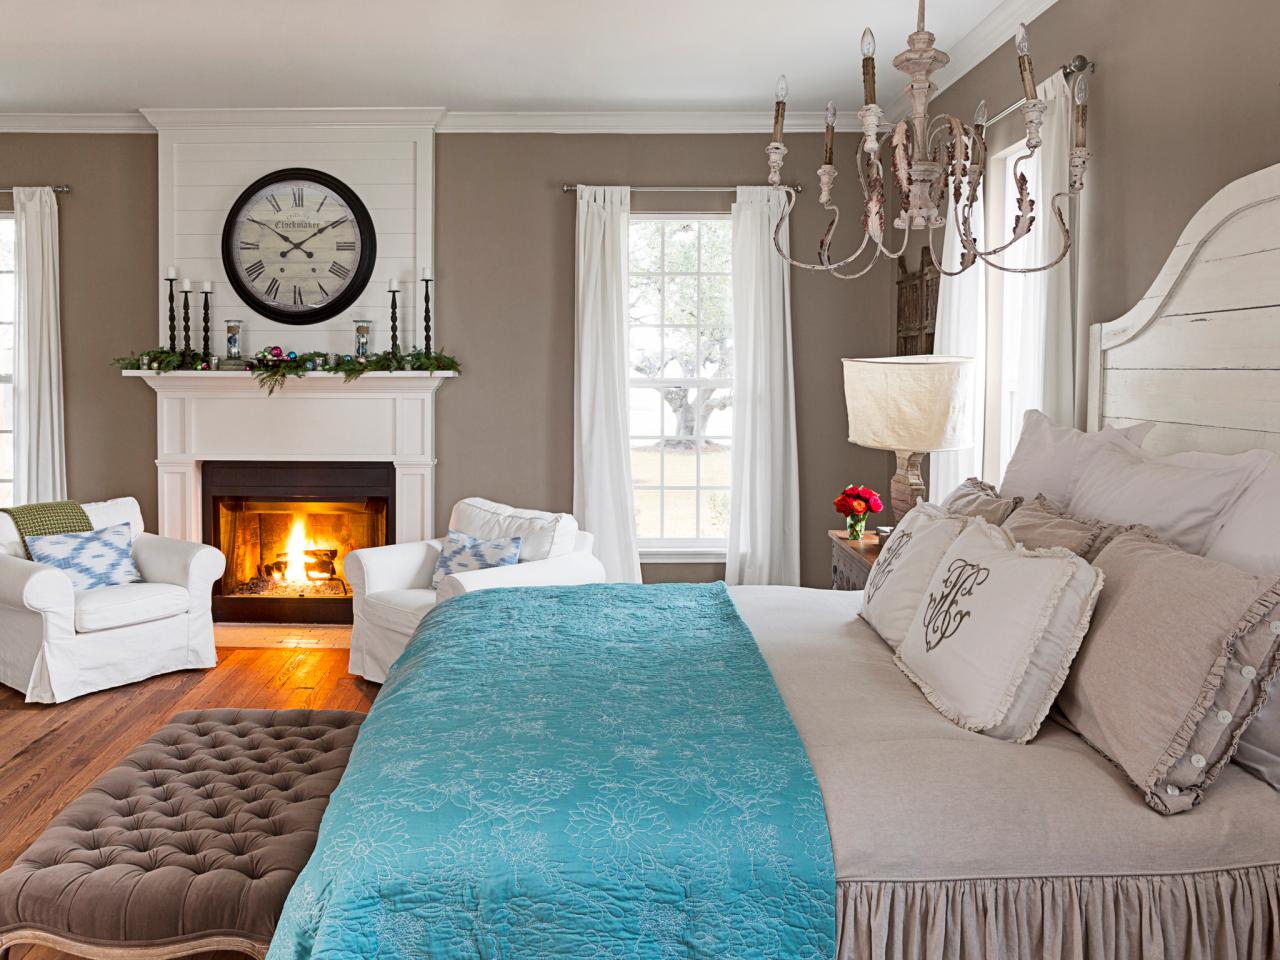
I had been on the lookout forever searching for just the right headboard, but could never find it. Here is was, in Joanna's bedroom…..well, at least half of it.
When I showed the photo to Joseph, I asked if he thought he might be able to make it for me. He tentatively said yes, so we drew the design out on graph paper, bought the supplies, and then invited Erik from Better When Built over one afternoon to help and lend his expertise.
Head's Up! We're now offering plans to build this headboard! Nab 'em HERE.
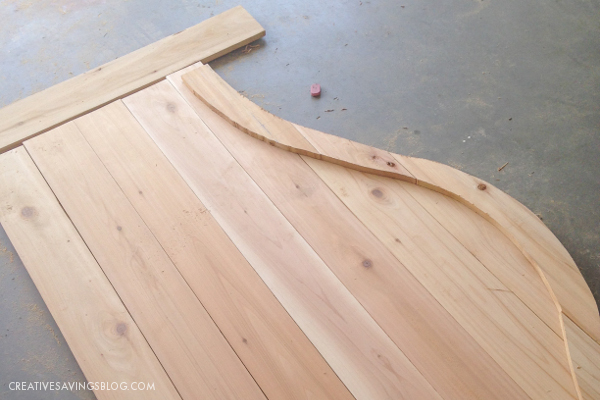
After fitting and securing all the pieces together, it was time to distress the headboard Fixer Upper style, all of which I have never done before to any kind of furniture, let alone brand new wood. Thankfully, I read a ton of tutorials online and was able to piece together what I needed to buy to achieve the end result.
Now that I know how to do this technique, I'm anxious to work a little Fixer Upper magic on all my other furniture pieces!
Supplies Needed:
- Water-based Primer
- Semi-Gloss White Paint
- Chocolate Brown Paint Sample
- Polyuréthane
- Paintbrushes {both bristle and foam}
- Sandpaper and Sanding Blocks
- Paper Towels or Rags
How to Distress New Wood:
Step 1: Sand furniture smooth {if needed}, and prime with one coat water-based primer.
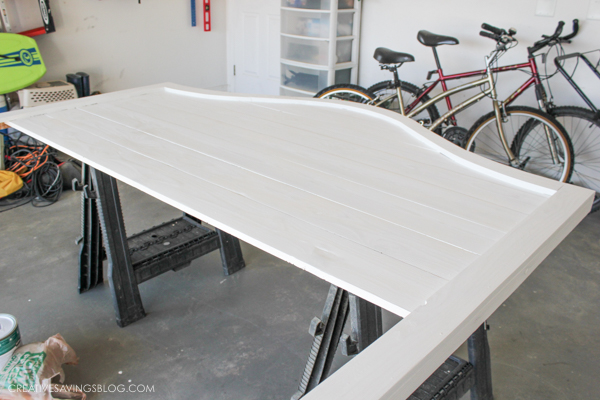
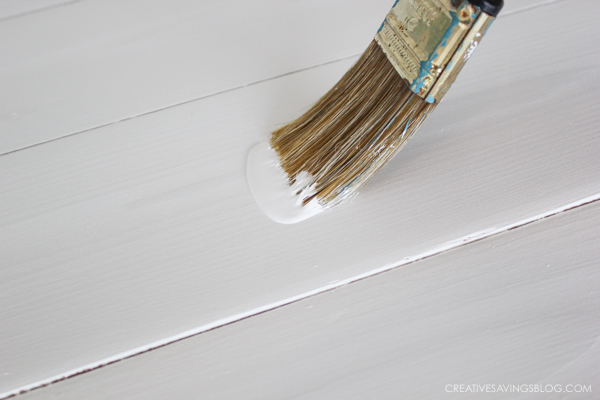
Step 2: Paint with a semi-gloss paint in a white or ivory color. I used the color Polar Bear from the Behr line at Home Depot. Two coats of this were enough to cover all the crevices.
Step 3: Now on to the distressing part……which was a form of distress in itself. I was so worried about messing up! But thankfully, you really can't.
Using a sanding block, sand along all the edges where there would most likely be natural wear. I alternated between sanding hard in some spots and soft in others so it looked “random”.
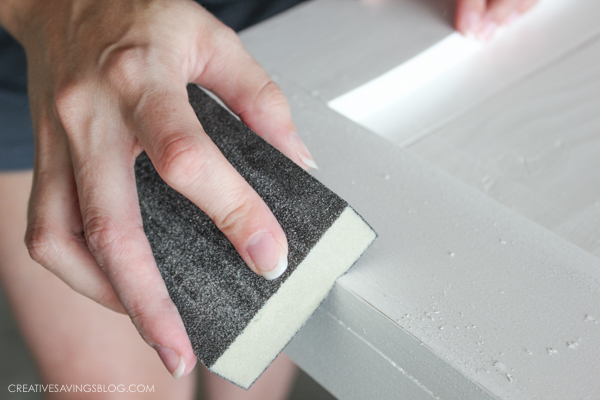
For the slats in between where the boards fit together, we folded sanding paper halfway and ran it inside the grooves so they would stand out a little bit more too. Sorry I don't have a photo of that step!
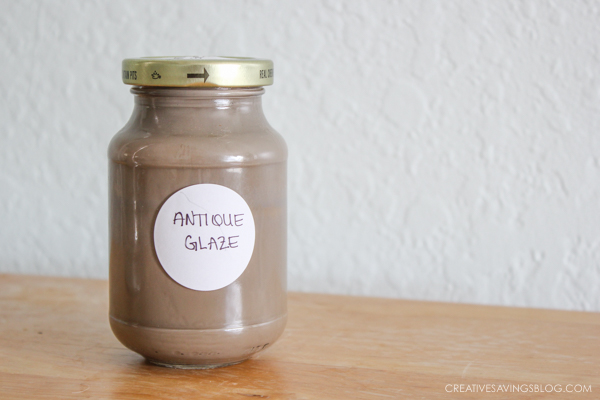
Step 4: Mix a 50/50 ratio of chocolate brown paint {I used Glidden's Monterey Cliff} with a can of Behr's Faux Glaze. I had to ask where this was because I couldn't find it at first, but it's in the paint section at Home Depot.
Then paint a medium amount {not too much, but not too little} of the paint onto furniture and wipe off immediately with a paper towel or rag. The paint settles into the grooves you've just sanded and gives it that antique/Pottery Barn/Fixer Upper look.
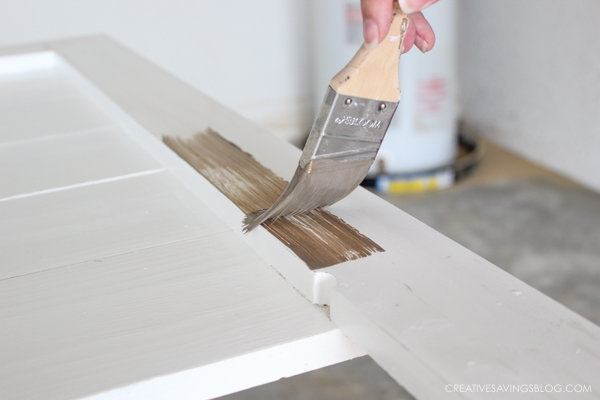
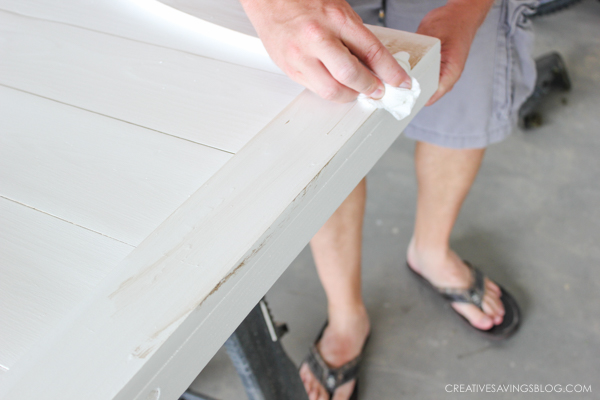
At first, I didn't think I would like the way it turned out at all, because it looked so “dirty” next to the stark white of the rest of the headboard, but when it was all said and done, it turned out exactly as I had imagined!
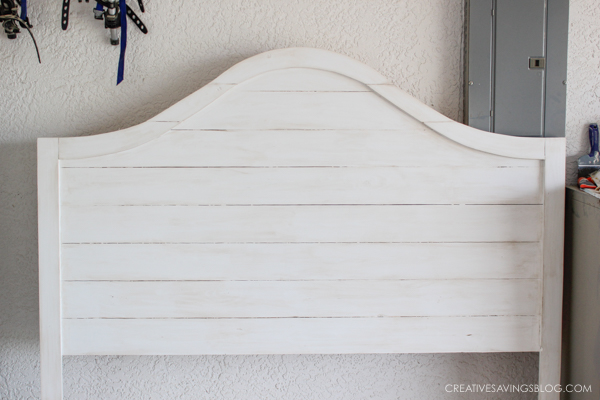
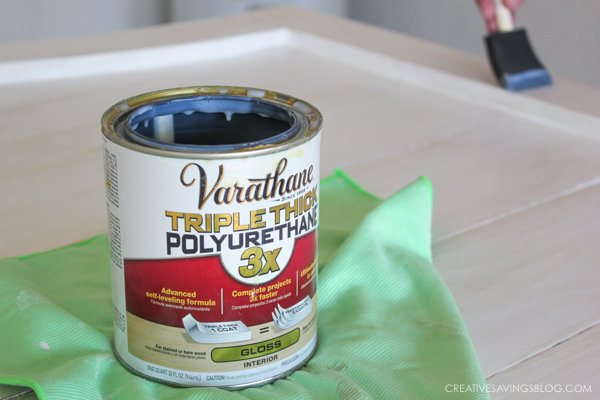
Step 5: When everything is dry, give your piece of furniture a final coat of Polyurethane to seal everything in and give it a nice shine.
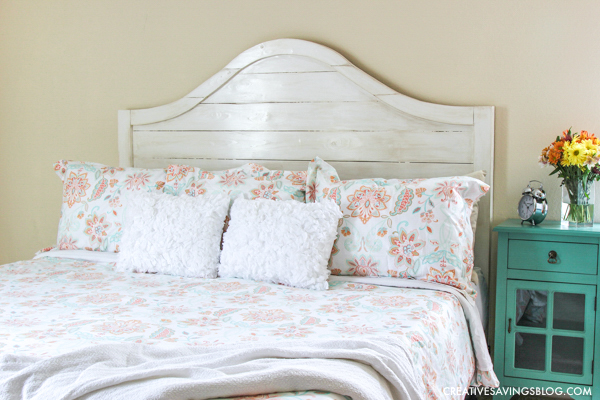
I still had plenty of the brown paint/faux glaze mix, so I popped into a jar and labeled Antique Glaze to use it later. There's so many other pieces of furniture I want to do this to now!
I thought about calculating what I spent minus the wood for this project, but I have so much product left over {paint, glaze, polyurethane, etc} that it makes it really difficult to figure out. The nice thing is though, I now have all the supplies to do this technique again and again.
If you're interested in building the headboard like we did, you can get the plans below:
OR, if you prefer to buy a headboard and want to save yourself the work, here are similar options that would still complement your style.

Aberdeen Wood Headboard | French Countryside Headboard
Are You a Fan of the Show, Fixer Upper?
Disclosure: Some of the links in the post above are affiliate links. This means if you click on the link and purchase the item, I will receive an affiliate commission. Regardless, I only recommend products or services I use personally and believe will add value to my readers. Read my full disclosure policy here.
Original article and pictures take kalynbrooke.com site
Комментариев нет:
Отправить комментарий