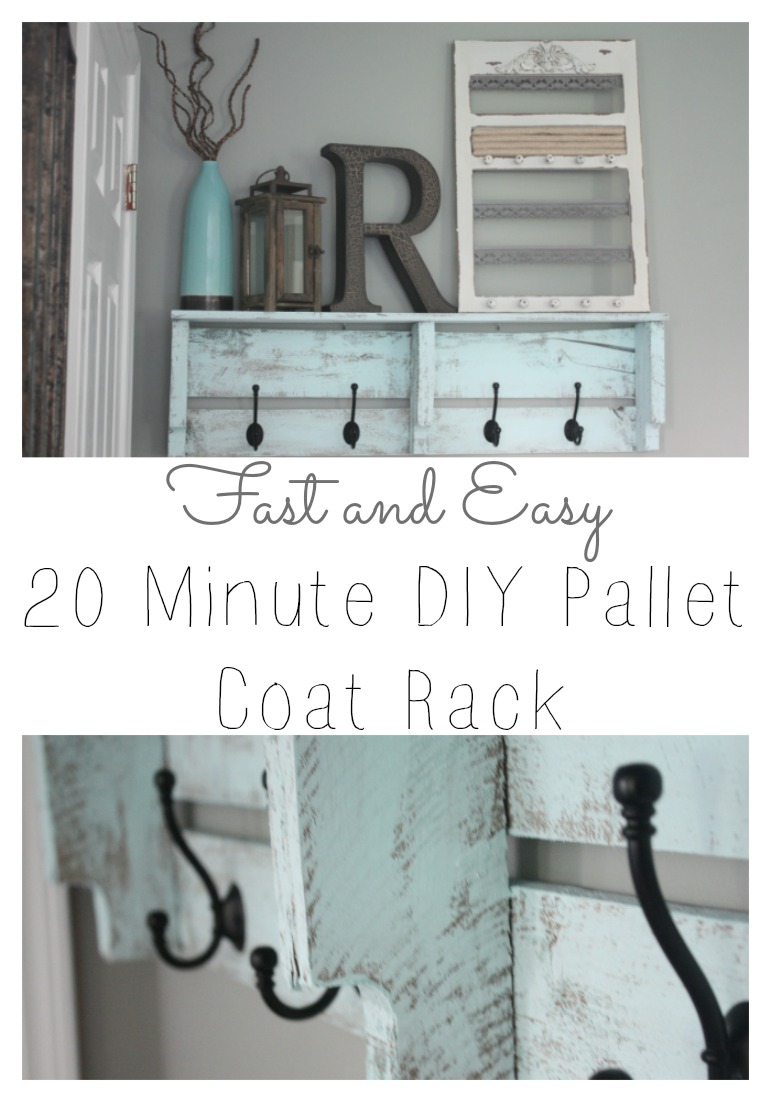
I am so excited to share this SUPER EASY DIY pallet coat rack with you today! Since we made the first one, we have had so much interest. It is way too easy {and cheap} to not share with you!
Be prepared for lots of pics I like to be pretty detailed if I do a tutorial, although…I still manage to forget a step from time to time, so if I do~forgive me and just ask! {And… be prepared for a fine looking hunk in the photos. Sorry ladies…he is taken!}
So, let’s get going!
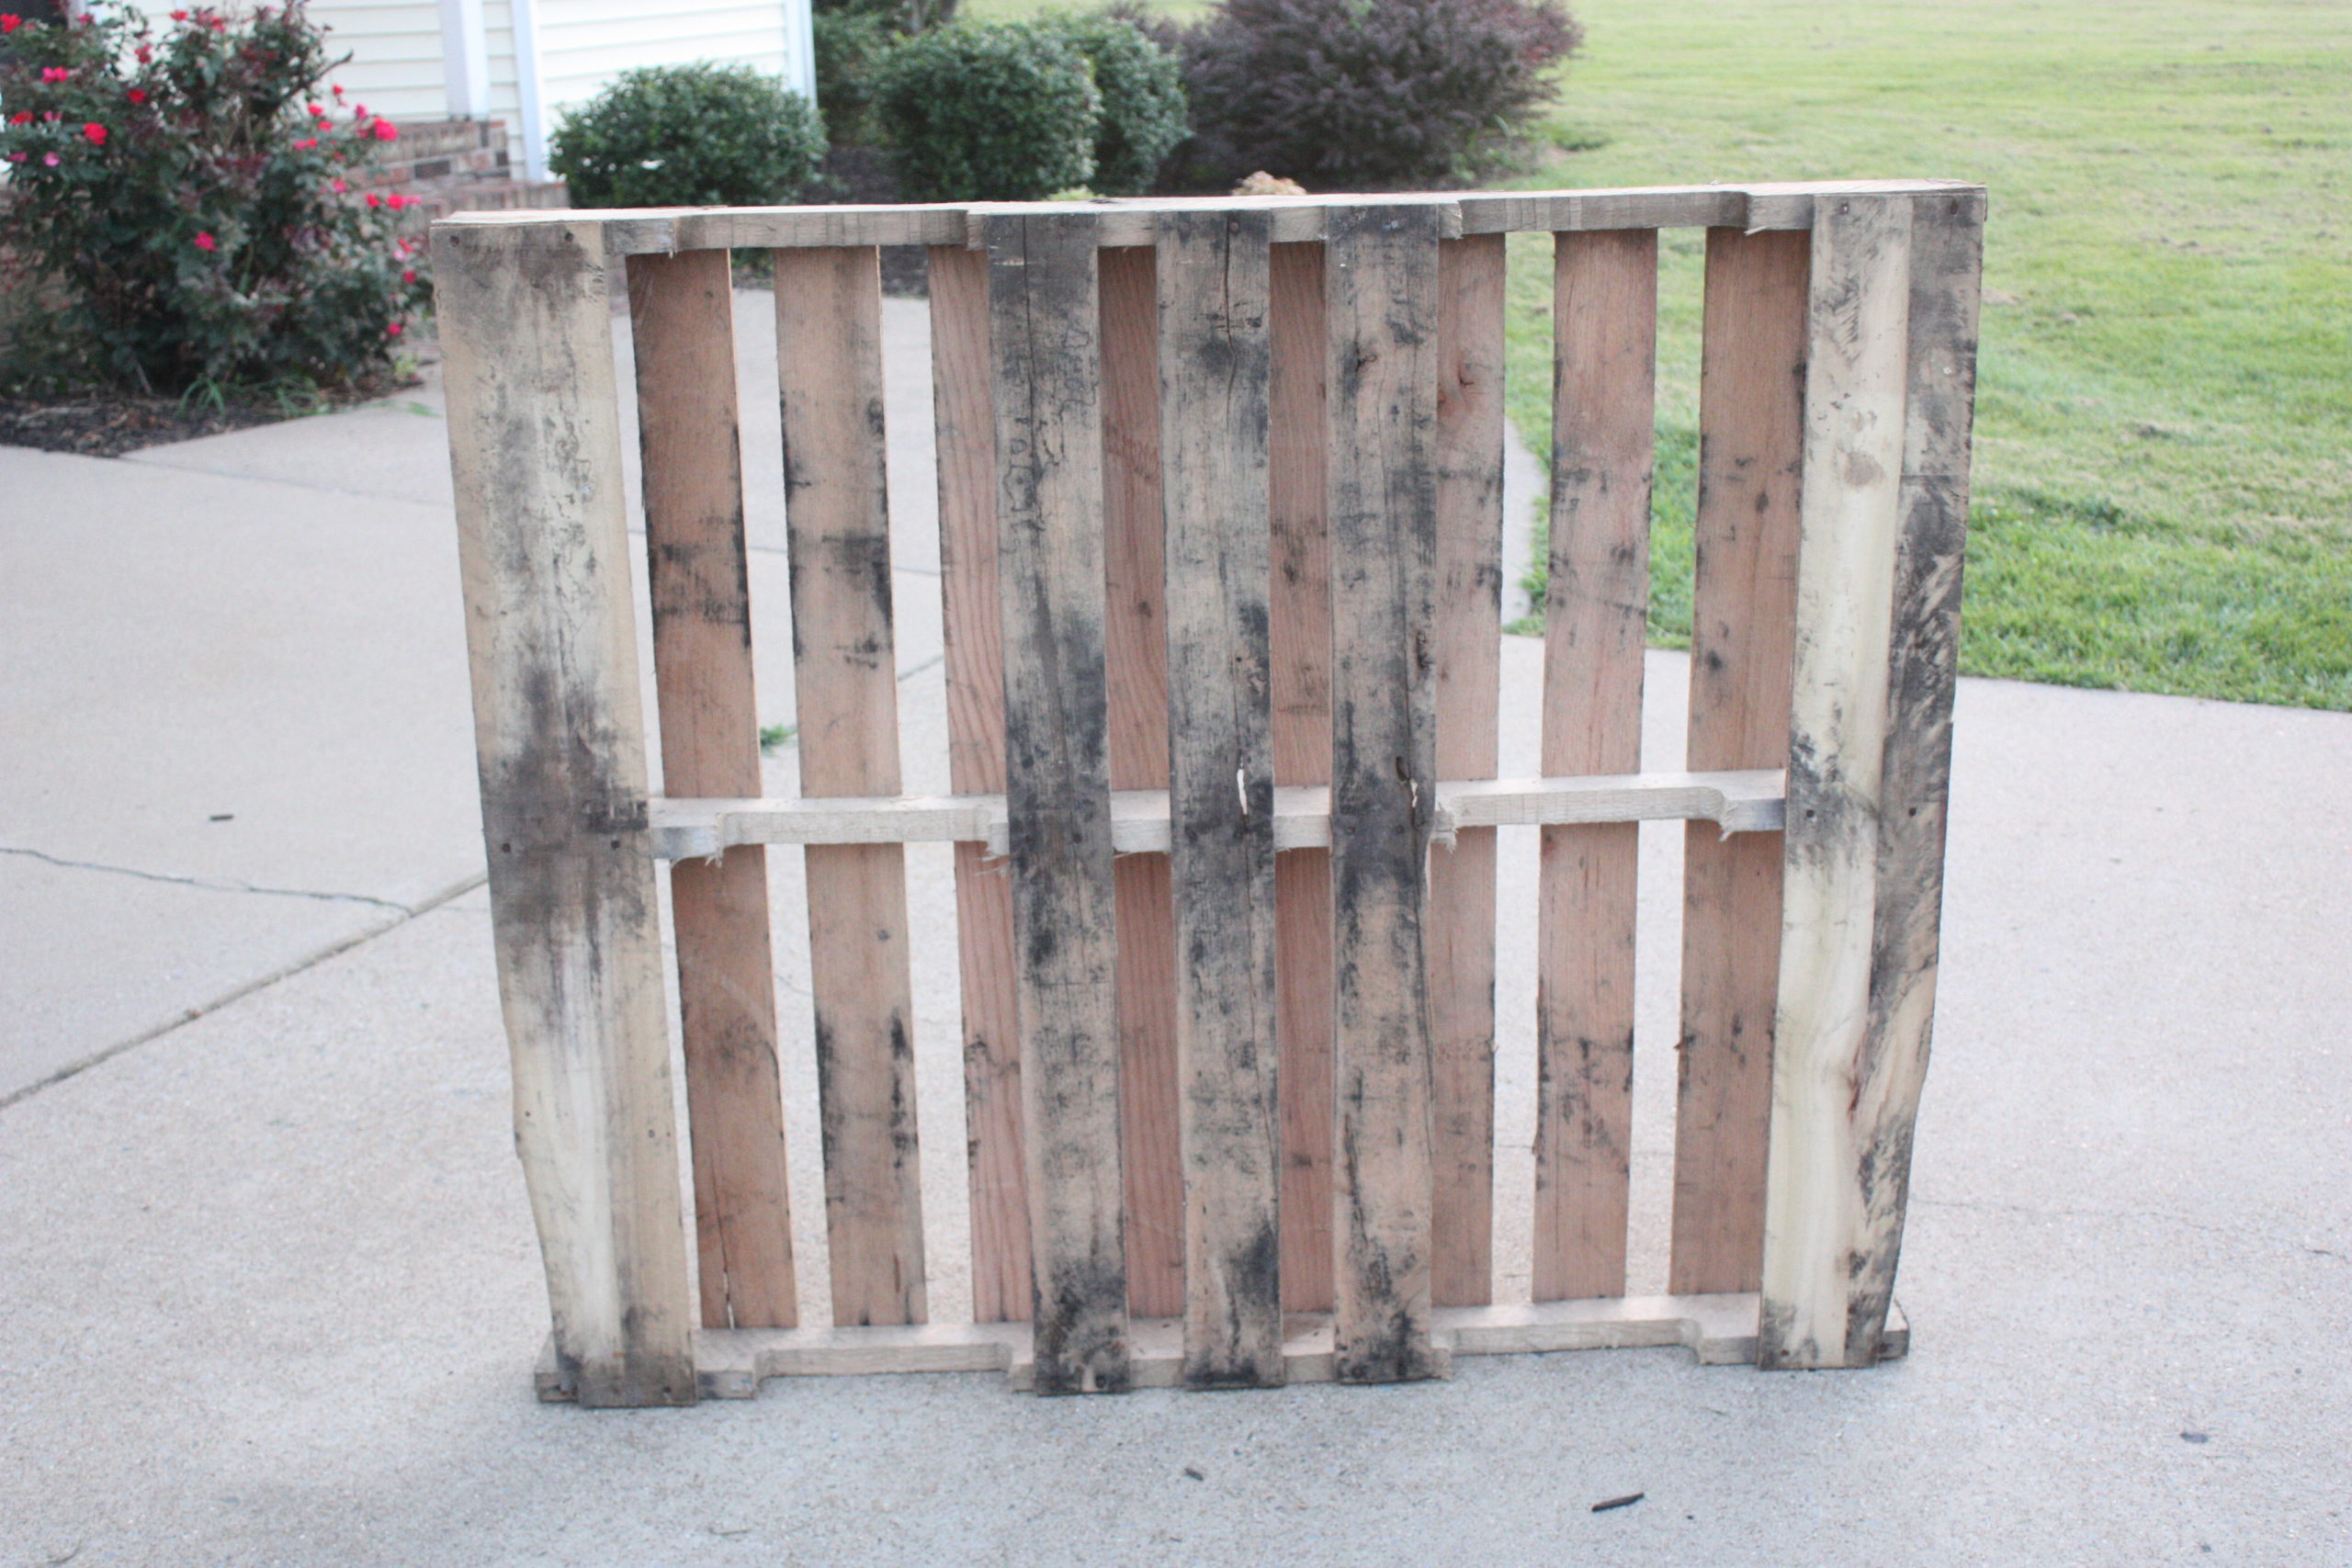
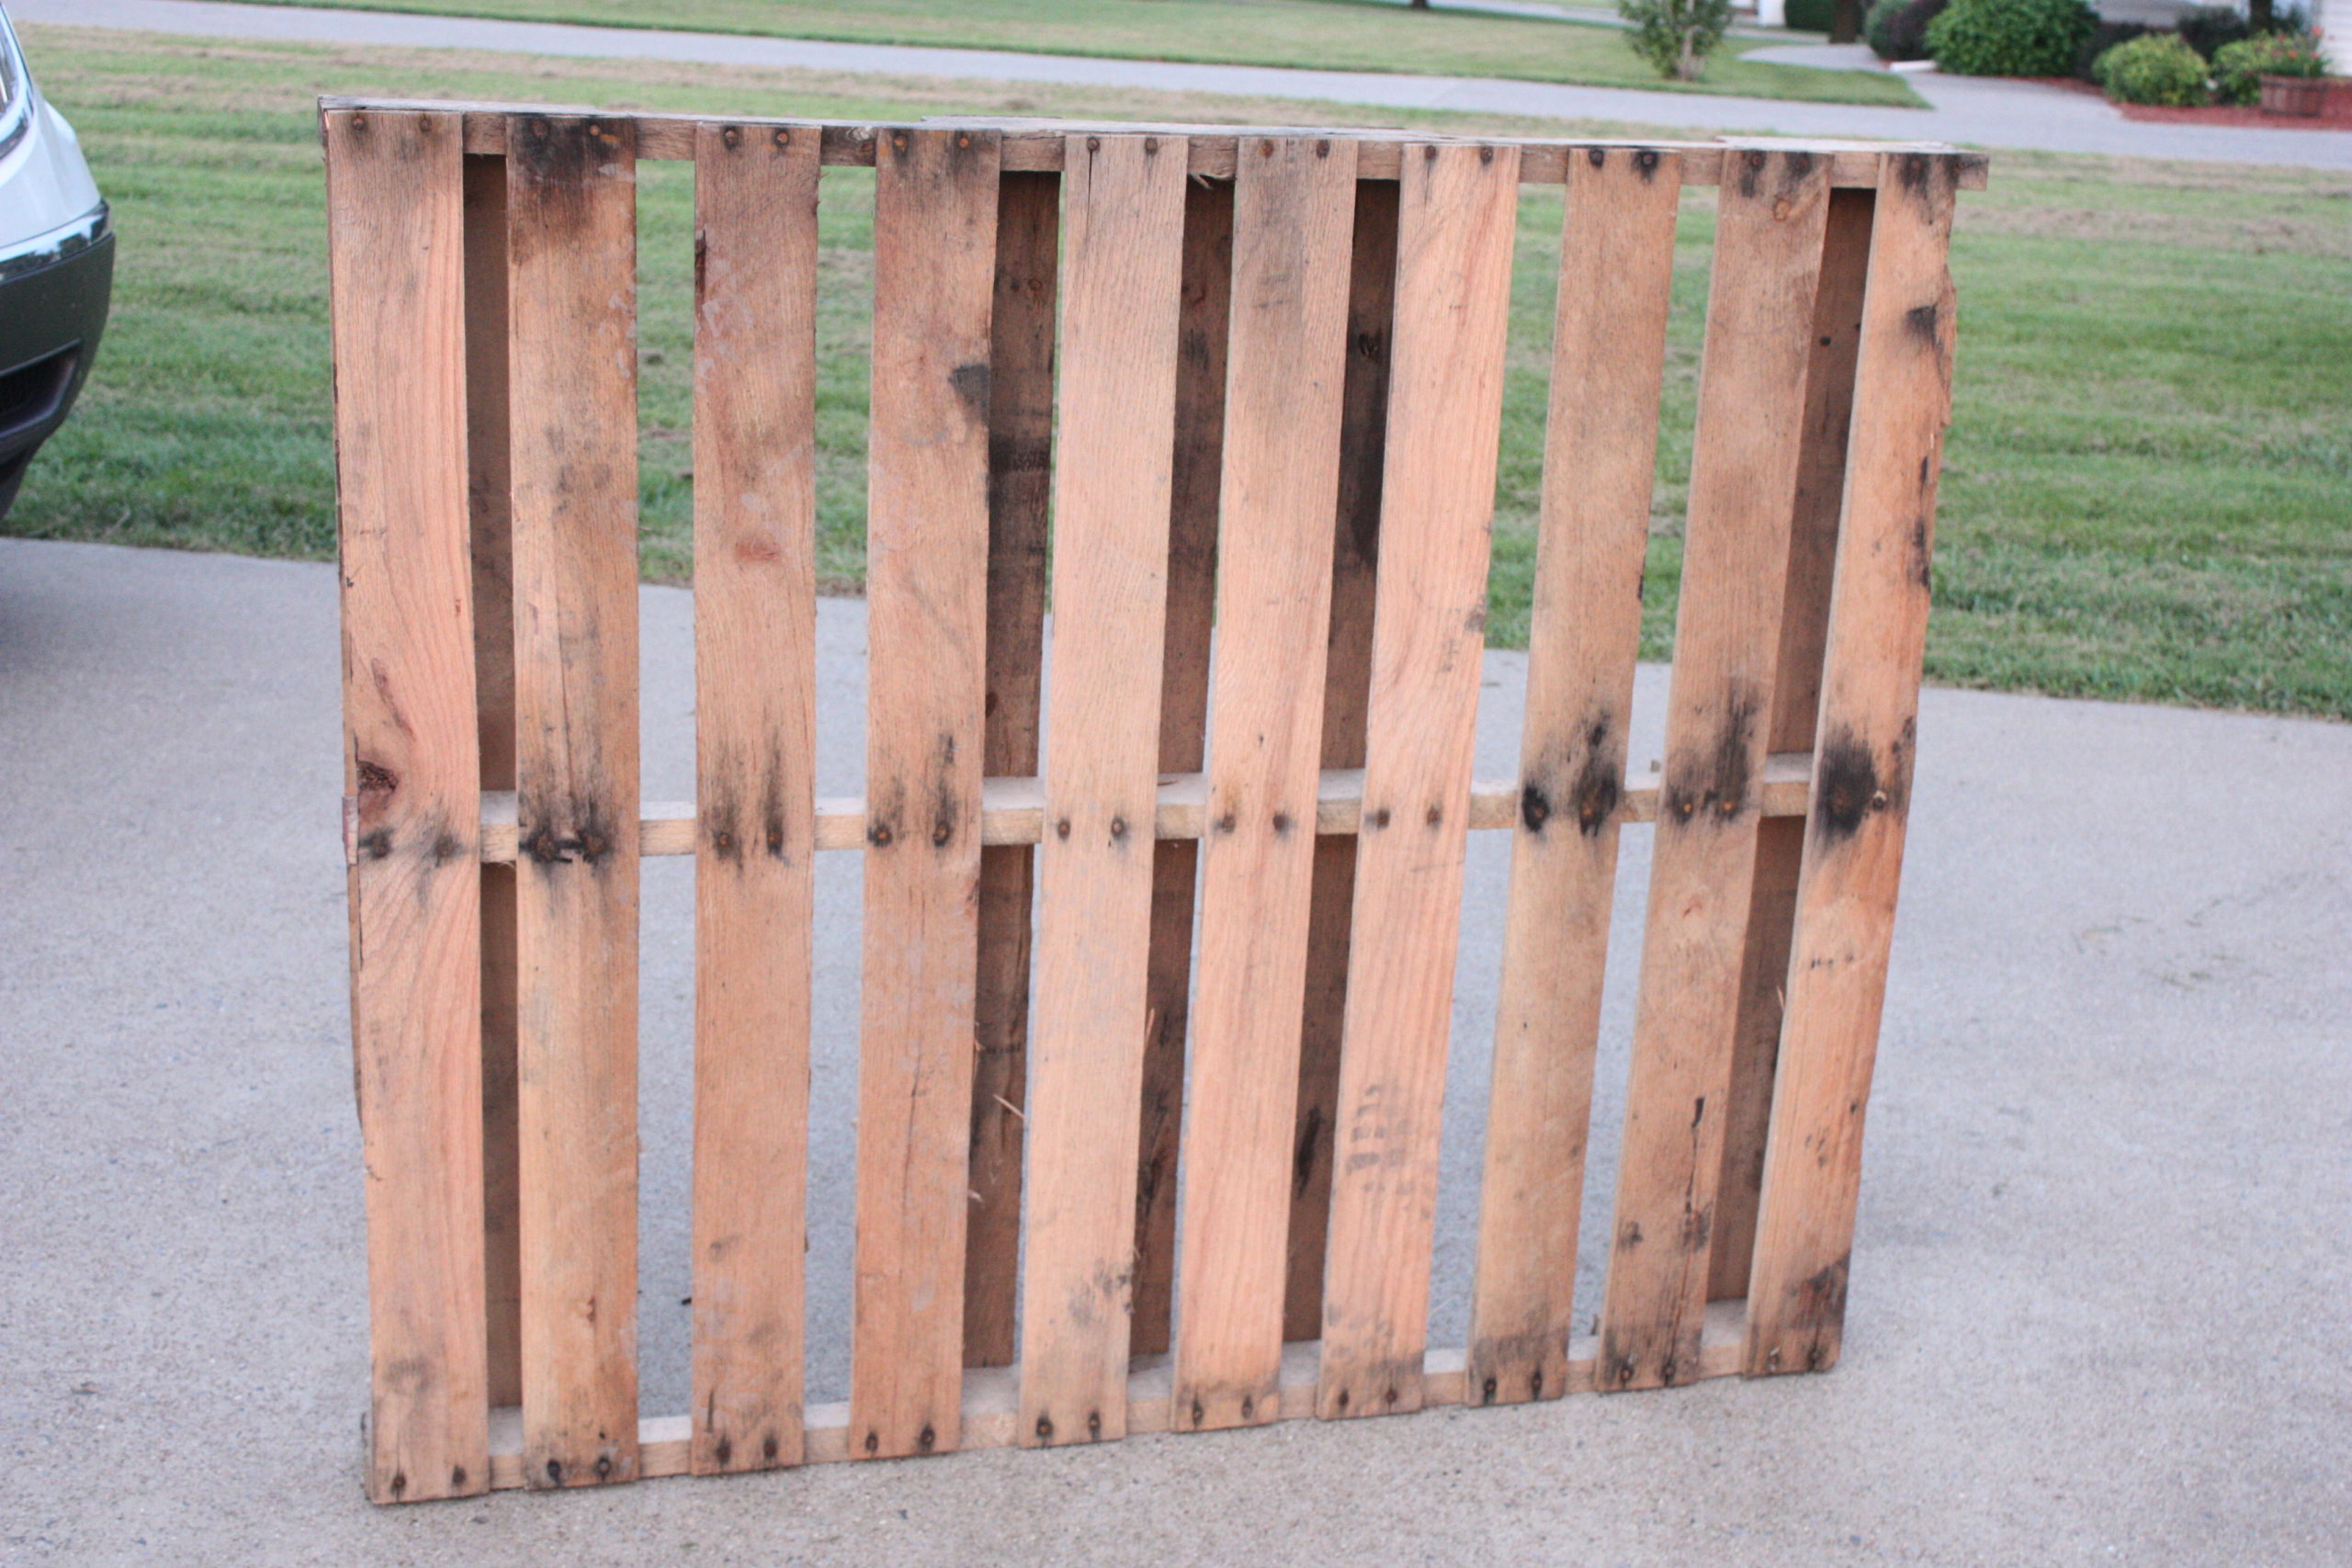
First off, find a pallet! (HA) There actually are certain types that are better than others. {I am lucky because I am able to find pallets all day long at my workplace and at my husband’s work for free.} ALL can be used to make a coat rack, but for the EASIEST way, chose one that is made like this one:
Ok..so after you find your pallet, you are ready to get started! This whole process takes my husband about 10 minutes {dead serious}.
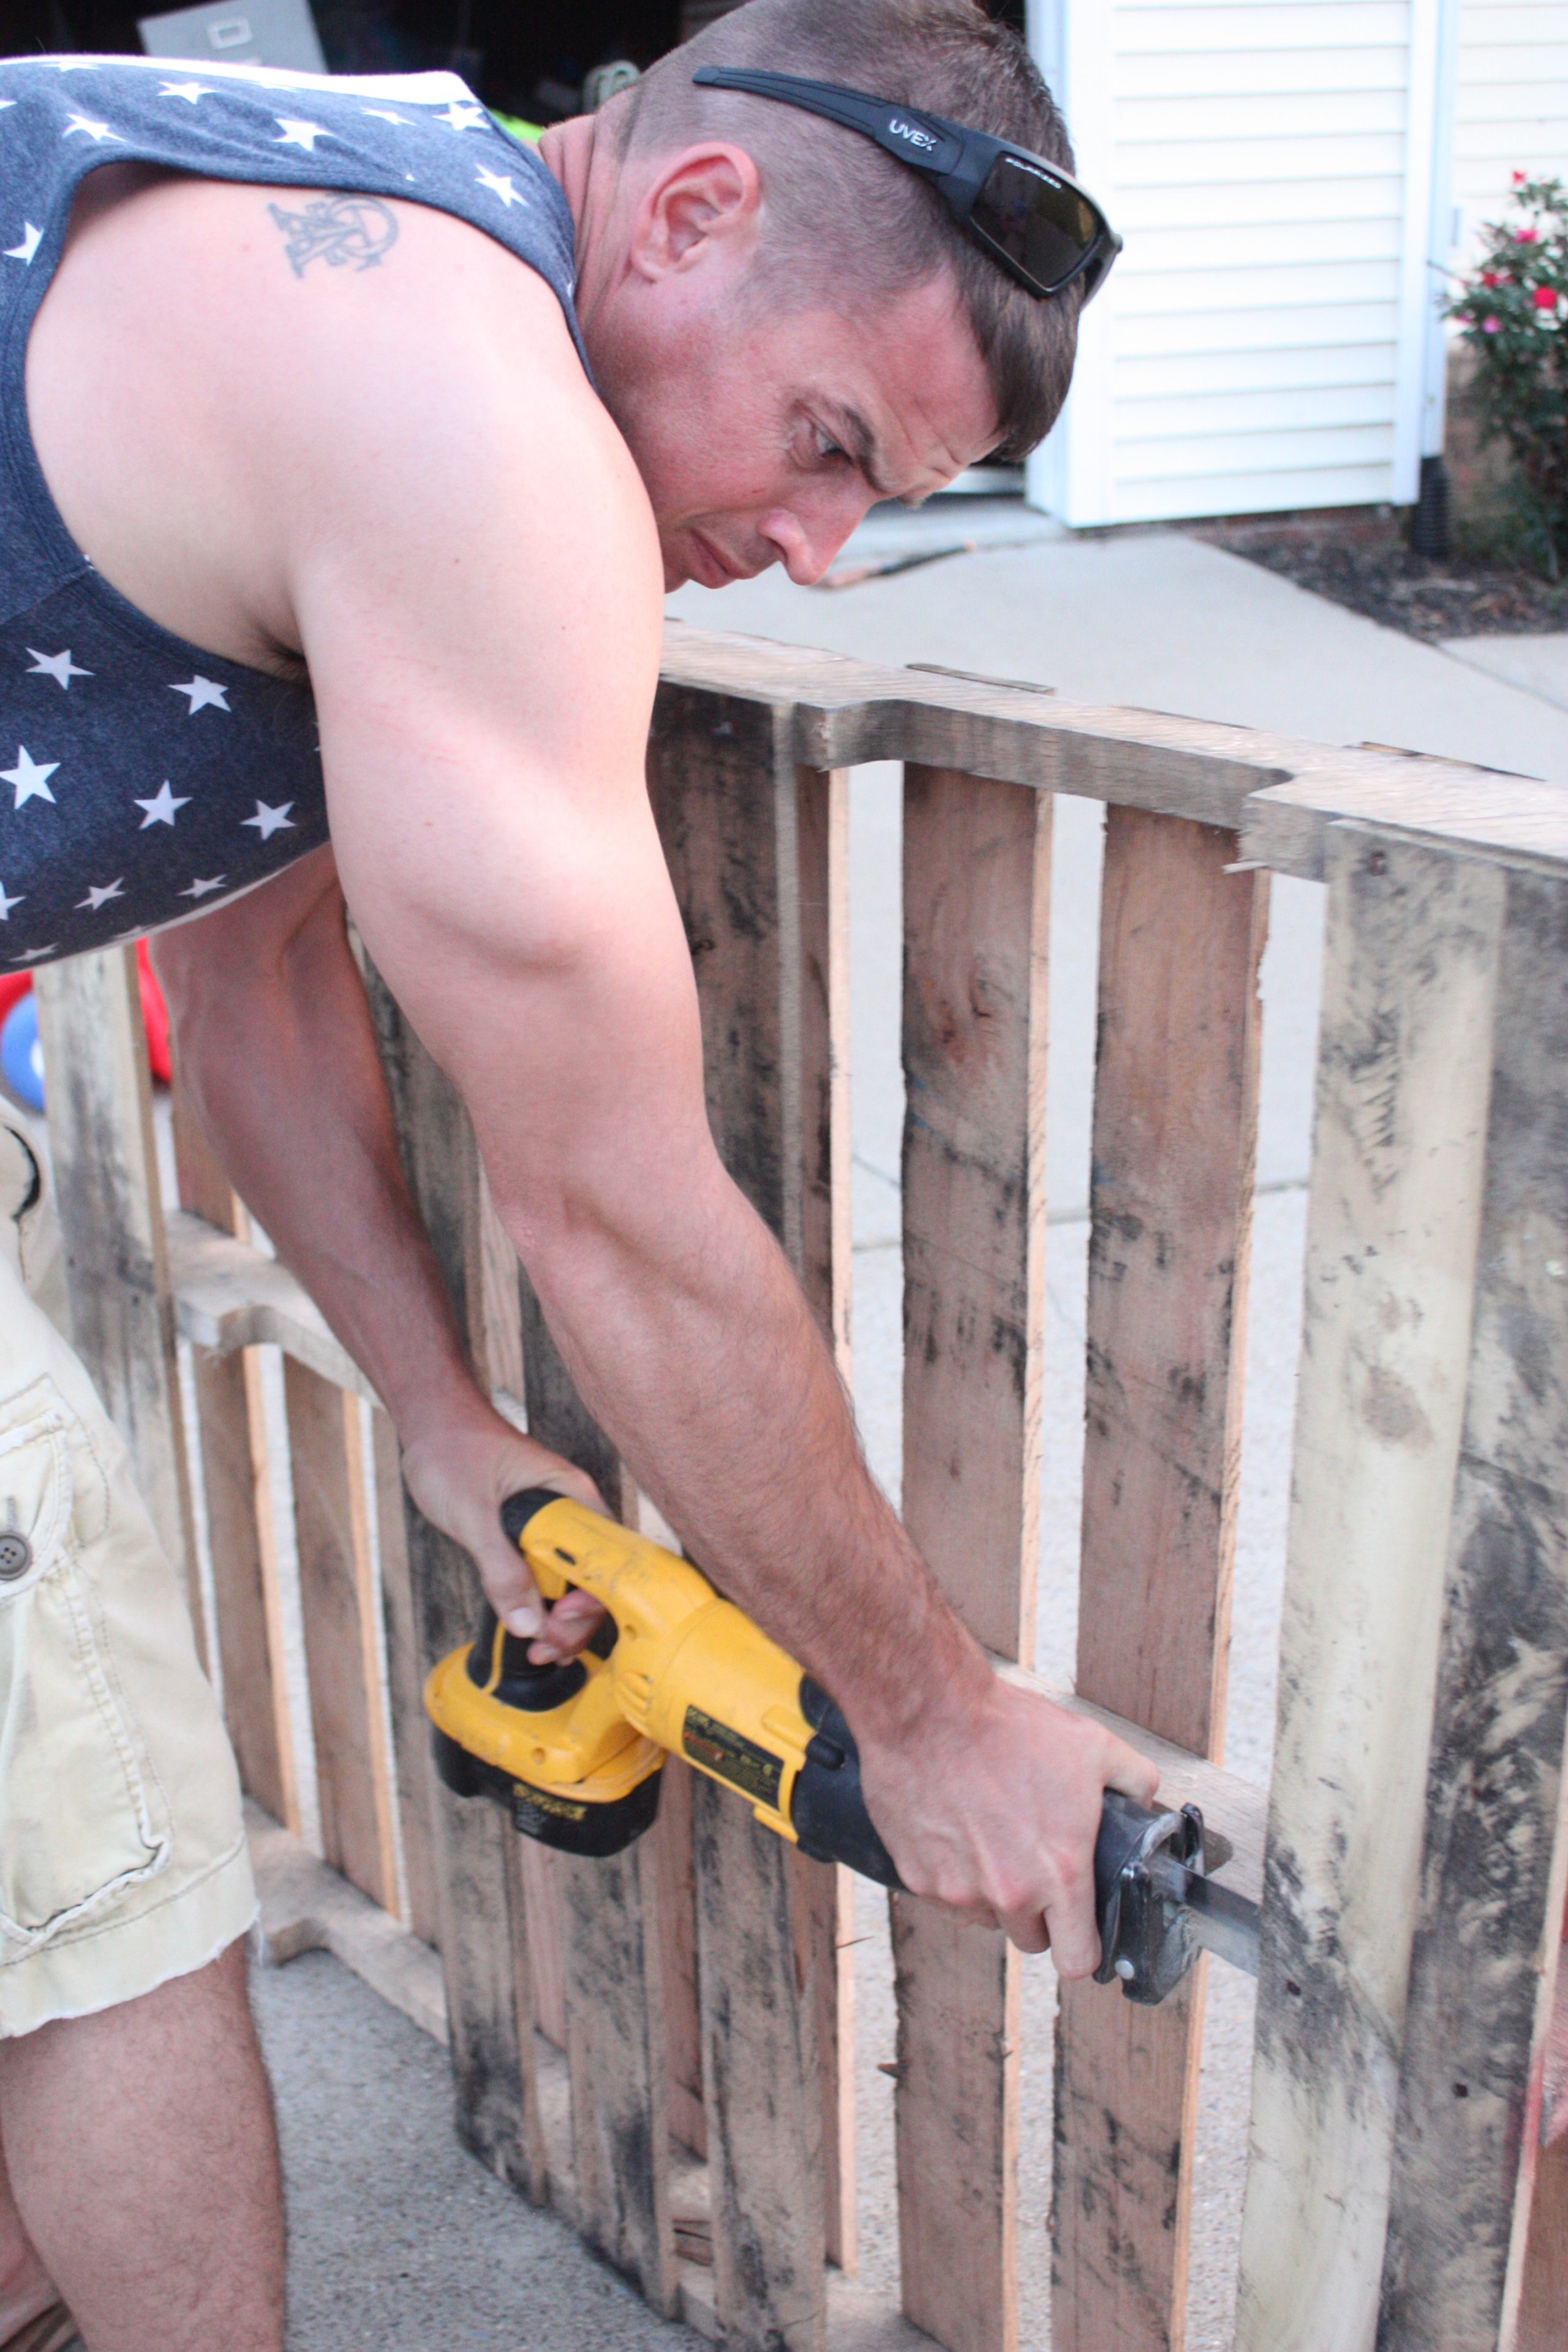
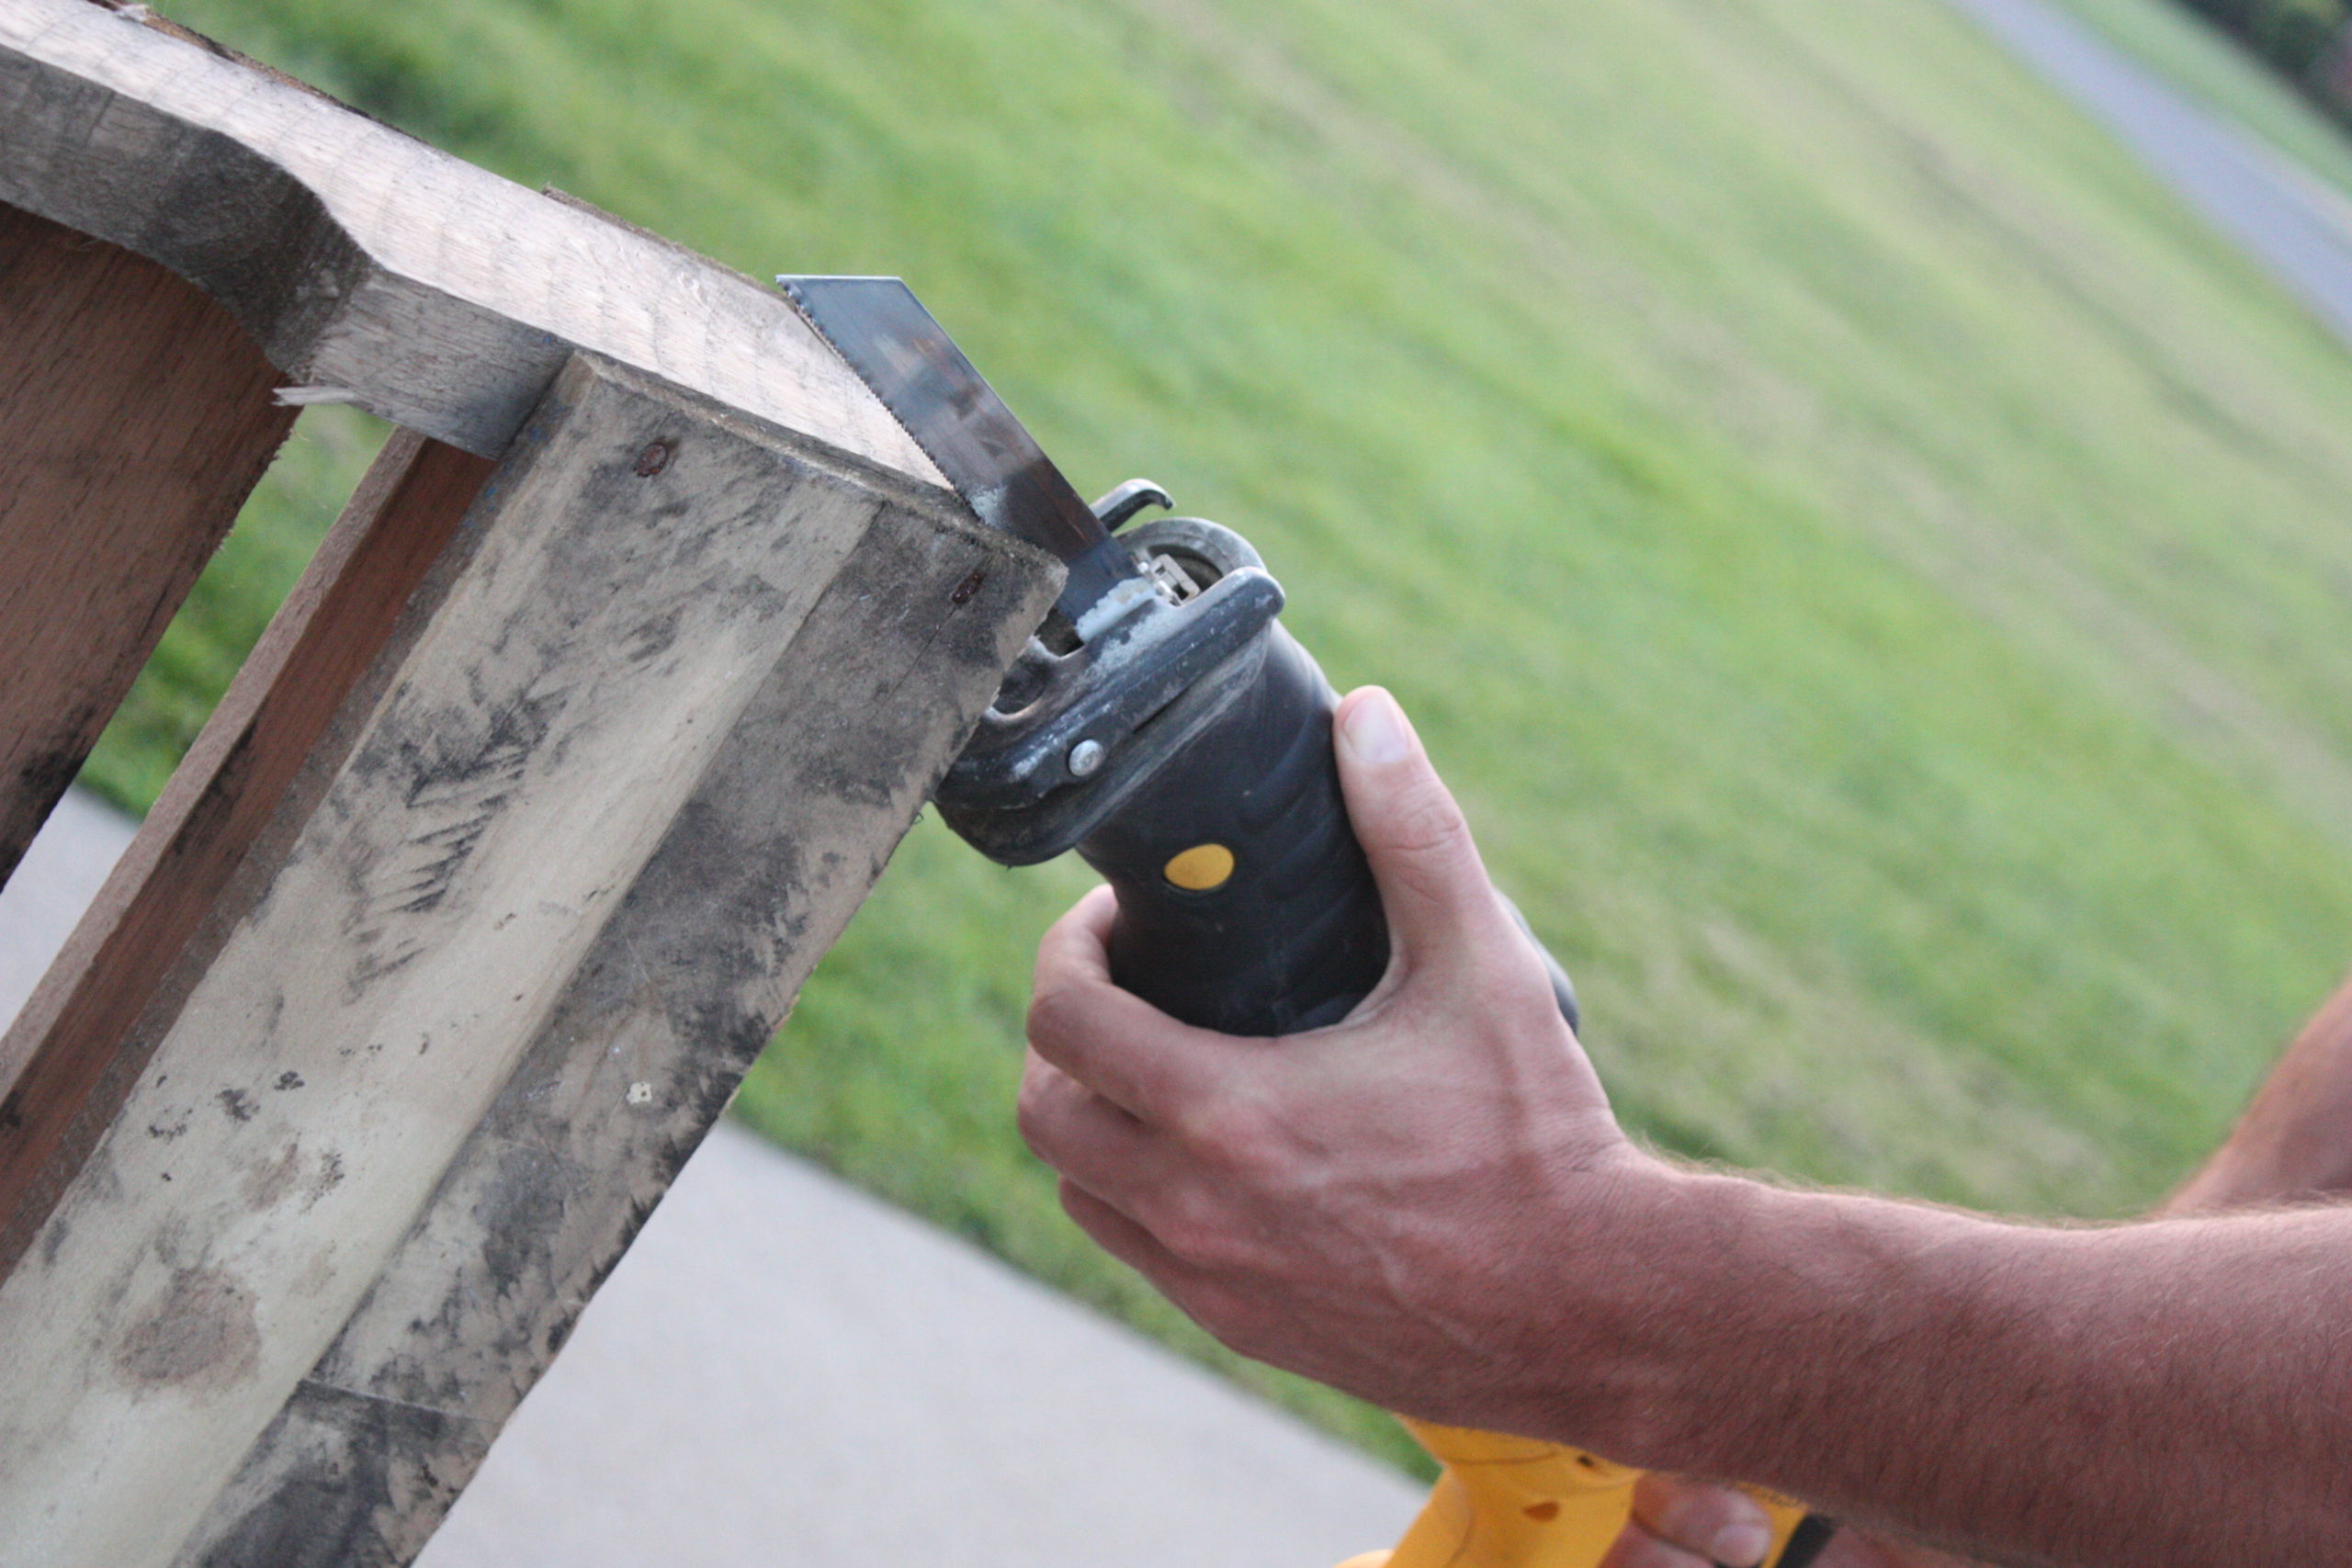
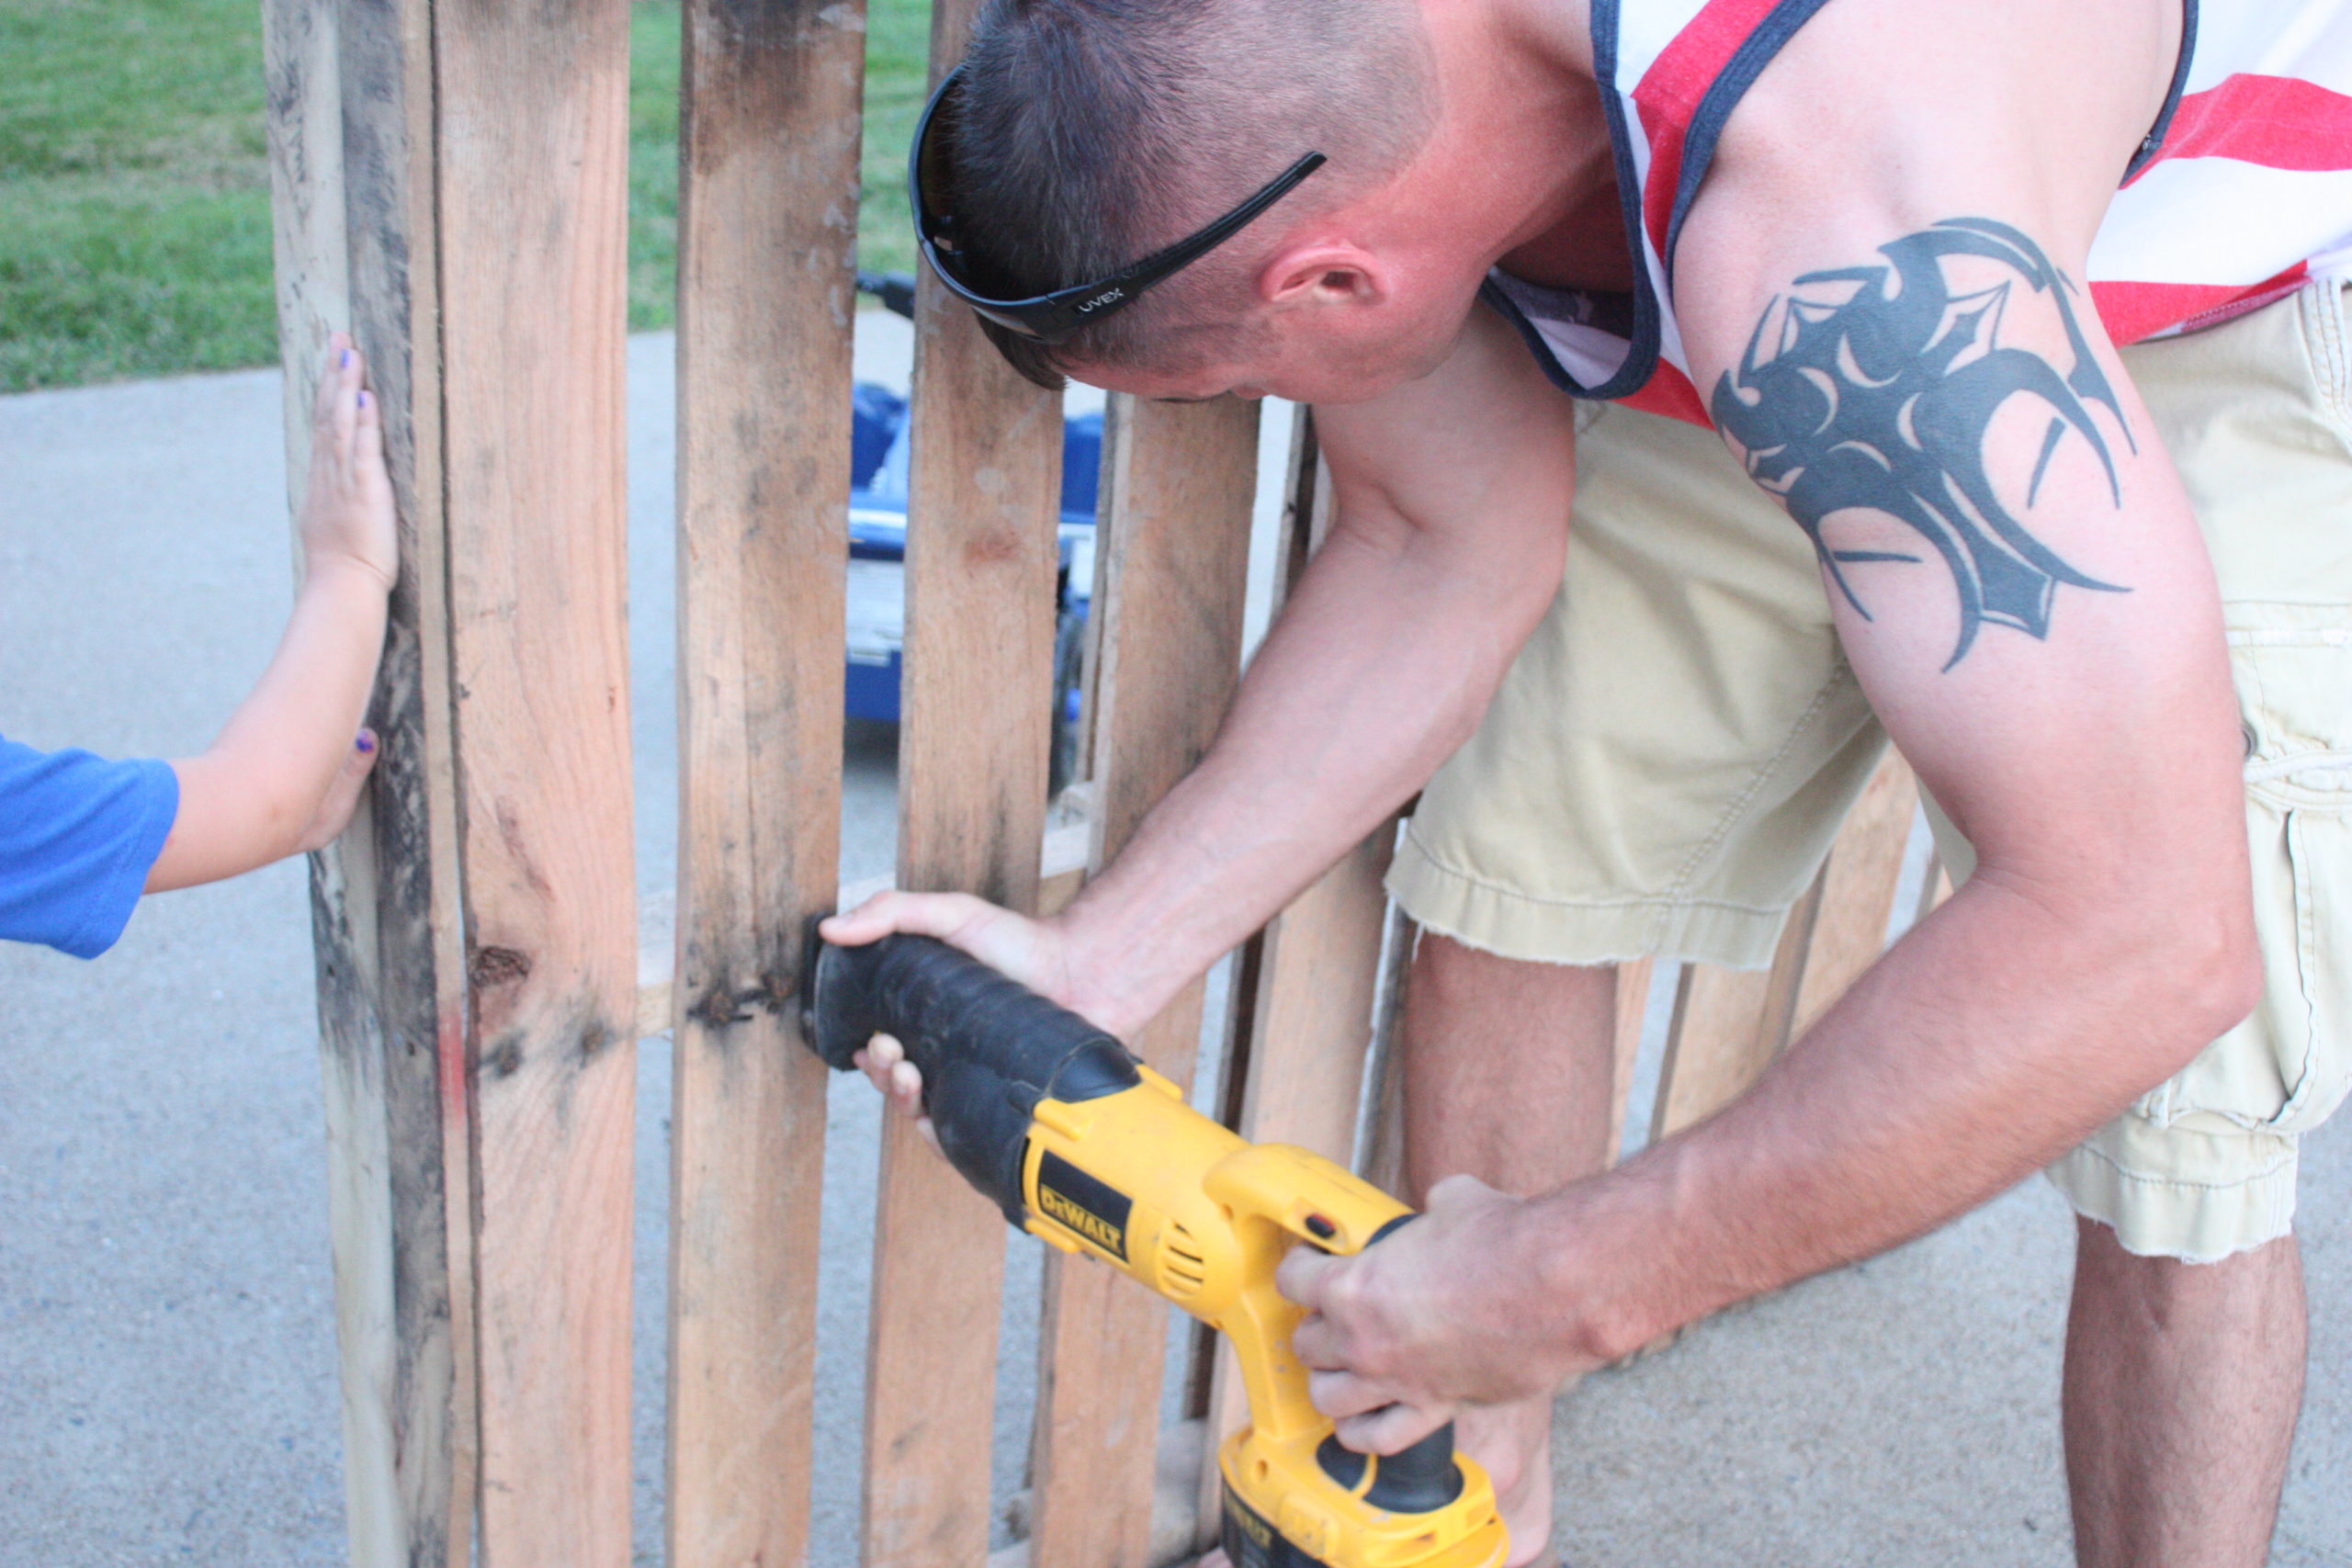
First, take a sawzall and cut off your end board. {Look at those muscles!} You will be using this board as your “shelf” later. It cuts right through the nails like nobody’s business. It may help to have someone holding the pallet because it really shakes. My hubs doesn’t need the help, but I know if I was doing it, I would.
After you get the board cut off, you will take it and place it on top of the pallet. You can see in the picture very clearly where to place it.
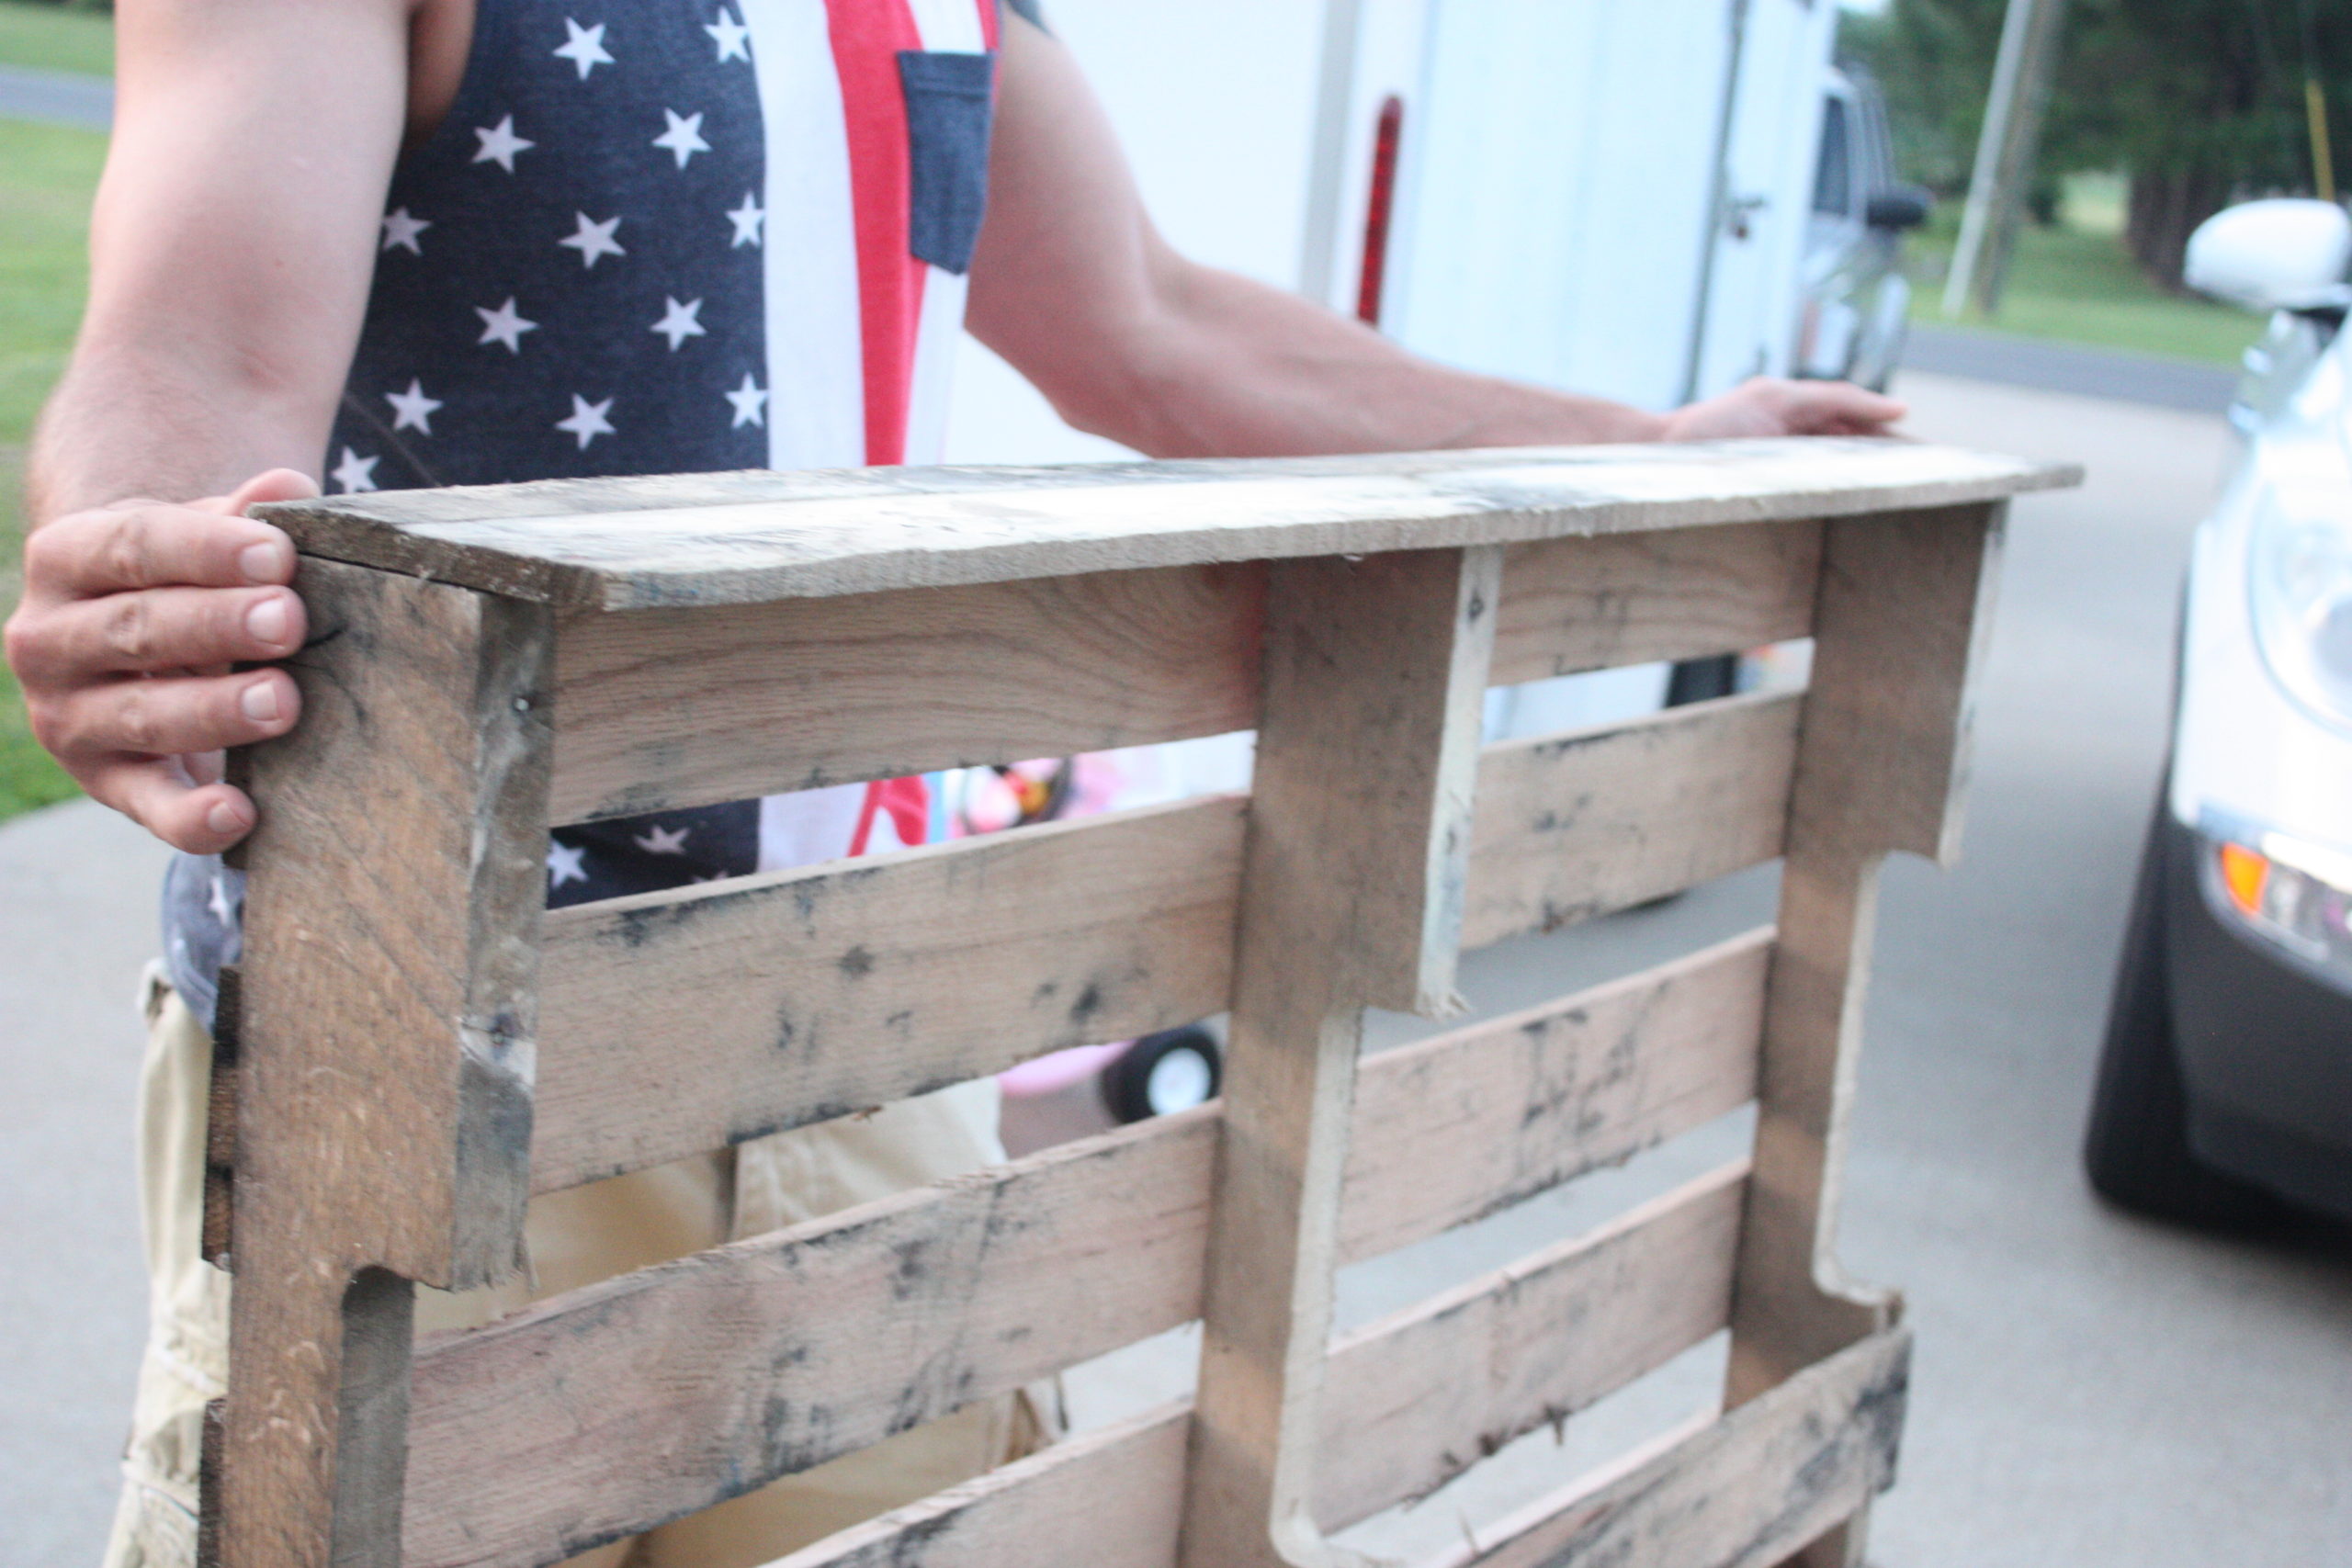
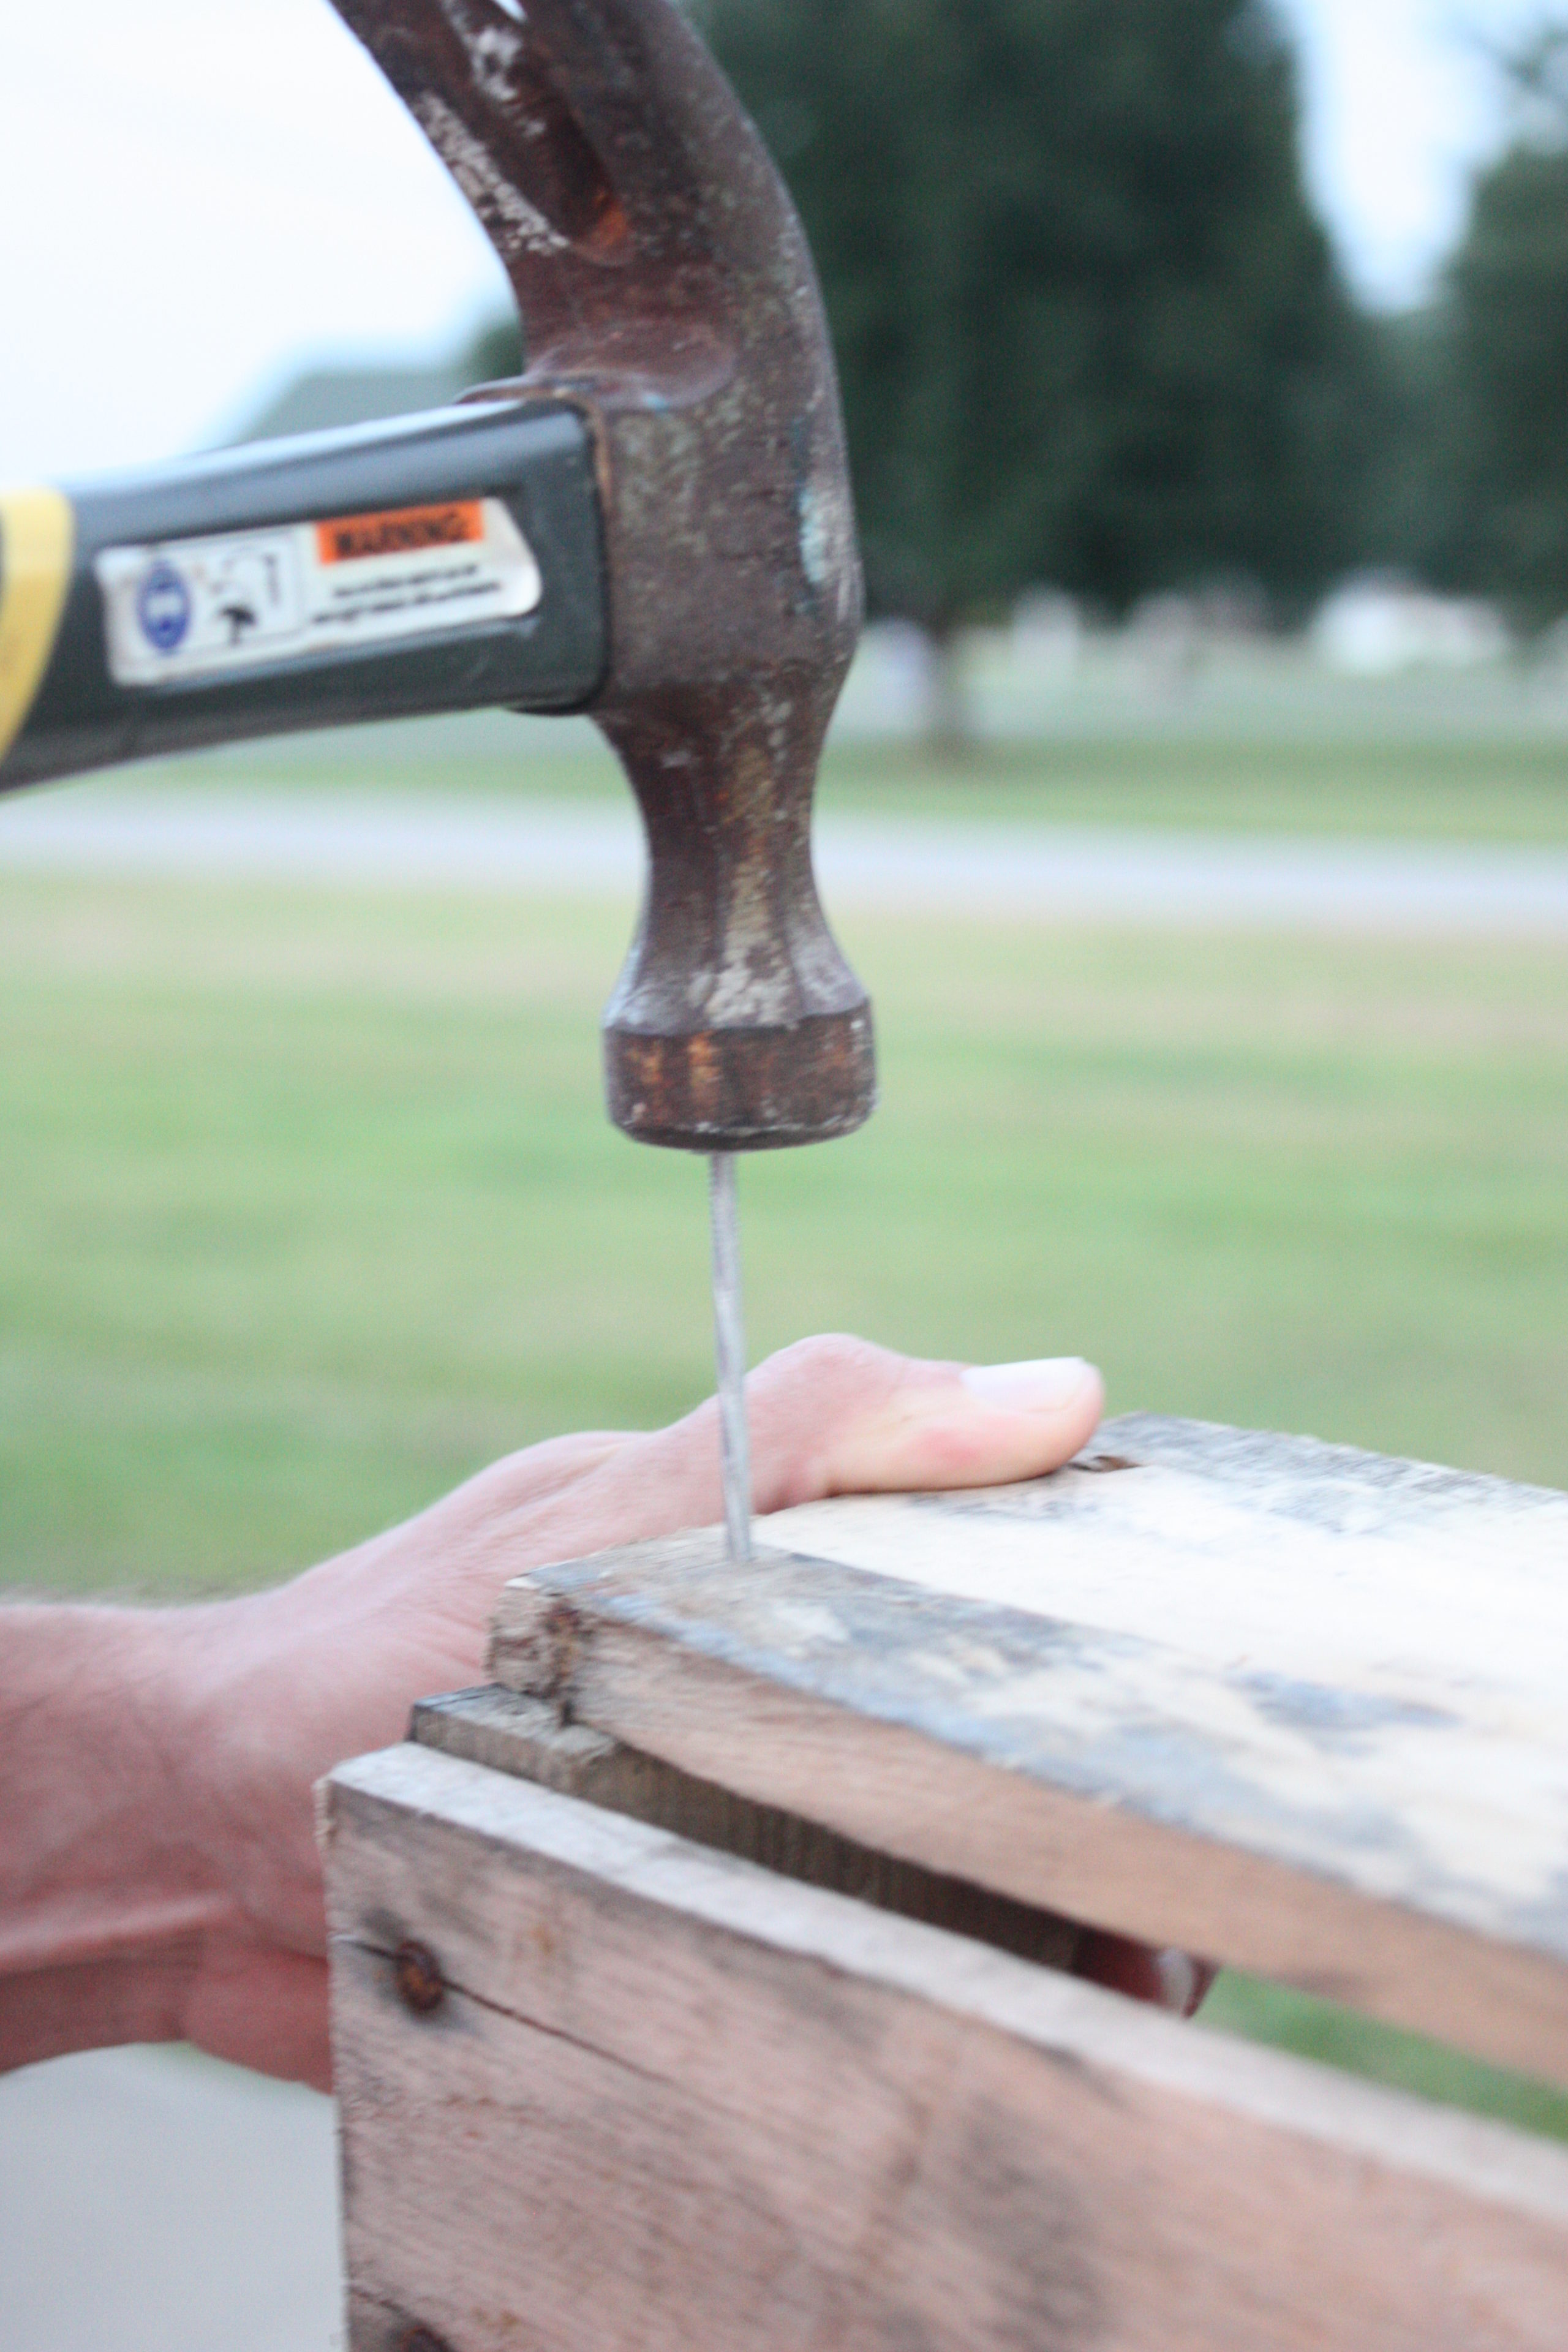
After you get the board placed across the top of the pallet, you are ready to nail it on. This board will be your shelf!
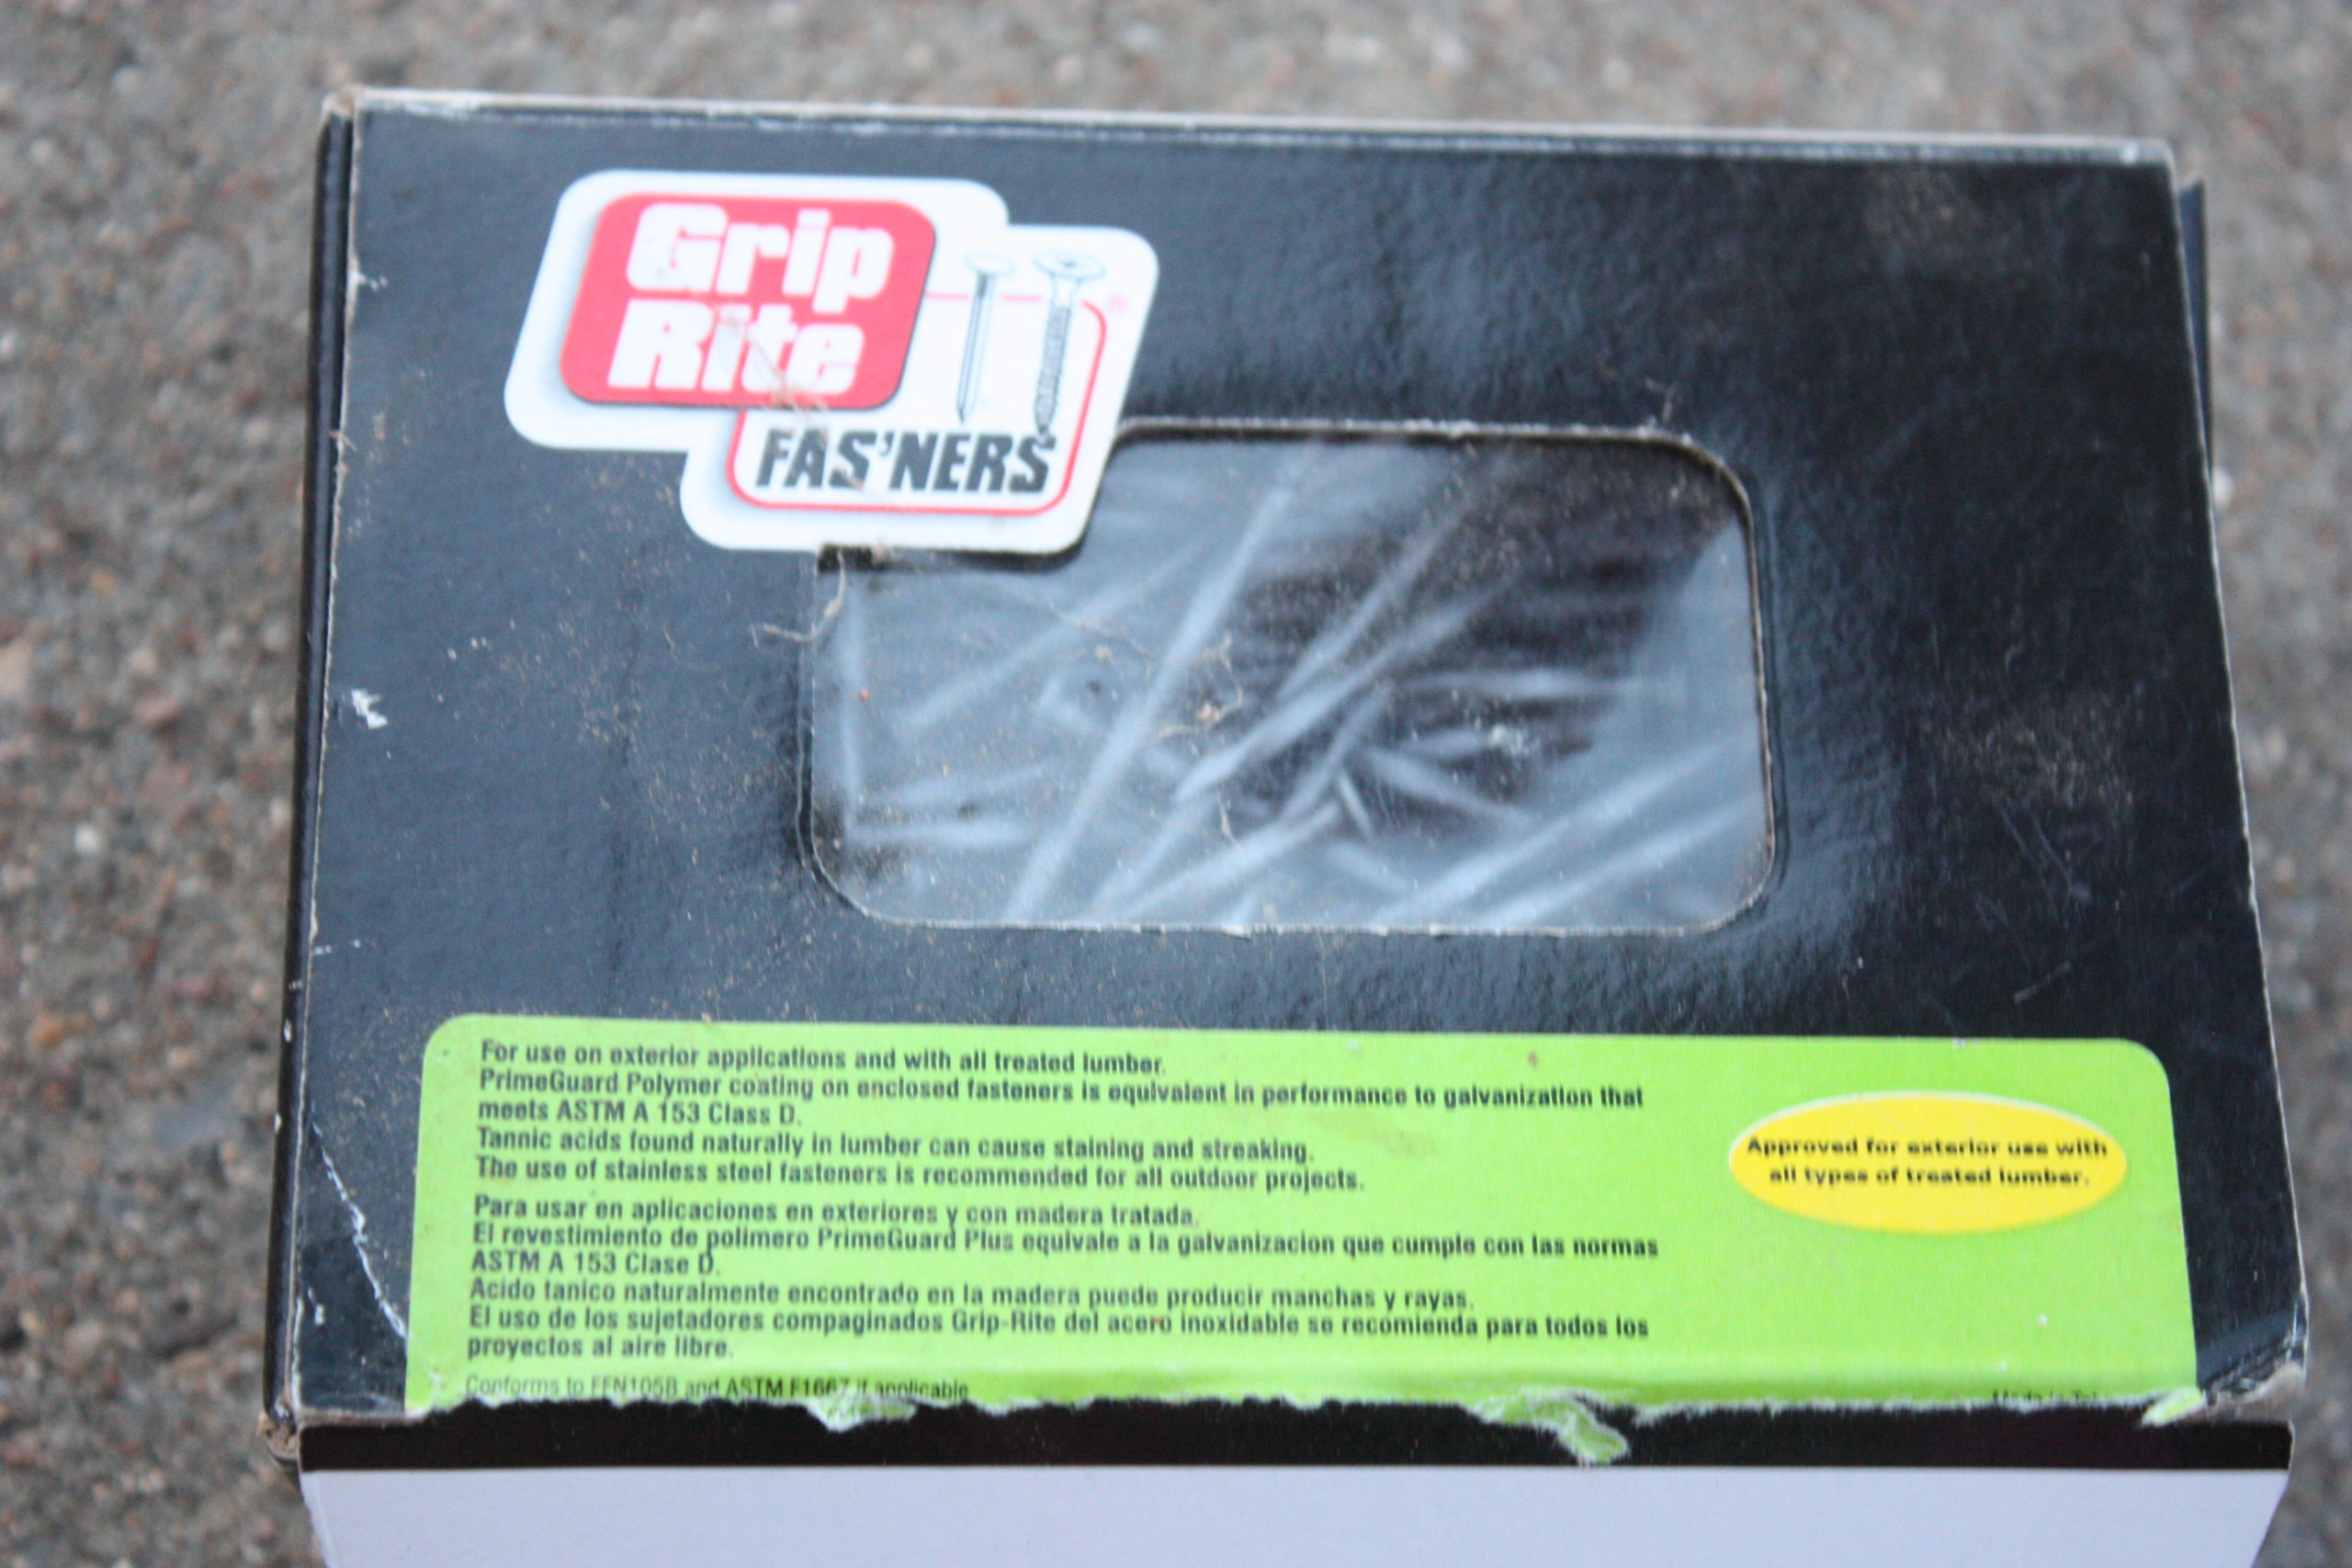
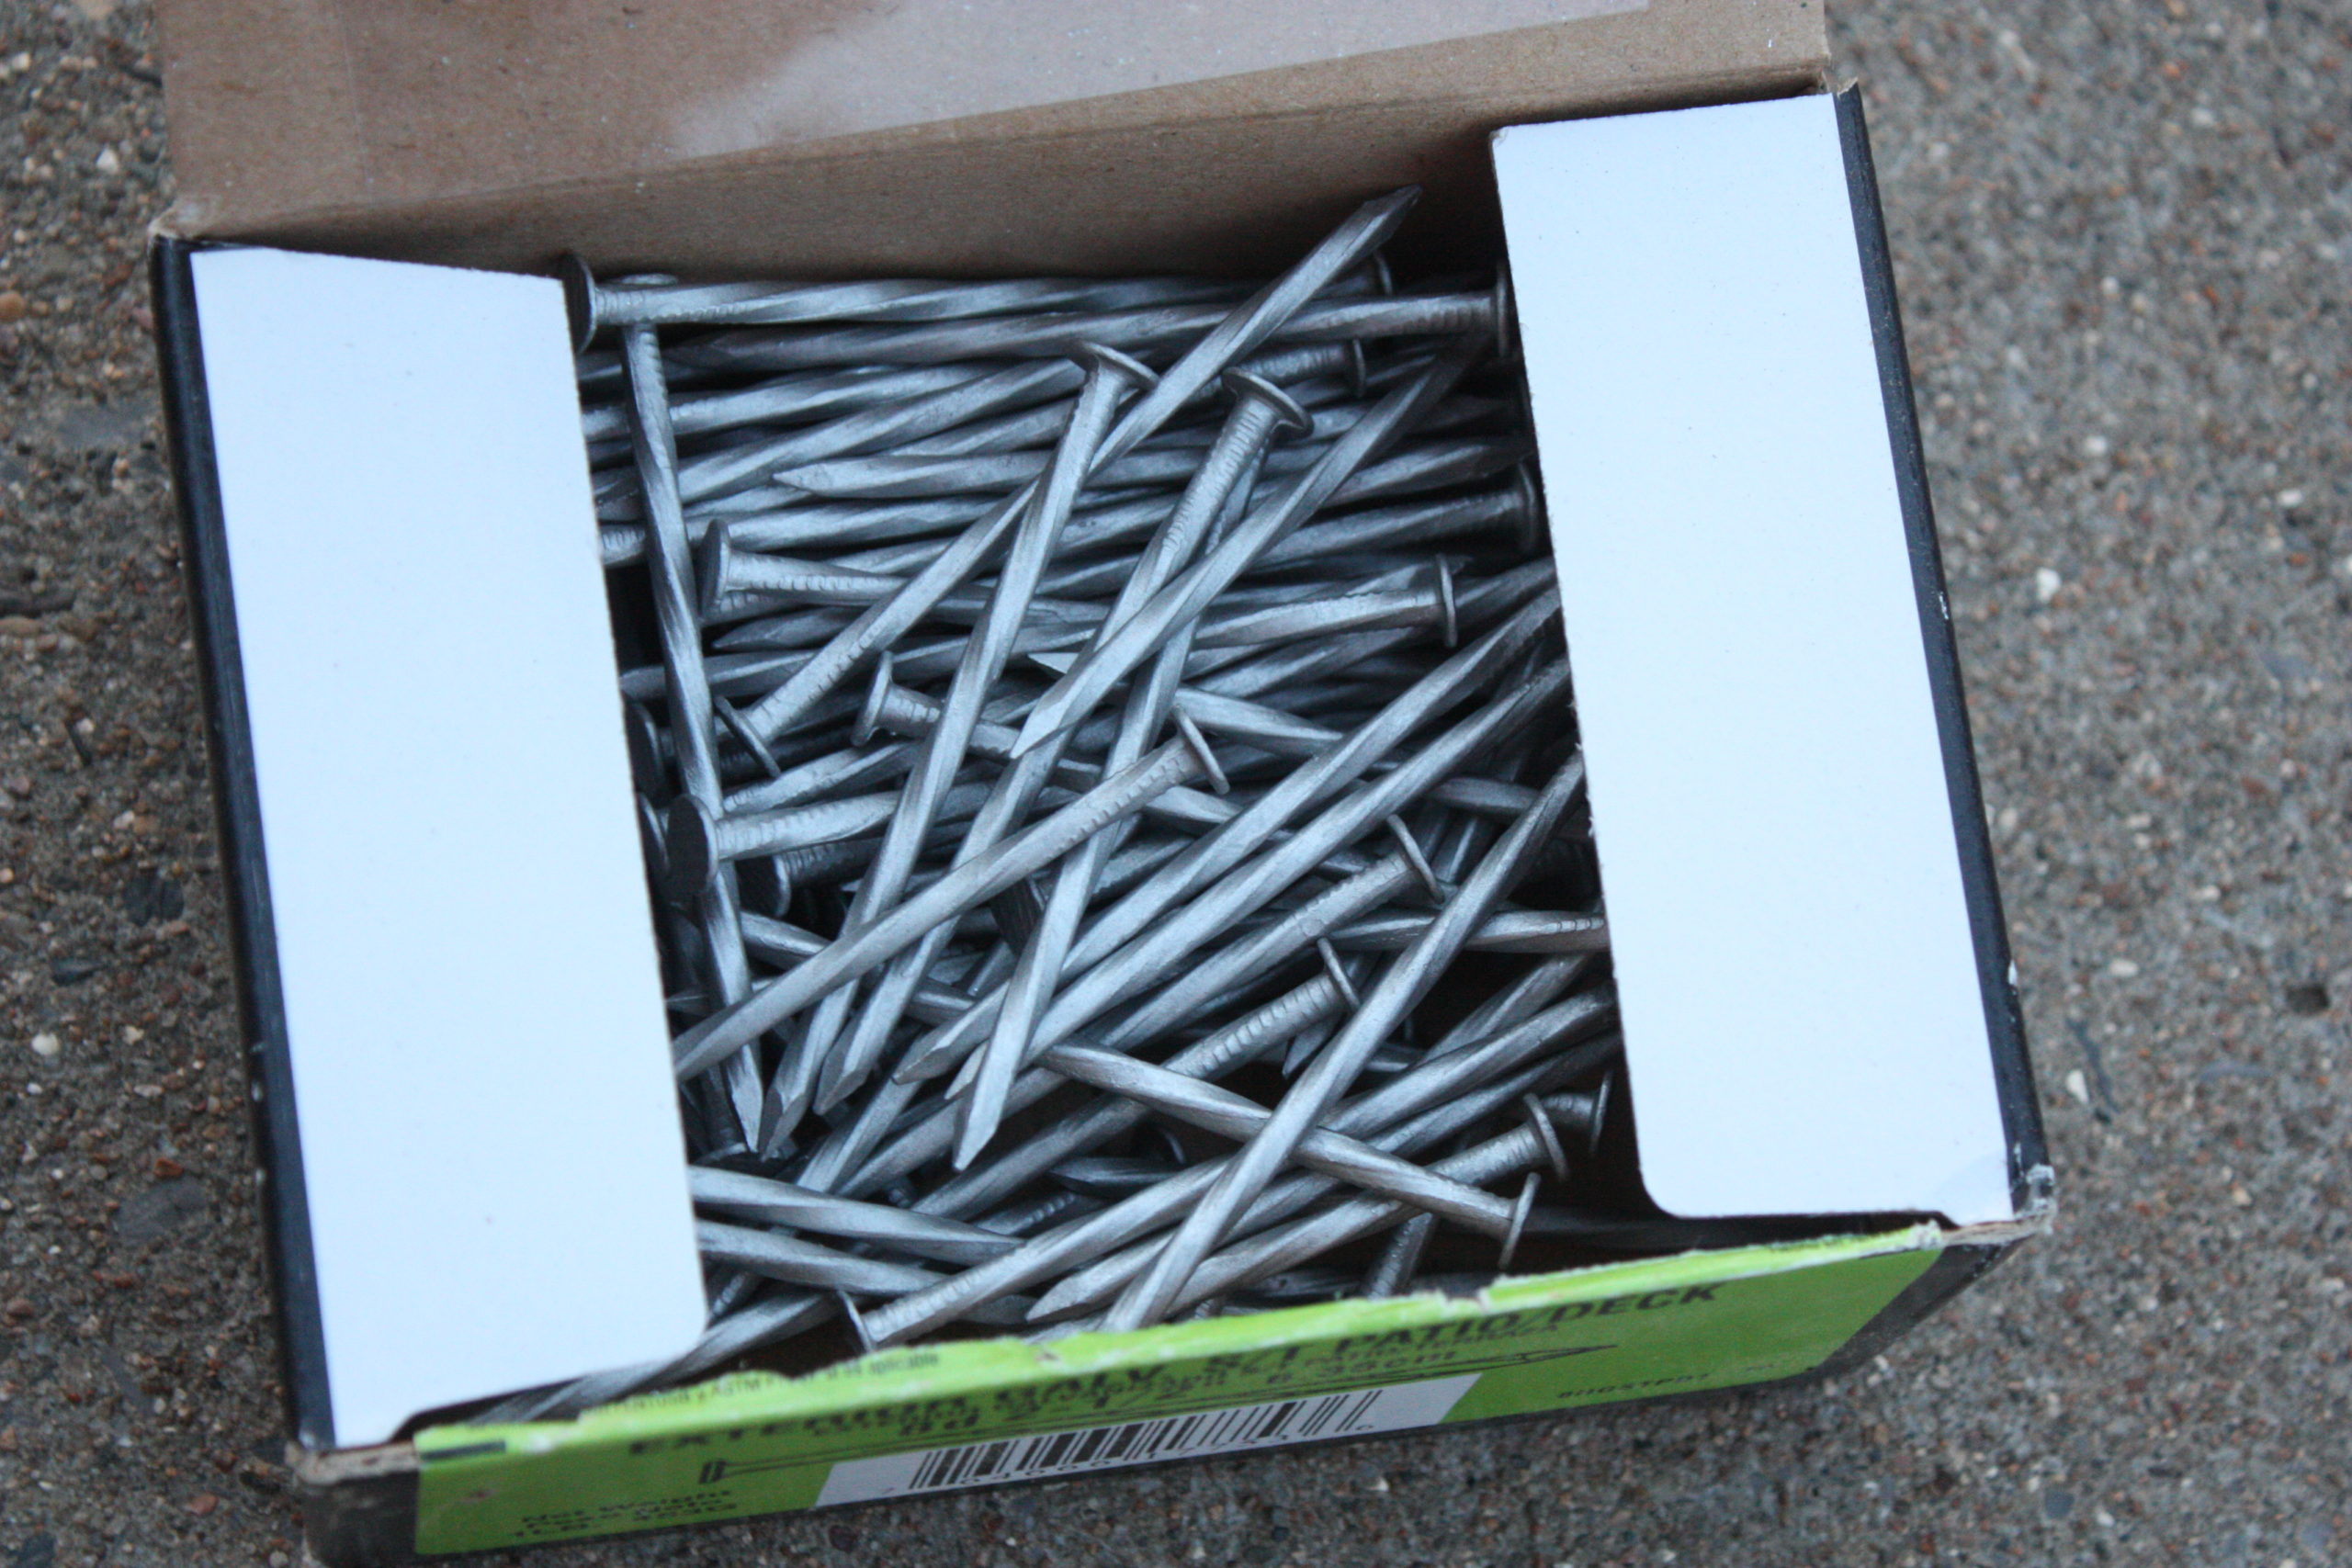
Mr. Re-fab says he likes to use these nails because they don’t back out as easily. You can use screws as well, but we like nails because it flows better with the “pallet look.” Now just nail each side on, and in the middle and you are finished with that part!
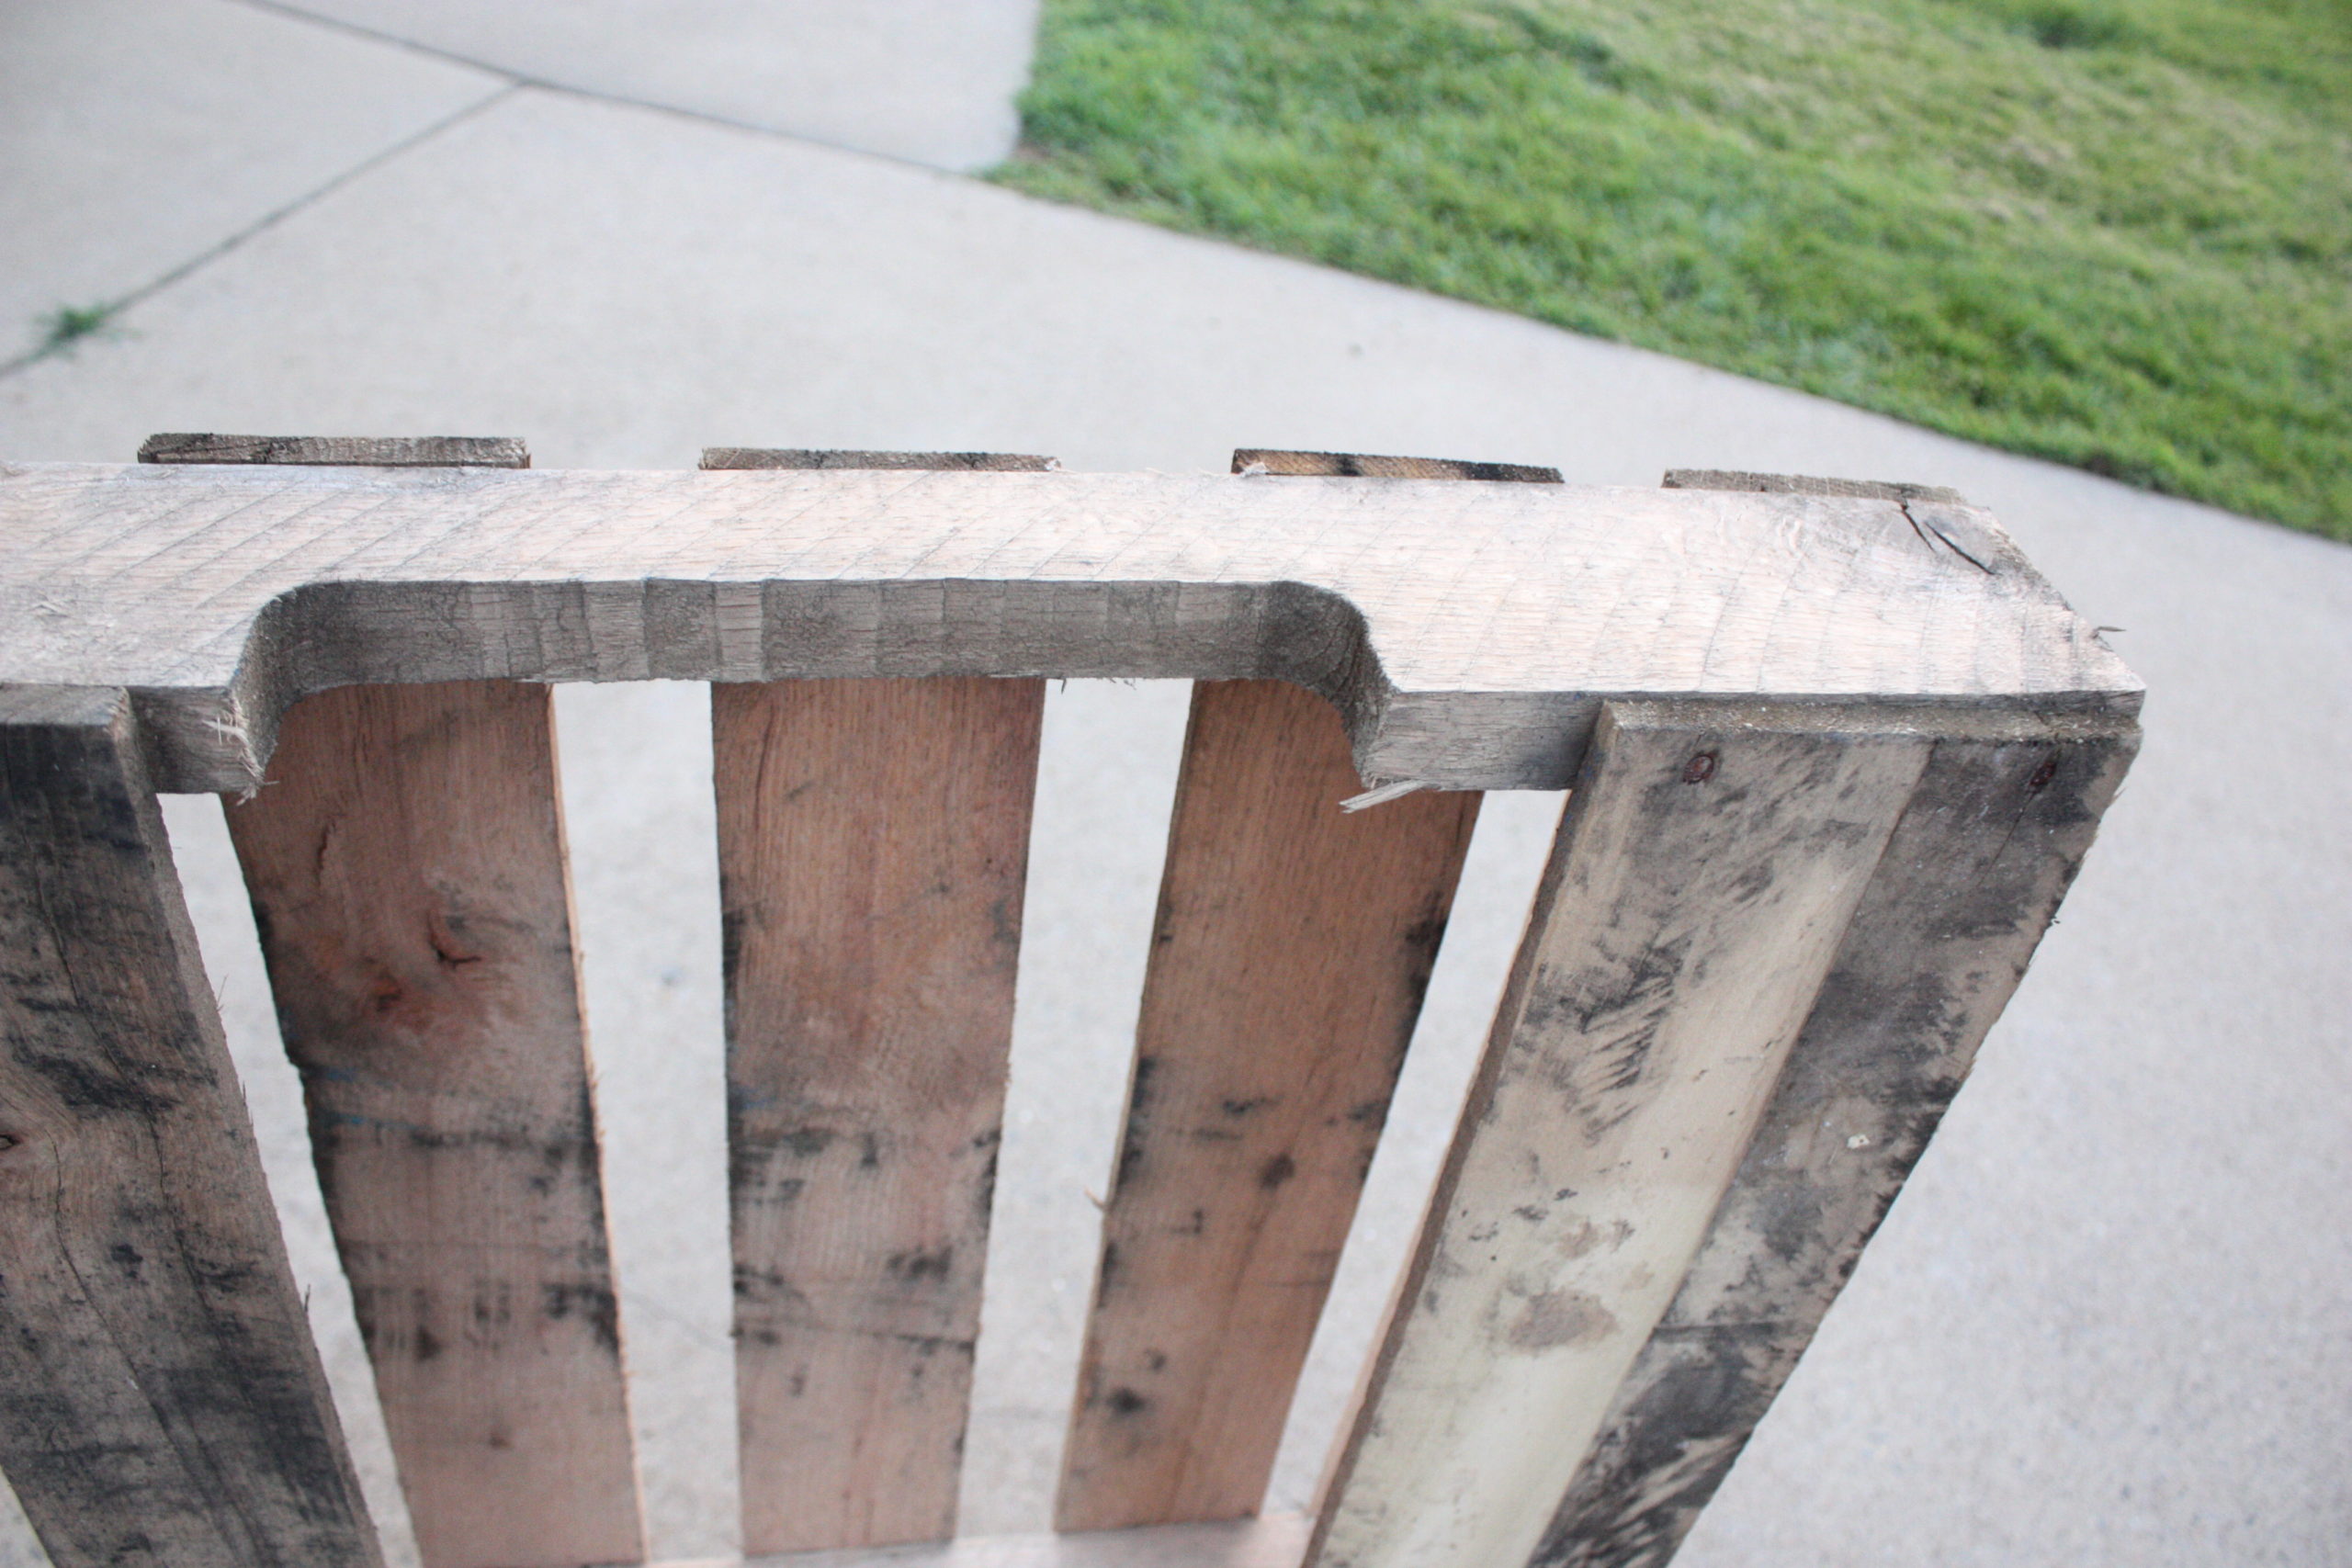
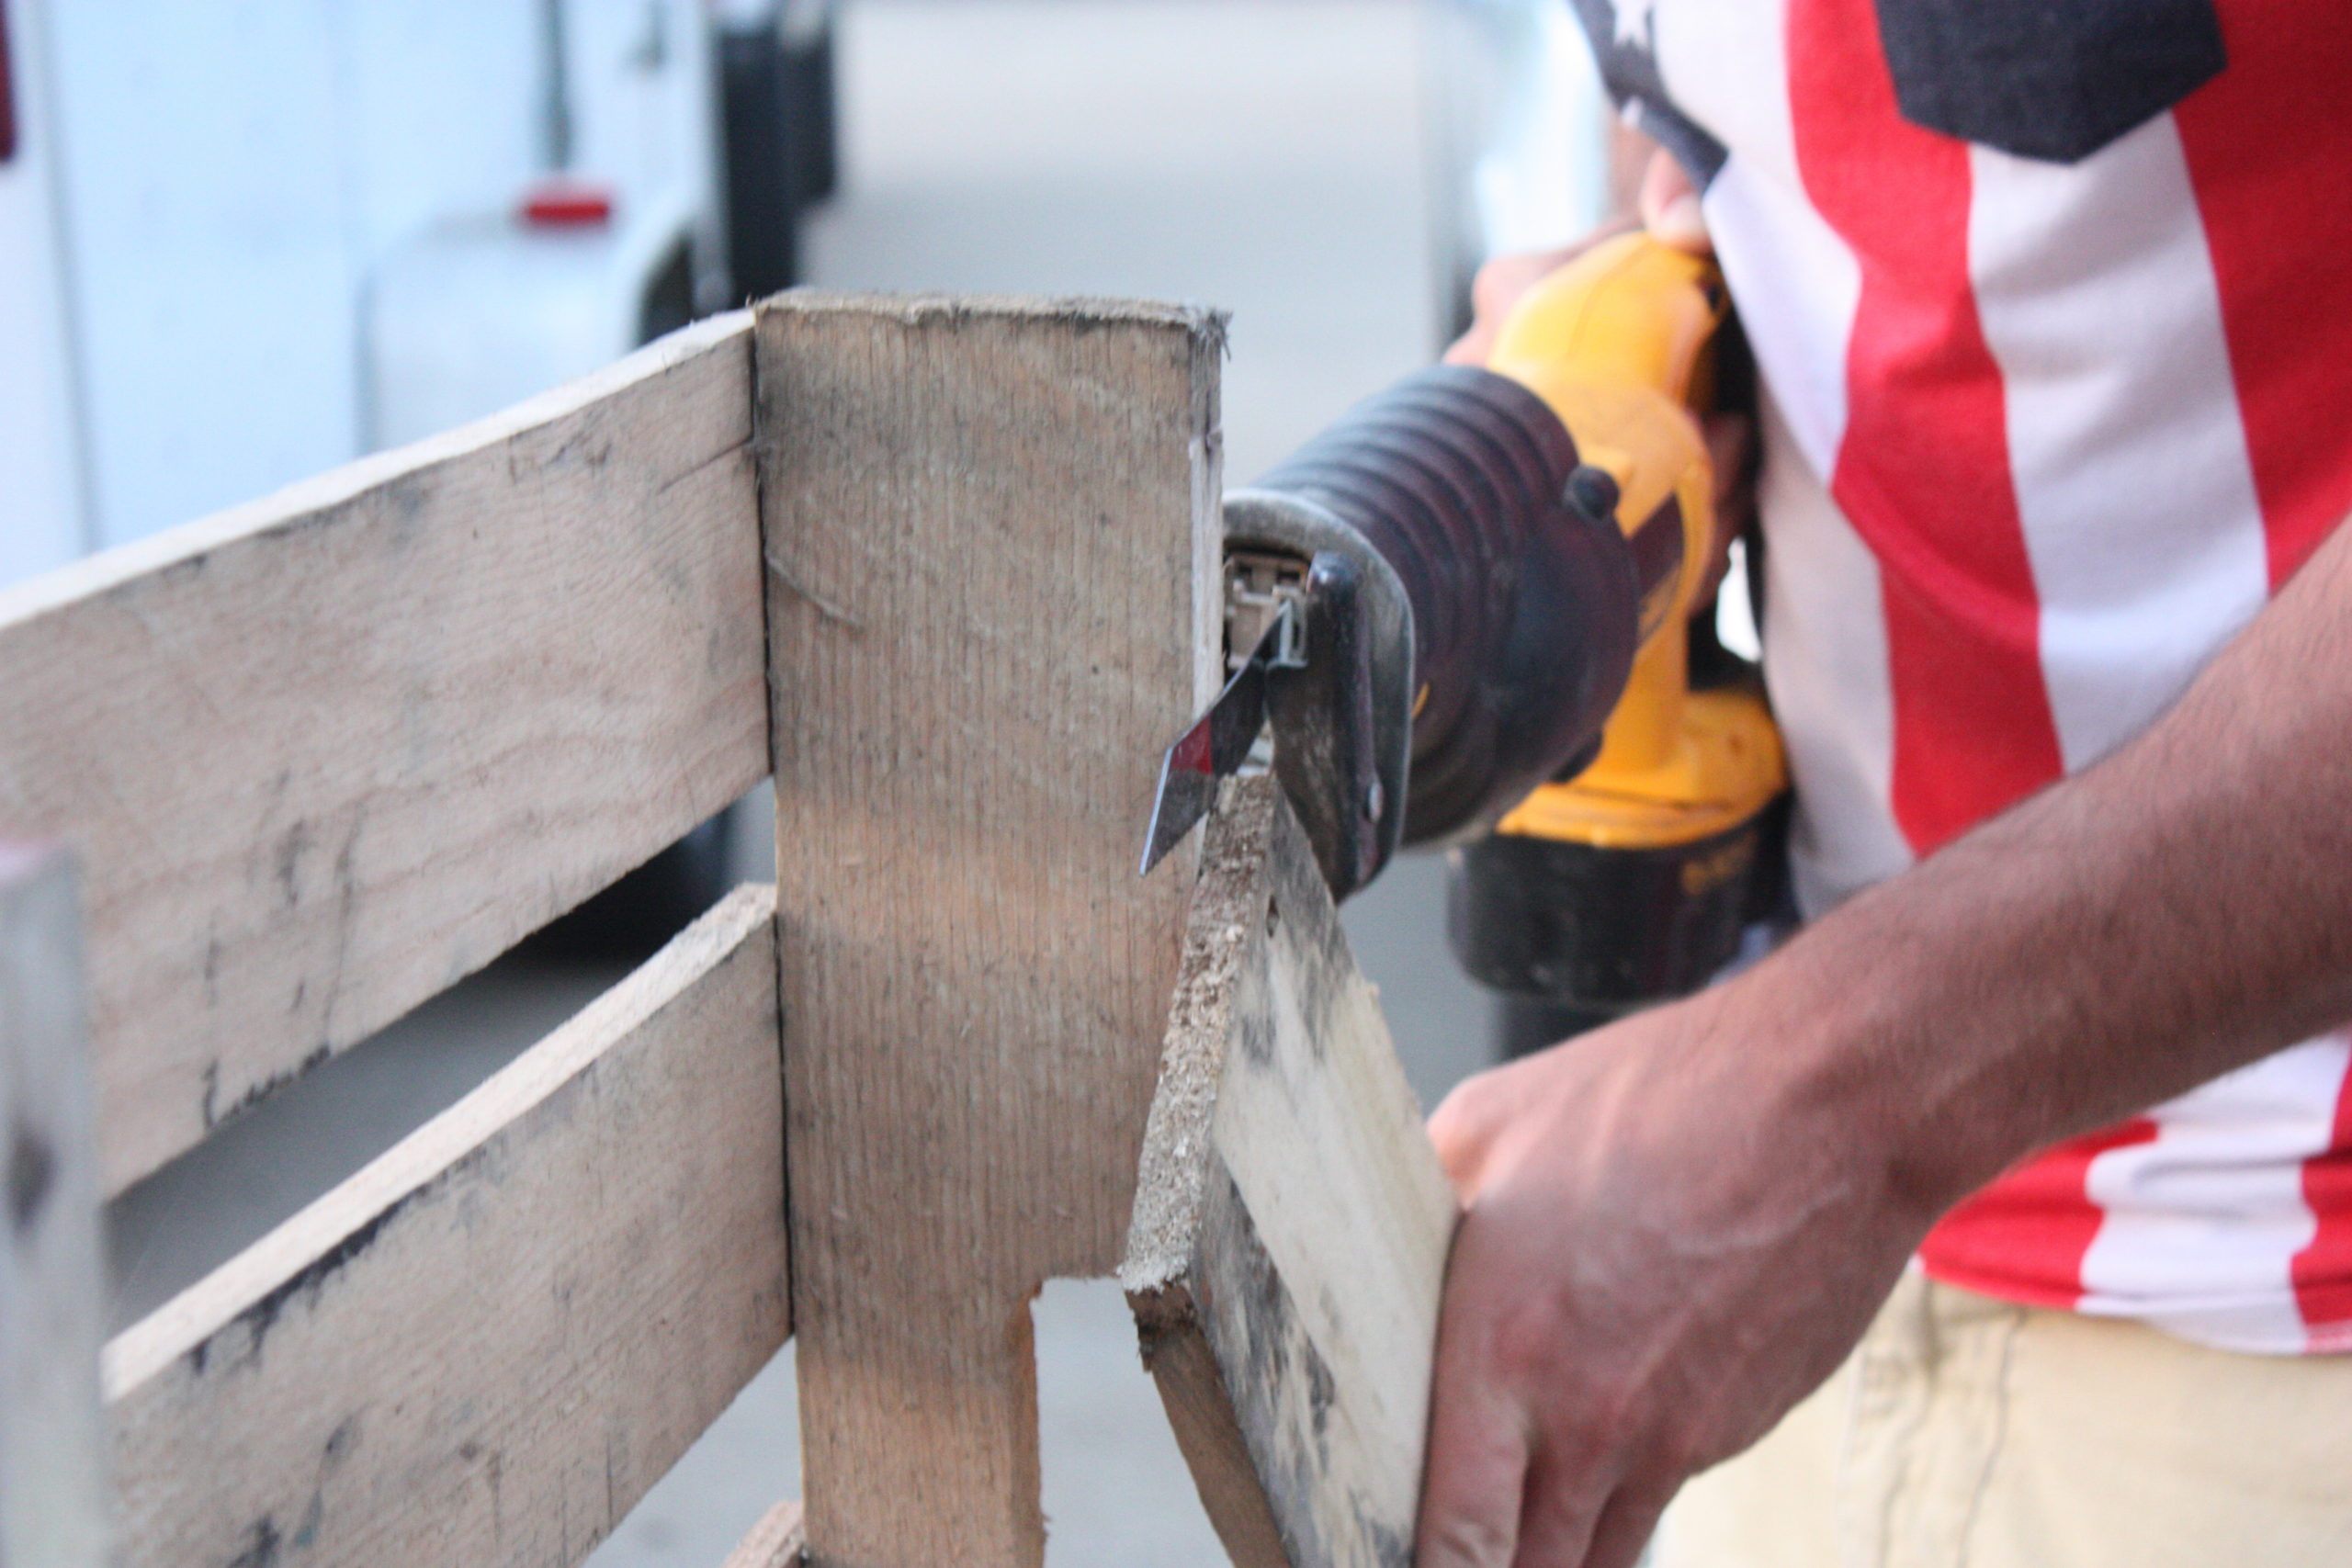
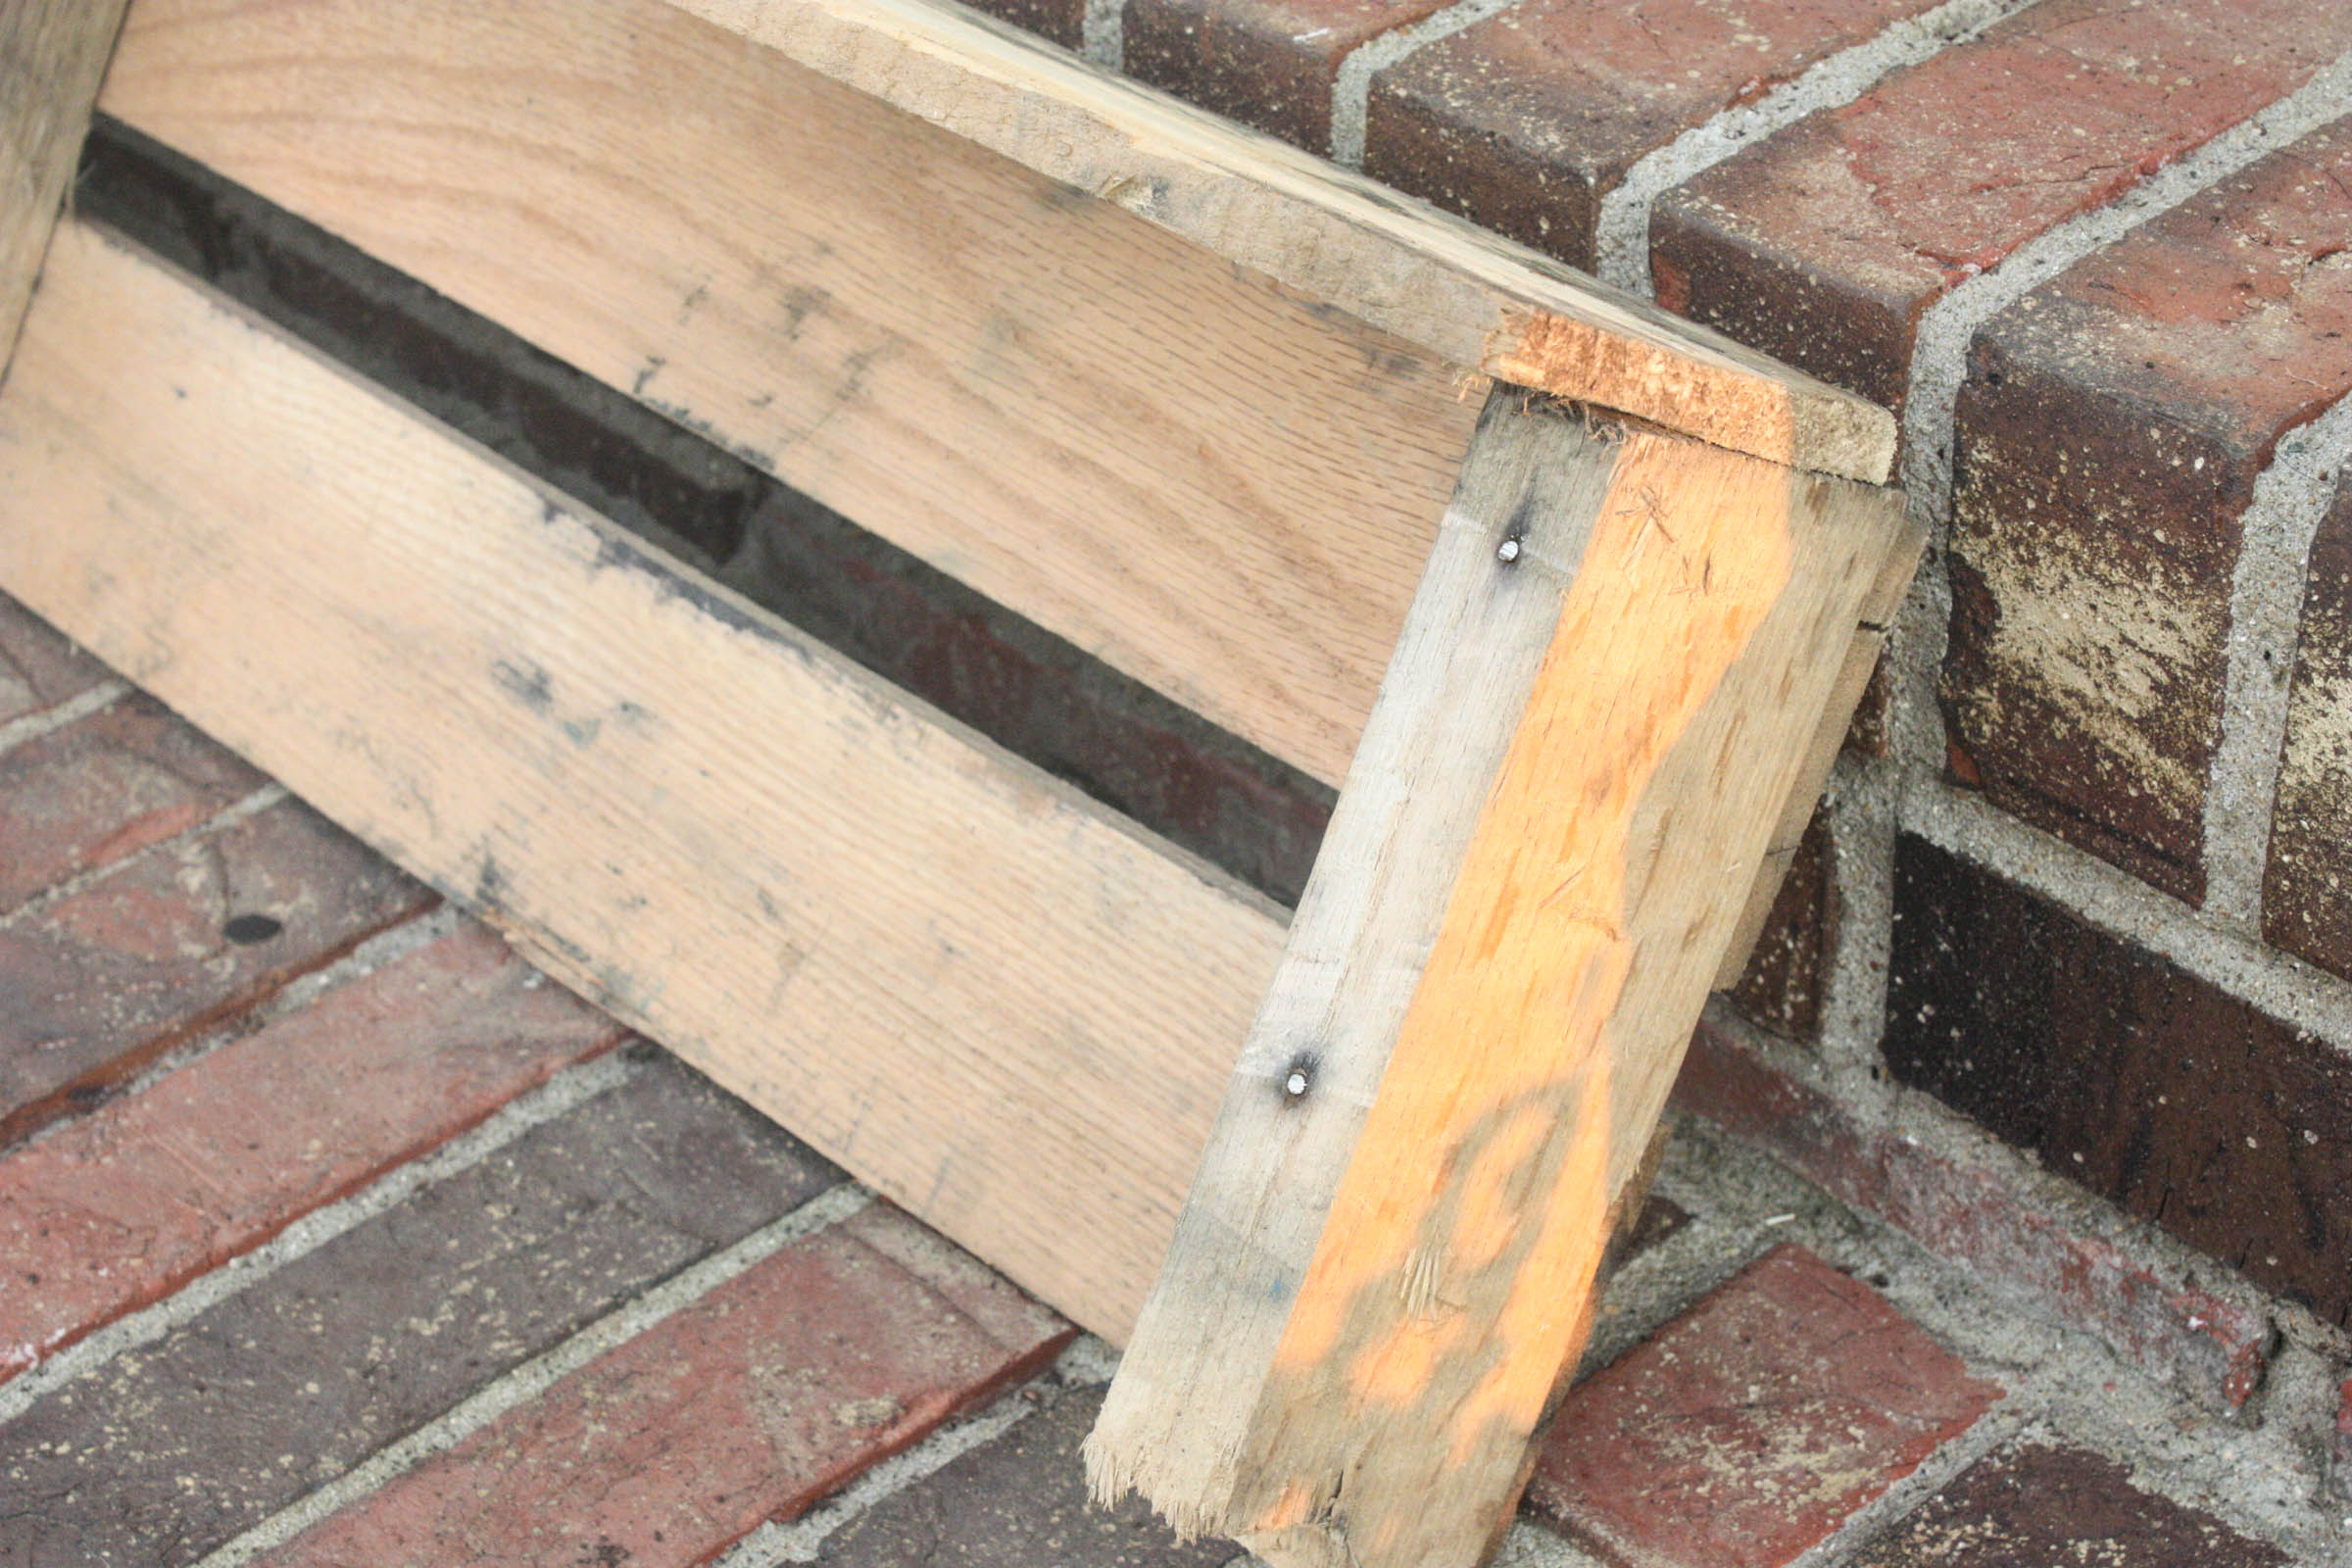
When you are finished nailing, you simply cut the board off right below the curve in the pallet.

Can you spot the little helping hands? She loves to help with projects
Here is the finished product! All it needs at this point is some sanding on the super rough areas {although I barely sand at all because I love the roughness of it}, painting or staining {if desired}, and adding hooks! I am serious when I say that this entire project, even the painting and hooks, takes about 20 minutes total.

Now…let me show you one that I have hanging in my own house! It is slightly different than this one, although barely…it is the SAME exact process…so no difference there! The only difference is that the top board is a little larger.
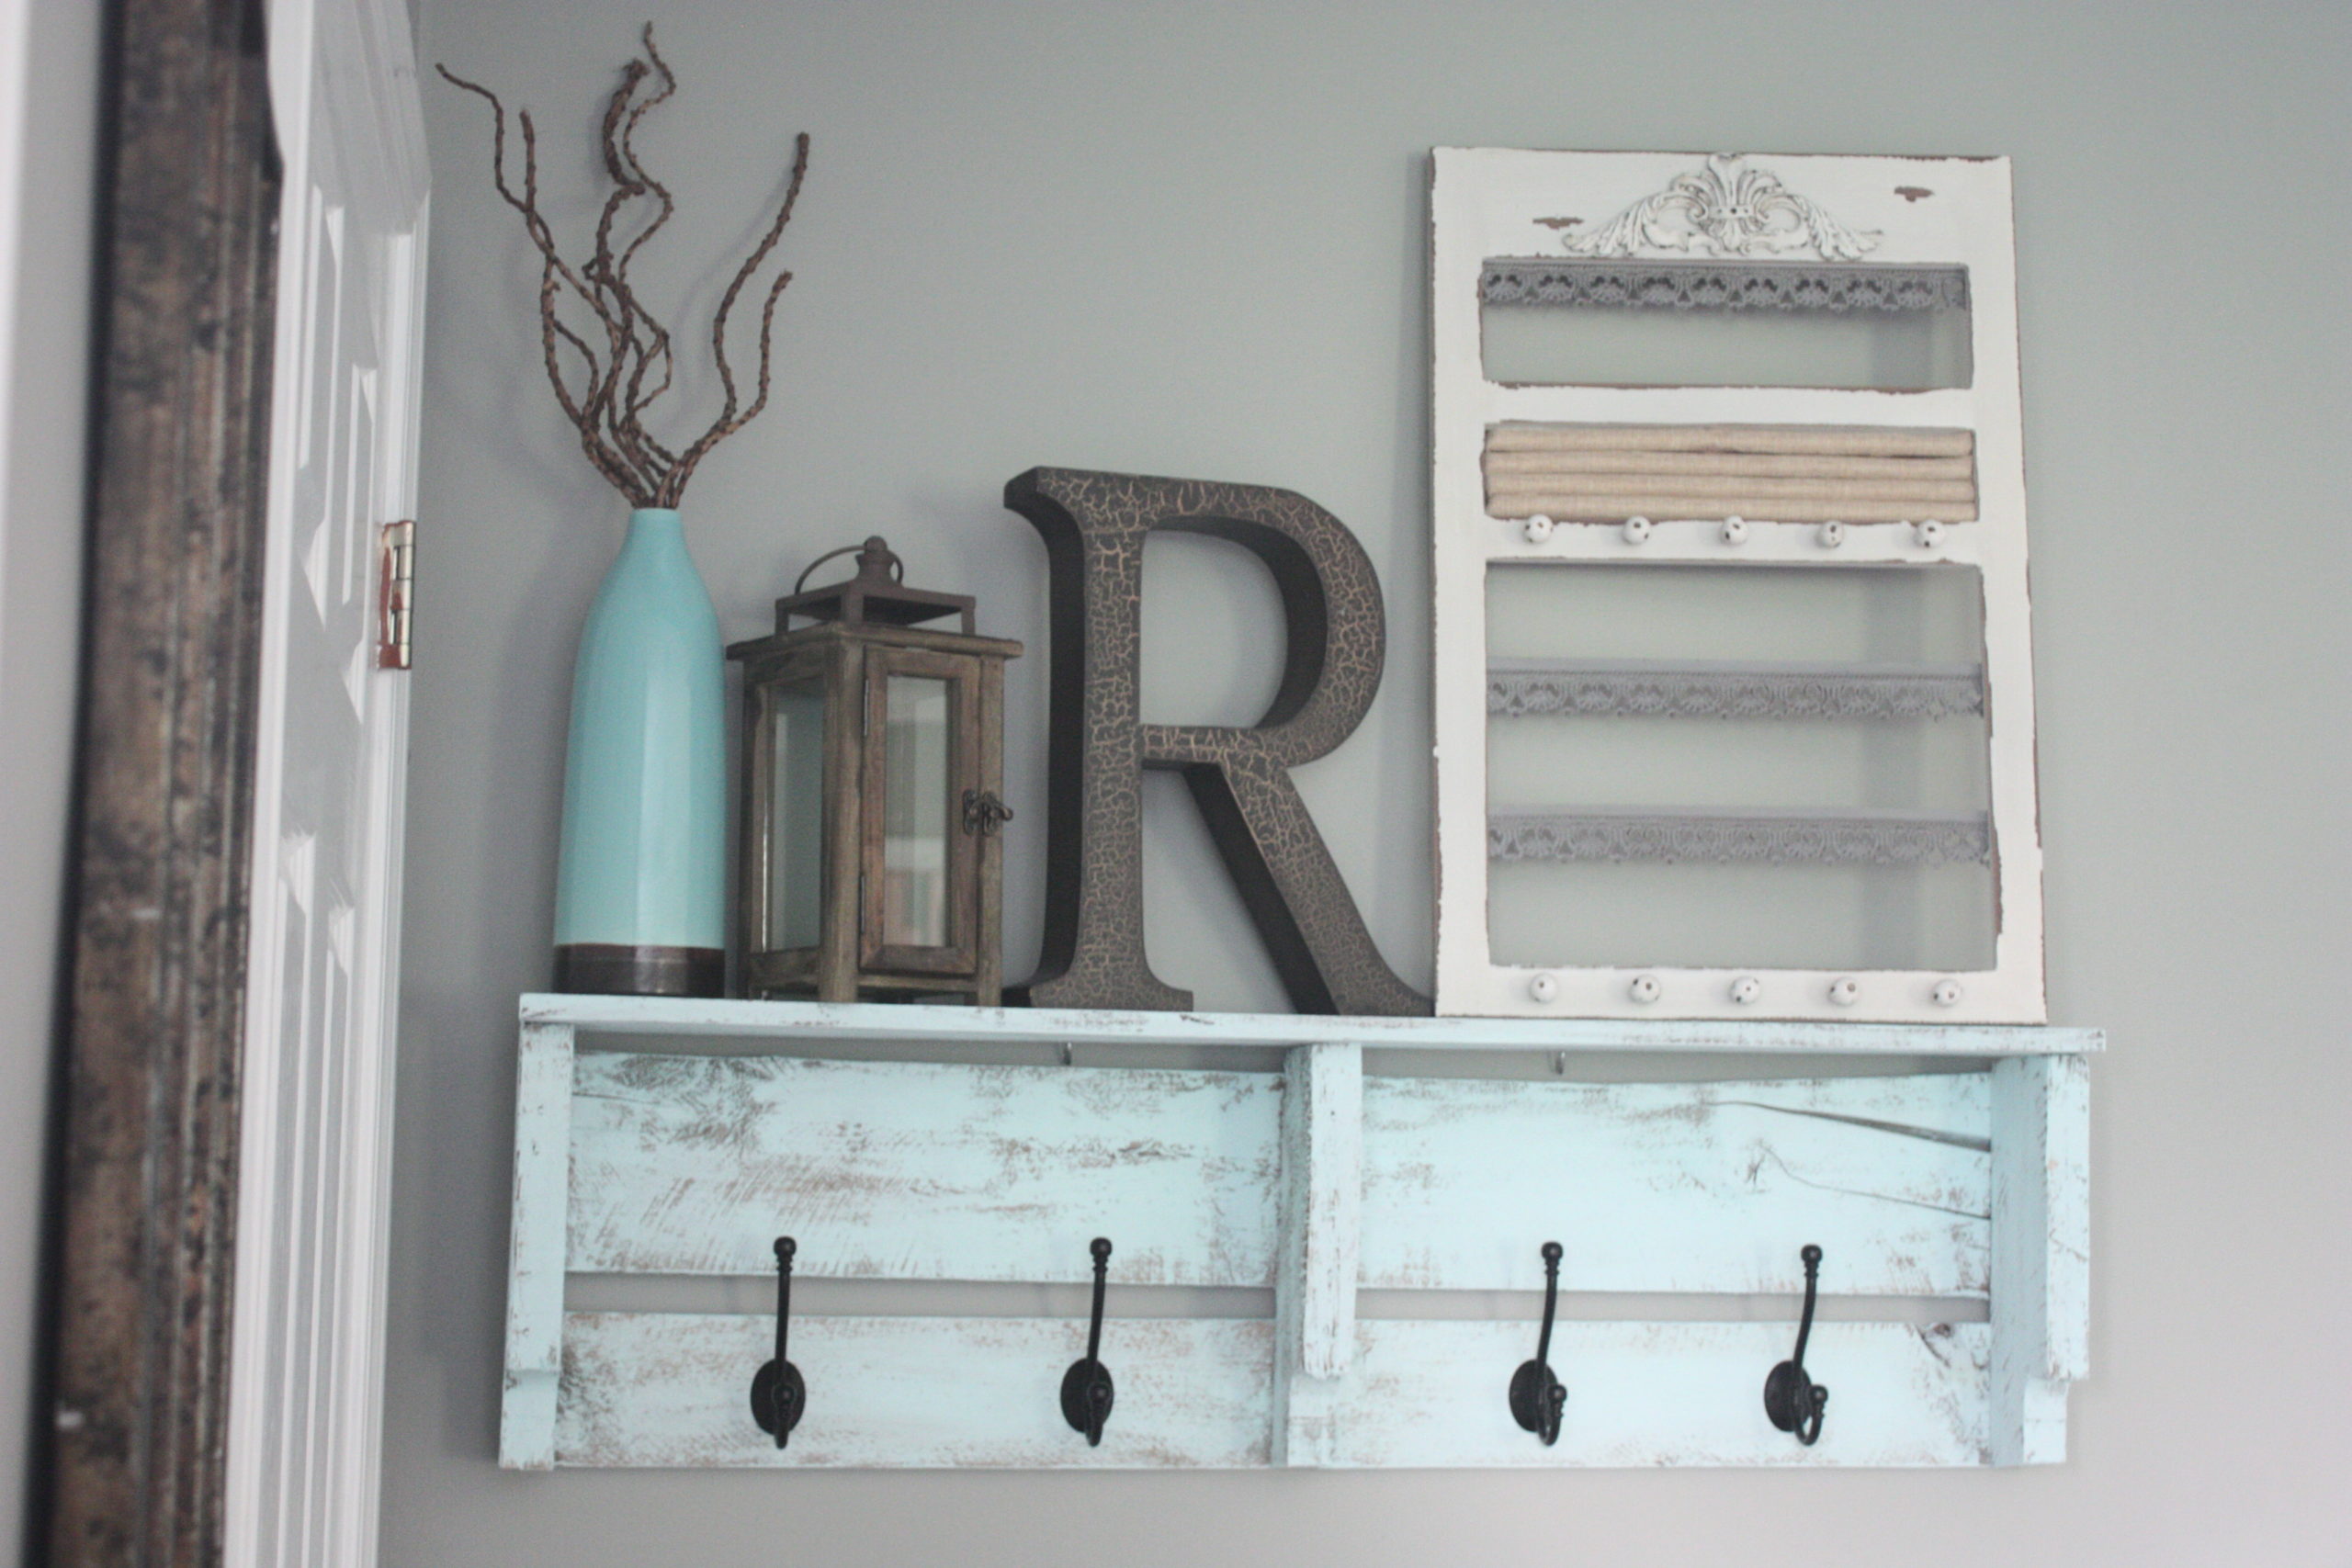
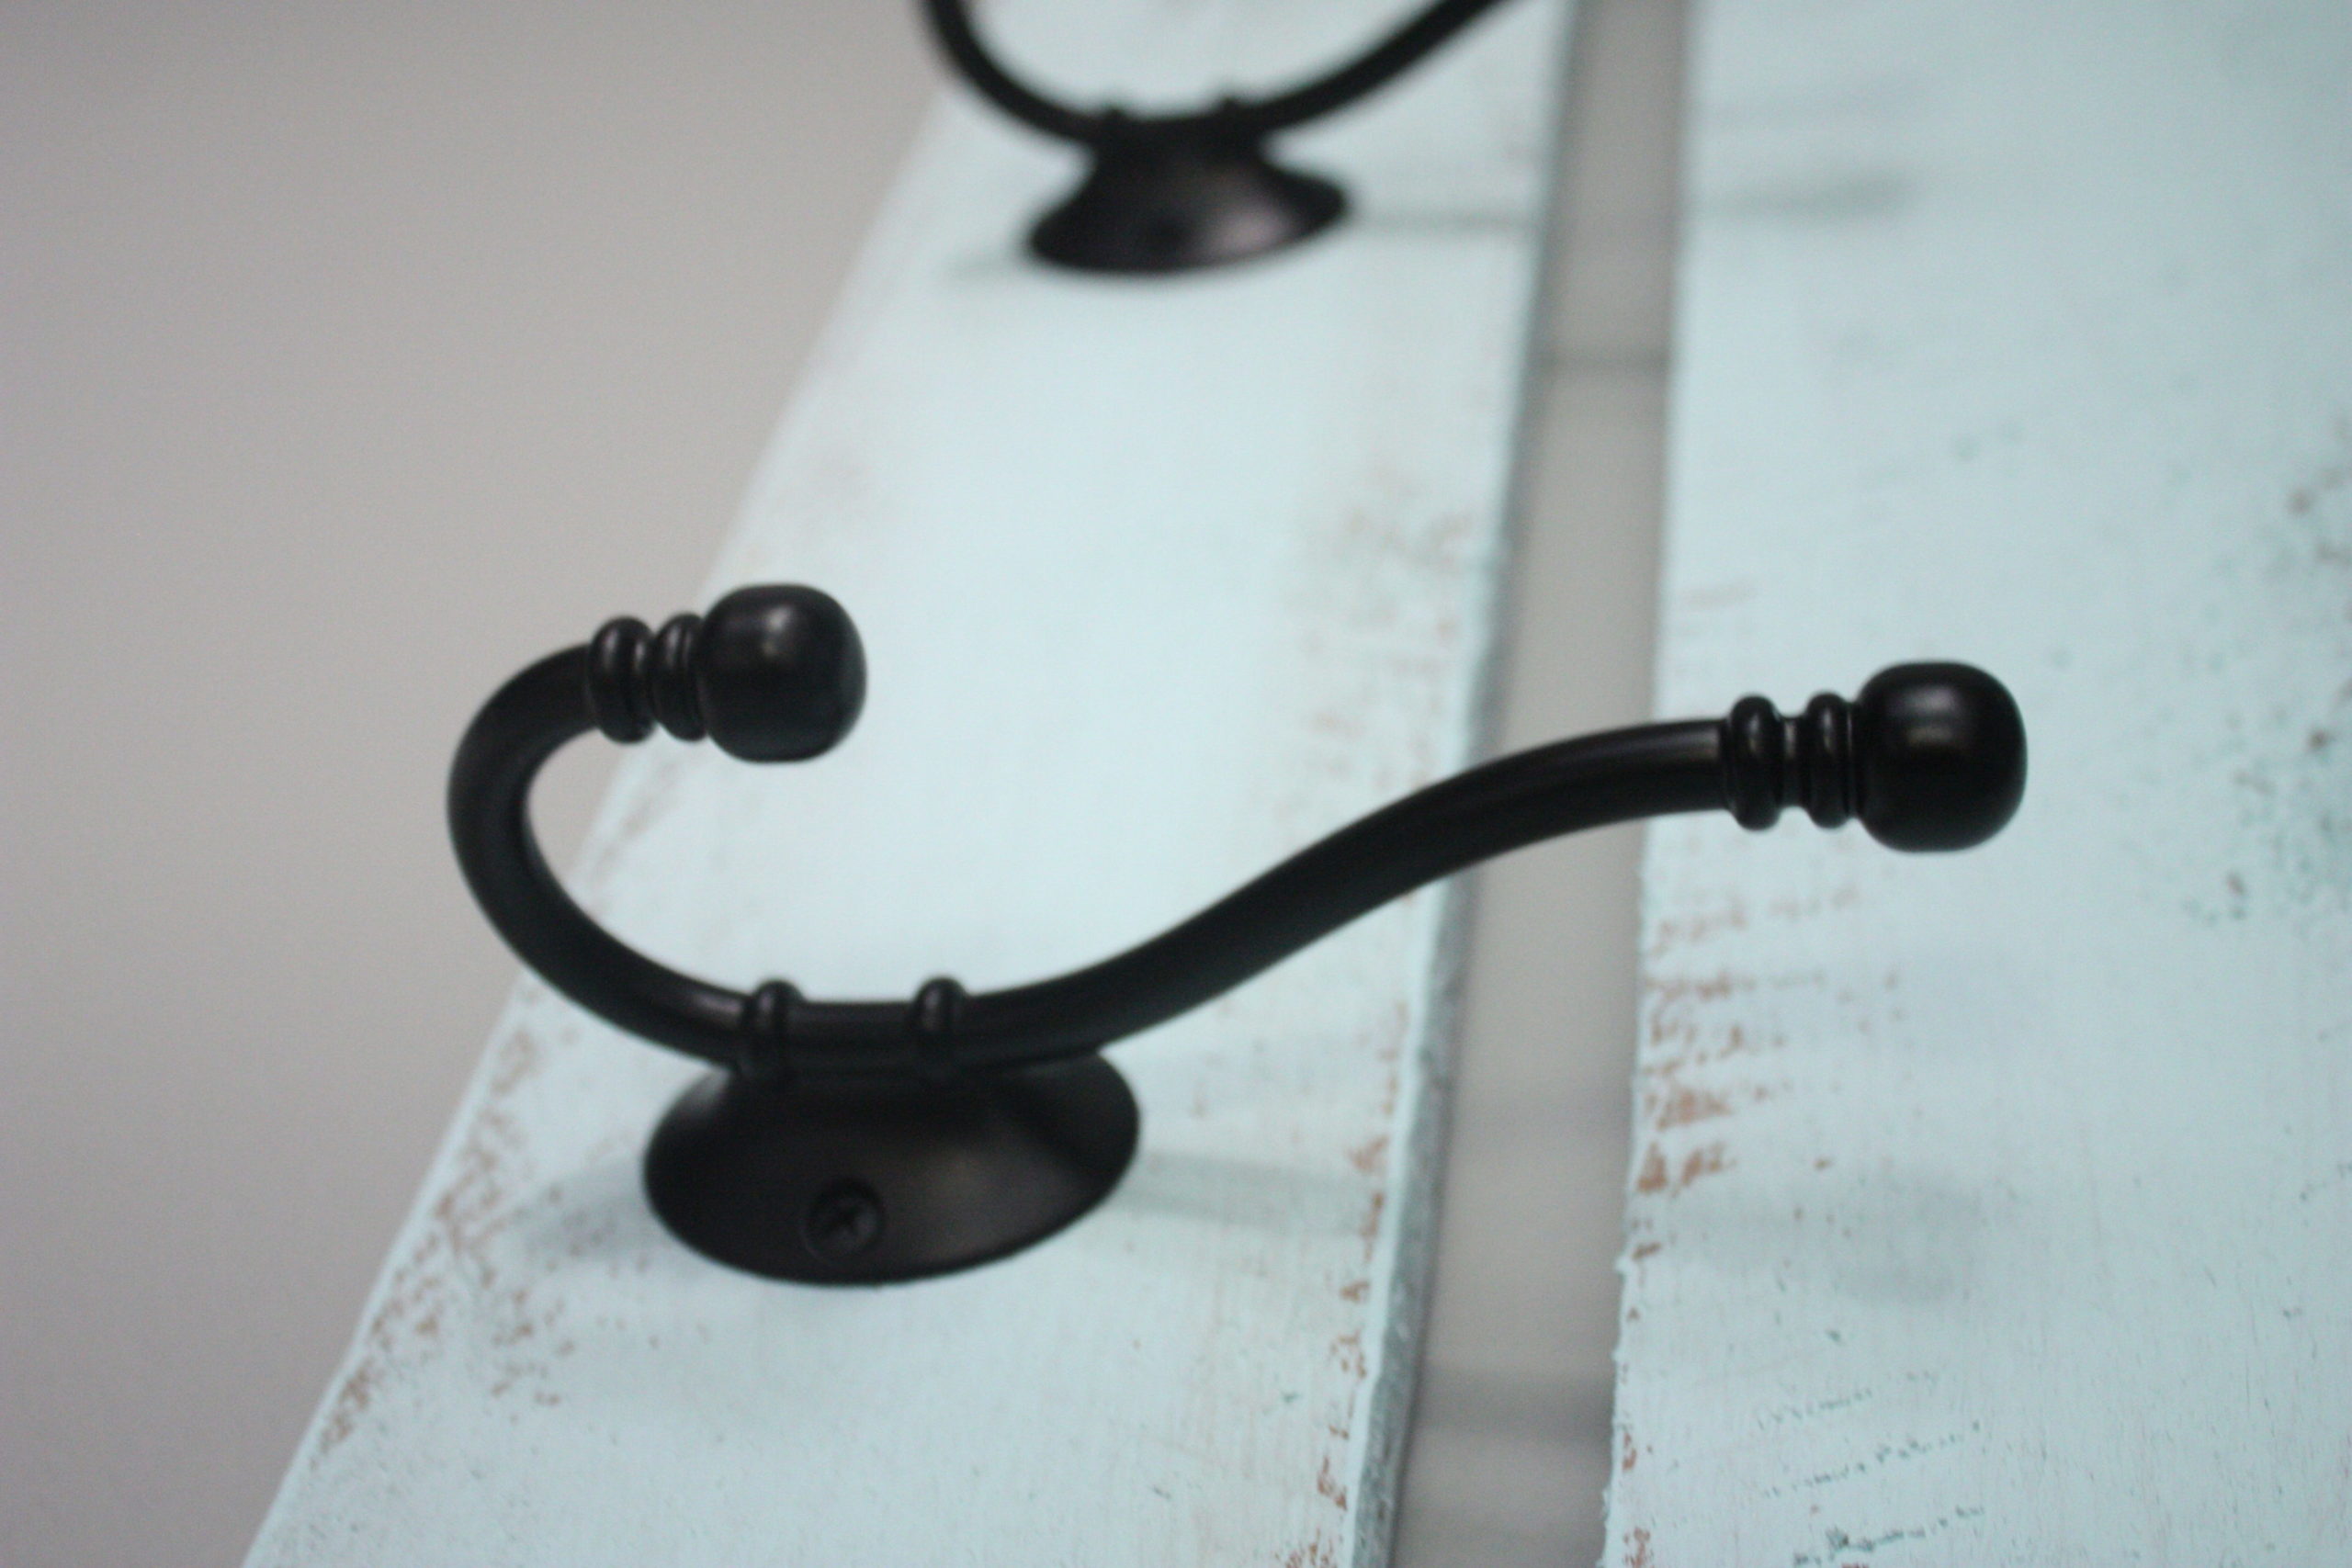
I painted this one Glacier by Vintage Market & Design. It is chalk paint, and I had it on hand at the time. I took a regular little chip brush and just barely went over the wood. I wanted it to look really worn, so I did not want good coverage. It took about 5 minutes {This is such an easy, fun project!} The hooks came from Lowe’s, and they were around $4.00/each. With the rest of the project being free, they were the whole cost! So basically, for $16.00, I have a beautiful coat rack! How awesome is that?!

Well, that’s all folks! I told you it was easy!!
I am now trying to decide exactly how I am going to finish out the one that I showed you to earlier. I can’t decide if I want to leave it as is and add hooks or cool knobs…or if I want to paint and add hooks/knobs. I kind of like the idea of the rough, natural wood, but who knows When I do decide, I will certainly share with ya!
I found several different hook options (plus MANY more not mentioned!) on Amazon. Possibilities are endless there for sure!*affiliate
Be sure to pin this for later so that you have this quick and easy diy at your fingertips!
Follow along on Social Media!
Subscribe to our mailing list
Original article and pictures take www.re-fabbed.com site
Комментариев нет:
Отправить комментарий