Hey guys! So, I’ve been building furniture for our new home, like crazy and realized that I haven’t done much in the way of our windows! I have done panels for my dining room and living room which you can see HERE but I have neglected the rest. The hardware is usually expensive and my budget only lends to buying fabric for handmade curtains (that I talk Whitney into sewing for me). Well, she’s too busy on her own house right now and I remembered that I wanted to DIY some Wooden Cornices once upon a time so….. Off to the shop I went!
I built these cuties in about 30 minutes and for about $15 each, which allowed me to splurge on curtains!
Here’s how I made them

Everyones windows are a different size so I won’t share my measurements. I measured my window from one end of the trim to the other (if you don’t have trim just measure the width of the window opening). I took that measurement and added 6″. This is the length I cut the 1×10. Then, I cut 2 more 1×10’s at 3.5″. So,…
(the width of your window) + 6″ = length of first 1×10
2 – 1×10 @ 3.5″
*If you don’t have a saw, this handsaw will work great for this project.*
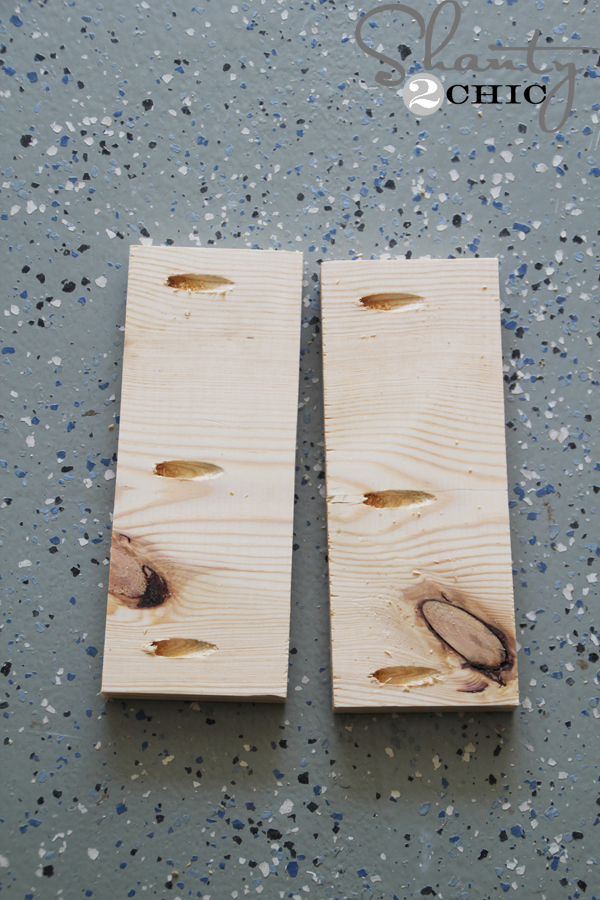
Next, I drilled three 3/4″ pocket holes into one end of each short 1×10’s. If you don’t have a Kreg Jig yet, the R3 in the box below is a great choice for projects like this. I have a K5 but I still use this for certain applications. So, if you like it and decide to upgrade, it won’t be wasted!
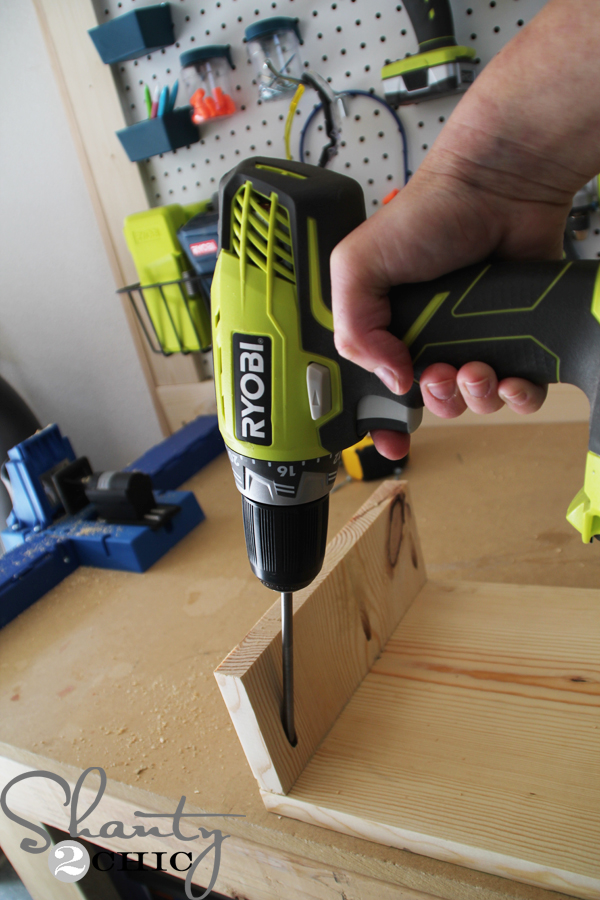
and attached them to the ends of the long 1×10 with 1 1/4″ pocket hole screws.
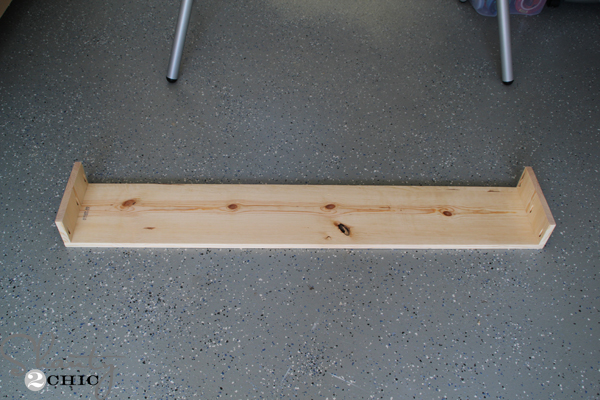
Here it is so far. Now, measure the length between the two short 1×10 pieces
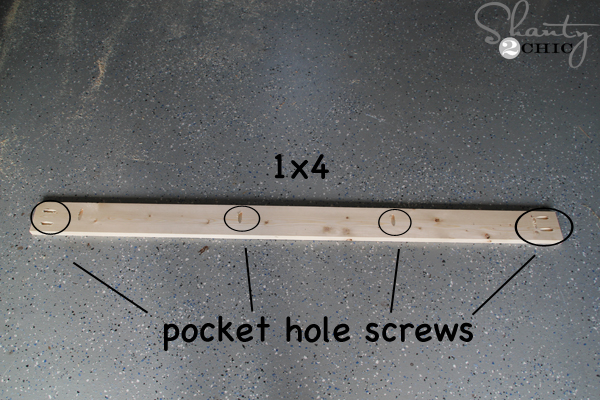
and cut a 1×4 that length (this should be about 1.5″ shorter than the long 1×10). Then I drilled 3/4″ pocket holes on both ends and along one side.
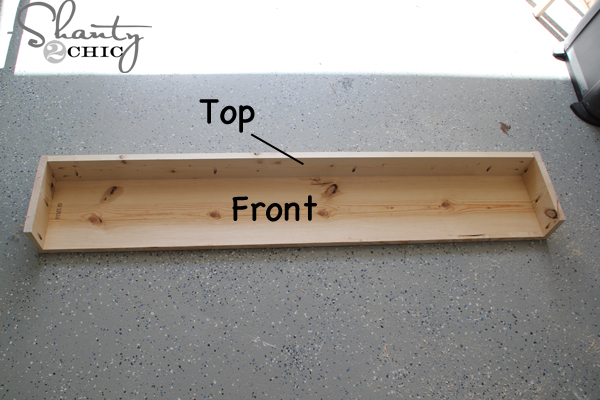
Attach the 1×4 to one end of the cornice with 1 1/4″ pocket hole screws and wood glue. This 1×4 will be the top of the cornice (and will rest on the cleat that we attach to the wall)!
Now for the finish!
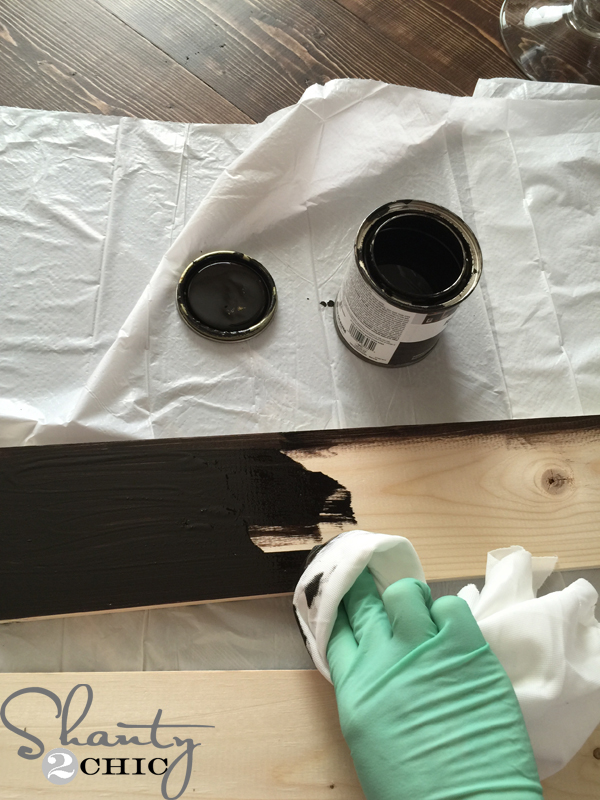
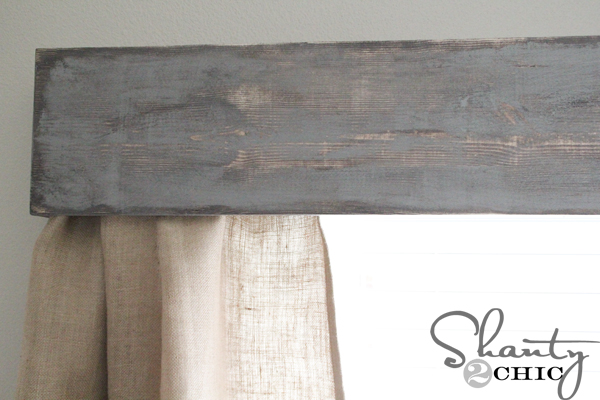
I applied one coat of Rust-Oleum Kona stain over the entire piece.
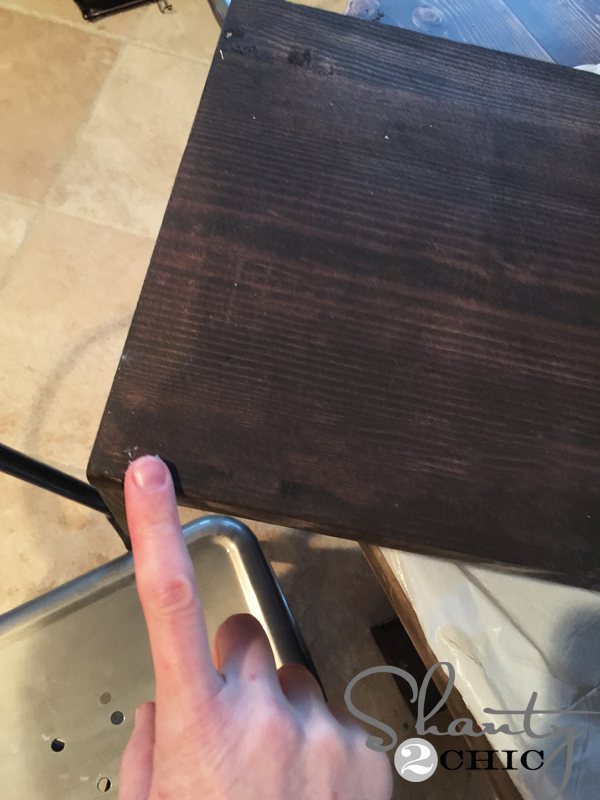
When it was dry, I rubbed a very thin layer of Vaseline all over the edges and a little in spots across the boards.
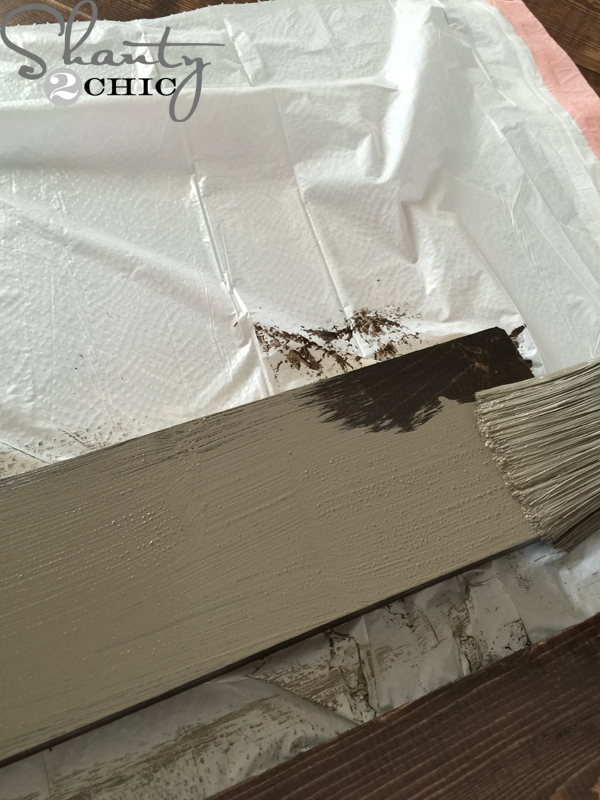
Then, I painted one coat of gray paint all over and let it dry.
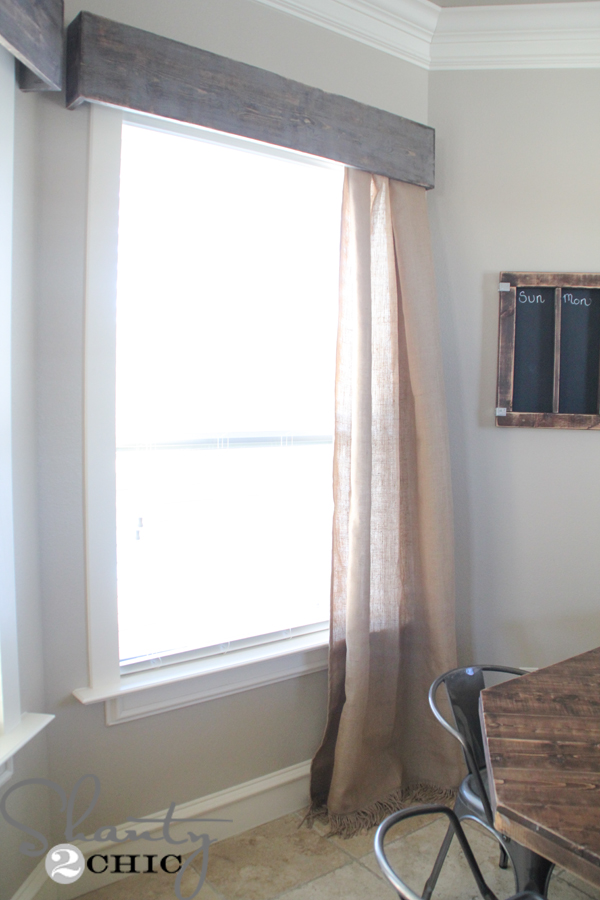
While it’s drying, you can hang the curtains
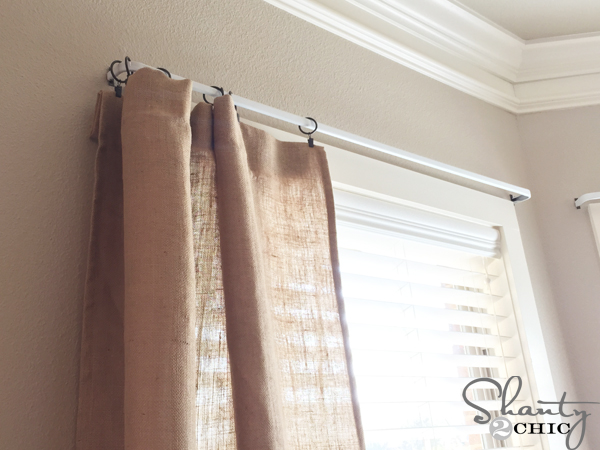
I bought those cheap (and by cheap I mean $1.79 each!) curtain rods at Home Depot but you can get them at Wal-Mart, Target…many places. HERE are the ones I bought.
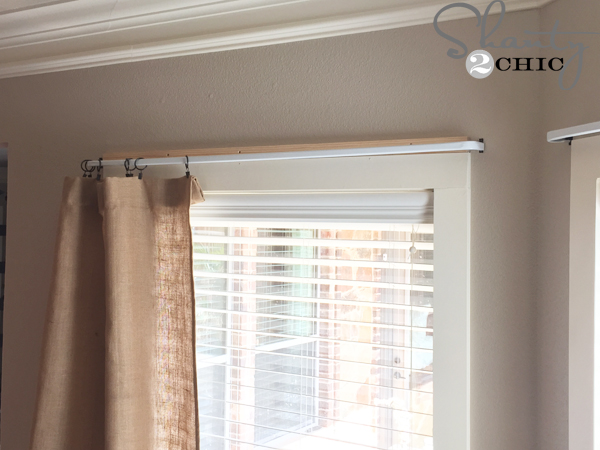
Then, cut a 1×2 the same length as the 1×4 and attach it to the wall, above the window. Use 2 1/2″ wood screws and drive them into the studs. This actually would be easier to do before attaching the curtain rod but I didn’t think enough ahead
That was quick and your paint probably won’t be dry yet so take a rest…you did a great job
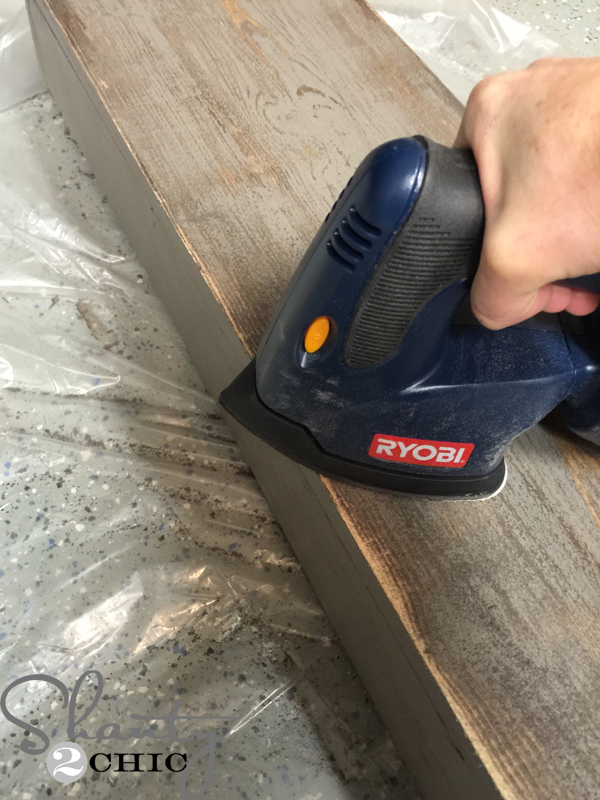
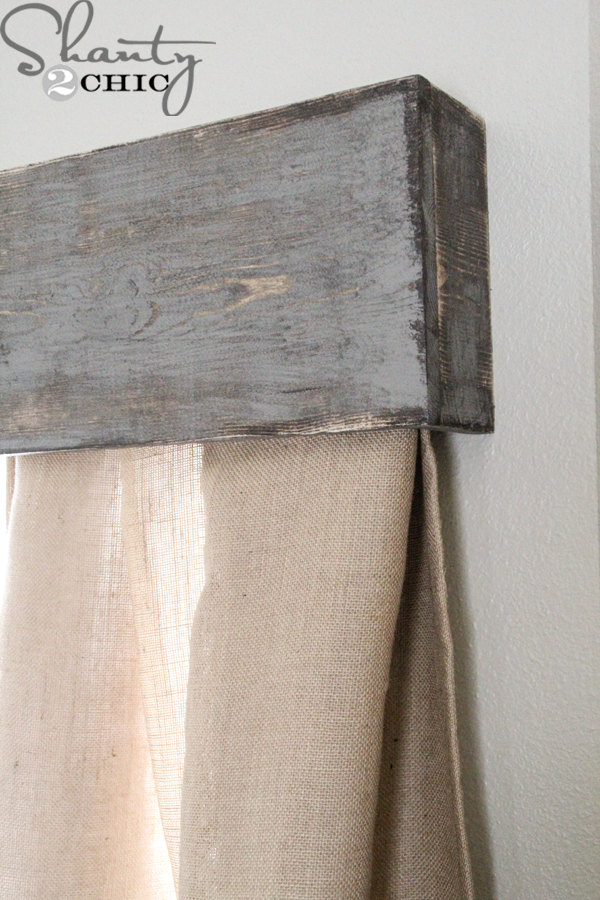
Once the paint was dry, I used my Ryobi Corner Cat Sander, with an 80-grit sanding pad, to distress the entire box. You will see big chunks of paint come off where the Vaseline was – this is great! Then, you will see spots where the bare wood shows too. We love this finishing technique!
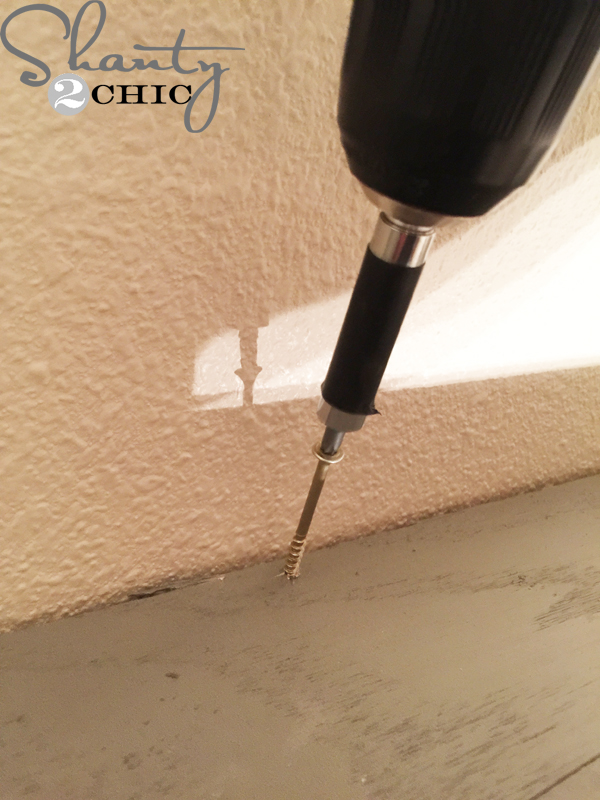
Now, wipe it down and set it on top of the 1×2 cleat. Just attach it with 2 1/2″ wood screws and drill them in at an angle (towards the wall).
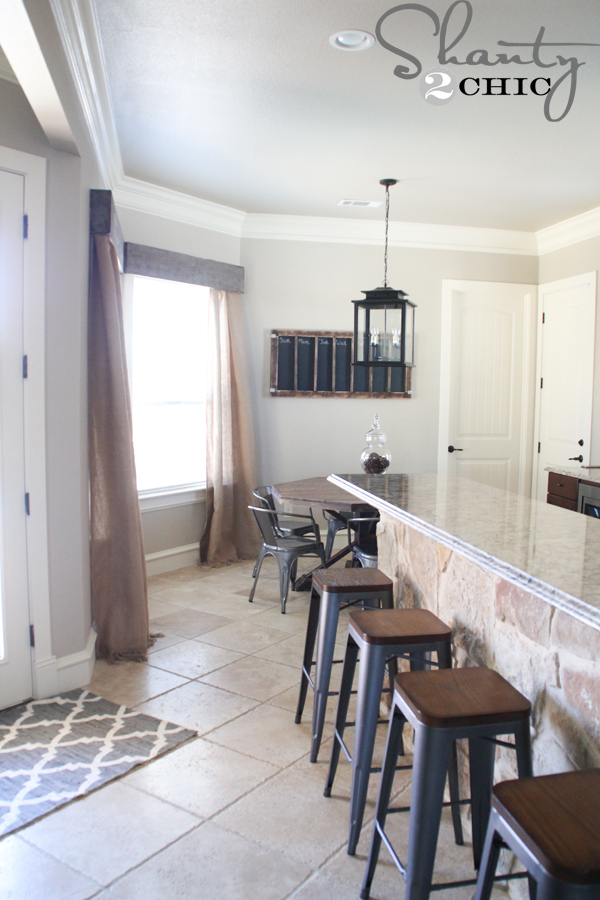
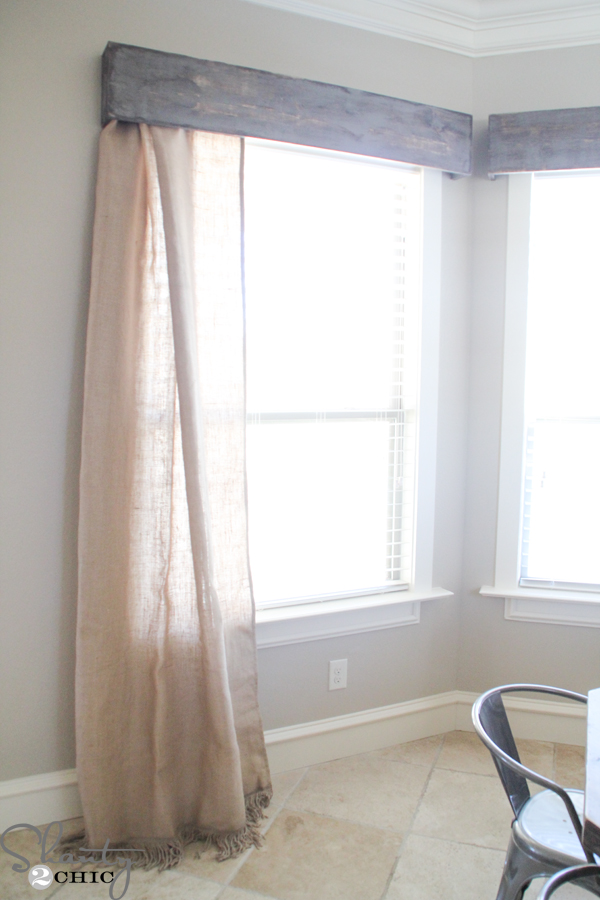
That was IT! Each Wooden Cornice was about $15 and the rods were under $2 each. I scored the burlap curtain from Ballard (HERE). They weren’t super pricey when I compared them to others and I loved the fringe at the bottom (and they are lined – the pic on their site doesn’t look like they are)! And, the best part about the cornices is that if your curtains are a little long, you can fold them up and clip them on the rings and no one will ever know
This was so easy and inexpensive, I wish I had done it sooner…and my brain is spinning with all sorts of modifications to use them in other rooms!
Thanks so much for stopping by!
~Ashley
Info on other items in the pics:
Paint: HERE
Stools: Sam’s ($35 each!)
Rug: Hobby Lobby
Metal Chairs: Target
Table: HERE
Chalkboard Calendar: HERE
Tile: HERE
Chandelier: HERE
Original article and pictures take www.shanty-2-chic.com site
Комментариев нет:
Отправить комментарий