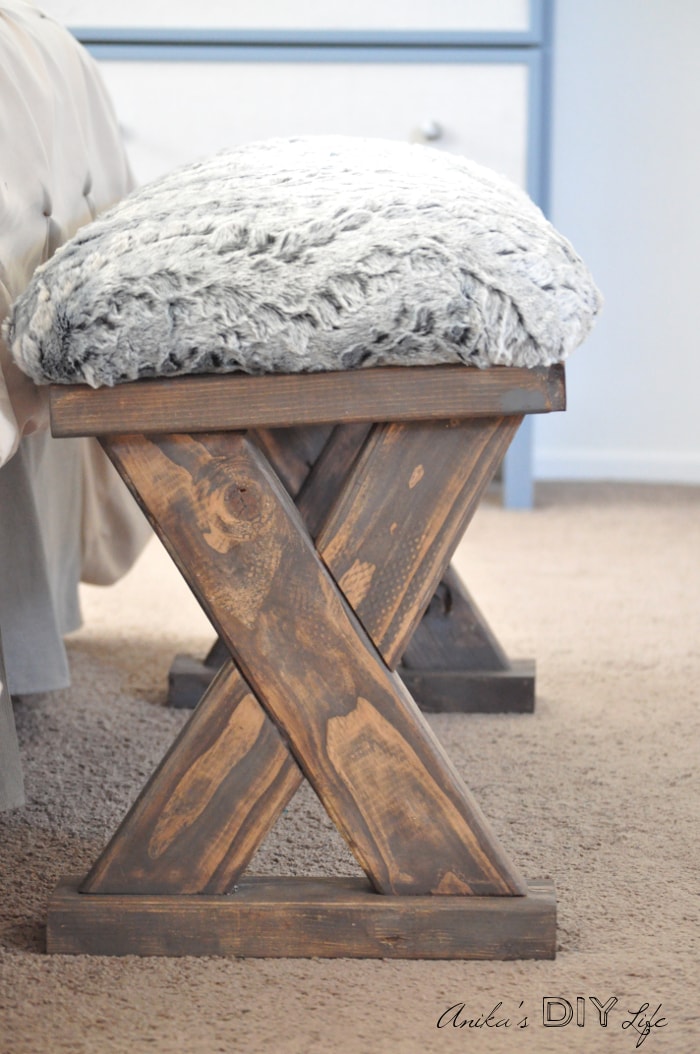
Build a simple DIY Upholstered X-bench using 2×4 boards. It is a super perfect weekend project and uses only 2 boards. FREE plans included too!
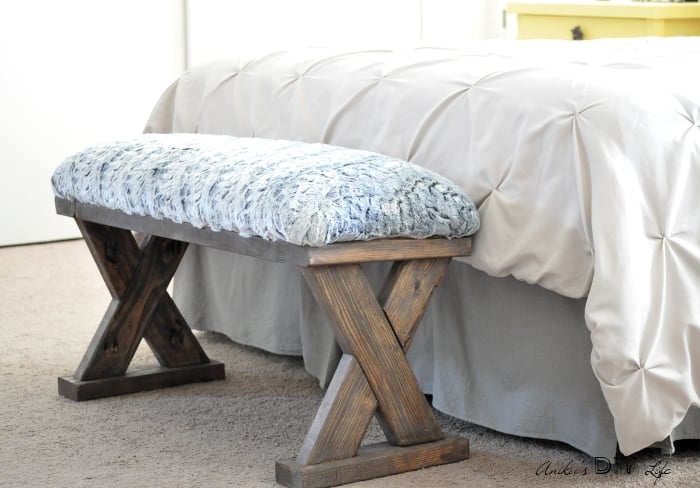
I have been working on getting the master bedroom furnished quite some time. You can see all the projects and progress in my master bedroom reveal. Now we have a bench at the foot of the bed.
As you can see, I decided to keep with the X- theme like the X-base nightstand and the Pottery Barn inspired Clara bedside table.
I decided to build using only 2 x 4 boards. I decided to upholster the top but you could very easily just add 2 x 4 boards on top to create an outdoor bench!
If you are a beginner woodworker, this is the perfect project for you!
***This post contains affiliate or referral links. It is a way for this site to earn advertising fees by advertising or linking to certain products and/or services. Please read my full disclosure here ***
Materials for the simple X-bench using 2 x 4 boards –
- Polyfil – if you want to save money on this, I have a secret for you… read about it in the part where I upholster!

Fill out this form to have FREE printable plans for this project sent to your inbox!
Plus, you will gain access to my library full of free printable plans with new ones being added all the time!
How to build a DIY upholstered X-bench –

Cut List –
- 4 – 2” x 4” – Cut at 13 1/2” (Feet and Short Apron)
- 2 – 2” x 4” – Cut at 14 3/4” short to long end – Angle – 30º (Long of X)
- 4- 2” x 4” – Cut at 7 1/2” long to long end- Angle – 30º (short of X)
- 1/2” plywood/ underlayment cut at 35” x 13 3/4” – for upholstered top.
Making the 2 x 4 Bench –
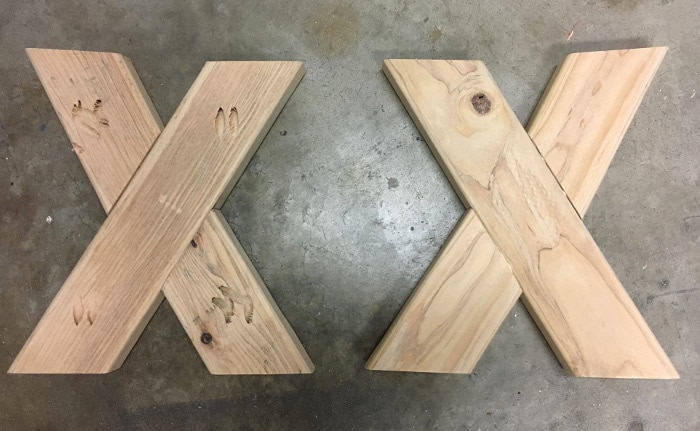
Step 1 – Make all the cuts and pocket holes. The setting on the Kreg jig is at 1.5” material thickness. Sand down all the boards to make sure they are smooth before proceeding to build.

Step 2 – Assemble the 2 side X’s using wood glue and 2 1/2” pocket hole screws.
Step 3 – Attach each of the X’s to the feet using wood glue and 2 1/2” Pocket hole screws. The spacing from the end of the feet is 1” and from the sides is 3/4”.

Step 4 – Build the top frame using the short aprons and the long aprons. Use wood glue and 2 1/2” Pocket hole screws.

Step 5 – Attach the two X- legs to the frame.

Step 6- Stain or paint your bench frame. I used weathered gray and dark walnut stains mixed together to create the beautiful effect. I demonstrated this on my Facebook Live video. Here is the video clip for you –
Step 7 – While the paint or stain is drying, prepare the bench top.
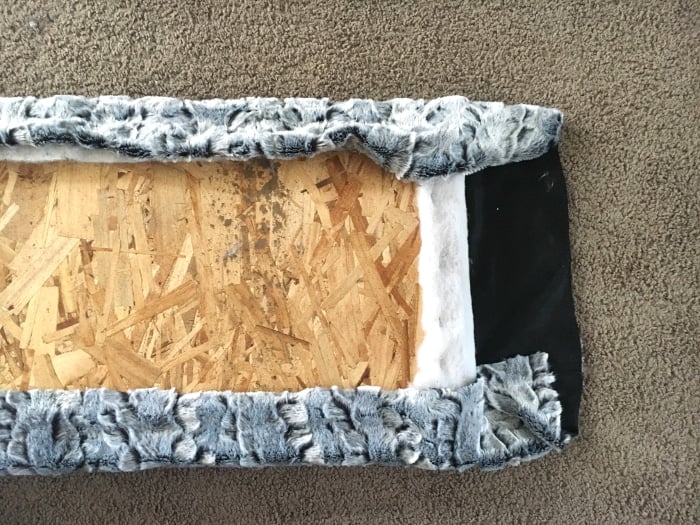
How to upholster a bench top –
- Start by cutting out the 1″ foam to the size of your plywood. I used a bunch of left over foam from various projects.
- Glue the foam to the plywood using spray adhesive.

- Cover the foam with ployfil, cover with batting and staple from the back. Here is a secret and a money saving tip – instead of the polyfil, I used the filling from a couple of pillows – they are about $1.50 at Walmart and much cheaper than buying a bag of polyfil!!
- Cover with the upholstery fabric and staple from back. I chose this beautiful Faux Fur I got at Joann’s.
Step 8 – Attach the top using 2” Spax screws. You can also use 2 x 4 boards to form a slatted bench that can be used indoors and outdoors.
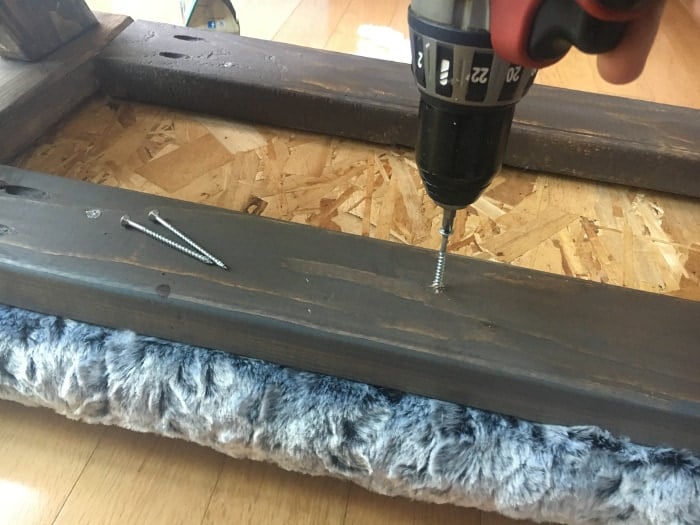
The upholstered X-bench is ready!

I am totally in love with that faux fur … it is so amazingly soft! Now I need to go make more things with that faux fur and just wrap myself in it….
Let’s talk about the finish… I am so crazy about it right now… and it is so easy to achieve!

Don’t forget! You can get the Free Printable Plans for this Upholstered X-bench in your email
If you are a beginner woodworker, this is the perfect project for you!

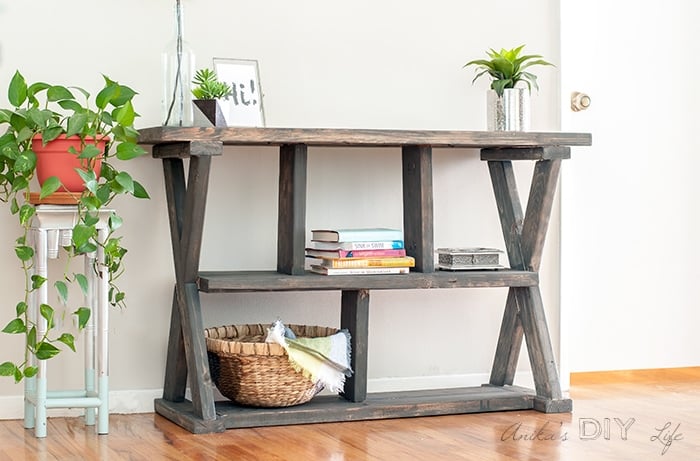
Love this? Need a console table?
I designed a version for you! Take a look at the X-leg Console table!
Need more X-leg furniture project ideas? Here are 20 of my favorite X-leg projects!

If woodworking is not your thing, here are some similar options!
Also, read about all the Tools you need to get started!
I love easy and quick builds! It’s kind of like instant gratification! Check out this coffee table I built for under $15. It is so easy to build and comes with free plans too!

One of my favorite builds is this DIY mirrored console table. I used the same stain technique as I used on the bench.

If you are looking for a super easy project for the Kids room, check out my DIY Kids bedside table with book storage. There will be no more night time reading book mess!

If you are looking for even more ideas on things to build using 2 x 4s –
Original article and pictures take www.anikasdiylife.com site
Комментариев нет:
Отправить комментарий