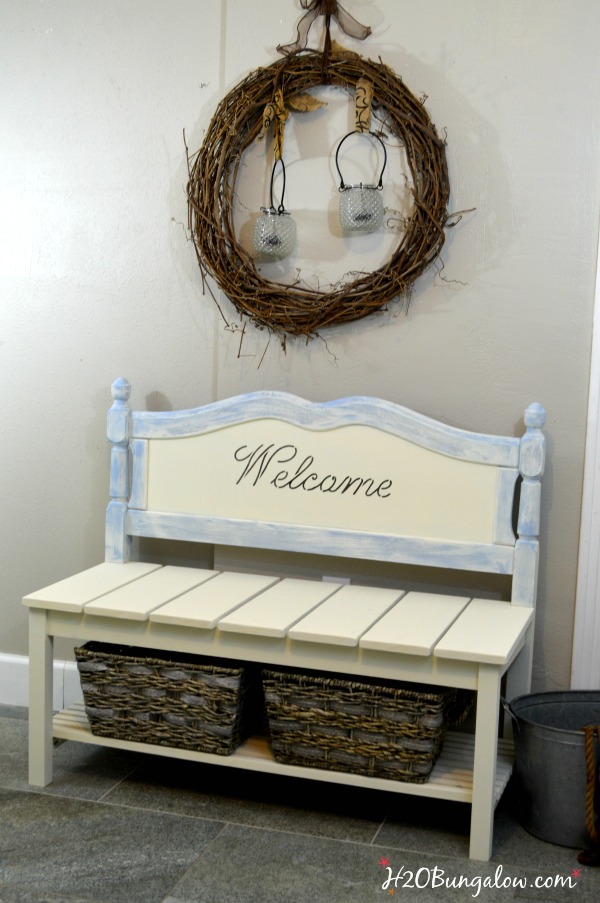
What does a trailer full of opportunity look like? If you ask DH, he’d say trouble. My answer is of course lots of furniture ready for makeovers and stuff with potential like this DIY twin headboard bench I built this week.
Last month I kind of went on a shopping binge at our local Habitat for Humanity Restore. It was just one of those days where every time I turned around I saw another gem in the rough. You know how it goes, if you don’t grab these kinds of finds right then and there, you’ll spend the next two days regretting that you left the whatever it was behind, go back and of course it will be gone.
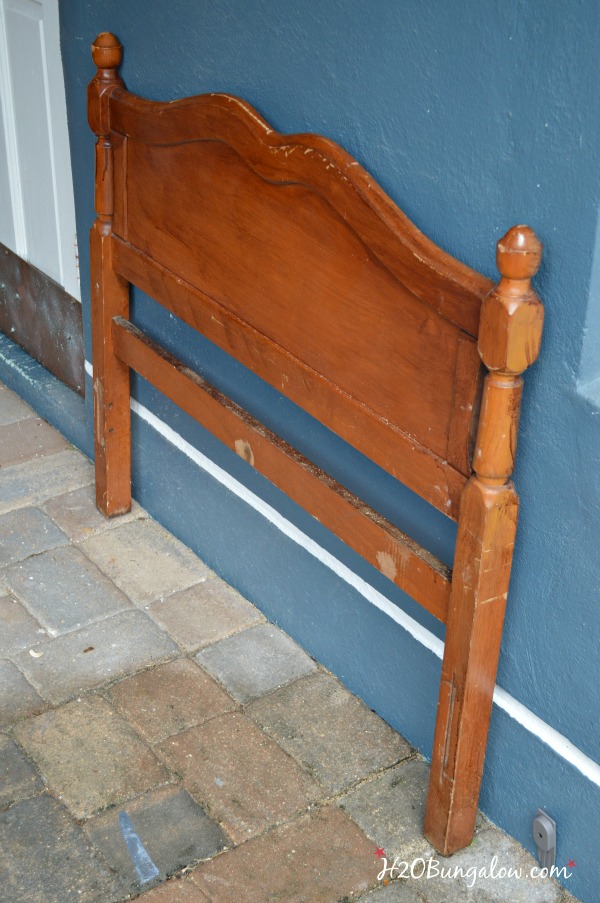
This twin headboard was one of my finds. It was a nice petite size and I knew it would make a great DIY headboard bench. What it didn’t have was a good foot-board that would work for side arms. So I figured this would be a great project to share for this months Power Tool Challenge and share how to make a DIY twin headboard bench with a shelf for storage.
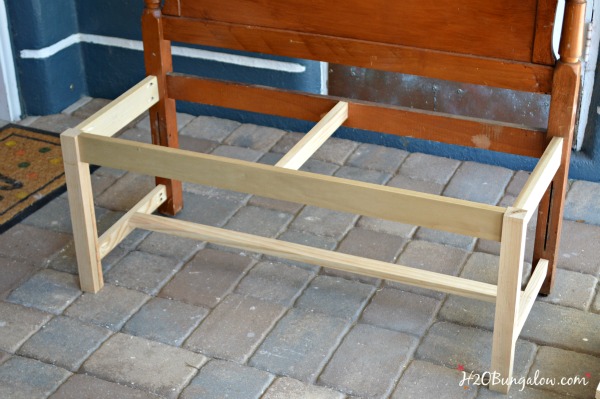
I made a basic frame using some poplar I had left over from another project and select pine (better quality) for the seat. Since each headboard bench is unique, there aren’t exact measurements I can share. The picture is easy enough to see and get the gist of where everything went. The seat is approximately 18″ tall and about 18″ deep.
Supply list to build a DIY twin headboard bench
Wood
- legs 2″ x 2″
- front and upper side frame 1″ x 3″
- center brace and bottom brace are 1″ x 2″.
- shelf slats are 1″ x 1″
- seat slate 1″ x 6″
Other
- 1 1/2″ pocket screws – This is a fantastic deal on bulk pocket screws! I just ordered one for myself!
- 2′ brad nails
- paint
- paint brush
- 4″ foam paint roller – don’t buy the high density ones, they don’t work as well as the soft ones.
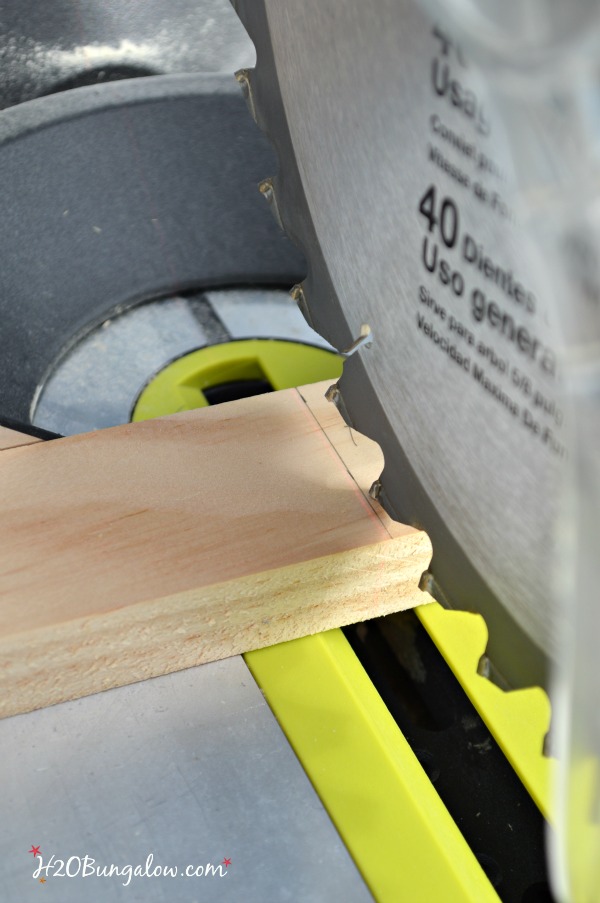
All the boards were a simple straight cut using the compound miter saw. When you’re making cuts, be sure to get as close to your cut line as possible…on the outside of your measurement line.
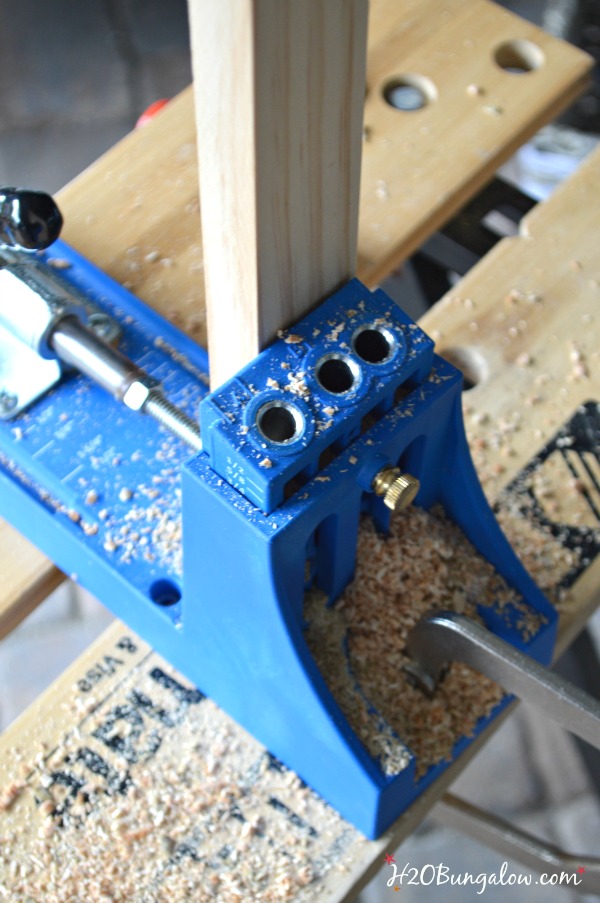
All of the wood joints are connected with pocket holes and screws using a Kreg Jig. I used two pocket holes for each joint and attached them with 1 1/2″ pocket screws. The Kreg Jig was set to 3/4″.
My Dad shared this trick with me and it worked so well I have to share it with you… Make a template of wood pieces to fill the voids between the slats out of scrap to space slats evenly. I used my Ryobi Airstrike brad nailer to attach all the slats on one side, and then moved the spacers to the other side with these same spacers.
Here’s how to figure the size and number of spacer templates needed.
Measure the total distance between the bench legs, subtract the length of the slats together, this will tell you how much space needs to be divided evenly between the slats, divide that by the number of spaces/voids and this will tell you how long to cut each spacer template. Make a spacer for each void in between the slats at that size. It will save a lot of time and your slats will look perfectly placed.
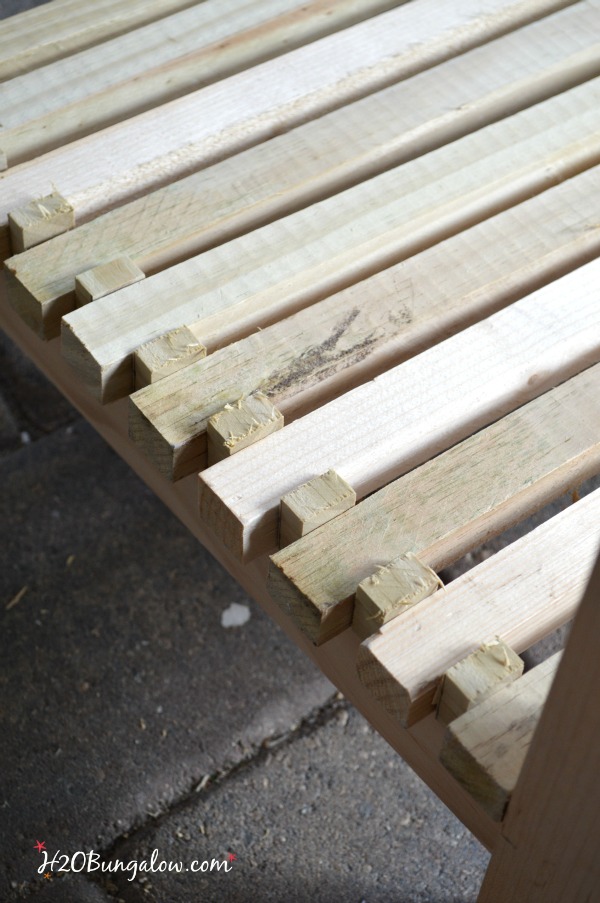
Attach the shelf slats first and the seat boards last.
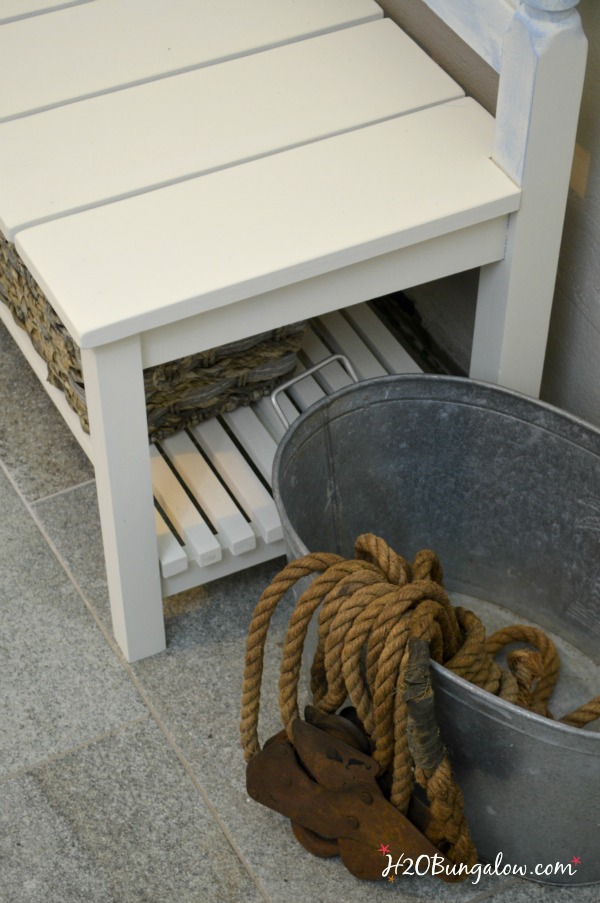
Depending on the length of your twin headboard bench you may need to notch the end board with a jigsaw to fit around the post. Use wood putty to fill in any depressions from the nail gun and paint.
Don’t the slats look great and perfectly spaced?
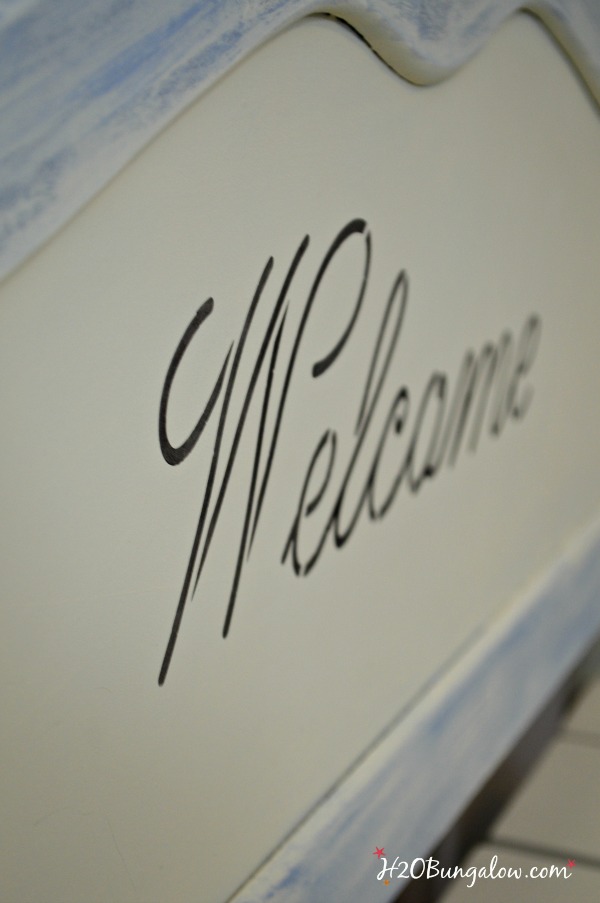
The stencil was a last-minute decision, I think it was the perfect finishing touch.
Do you love it?
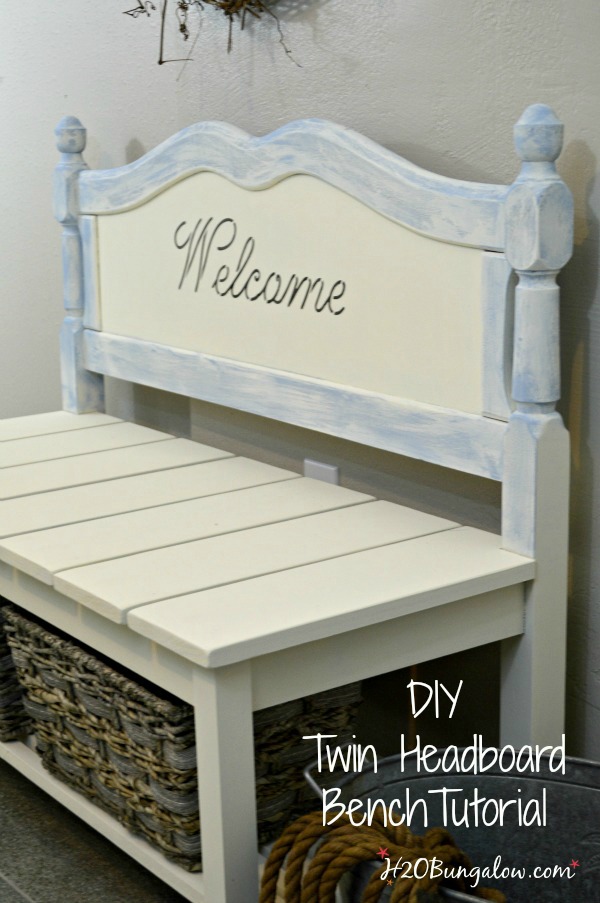
I do, and can picture this petite twin headboard bench sitting in a pretty foyer or hallway. It’s a far cry from my very first headboard bench project a few years ago. Which just goes to prove… if I can learn this and build a bench, anyone can!
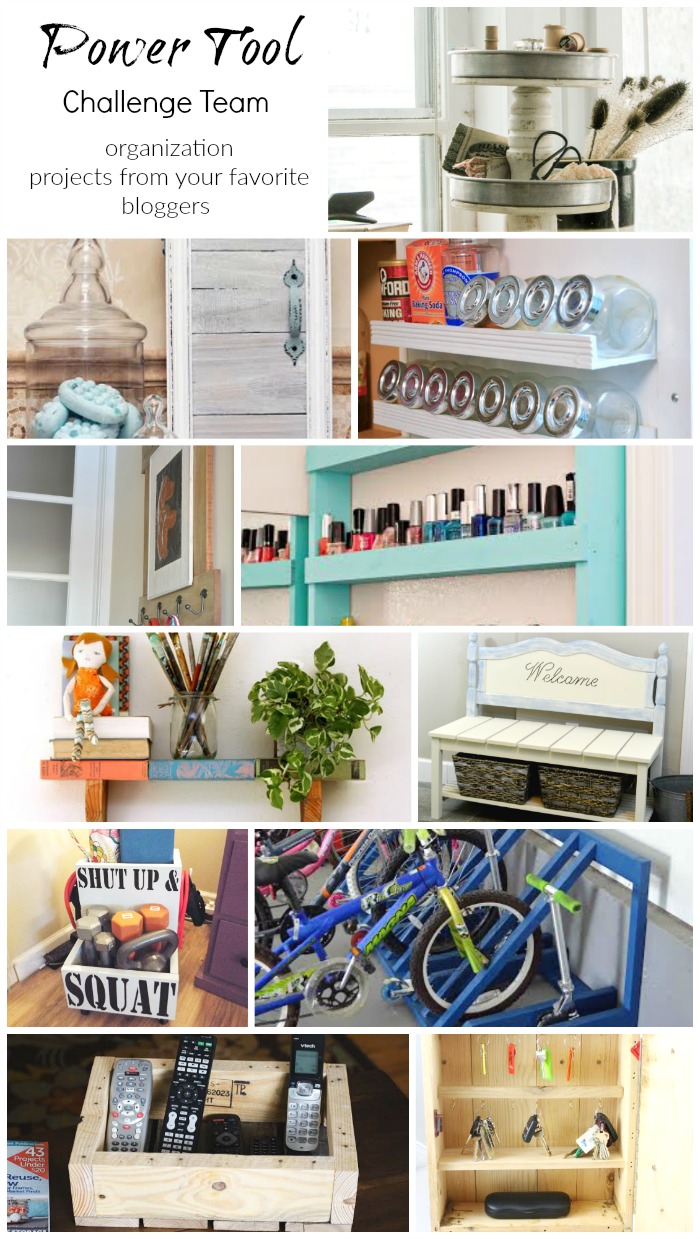
A few more good organization projects you can DIY
The Power Tool Challenge Team events are always a good time with loads of creativity. Check out the rest of the teams projects for this months theme of Organization below. Click on any of the pictures to see that project.

Love a good dose of DIY home decor, home improvement, the challenge of woodworking and creative ways to make your home look fabulous?
Me too!
I’d love to share mine with you. Click here to sign up for my post emails and I’ll send a quick note when I have a new project to share.
Social media fan? Don’t be shy say hello! I love when you guys do that! I’m interactive on Facebook and I share lots of other projects and, useful inspiration for the home and content I don’t share anywhere else. Follow H2OBungalow on Facebook here
Oh heck, just follow me on all social medias. We’ll have some fun…promise:) Follow H2OBungalow on Instagram , Follow H2OBungalow on Twitter , Follow H2OBungalow on Pinterest, I’m on Periscope! @H2OBungalow
I use affiliate links in my posts. If you should make a purchase I will receive an itty bitty commission at no cost to you. Thank you in advance for supporting my blog and two furball cats who believe they are privileged.
Original article and pictures take h2obungalow.com site
Комментариев нет:
Отправить комментарий