Hi Friends!! I’m sharing my very first ever DIY Headboard Bench with y’all today.
This was a fun little project that anyone can do.

First things first >>> ….find the headboard.
That deemed a bit more of a challenge than in the “old days”.
So many people are buying and making over furniture to sell these days.
It really makes it hard to find good pieces but thankfully I lucked upon this little twin headboard at the Habitat store for $20.
(after I had been to every thrift store in my area)
I had already found and bought an old twin headboard about 4 years ago. I planned to turn into a bench long ago but never got around to it.
When I went to pull it out of the back of my storage unit (my very full storage unit, lol) I realized it just would not work out.
Well, that’s not completely true, you can pretty much make anything work out, but not with tons of modifications.
Modifications I really did not want to make, so back to the thrift store that one went! ;)
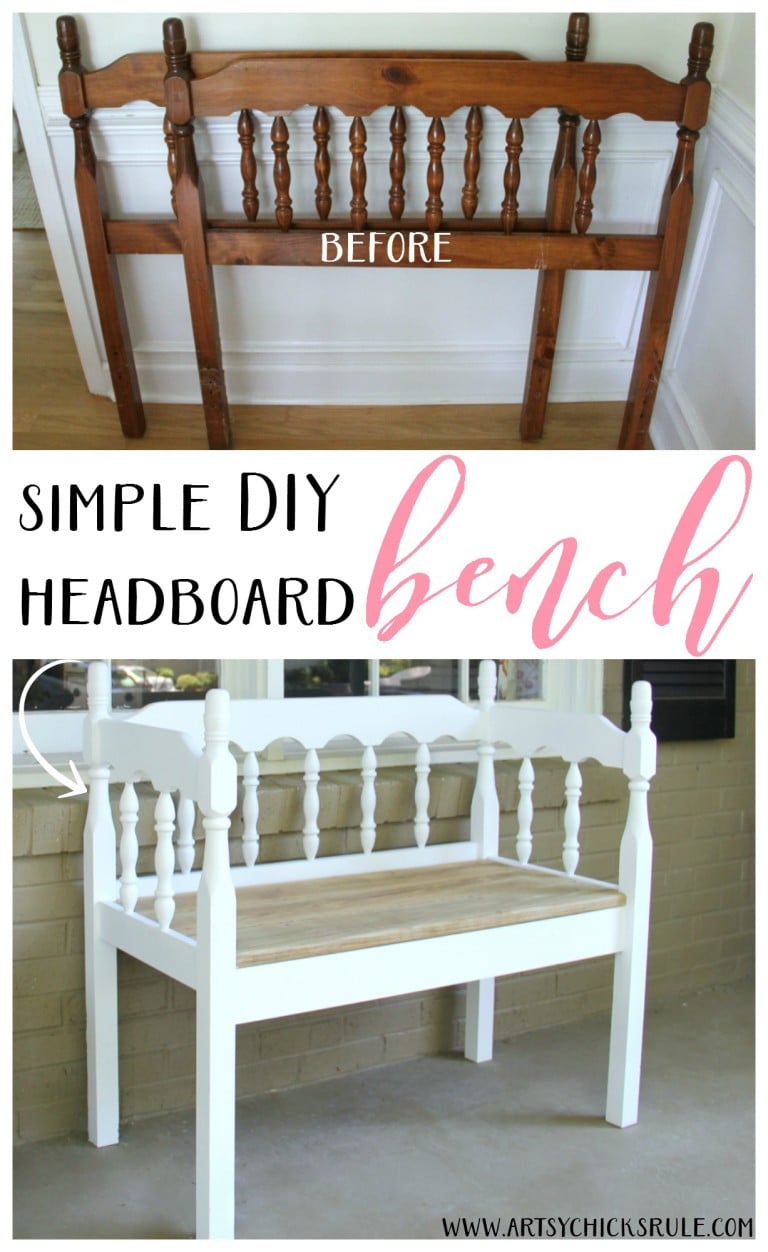
This one was not perfect either but do-able.
I’d rather have had the arms/sides lower but it just became more of a hassle and I wanted this to be an “easy” project.
So I mostly kept the sides even with the back.
My husband did trim a bit off all the legs. (and a bit more on the sides than the back)
But really, I like “easy” best, don’t y’all?
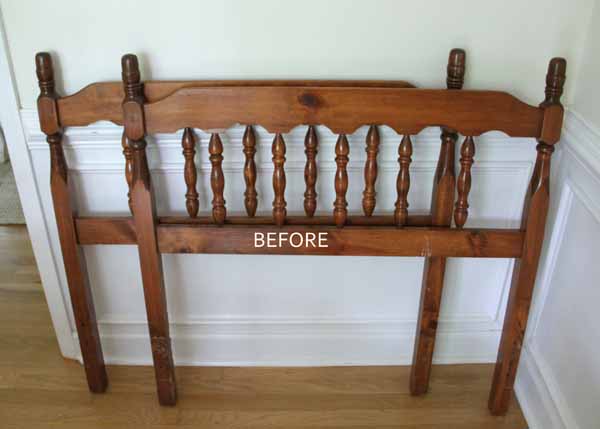
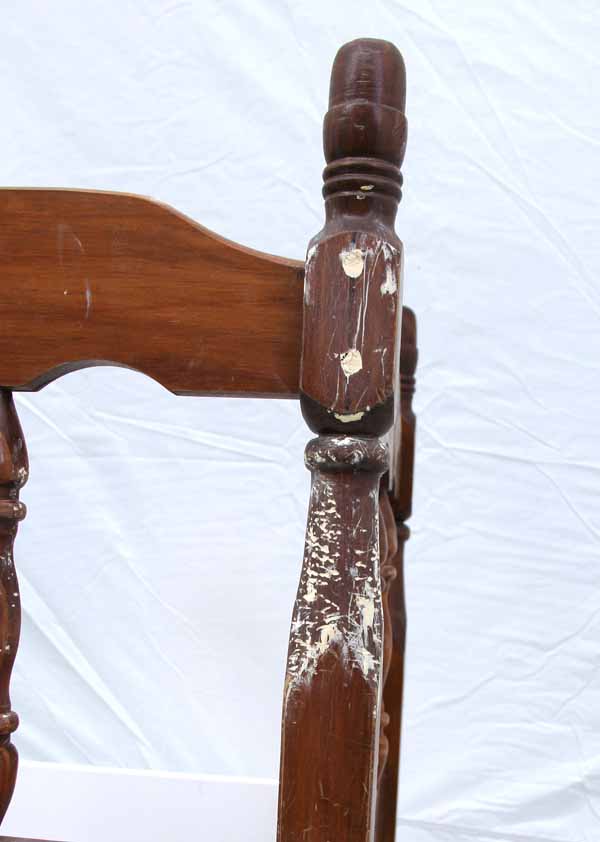
Here is what my little DIY Headboard Bench looked like when I found it.
You know what else I like??
Lightweight, easy to move furniture. ;)
I don’t do a lot of the bigger pieces anymore because the task to move is just too daunting.
Unless it’s something I need for my own home, I end up passing it by.
I’m not getting any younger ya know! My husband reminds me of same all too often too. ha!
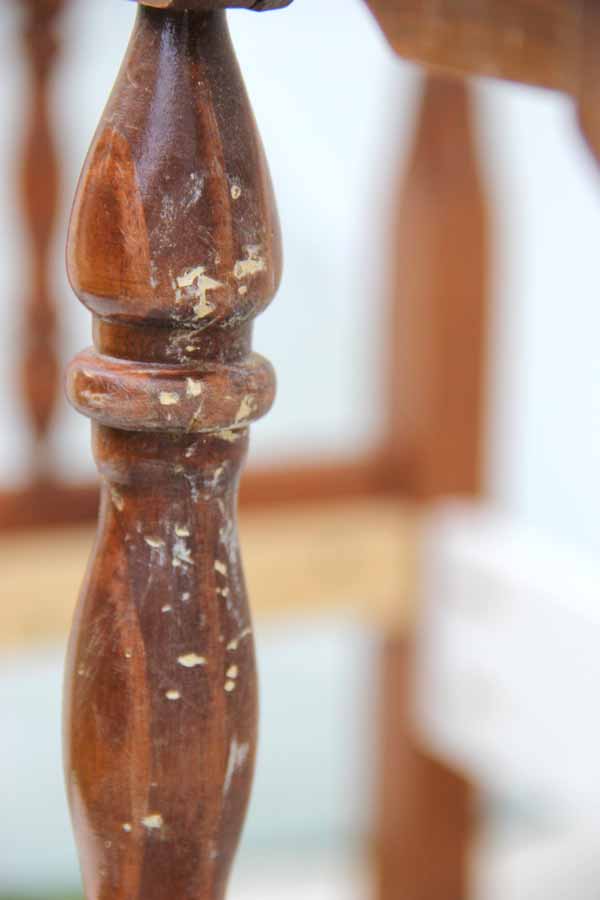
This one did have a bored little pup using it as a chew toy but I figured I could fix most of that.
I may include a few affiliate links below so you can find the products I’ve used. You can read my full disclosure here.
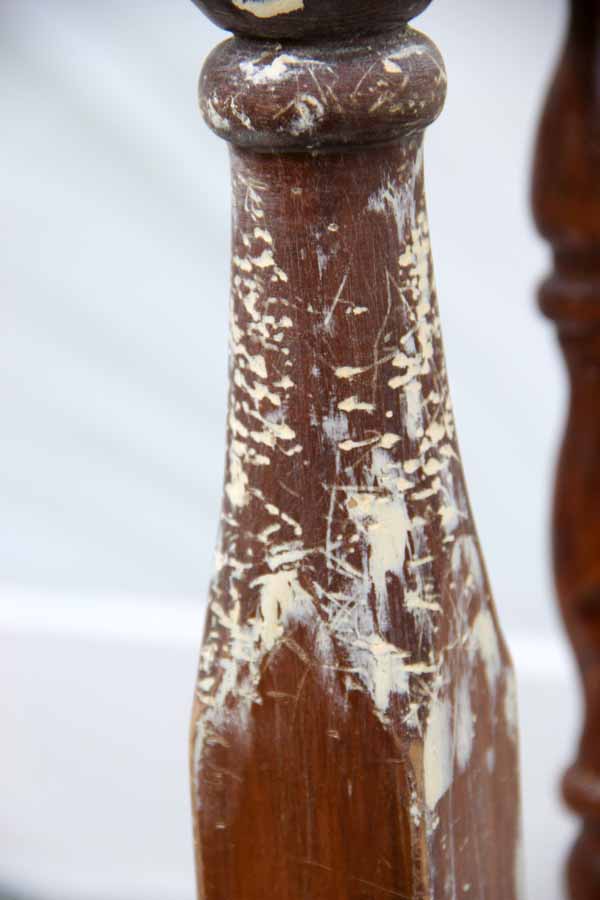
A little wood filler and good to go.
I had my husband make the cuts for me since I was also working on a few other things at the time.
My son is graduating high school this month and I’ve been planning a party and trying to get my yard/patio/porch in order for said party!
Eek…so much to do. I hope to share it with y’all at some point though.
We ended up deciding to cut out the middle spindle so the sides would fit nicely onto the back.
(you’ll see in finished photos below)
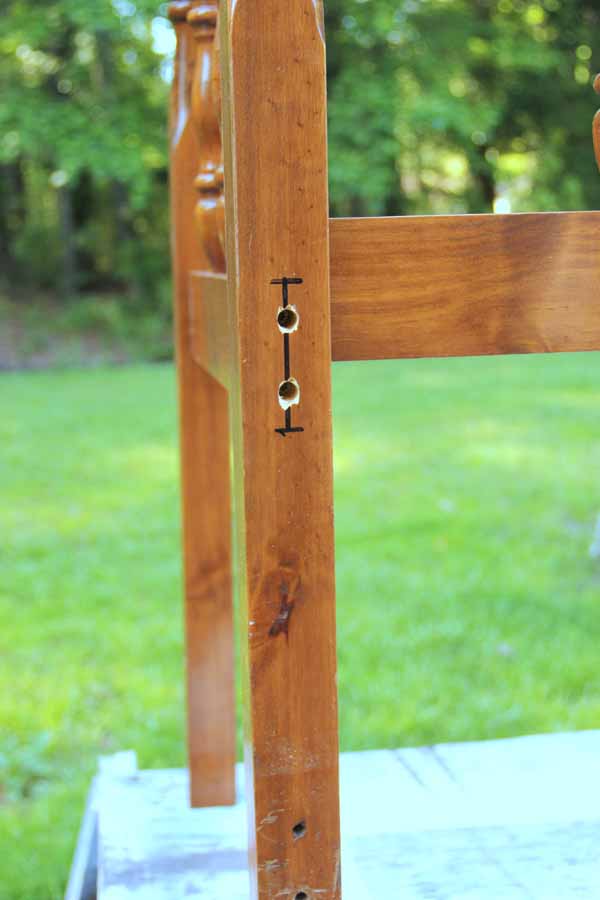
I marked and drilled holes for the screws…..

The tape was my husband’s idea. It works to keep the wood shavings out of the way.
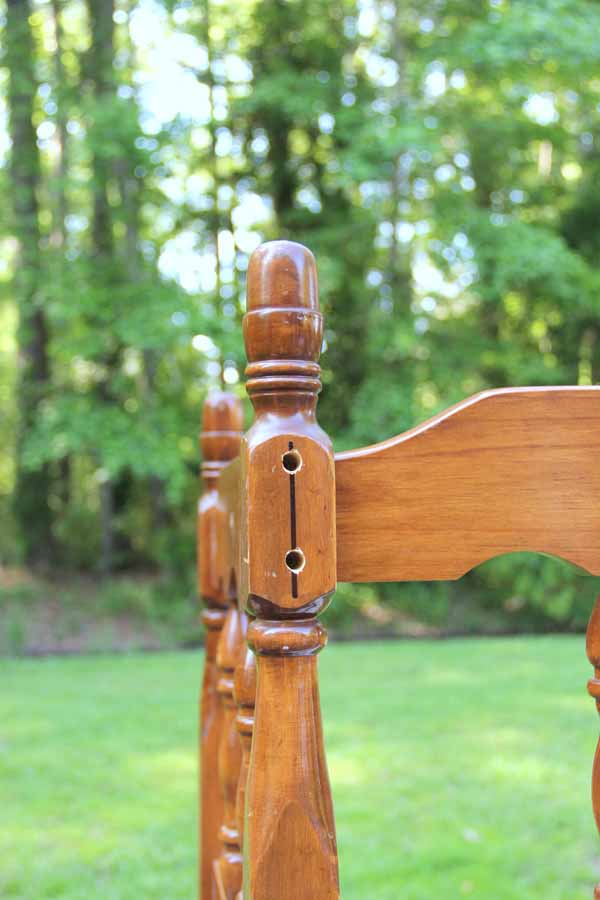
All screwed together.
Those got filled too….
I attached a 1×2 to the sides for support of the seat.
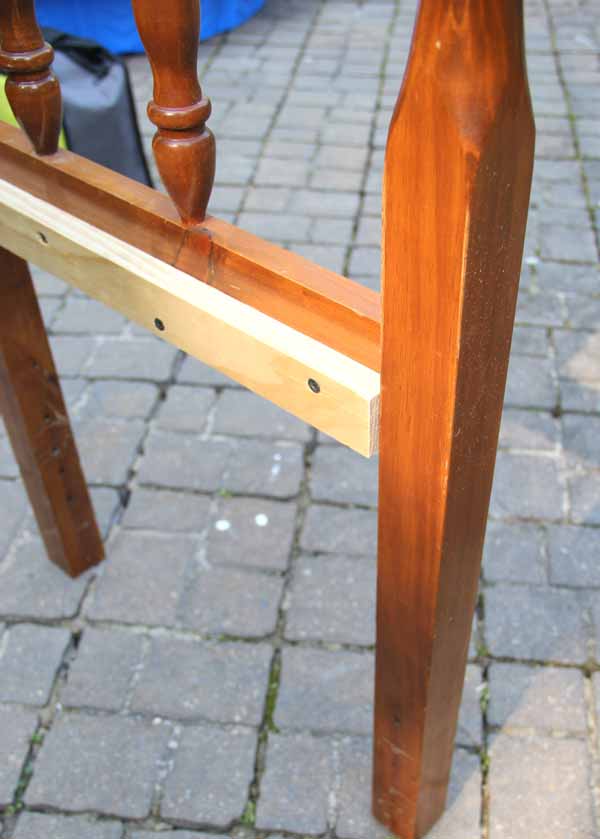
I also attached a 1×4 across the front for support. (see photo below)
I used my Kreg Jig to screw it into place (from the back) so had no holes to fill on the sides for that.
Once all that was done and it was filled, lightly sanded, etc, I sprayed painted it using my Homeright Paint Sprayer. (and Spray Shelter)
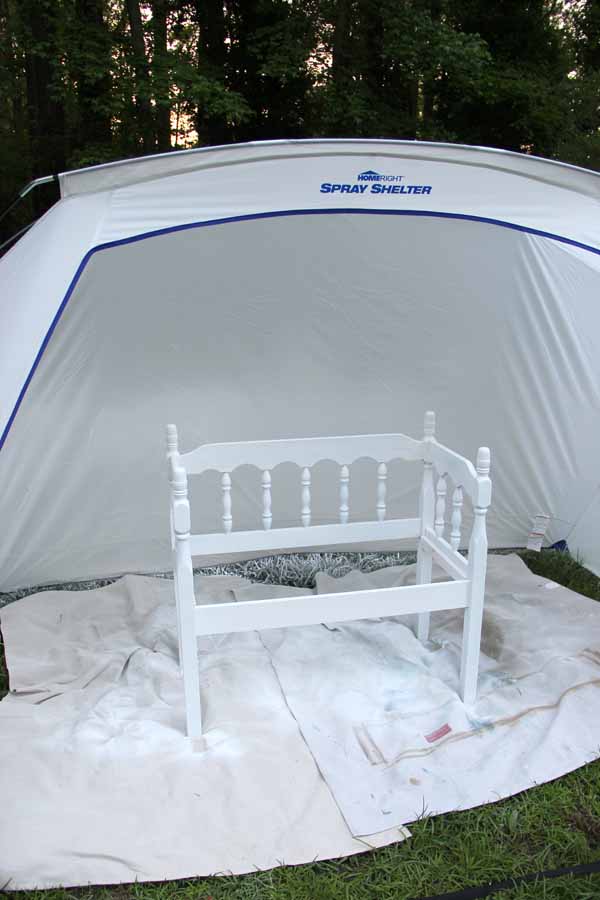
It was my first time using both and I hadn’t gotten a big enough drop cloth yet….oops. ;)
I have one now so my grass won’t get the paint next time.
But I loved the ease of painting this piece with the sprayer. Yes.
I highly dislike painting spindles, chairs, etc with a brush.
This was SO much quicker.
I wanted to do a whitewashed or weathered wood seat so my husband pulled out this old decking.
It was wood we kept from a deck we tore down a couple years ago.
It was perfect!

I haven’t sealed it yet but will put something on it after it dries out well. (it was outside and a bit wet)
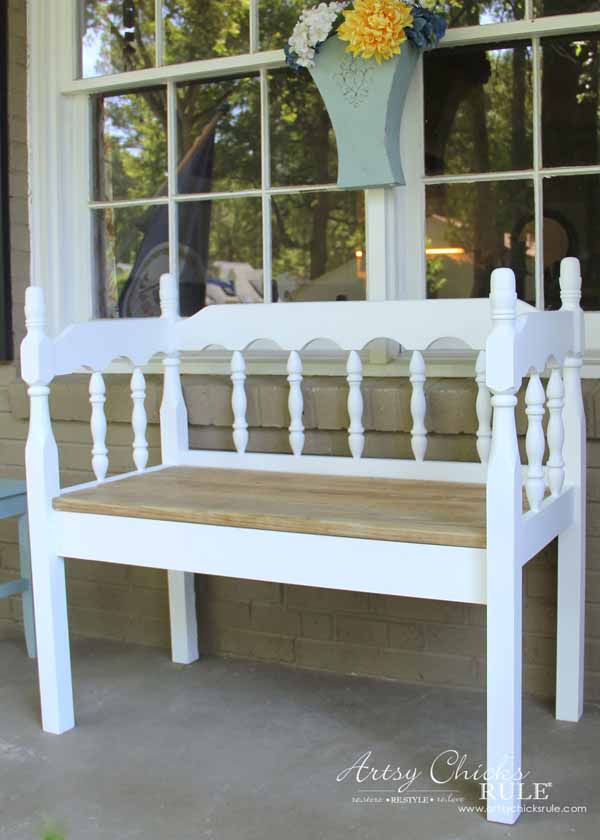
I love the bright, crisp white with the “weathered” looking wood.
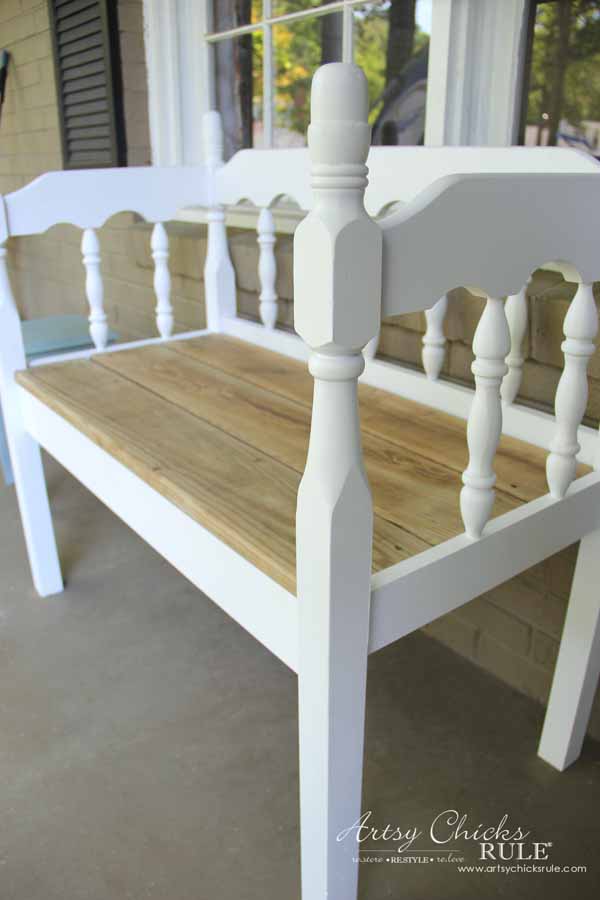
Three boards were all we needed.
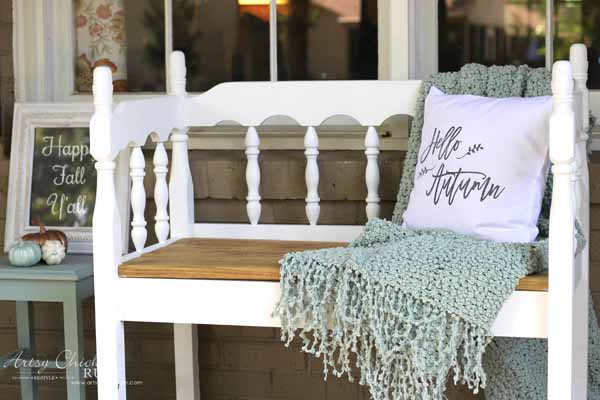
It’s quite sturdy and I can’t wait to decorate it up a bit. (I’ll be sharing it, and more of my porch, decorated next week for our decorating post)
See how there were five spindles?
The middle one was cut out of the foot board so that the sides would line up more nicely with the back.
You can also see in this photo how the sides are just a tiny bit lower than the back.
The front piece of wood needed to be notched out to fit…..
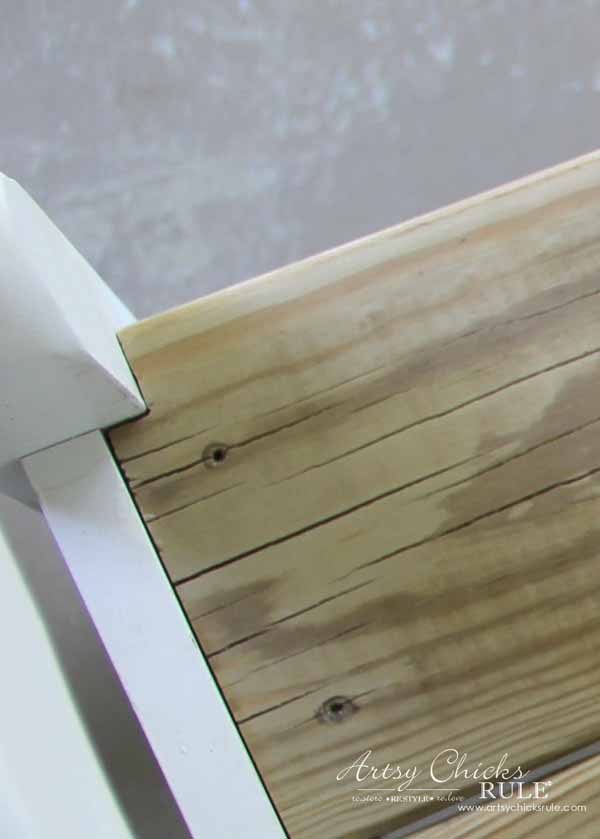
My sweet husband did that for me while I spray painted my white rockers.
They’ve been in need for awhile and look like brand new!
You’ll see them next week. :)
By the way, those are old screw holes from when this wood was a deck.
It is screwed in from underneath now.
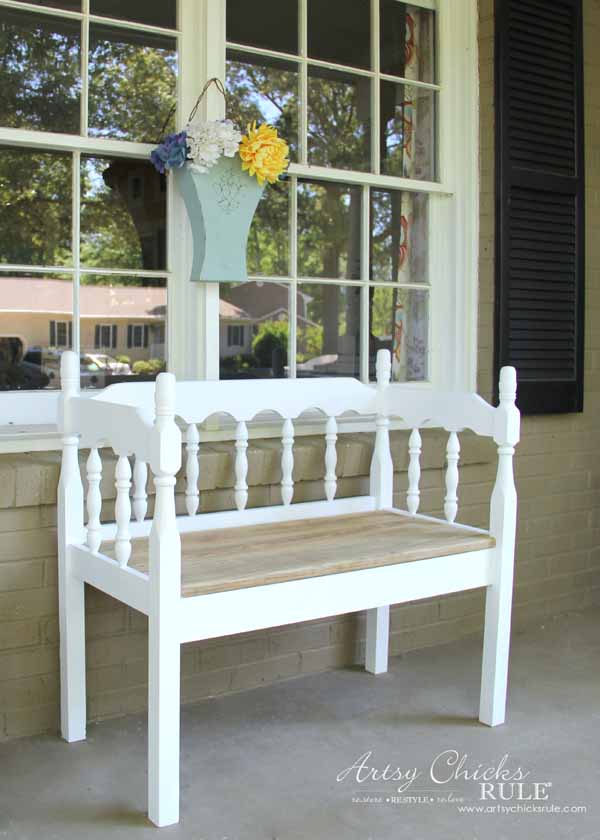
I had an old (very old) wicker bench here originally.
It was time for something new and different.
I love this and it was SO much cheaper than buying new!
I want to put two more rockers on each side of this little bench but they are so pricey. Yikes.
I found the two I have (on the other side of my porch) for $50 (total) at a flea market…in perfect condition.
I looked online and found the exact same ones for $130….each.
Um, no…..I’ll keep looking.
MATERIALS NEEDED TO MAKE A DIY HEADBOARD BENCH:
So, are you in need of some new porch furniture?
Why not make a DIY Headboard Bench yourself?
You can!
PIN this to save for later. :)
Now let’s see what my friends made this month….
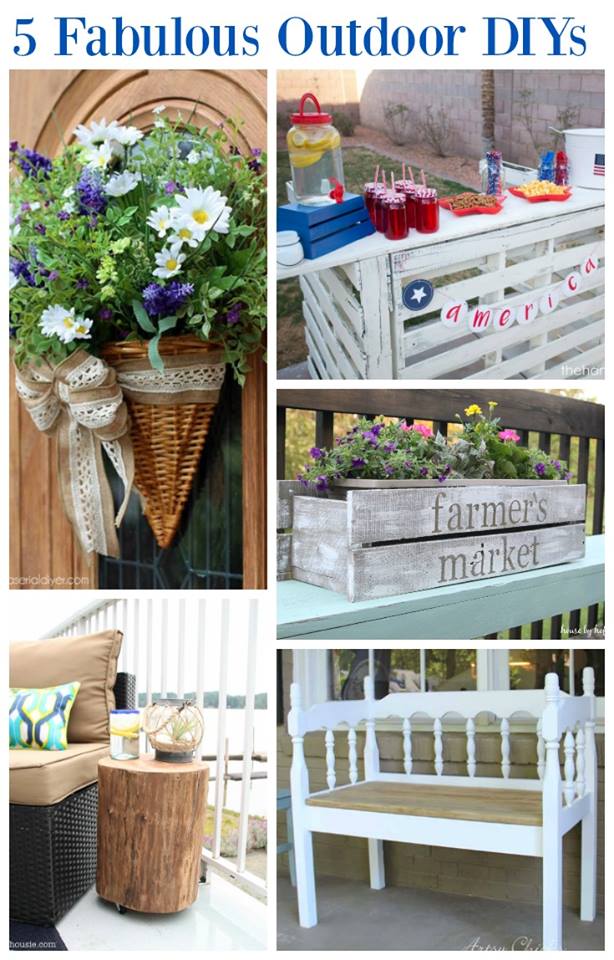
- Christy at Confessions of a Serial Do It Yourselfer – “Summer Wildflower Door Basket”
- Mandy at The Hankful House – “Backyard Pallet Bar”
Be sure to stop back by on Sunday and link up your outdoor projects….or gather tons of inspiration from those who do!

The party starts at 7pm, EST! See you then!!

You may also like this project:

Follow Along Here!
Original article and pictures take www.artsychicksrule.com site
Комментариев нет:
Отправить комментарий