My first project for the master bedroom was to create a fabric headboard for our queen sized bed (see room inspiration board here!). I found this great Calico Corners print and knew it would work perfectly as a neutral backdrop for the rest of the room. Next I needed to find a frame with a bit of architectural detail… and I scored a white wooden headboard from Craigslist that was perfect.
Here’s my step-by-step:
*******************************************************************************************
{DIY Fabric Headboard}
a
Materials: Headboard frame, sand paper, spray paint, fabric, foam (1″ – 2″ is easy to work with), quilt batting, staple gun, hem tape, utility knife
1. I asked Kevin to cut off the bedpost knobs since they would get in the way of my vision for a sleek, rounded form. 2. Then I sanded and painted the legs (at least the areas that would show) the same mahogany color as my platform bed.
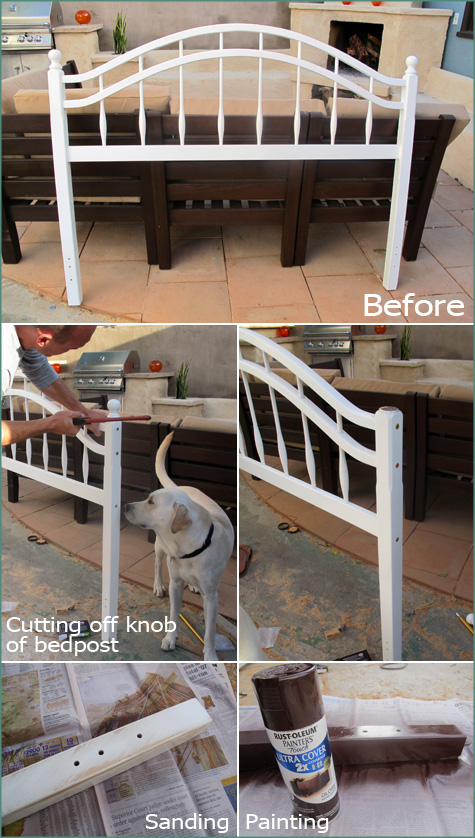
Forgive the messy workshop… but I was in crunch mode and brought my big project inside for some late night work.
3. After painting, I traced the line of the headboard frame onto my 1 1/2″ foam pieces (one for the front and one for the back). One foam form was about 6″ longer on each edge to allow for folding over the bedposts so that the sides would be just as soft and cushy as the rest of the headboard.
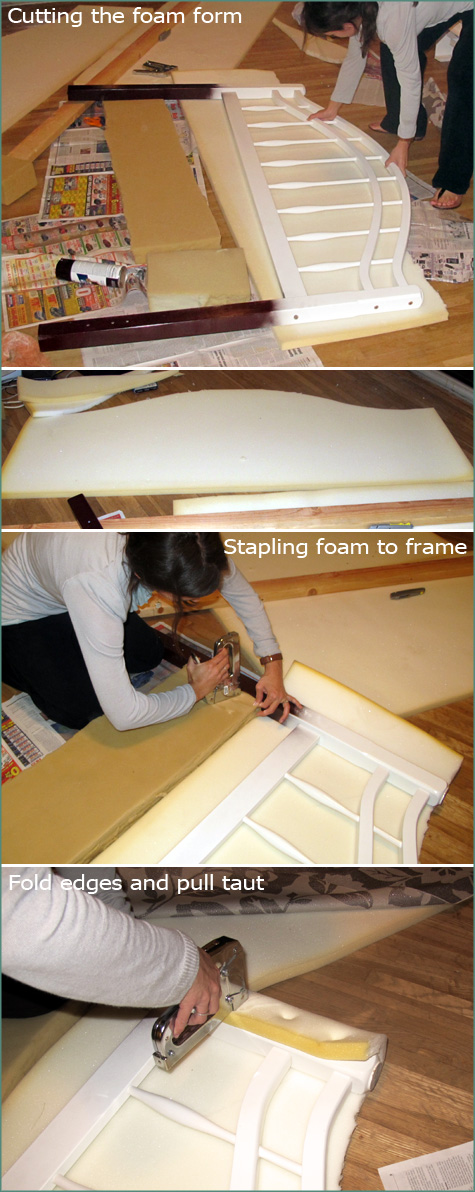
4. Because my rolls of foam were only a couple of feet wide, I also added thicker 3″ foam just below my foam forms so that my fabric headboard would extend at least 2/3 of the way down the frame (this may or may not be necessary if you try this project yourself). Be sure all foam is even and patch where necessary.
5. My final foam finish was a simple strip across the top of the headboard to match the sides.
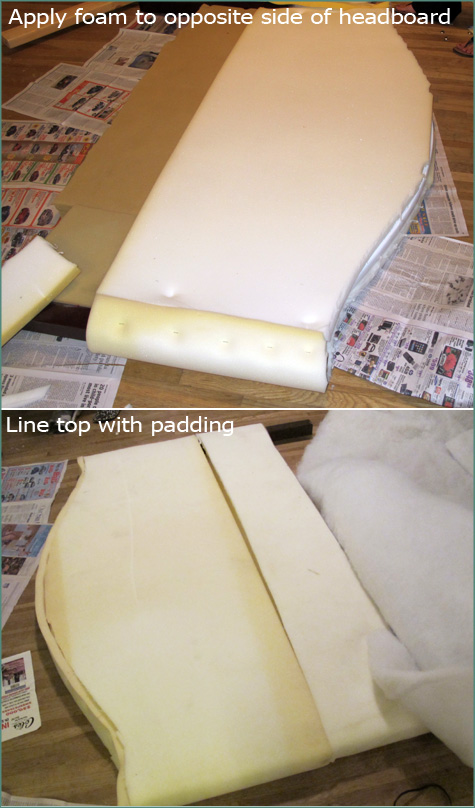
(Don’t mind the sun discoloration… my foam is faded but it’s a bit cheaper and it doesn’t affect the project!)
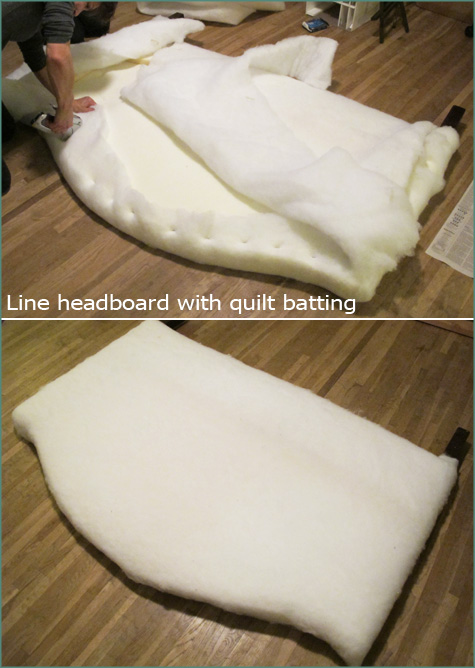
6. The next step was to cover the entire headboard frame with quilt batting. This should hide all seams and create a sealed, soft look (especially around the edges and corners).
7. We repeated step 6 but this time with fabric, working from edge to edge and pulling the fabric taut as I stapled. This would be a great time to add tufted buttons (super easy, check out the process during this ottoman tutorial) but I wanted to keep a more modern shape and thought they might be a bit distracting and competitive with the pattern.
8. We finished the headboard by applying a lining across the back to hide all folds and staples (the one picture I don’t have!). The lining was cut just a few inches shorter than the headboard outline on all sides (it followed the staple indentation for a cleaner finish) and was hemmed (hem tape works great) before it was attached to the back.
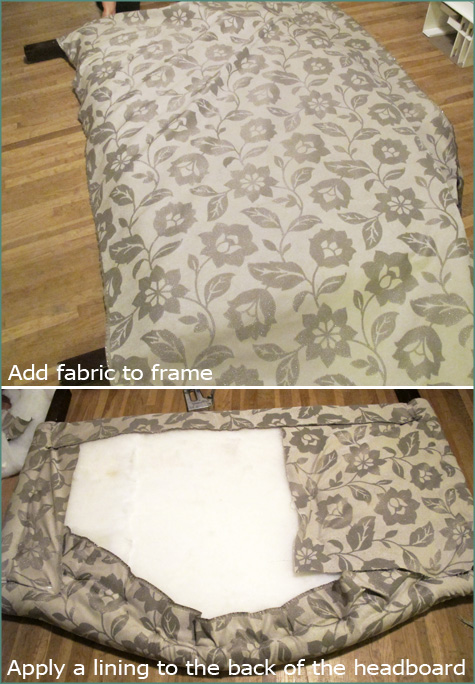
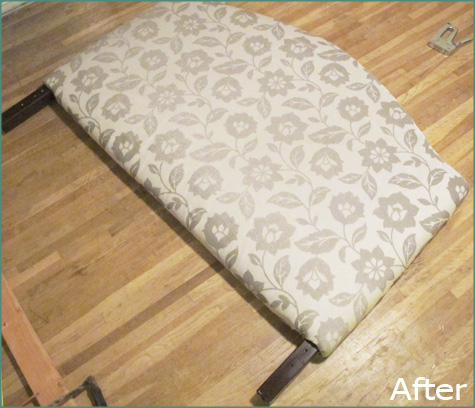
And here she is! I can’t wait to see how it will look in the room… once we get that put together and decorated.
(try a complimentary solid shade for the backside lining if you choose an expensive print and don’t forget to take advantage of 40% off Jo-Anns coupons since foam can be pricey). I actually purchase most of my foam for projects from a nearby discount store that collects Jo-Ann rejects (usually because of sun discoloration). It doesn’t hurt the project and brings my overhead down even more.
The labor and time was definitely worth it, I love the look and I know it will tie in so well to the finished bedroom!
Original article and pictures take www.pepperdesignblog.com site
Комментариев нет:
Отправить комментарий