This post is sponsored by The Home Depot. I have been compensated for my time and provided with product. All ideas and opinions are my own. This post contains some affiliate links for your convenience. Click here to read my full disclosure policy.
I have some old bead board frames that I want to update. They are cute but I don’t always like undoing the acorn nuts to put the new picture in and then realizing I didn’t center it after I hang it back up. I want to be able to switch out pictures really easy.
Old bead board frames
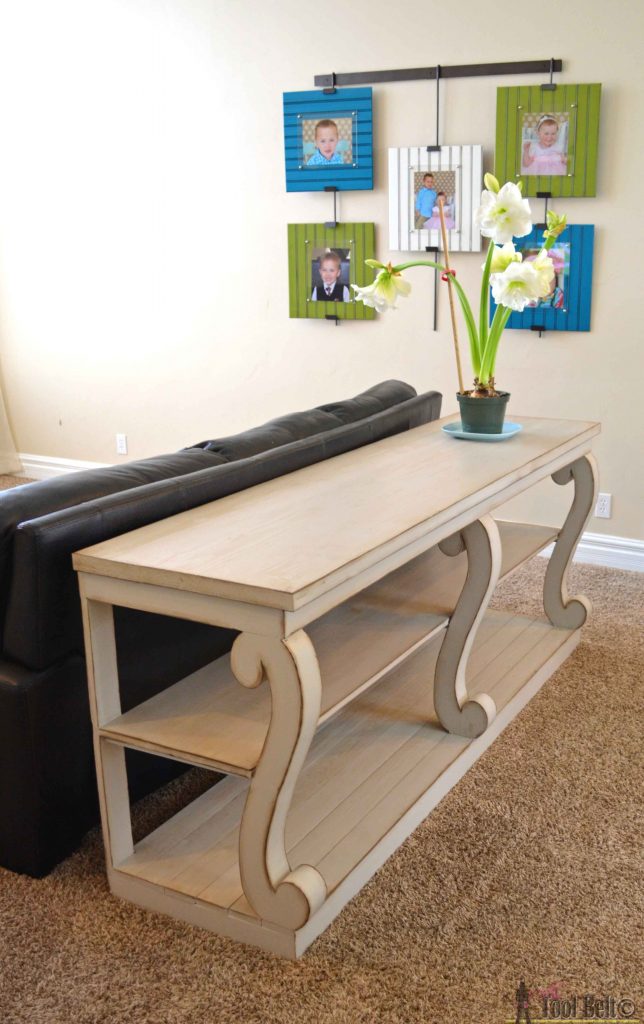
Free plans for the console table with scroll legs.
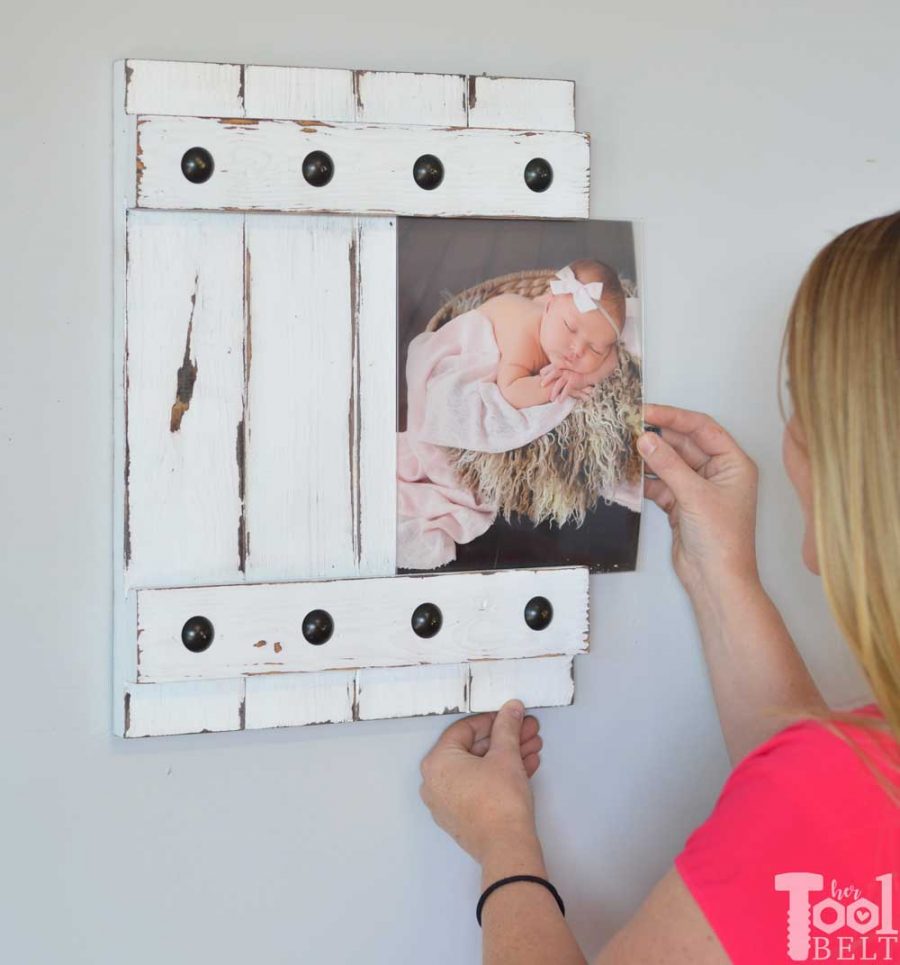
I would also like to transition some of the decor into more of a farmhouse style with reclaimed wood look. To make switching out the picture nice and easy, I’m going to use a similar idea to the sliding photo board. The top and bottom boards will have a little slot to allow the photo to slide in and out.
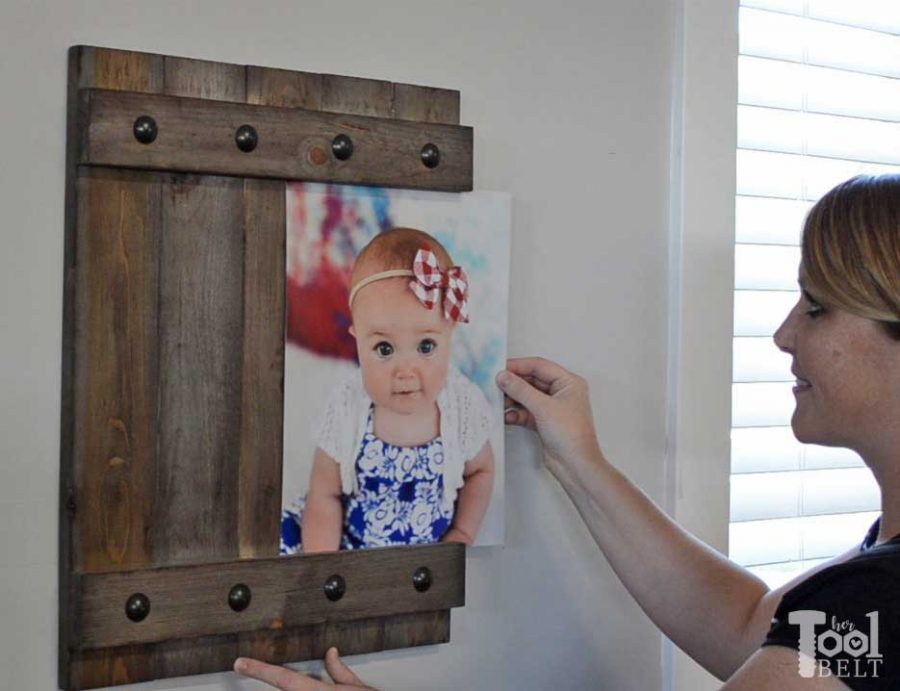
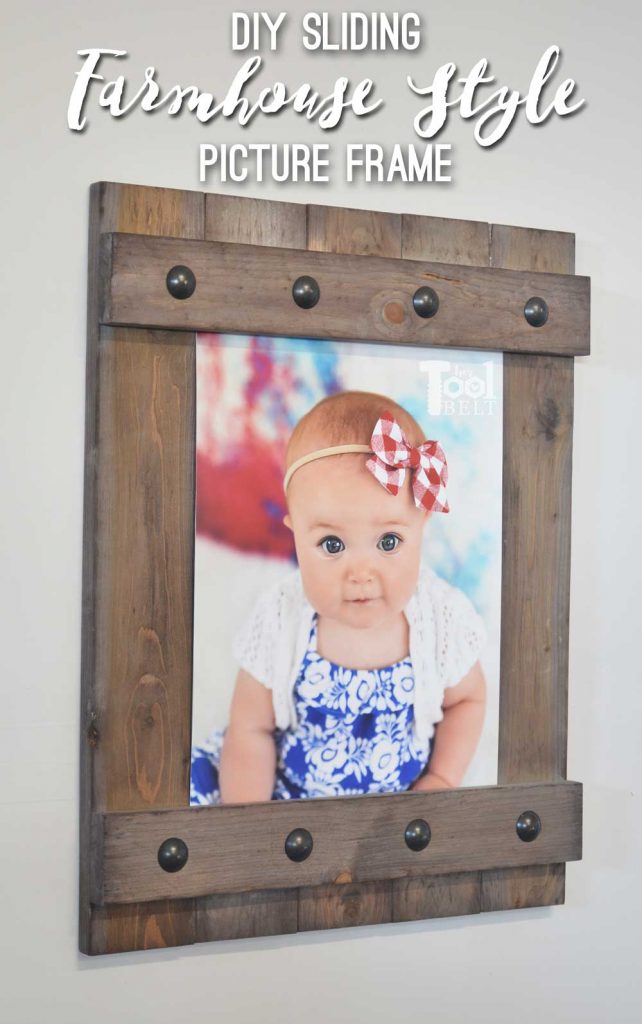
(This is the instructions for an 11″ x 14″, you can find the 8″ x 10″ here).
How to Make a Sliding Picture – Farmhouse Style Frame
For 11″ x 14″ photos
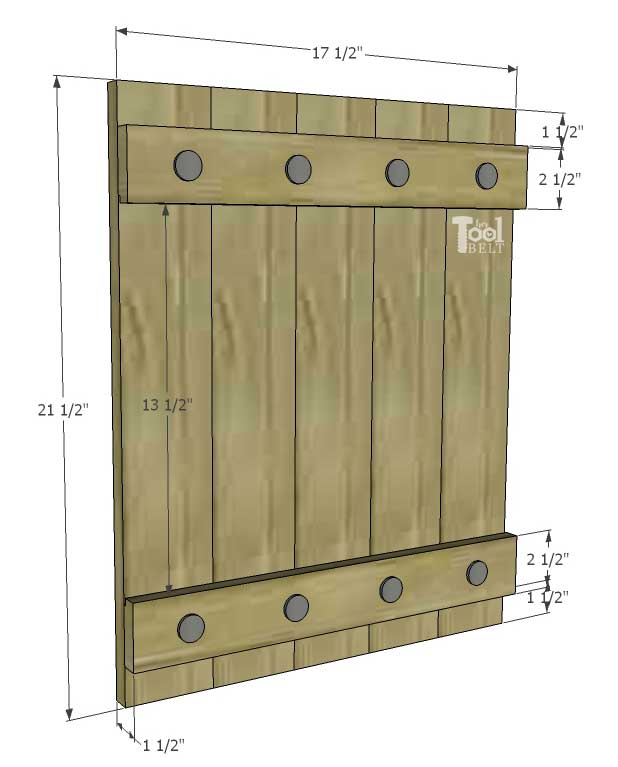
Materials
- 2 – 1″ x 4″ x 8′ boards (actual 3/4″ x 3 1/2″)
- 1 – 1″ x 3″ x 8′ or 6′ board (actual 3/4″ x 2 1/2″)
- stain (I used Varathane weathered accelerator, Varathane Kona and Minwax pre-stain conditioner)
- 1″ decorative nail heads (painted oil rub bronze) – optional
- picture hanger – optional
Tools Used
- Pin Nailer (alt brad nailer)
- Table Saw (optional)
Cut List
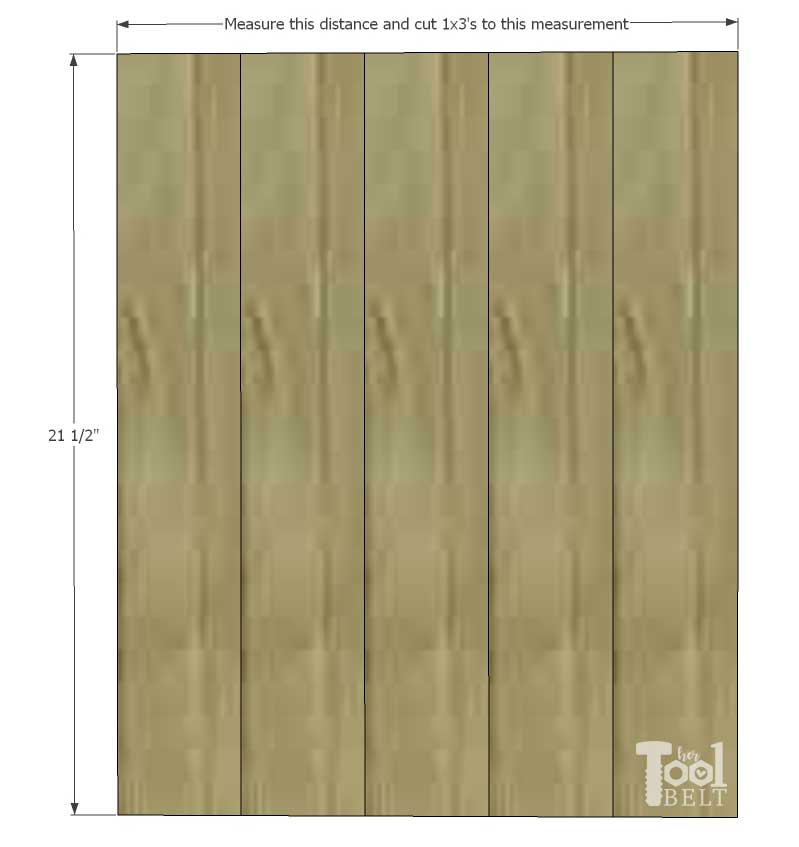
- 5 – 3/4″ x 3 1/2″ x 21 1/2″
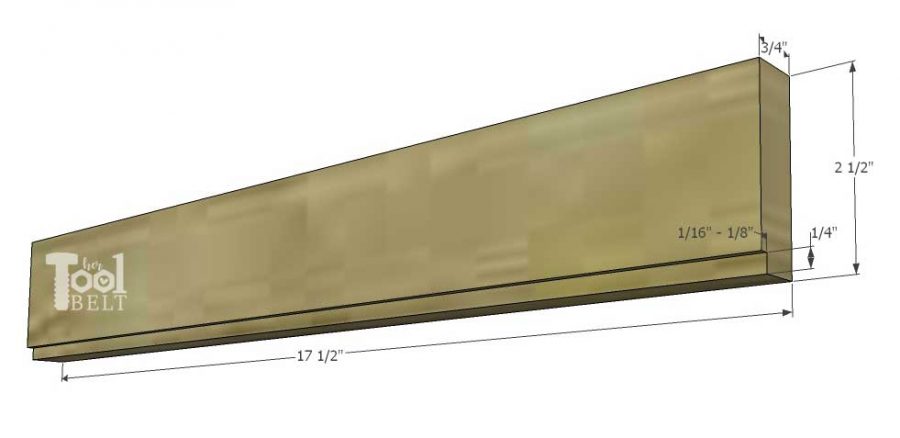
- 2 – 3/4″ x 2 1/2″ x 17 1/2″ (cut to fit)
Cut Diagram

Step 1
Cut all of the boards according to the cut list. Place all of the 1×4 boards together and measure the width of the frame (approximately 17 1/2″) and cut the 1×3 board to that measurement.
Cutting boards to length. Tip using a speed square (carpenter’s square) with a circular saw is a quick way to make cross cuts straight/square. These cuts are also easily made with a miter saw.
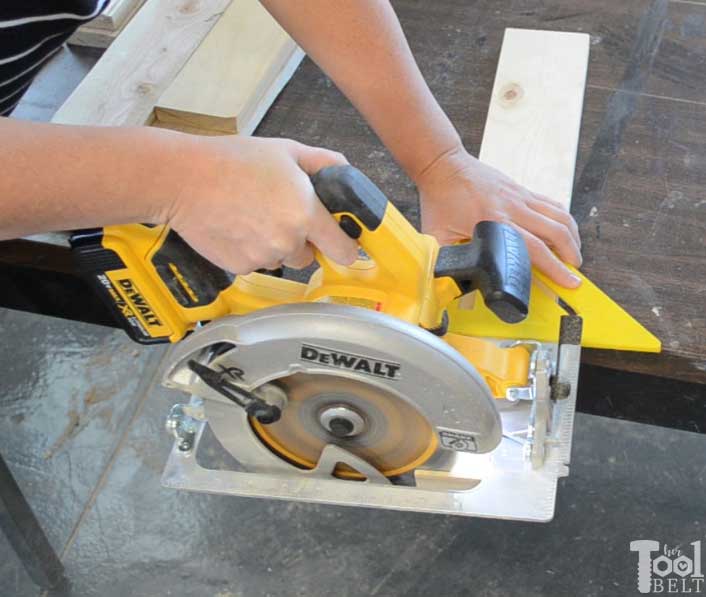
This DeWalt cordless circular saw is a new tool for me, and it is great. The motor is brushless, so it is more efficient and it is easy to adjust the depth of cut. Being cordless, I really like it to cut up plywood sheets.
Step 2
Cut a slot in each 1×3 for the pictures. The slot should be 1/4″ tall (or slightly more) and about 1/16″ – 1/8″ wide. (If you want to have glass with your picture, make sure it’s as wide as the glass/plexi and picture.)
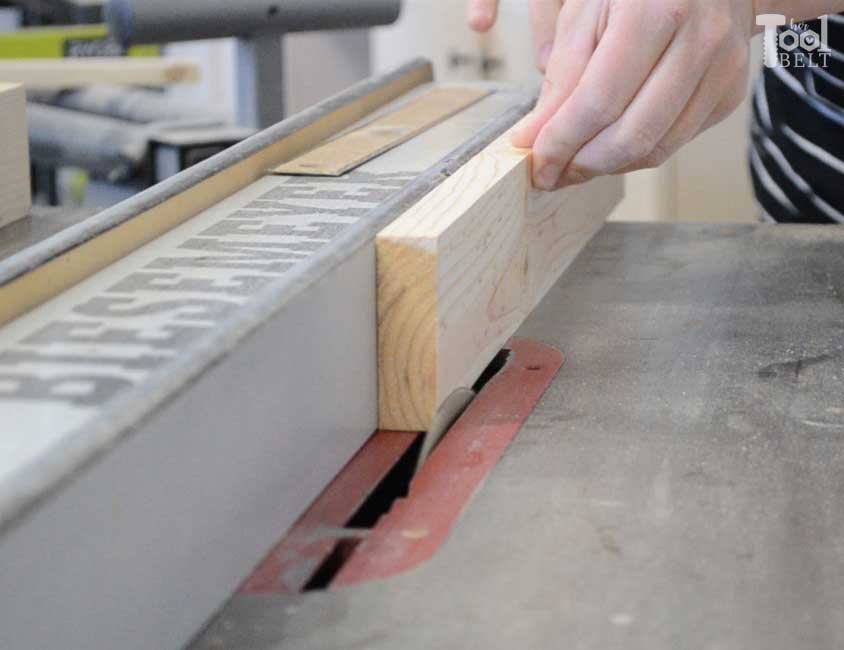
I used a table saw with the blade at 1/4″ high and fence about 11/16″ from the blade.
Alternate method – You can make the slot with a router and straight bit or even multiple passes with the circular saw (with the blade depth set at 1/16″ – 1/8″).
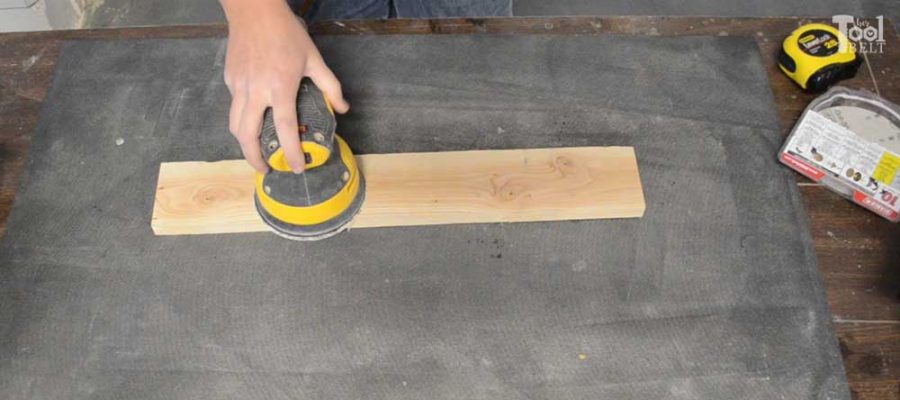
Sand all of the boards before frame assembly.
Step 3
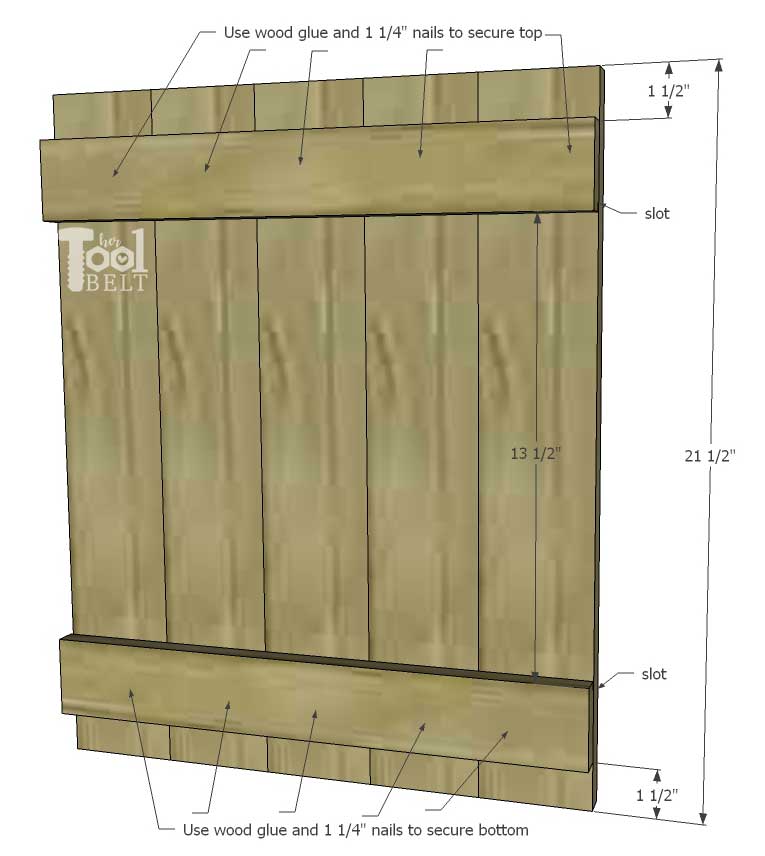
Line up the 5 – 1×4’s and mark 1 1/2″ from each end. Make sure the tops of all of the 1×4’s are flush, use wood glue and 1 1/4″ nails to secure the top board and bottom board to the 1×4 slats. Important – The slots on the 1×3 both need to be towards the center of the frame.
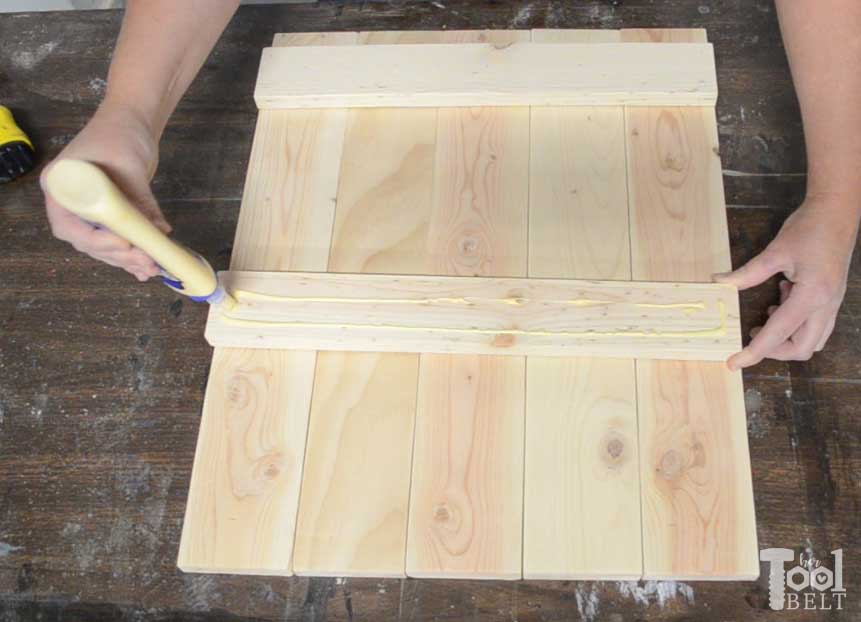
Glue top and bottom boards, don’t let the glue get in the slot of the 1×3!
Nail the top and bottom boards to the 1×4 slats, put at least 2 nails into each 1×4 slat.
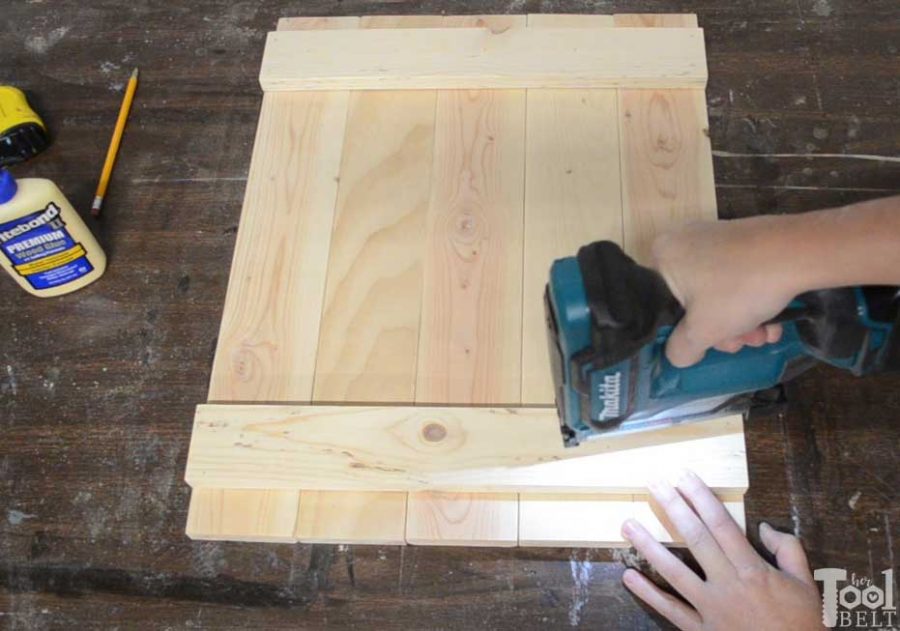
I used a pin nailer so I wouldn’t have large nail heads showing. This pins work great to hold boards/molding in place, but the frame isn’t really secure until the glue dries. (Alternate method – brad nails will hold the top and bottom in place, but will leave bigger marks.)
Step 4
Let the glue fully dry.
The Finish
For a grayish brown weathered wood / reclaimed wood look:
- I first applied a coat of Varathane Weathered Accelerator and let that fully dry.
- I applied a small amount of Kona to a bristle brush, dabbing off the extra and dry brushed it onto the frame lightly.
- The last step is to take a paper towel or rag and rub on some Minwax pre-stain conditioner and let it dry completely.
- Consider putting a clear coat finish (polyurethane) on to protect the wood.
Add a picture frame hanger to the back of the farmhouse style frame, or route one with a keyhole router bit.
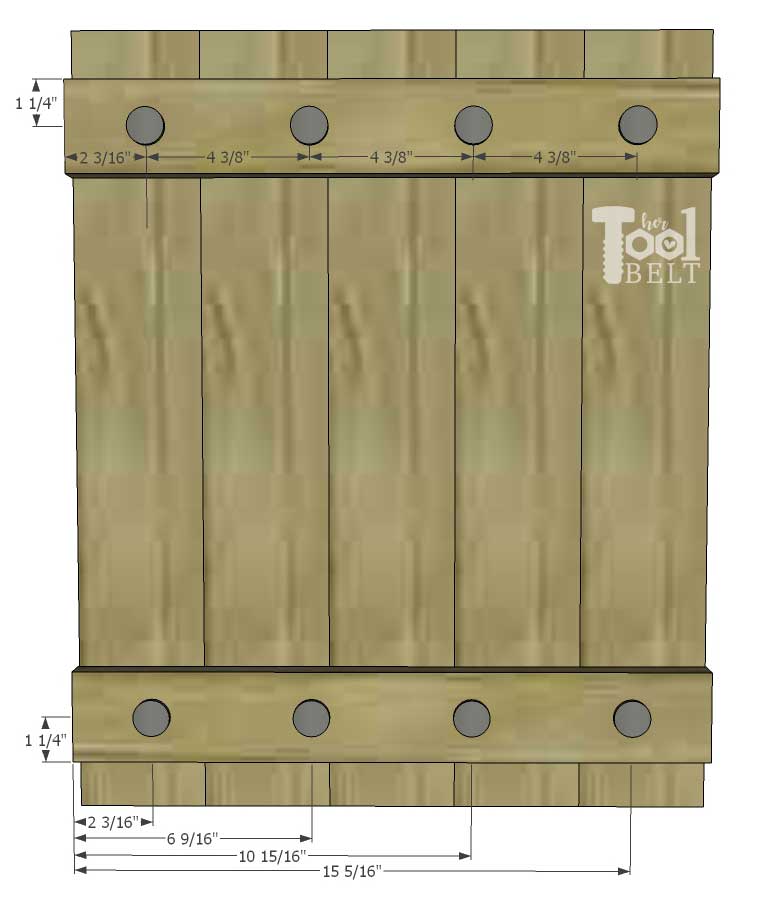
If you want to add decorative nail heads, measure along the top and bottom boards 2 3/16″, 6 9/16″, 10 15/16″, and 15 5/16″ and center it at 1 1/4″.
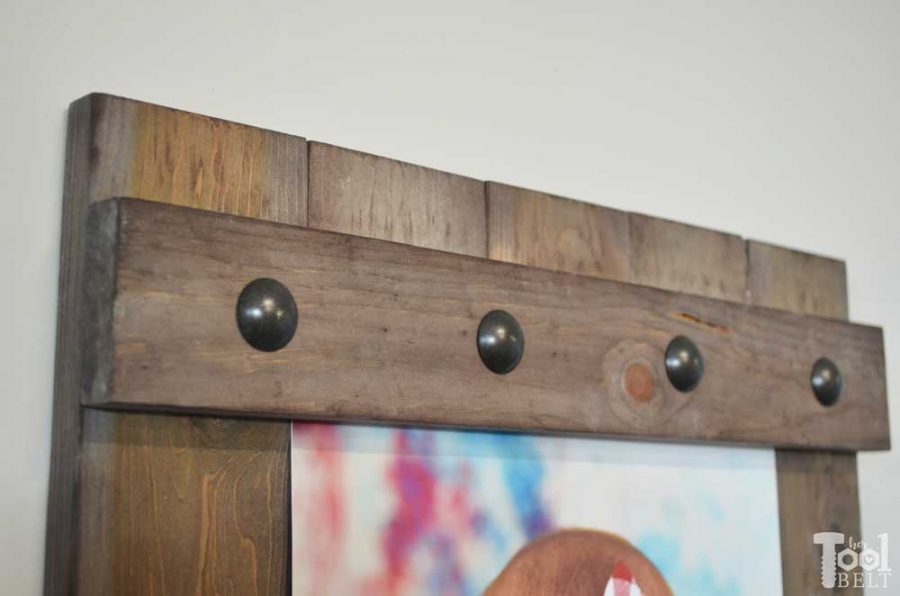
See how small those pin nail holes are, you can barely see them. I didn’t fill the nail holes at all. The Makita does a great job and doesn’t mar the surface.
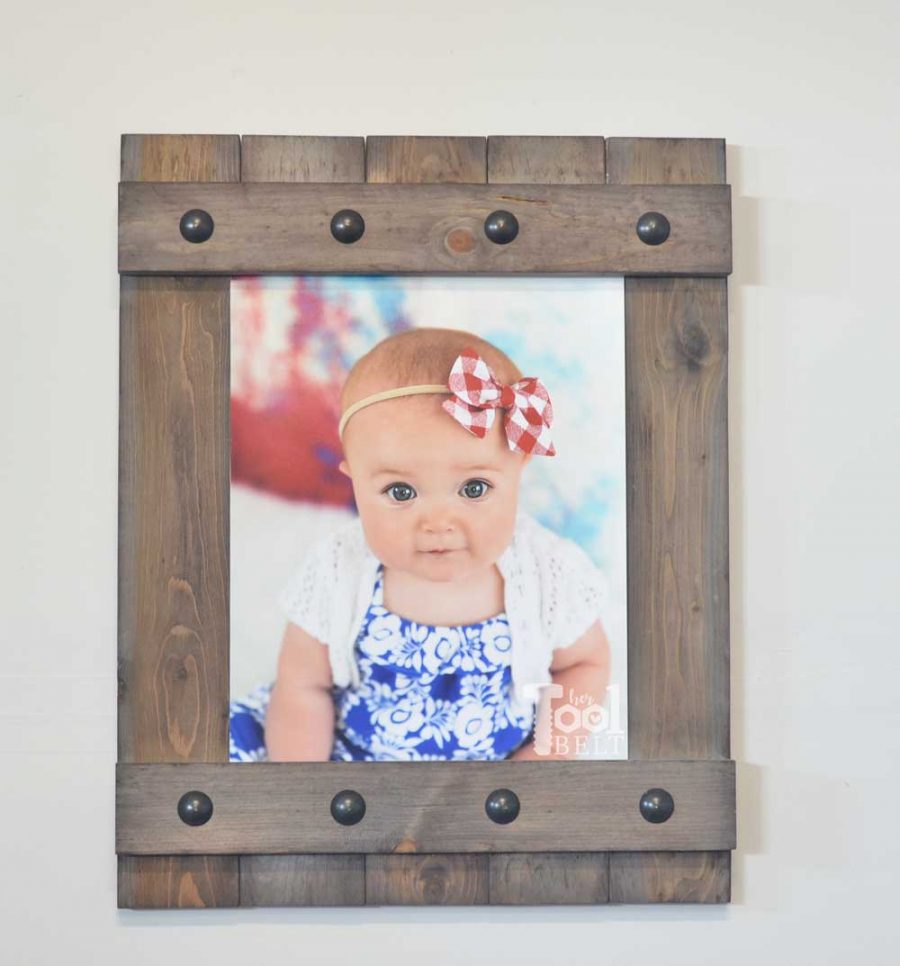
Front view of the farmhouse style frame.
Thanks for pinning!
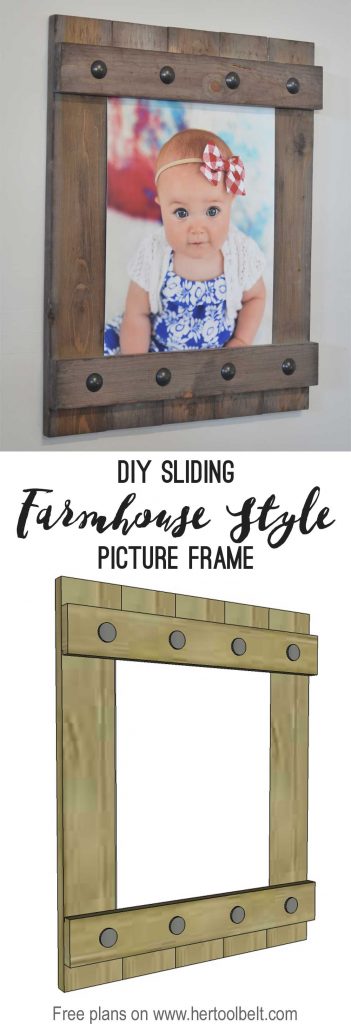
Download Free Plans
–> Sliding Picture Frame – 11×14 <– click
Find the 8″ x 10″ farmhouse frame here.
“I acknowledge that The Home Depot is partnering with me to participate in the Tool Review Program. As a part of the Program, I am receiving compensation in the form of products and services, for the purpose of promoting The Home Depot. All expressed opinions and experiences are my own words. My post complies with the Word Of Mouth Marketing Association (WOMMA) Ethics Code and applicable Federal Trade Commission guidelines.”
Original article and pictures take www.hertoolbelt.com site
Комментариев нет:
Отправить комментарий