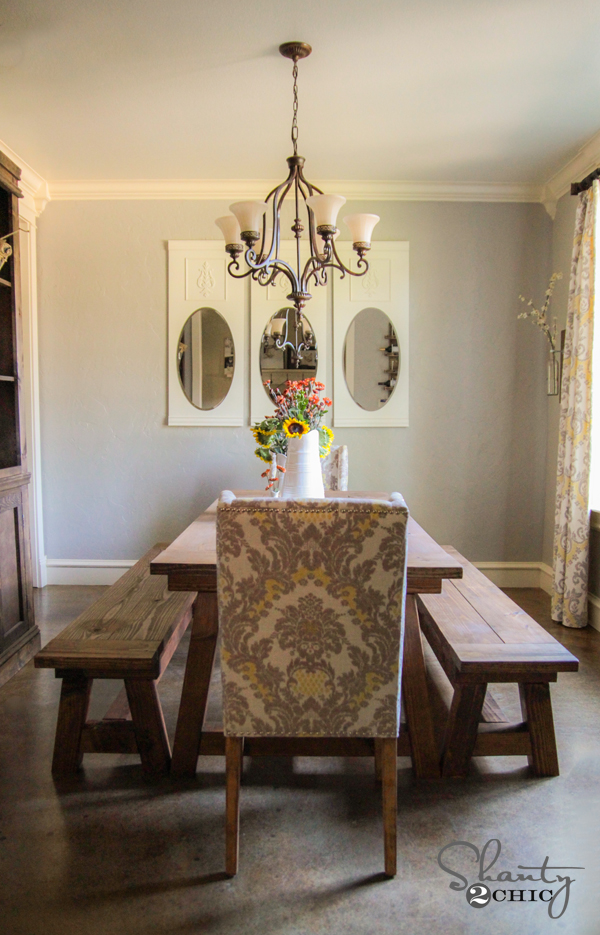
Hey friends! Hope you are having an awesome week! Those of you that follow us on Instagram have seen the progress of my dining room over the last few weeks! I am LOVING the new look and I am so pumped to show you the new benches I made for my new dining table. Here is how they turned out!
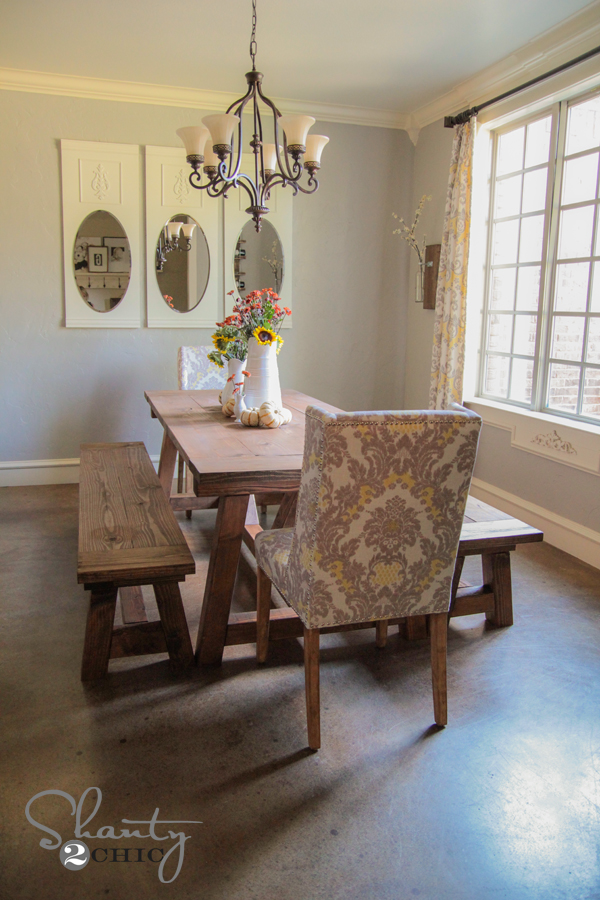
Ooooh I love them. A lot.
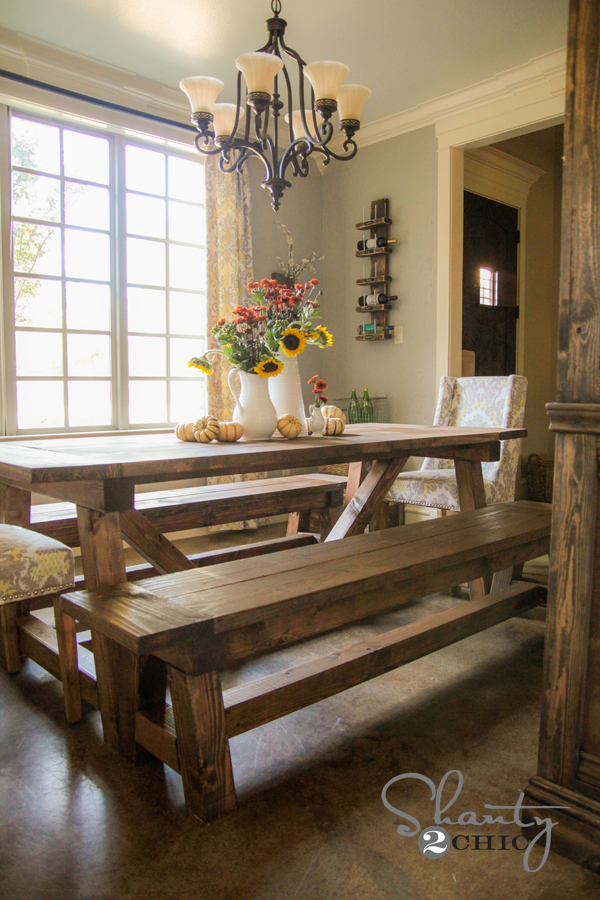
I teamed up with my sweet friend Miss Ana White to design this bench. I will share some tips with you here, and you can download the full set of free plans over on her site! You can also check out my post on my DIY Dining Table HERE!
I knew I wanted these benches to be big and beefy, so I was immediately drawn to using 4×4′s for these as well. These are beautiful and cheap at the same time. There are some things you need to remember though. Because of their thickness, some saws won’t be able to cut them. A 12″ miter saw should do the trick perfectly.
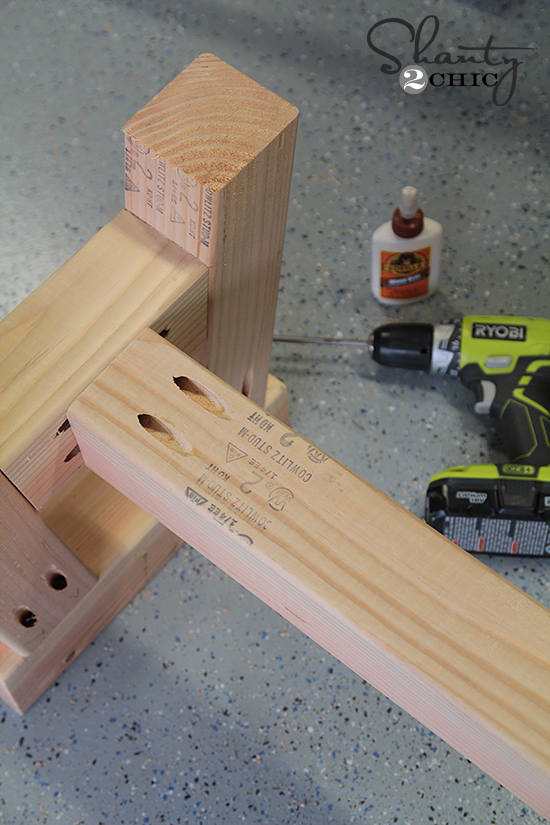
For this build, I once again used my Kreg HD jig! Basically, the Kreg HD Jig is a larger version of the Kreg Jig. It’s perfect for working with big projects like this one, since you won’t be able to fit these 4×4′s into the Kreg Jig. It is also at a great price point making it a ‘must’ tool in the garage. Here is what it looks like and how I clamped it on to my boards.
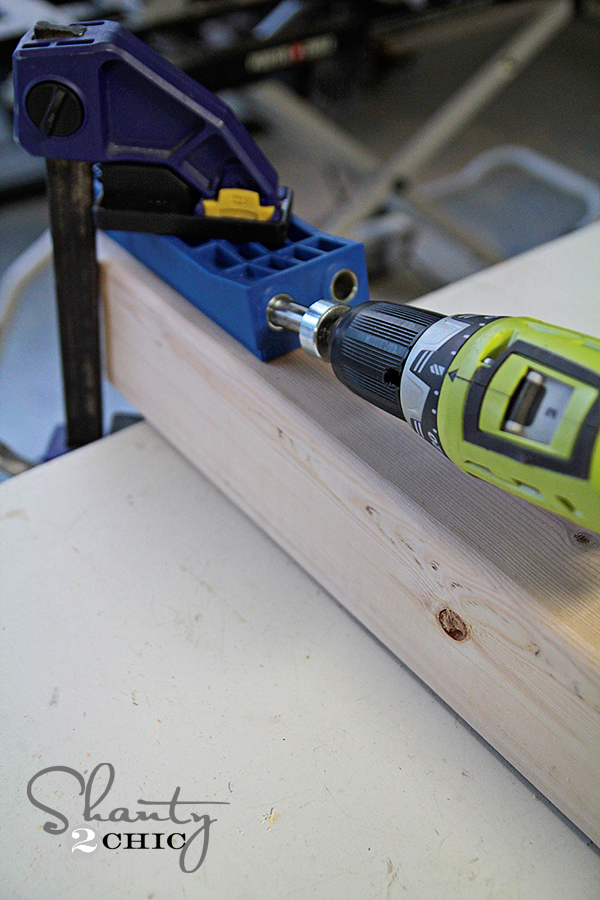
I used my Ryobi 18V drill to make the pocket holes. These pocket holes are bigger and thicker than the ones made with the regular Kreg Jig.
I took lots of photos of where I put my pocket holes on the base because sometimes figuring out the best places to put them is the biggest battle. You have lots of options, but here is where I decided to put mine…
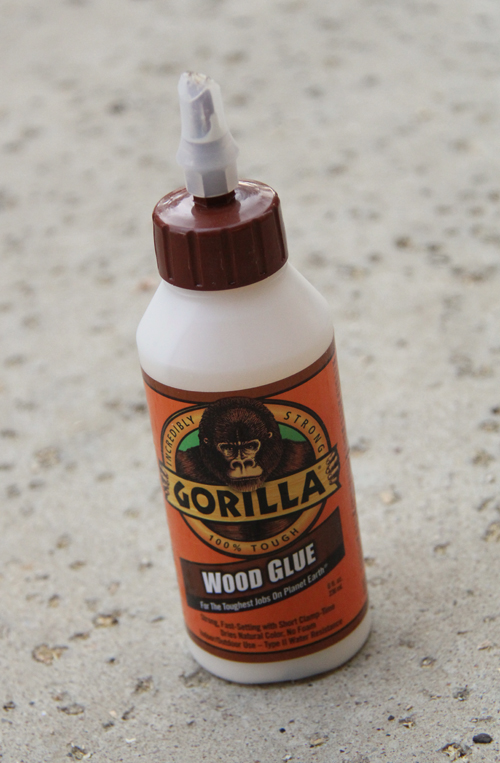
I also used Gorilla Wood Glue between all of my joints!
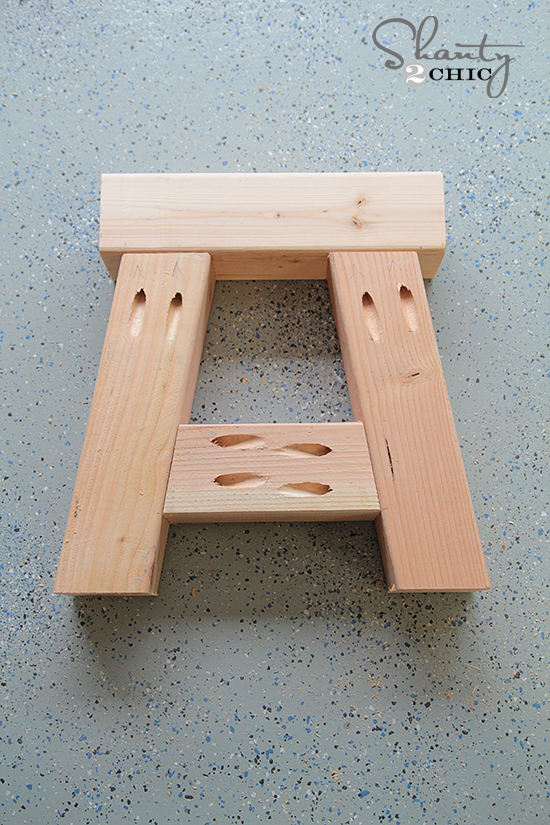
Here is a shot of the bench turned upside down. You can see where I put the other pocket holes.
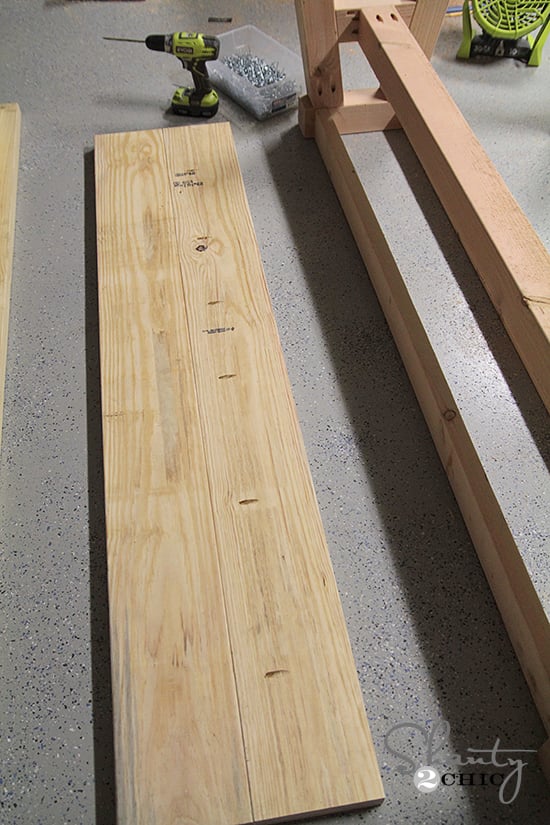
This is a shot of me adding 1 1/2″ pocket holes to each of my 2×4 runners that run under the seat of the bench. I added these pocket holes before attaching the runners so that it would be easy to attach my bench top. To attach the bench top, I just used 2 1/2″ pocket hole screws through these holes and into the bench seat. Note : I did have a booger of a time trying to fit my drill into that small space, so I did detach the long straight 4×4 runner to be able to put these screws in. Then, once I had the seat secured, I reattached the 4×4 runners. This sounds complicated, but it was really quick and made my life lots easier.

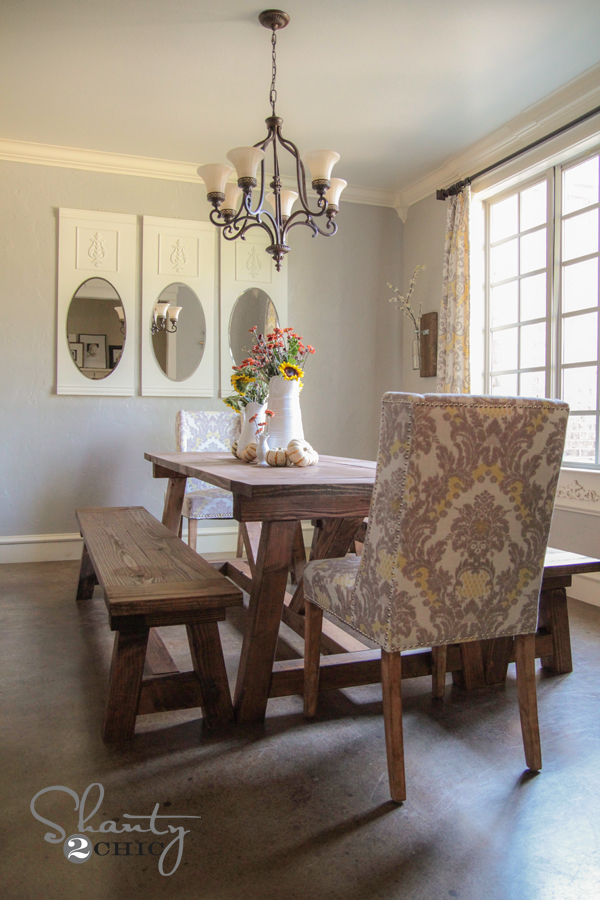
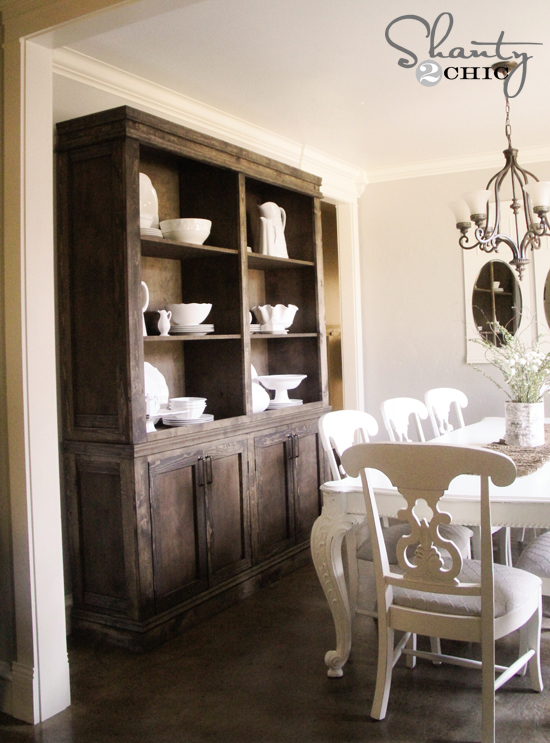
I decided to match the finish of the table to the Restoration Hardware sideboard and hutch I made for my dining room HERE.
I used Rustoleum Ultimate Wood Stain in Dark Walnut!
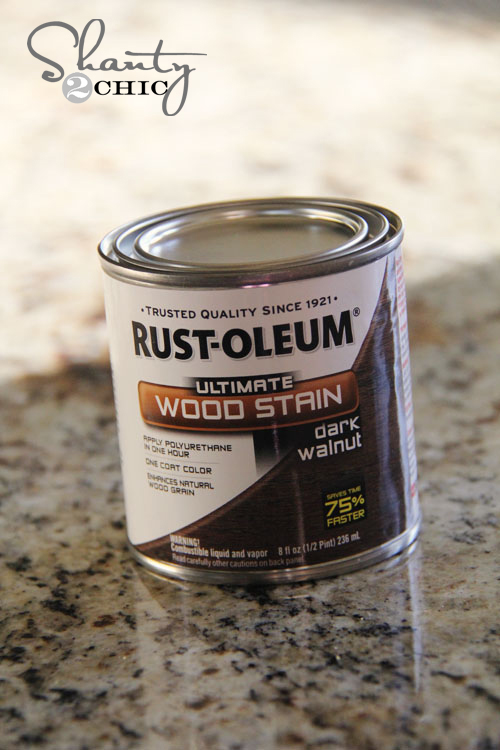
Once it dried, I put 2 coats of Rustoleum Ultimate Polyurethane in Satin on it to protect the finish. This goes on white and dries clear. It doesn’t stink and it dries fast!

And here they are all finished! What do you think??
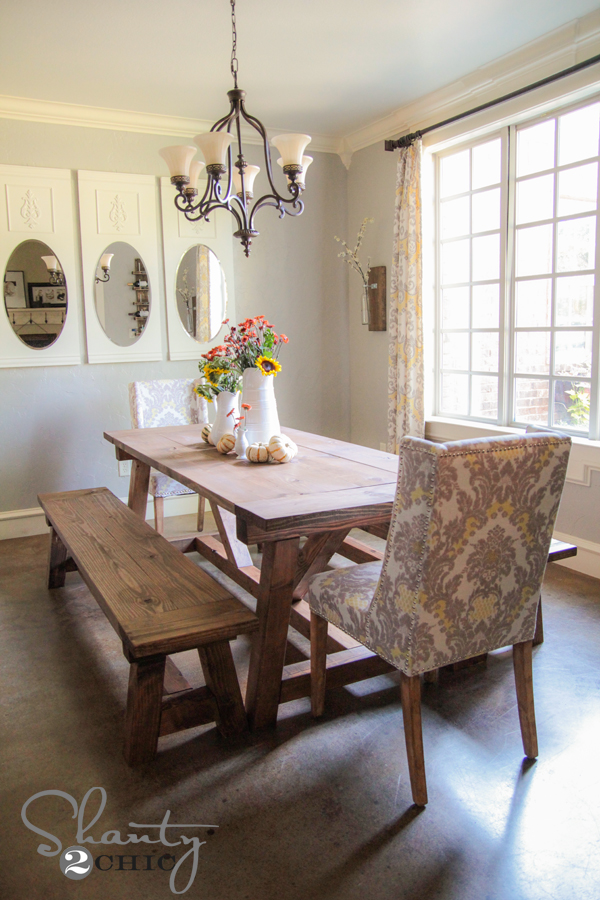
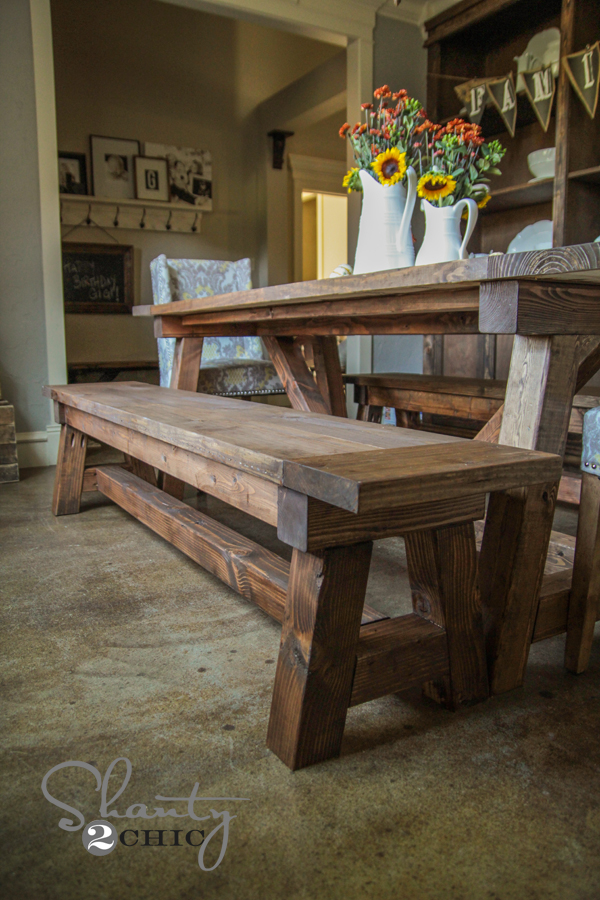
I hope you love it as much as I do! I would LOVE for you to share them and PIN it with your peeps below! You guys are the best! Also, here are some links to some of my other dining room goodies that you can DIY!

And remember you can see the full set of free plans for these great benches over on Ana White”s site! Have a great day!
~Whitney
Original article and pictures take www.shanty-2-chic.com site
Комментариев нет:
Отправить комментарий