About a month ago, we hosted a BBQ for our family – filled with good food, a fun gardening project and great times…stuff special family memories are made of.
I started the prep work in advance, so that the fun part of planting flowers was the only concern on the part of my guests.
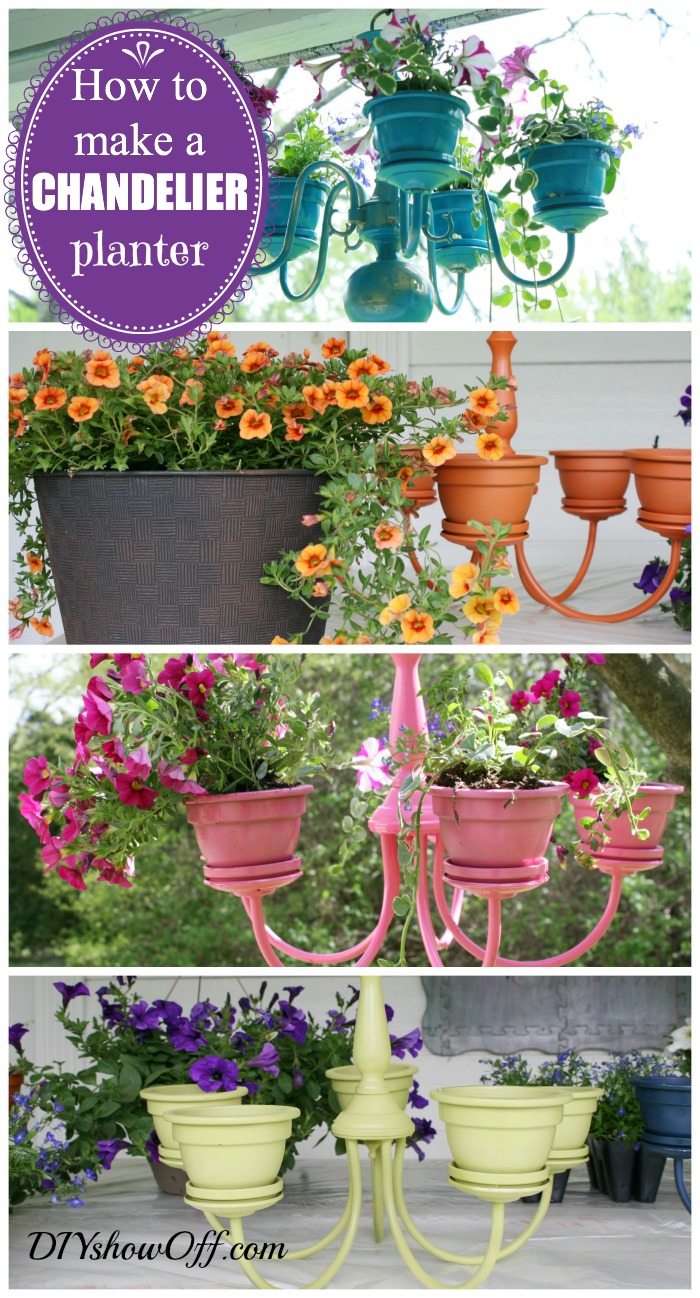
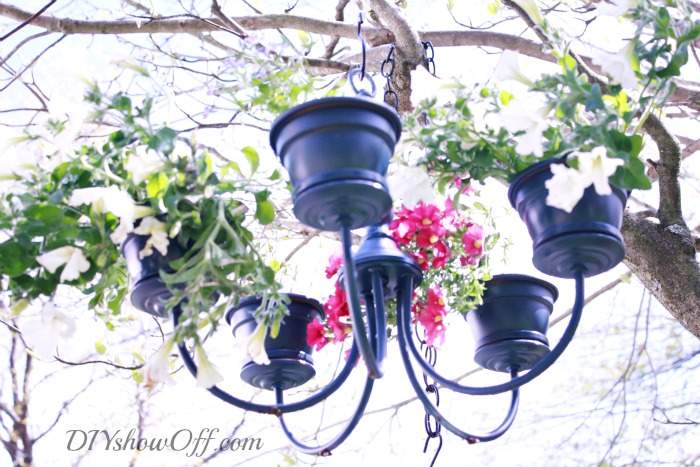
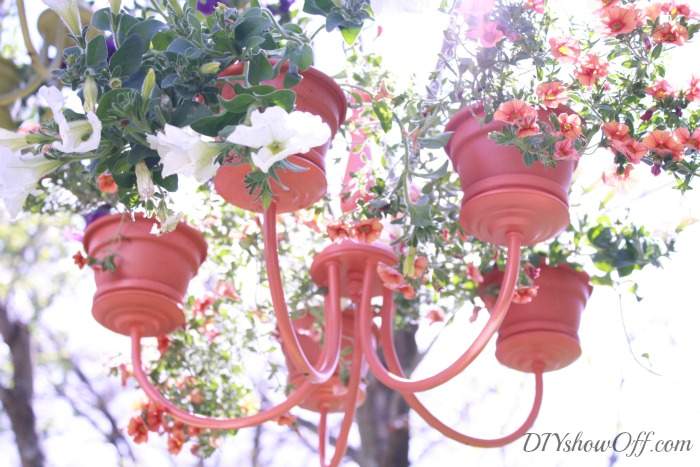
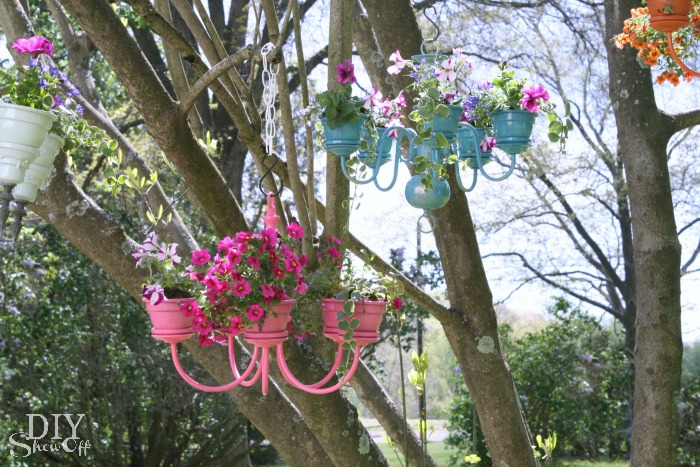
How to Make a Chandelier Planter

Materials:
- Chandelier (try Craigs List, Ebay, thrift stores, yard sales)
- Terra cotta pots and saucers (The same number as the “arms” of your chandelier. Ours all had 5.) Plastic pots would also work. Get creative! Try your own spin!
- Outdoor-rated spray paint
- Waterproof glue: Elmer’s Probond is perfect for gluing porous (pots) to metal (chandelier)
- Plumber’s epoxy putty – I used this to help create an elevation for draining (optional)
- Flowers, plants
- “S” hook for hanging (and the chain that comes with the chandelier if needed)
Tools:
- Wire cutters
- Garden trowel
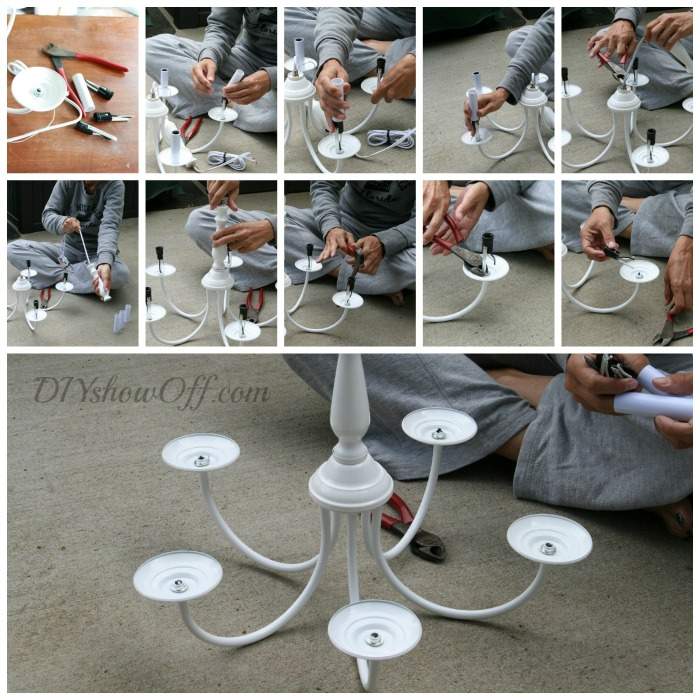
1. Slide off the plastic ‘candle’ holders and remove all electrical/wiring from the chandelier using the wire cutters.
2. Attach terra cotta saucers using epoxy putty and glue. The epoxy putty helped to keep the things in place since clamping isn’t possible as well as raise the pot a bit for draining.
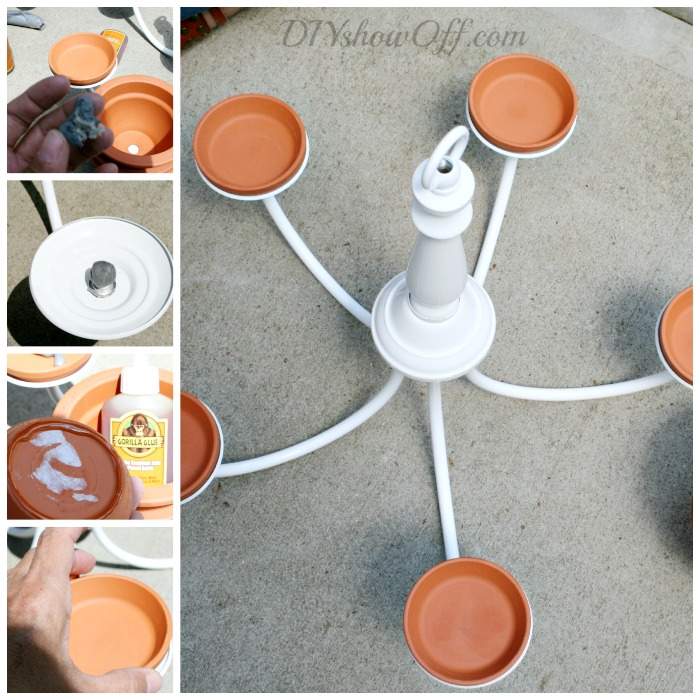
Repeat for attaching the pots. I let the glue dry 1-2 hours before spray painting and allowed it to cure several days before planting.
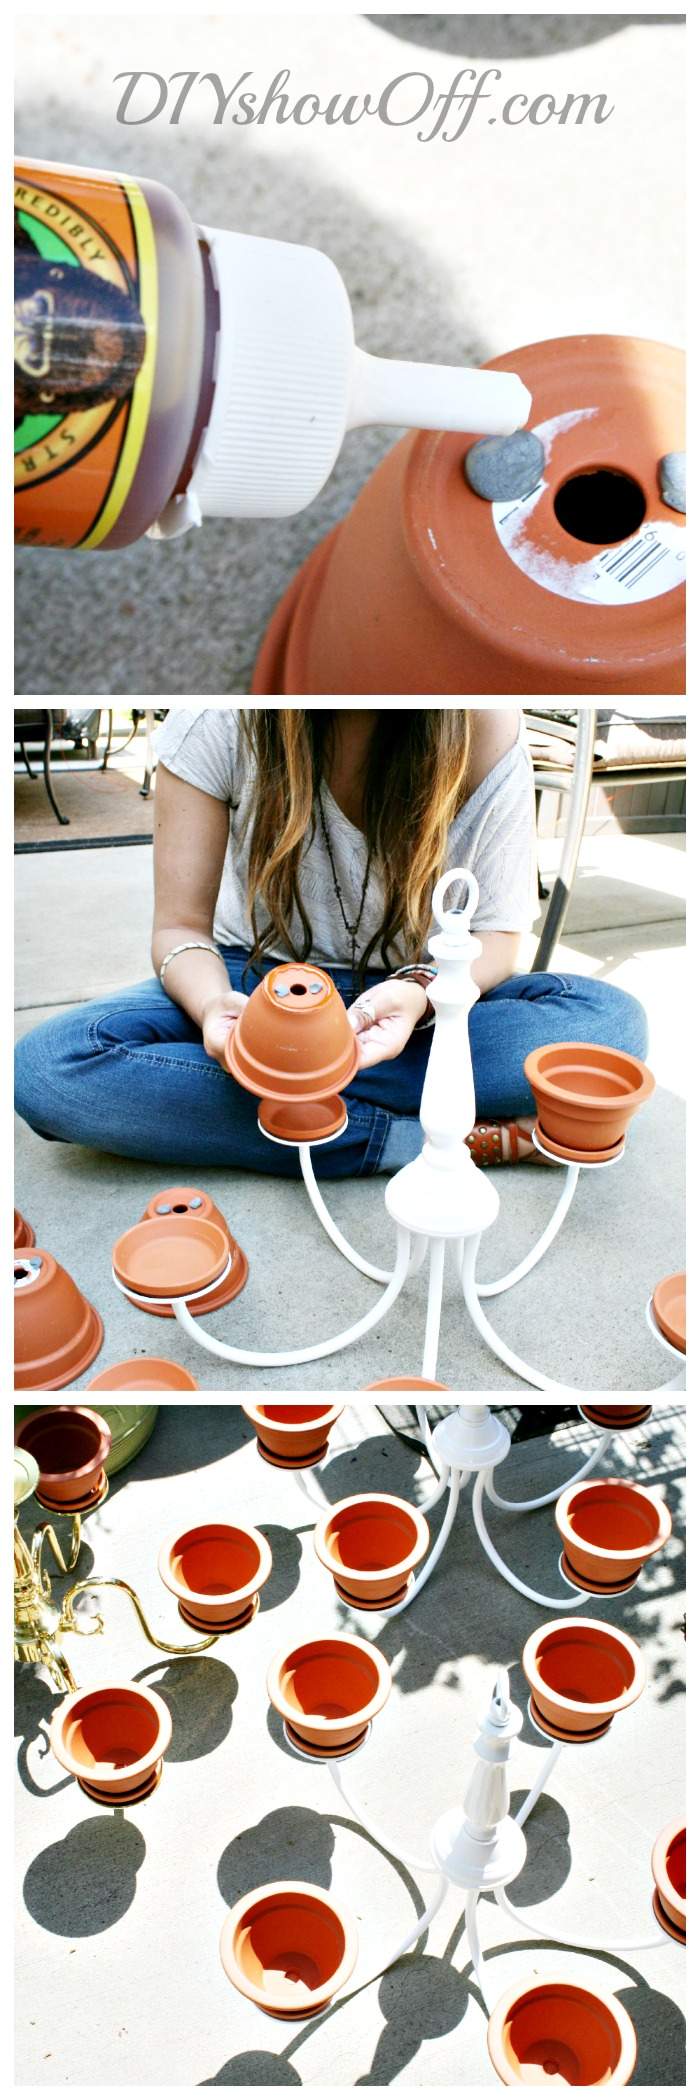
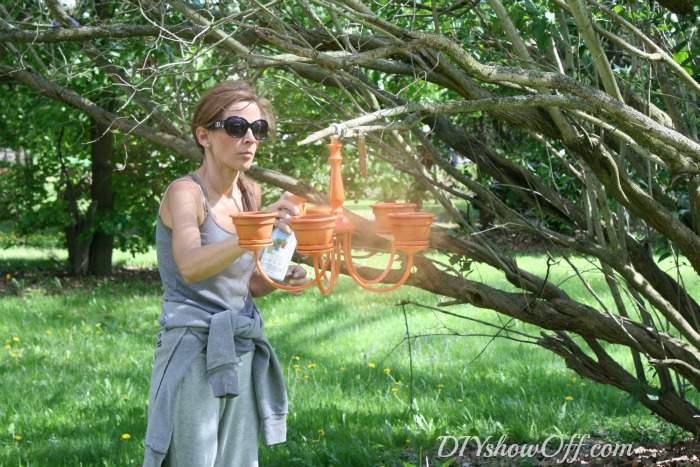
3. Spray paint the entire thing (even your chain if you’ll be using it). I found that hanging the chandelier from a low tree branch to be the easiest spray painting process (especially if the chandelier’s shape doesn’t sit level) but you could also do a 2-step process (position upside down on drop cloth/cardboard, spray paint, dry, flip and the spray from top and let dry). Some parts of the chandelier’s design may also be removable (simply unscrew) and can be taken apart for spray painting if needed. Wear a mask if you’re working under poorly ventilated conditions or breezy weather and eye protection.
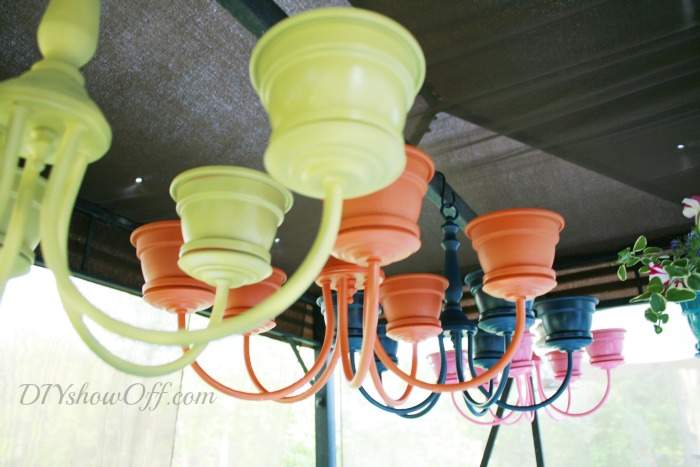
4. Dry. Since I worked in advance, the chandeliers had several days to dry/cure. The glue did expand and become visible. And a little scratching of the paint happened in places as well. But as we say around here, “imperfection adds character” and those things are not something you pick out and focus on when the project is complete (any imperfections stand out in the completed project below?… nope!) You could lightly sand and spray a base primer on your chandelier as well.
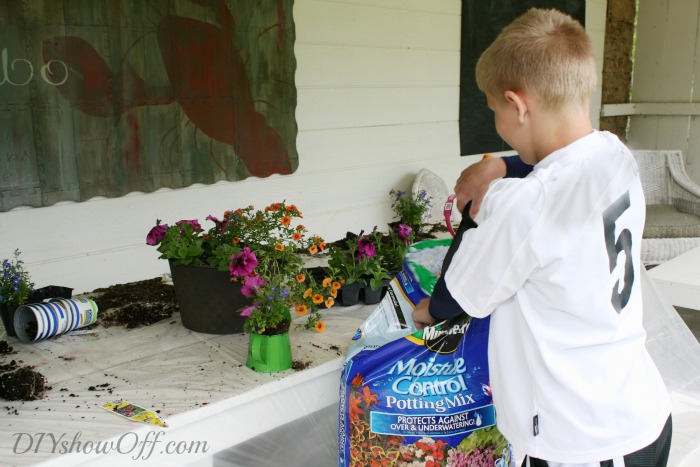
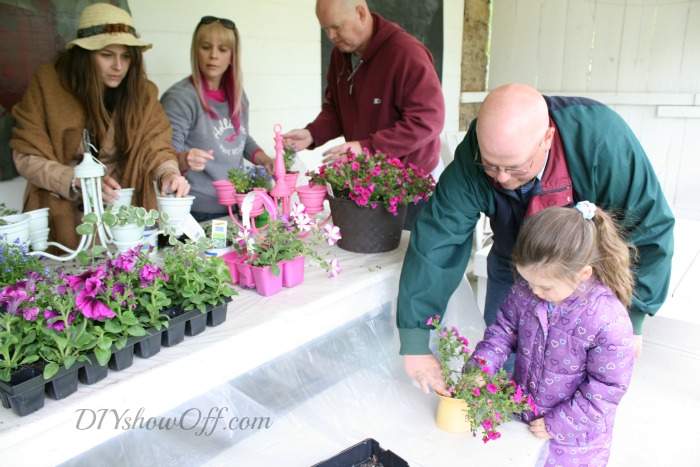
5. Plant! We had several color coordinated flower options on hand as well as some ivy and used Miracle-Gro Moisture Control Potting Soil – perfect for container gardens. I set up the ‘planting station’ on our barn patio to escape the windy conditions.
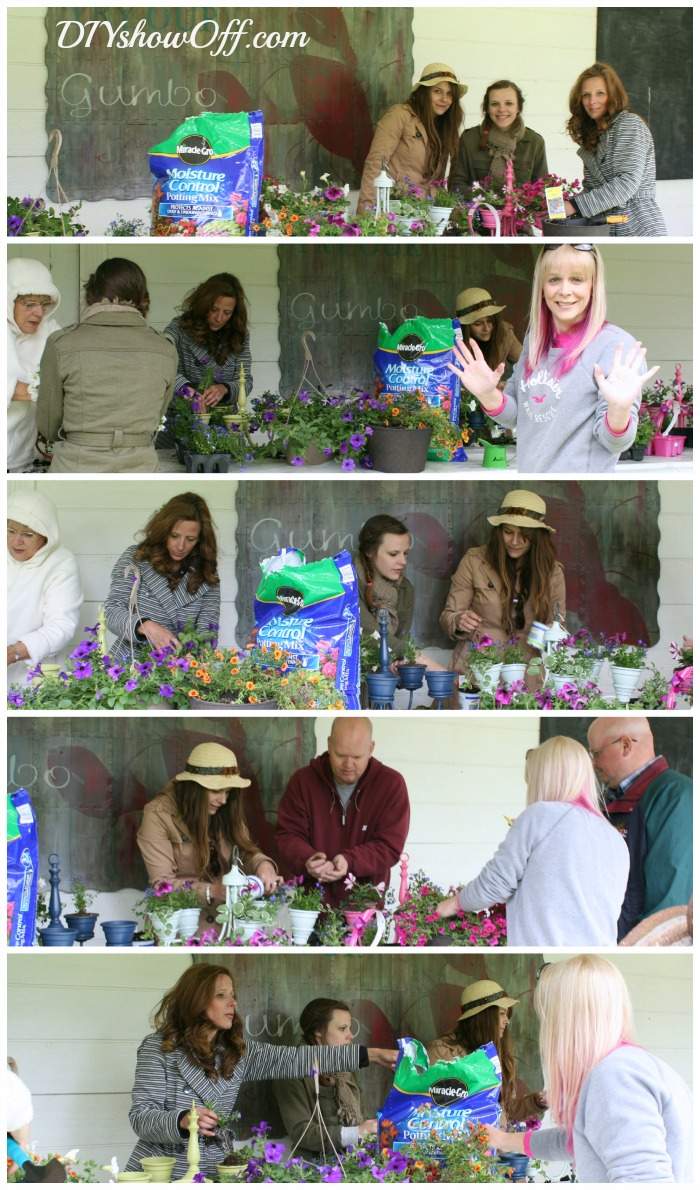
Even the little ones had fun planting flowers for mom in little watering cans from the dollar store…

6. Water according to plant instructions. NOTE: The Miracle-Gro Moisture Control Potting Mix protects against over & under watering. Virtually fool-proof if you do not possess a green thumb. Be sure to water your plants daily!
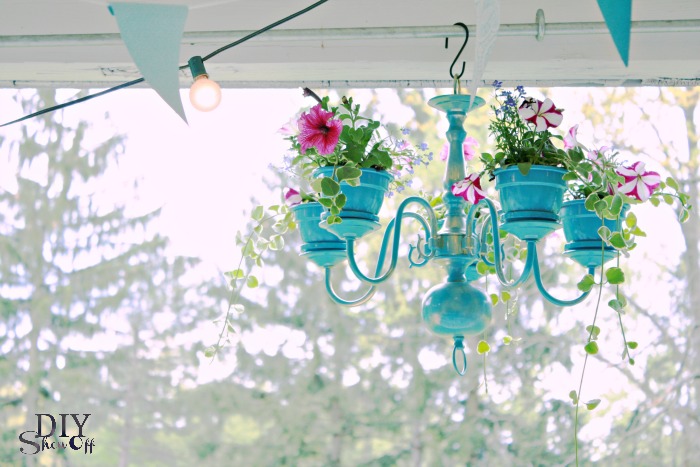
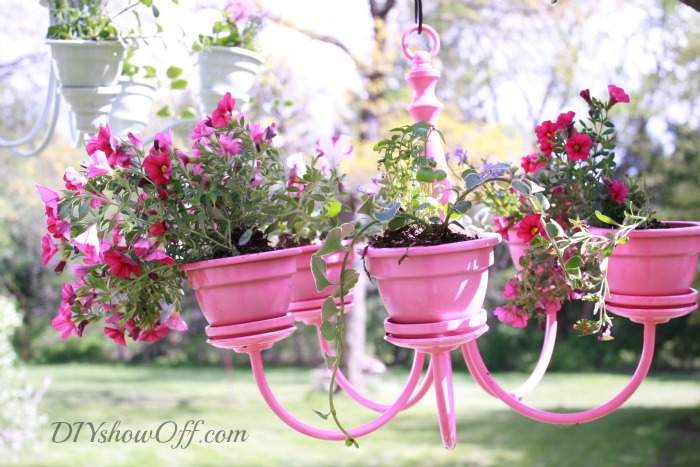
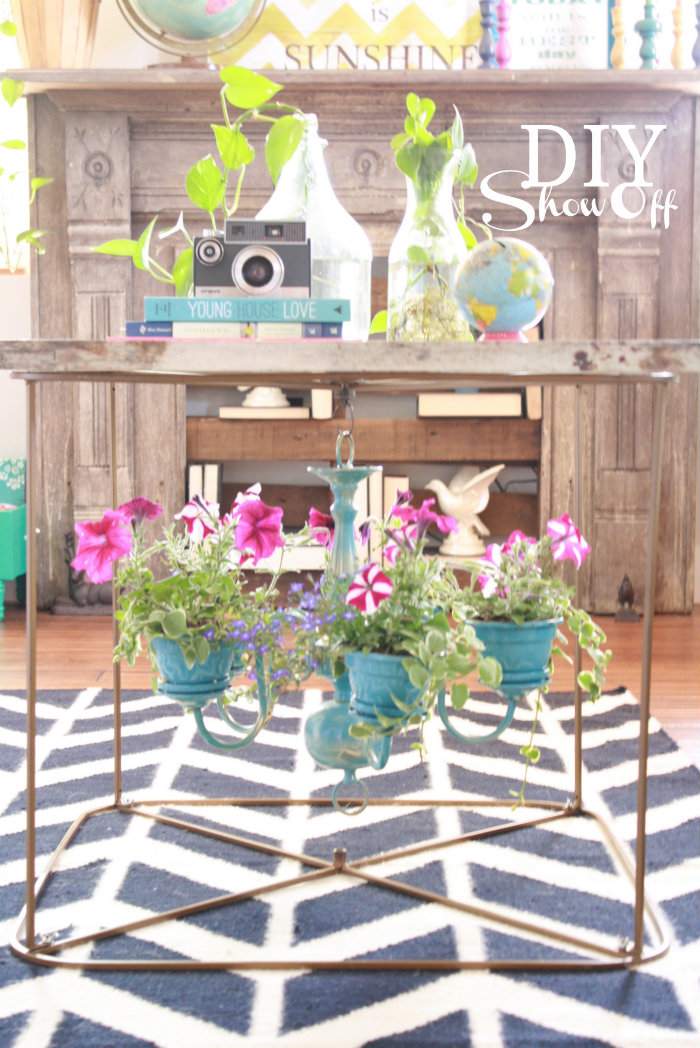
7. Hang! Ta-da…
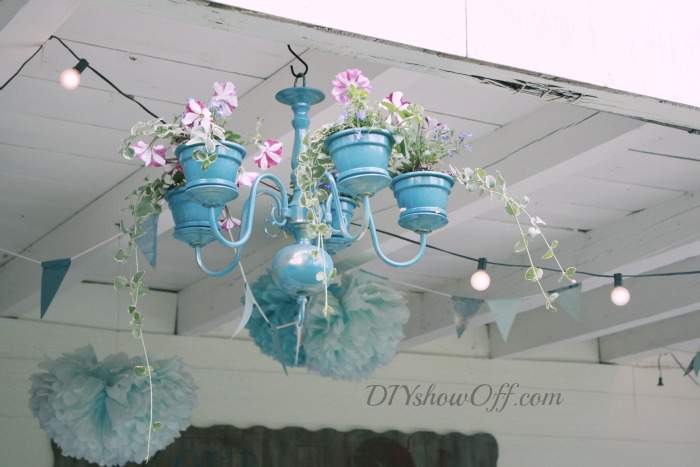
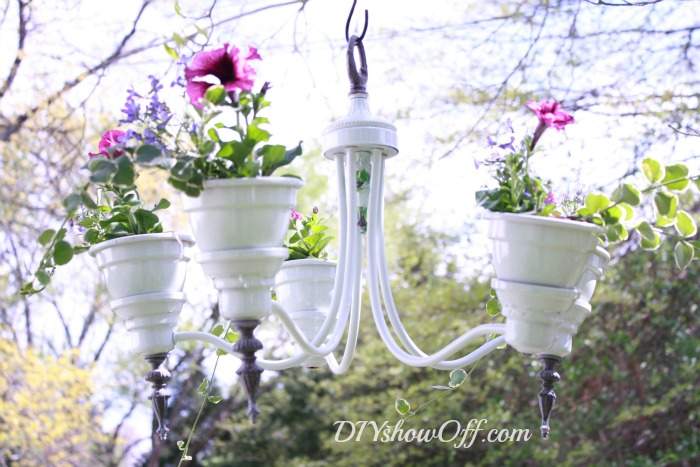
Note: My chandelier planter is hanging from a plant hook on our patio. Sunlight and watering are not an issue. The design of some of the chandeliers posted above also allow for table top display. I only ‘display’ my chandelier planter like a ‘chandelier’ on our covered patio as party decorating (a few hours then back to the hook). Also, drainage is limited due to the glue however, I water daily and the Miracle Gro Moisture Control Potting Soil contributes to a healthy balance.
You may have spied my chandelier planter used indoors at our Summer Home Tour too…
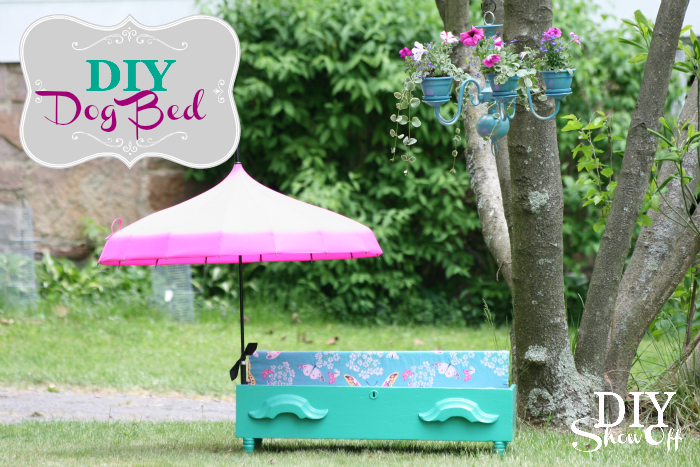
and hanging in the tree as a photo prop for the easy shaded DIY DOG BED…
For more planting tips and inspiration:
- Visit Miracle-Gro online to access their expansive library of articles and videos full of expert gardening tips for beginners and professionals alike as well as online tools to help growers solve common garden problems and find the right products to to maintain a healthy and beautiful garden.
- This is a Sponsored post written by me on behalf of Miracle-Gro for SocialSpark. All opinions are 100% mine. See the planning and source to my inspiration here.
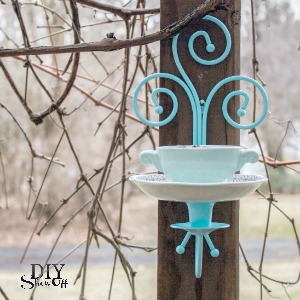
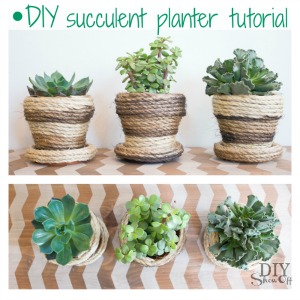
You might find these tutorials interesting too:


This post is sponsored by my Young Living business. Check out my essential oils page for more information on how you can get these amazing oils in your hands too along with helpful freebies, a gift from me, and tons of support:

Original article and pictures take diyshowoff.com site
Комментариев нет:
Отправить комментарий