
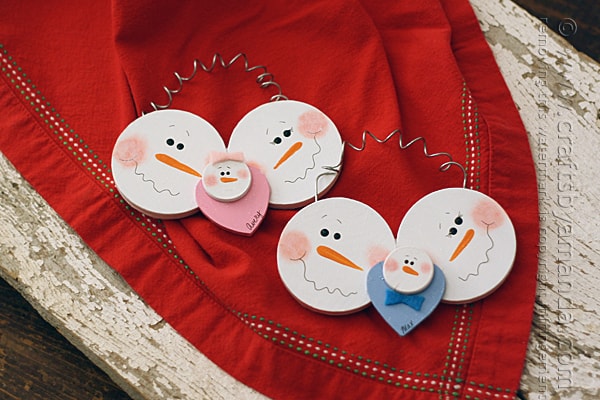
Recently my daughter’s manager asked me to make an ornament for their baby’s first Christmas. My nephew’s wife also had a baby during 2013, so I decided to make two, one for a girl, and one for a boy. I’m all about snowmen, so I thought these would be a perfect fit!
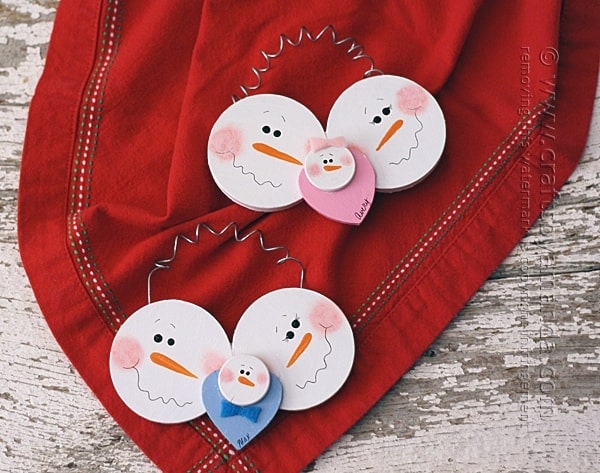
I’ll be wrapping up Max’s ornament and sending it off to my nephew and his wife, and the ornament for Avery will go home with her mom. If you would like to make one of these, I’ve included a full tutorial below.
Pssst! There’s a giveaway at the end of this post too! Check out these fun prizes!
For more festive ornament ideas, be sure to check out the collection at the bottom of this post as well!
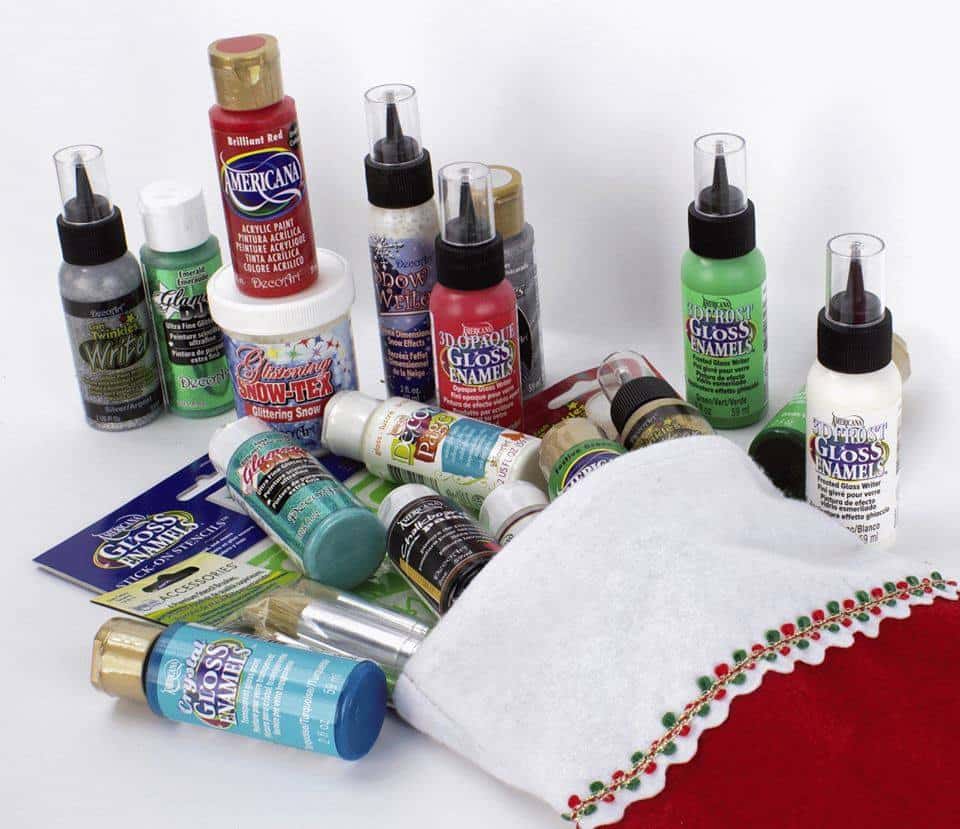
I used Americana paint for this project as well as StarLite Varnish. You can’t really tell from these photos, but there’s a nice glittery finish in the varnish. It gave just the right amount of bling to these festive snow families!
Note: Use white craft glue for the best hold. The hot glue in this project is only used in one step, and that’s to add the hanger to the back of the ornament.
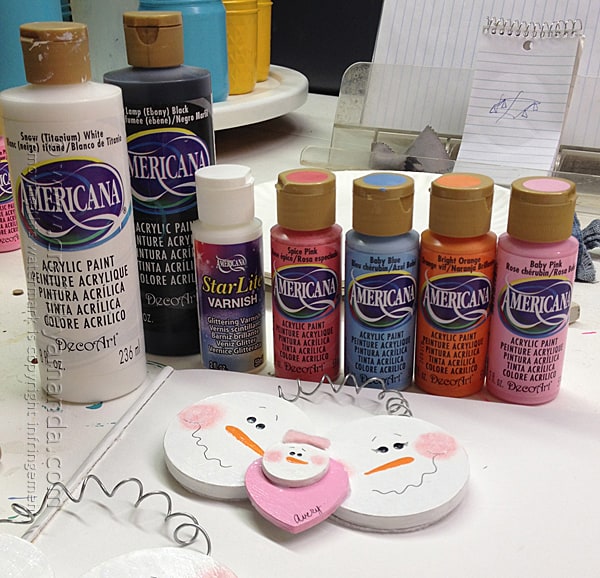
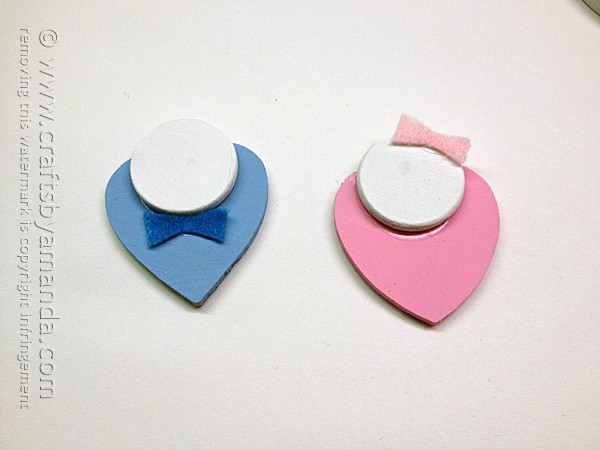
Paint the two large discs and the small disc white. Paint the heart Baby Blue or Baby Pink. Glue the small white disc to the top of the heart. About 1/3 of the disc should be above the top of the heart. Cut a bow from either light blue or pink felt. For a girl, glue it to the top of the small white disc (hair bow). For a boy, glue it underneath the small white disc (bow tie).
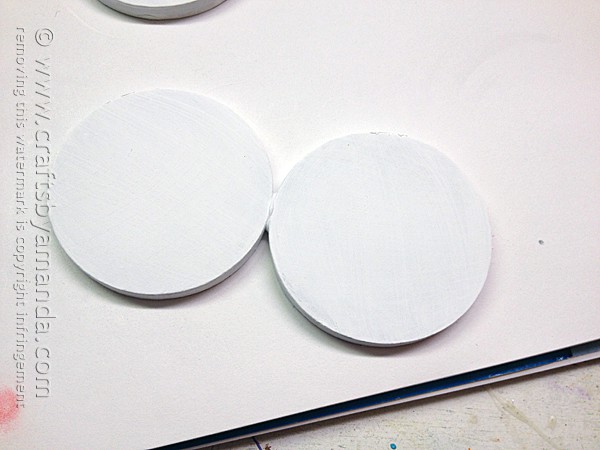
Glue the two large discs together, side by side. Place the “baby” over the two white discs but do not glue in place. Use a pencil to very lightly dot where the eyes should be on the large discs and the beginning and ending points of the carrot nose. Remove the baby.
Dip the handle end of a paintbrush into black paint and dot on the eyes (on the two large discs). Use a long liner brusher dipped in Bright Orange to add the carrot noses. Use a scruffy brush dipped in Pink Spice (dab off excess on paper towel) to pounce on the cheeks. Use a fine point black pen to add eyebrows and a smile.
For the baby’s eyes, use a toothpick that has had the point snipped off. Dip it in black paint and add the eyes. Follow the same procedure as the larger discs to add remaining facial features.
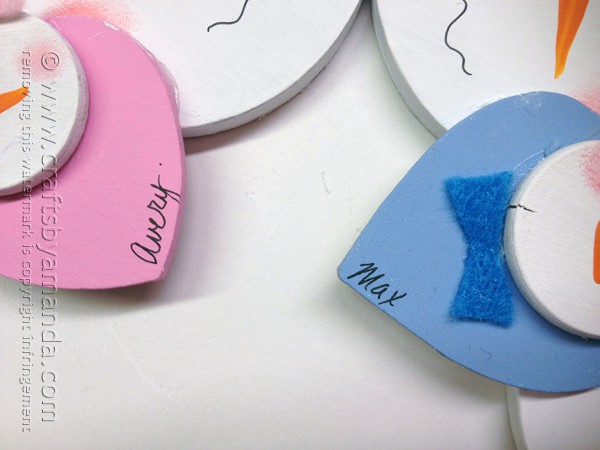
If desired, use fine tip pen to add baby’s name to the bottom of the heart. Glue the baby to the parents and let dry.
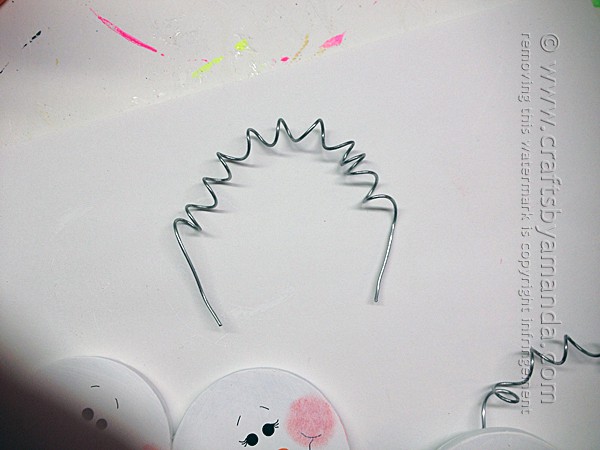
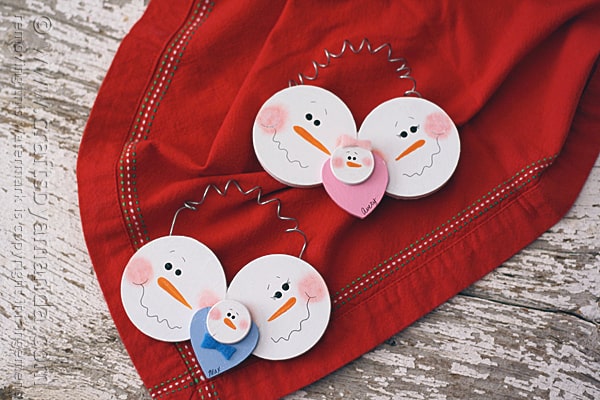
When everything is completely dry, turn the ornament over. Trim a piece of wire about 10-inches long. Wrap it around the handle of a paintbrush to create the coil and stretch out the ends.
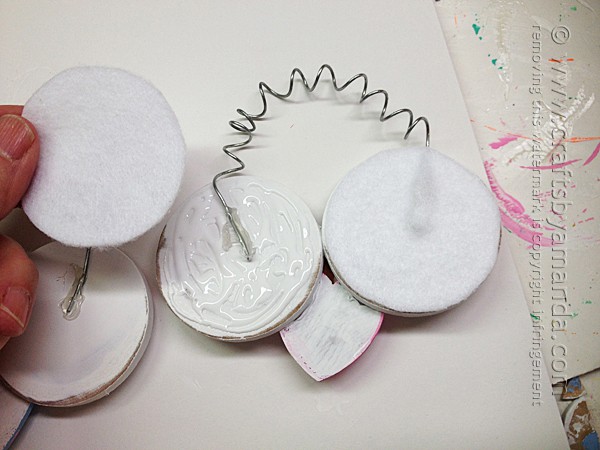
Use hot glue to attach the hanger to the back of the ornament. Cut circles, slightly smaller than your large discs, from white felt. Use white craft glue to cover the back of the ornament with the felt circles.
To finish, apply a coat of StarLite Varnish and allow to dry completely.
I am a DecoArt Core Blogger. I was compensated for this post, but have always loved DecoArt products! Therefore, all opinions expressed here are 100% my own.
GIVEAWAY – Win this fun bundle of DecoArt products! Just follow the instructions in the Rafflecopter widget below for your chance to win!
Original article and pictures take craftsbyamanda.com site
Комментариев нет:
Отправить комментарий