
These shimmery planters were created by Laurel at A Bubbly Life.
What you'll need: concrete, water, gloves, a container for mixing, oil (vegetable or olive will do), one large container for the mold and one smaller container to fit inside the larger, a heavy rock (or other heavy item), a drill, spray paint, and painter's tape.

Generously coat the parts of the containers with oil that will be in contact with the concrete: the inside of the large container and the outside of small container.

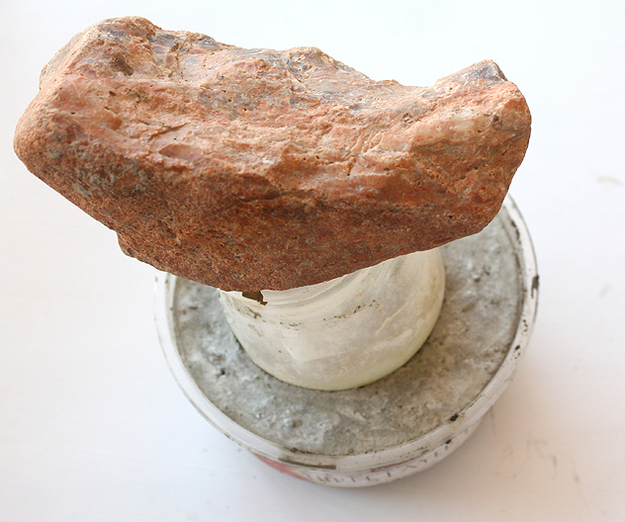
Wearing your gloves, mix concrete and water according to directions on the package. The amount of water varies on the type you purchase. Pour concrete into large container. Place the small container in and place a heavy rock on top so that the container stays inside. Let dry for 24-48 hours. Discard the containers and drill holes into the bottom of the concrete for drainage.
Using painter’s tape, mark off your design. The ones shown have stripes, gold color blocking, and all gold with some hot pink on top. Spray paint your design and let it dry.
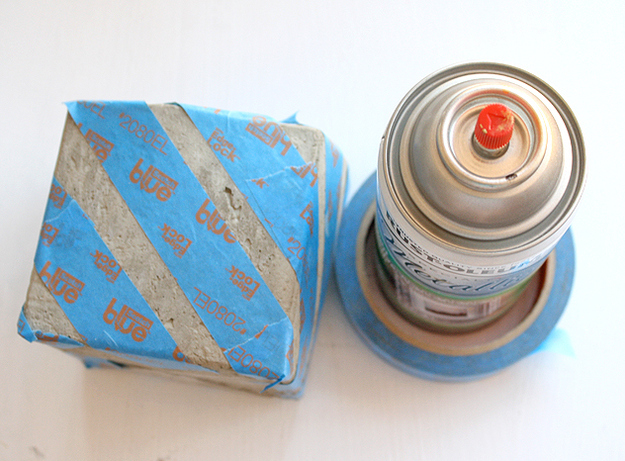
The sturdy materials and metallic sheen are a great contrast to delicate greenery.

Yes, you can turn a milk carton into chic decor, like Sheryl at Oh So Very Pretty did.
Collect the materials: an empty 1L milk or juice carton, duct tape, scraps of linen or canvas fabric, hot glue gun and hot glue, heavy strong string, and your favorite herb plant.
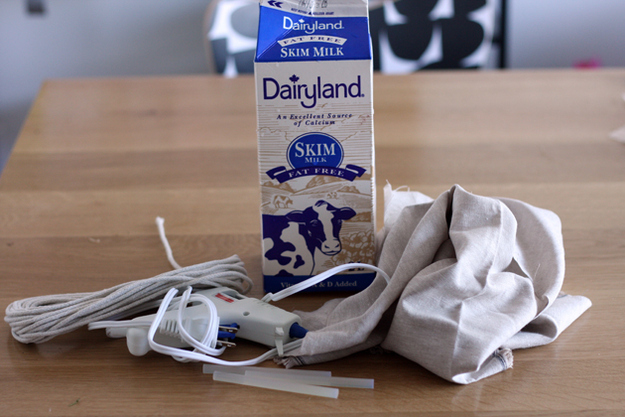
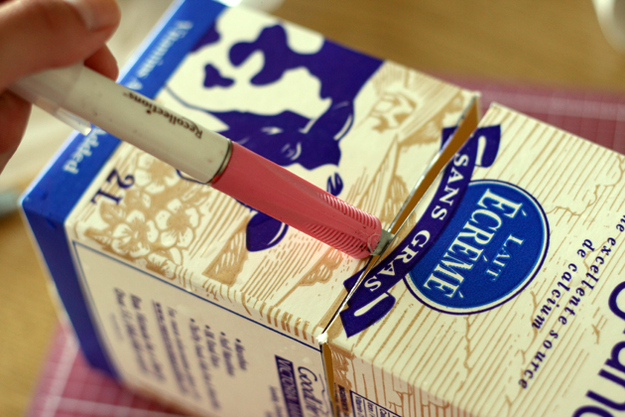
Wash out your empty milk/juice carton and dry it. Measure up 4 inches from the bottom of the carton. Using a permanent marker, make a line all the way around.

Using an X-Acto knife, cut along the line that you just drew. You'll be left with an open top box.
Cover the entire box with duct tape. This adds stability.
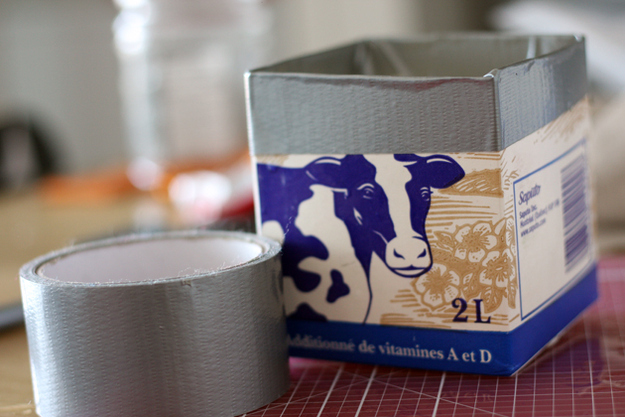
Cut up the the canvas/linen fabric into 1" strips.

Hot glue the strips of fabric to the box, covering the entire outside of the box. Glue strips over the opening of the box to the inside of the box.
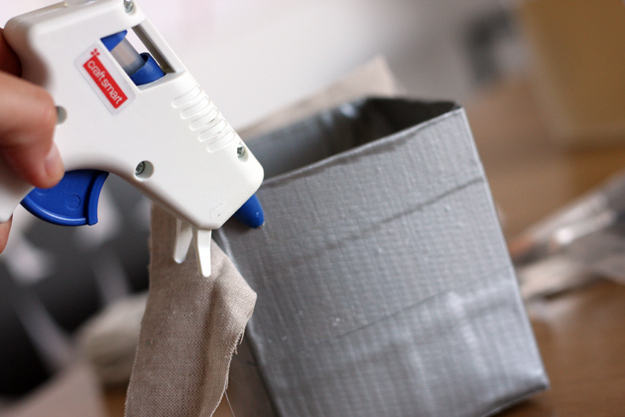
Put some duct tape on the bottom side of the box to tape down the pieces of fabric to the base for added security.
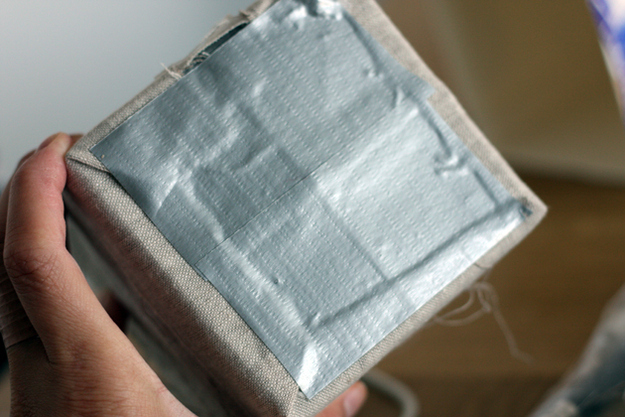
Pull the strings of the edges of the material. This will create texture and a more weathered effect.
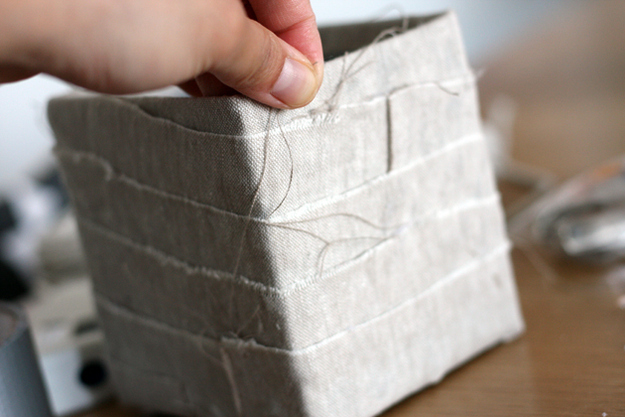
Now that the box is complete, use an X-Acto knife to cut a hole into each of the four corners of the box 1 cm from the top.
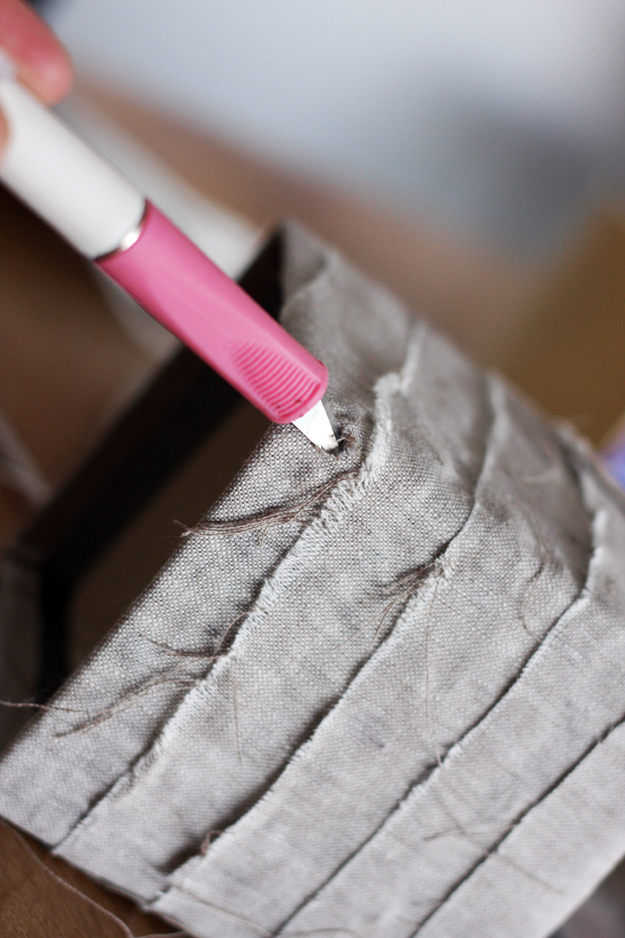
Feed a 1-meter long piece of string through one of the holes until the middle of the string is in the hole part.
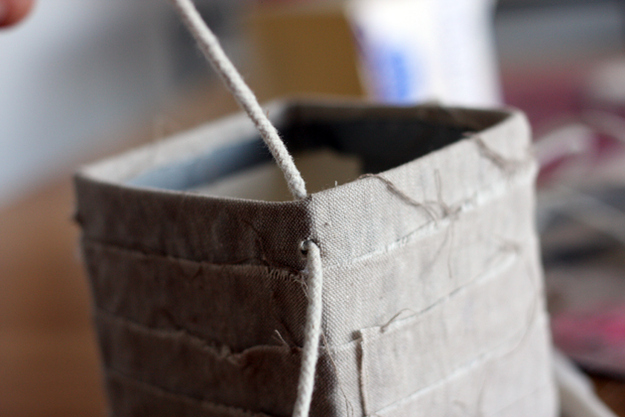
Tie a knot with both pieces of string just above the top of the box. Repeat the same process on the other 3 corners.
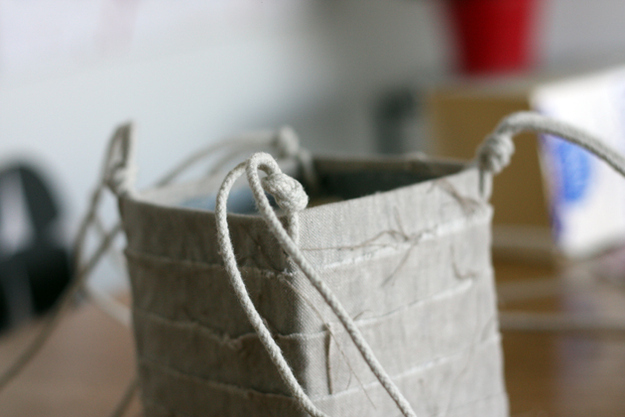
Gather one string from one corner knot and one string from the knot beside it and knot those two together. Repeat with the other 3 sides.
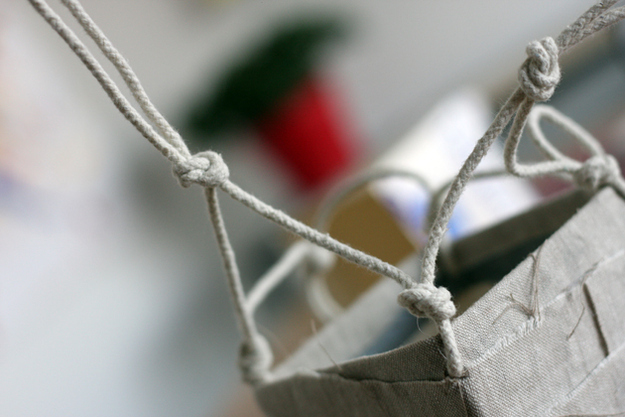
Repeat the same process. Gather one strong from one knot and one string from the knot beside it and knot those two together. Repeat with other 3 sides.
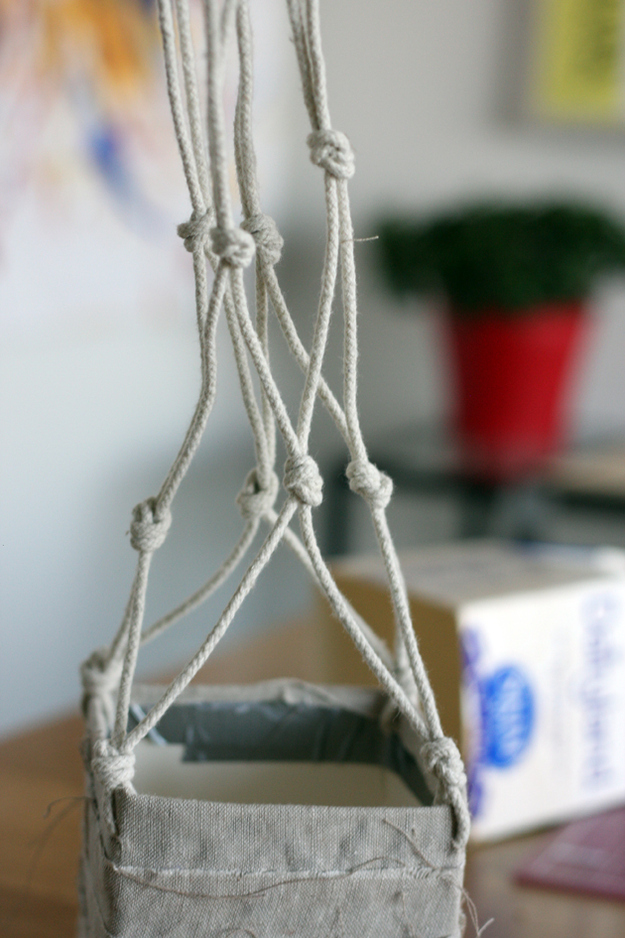
Gather all the strings together at the very top and knot all of them together.
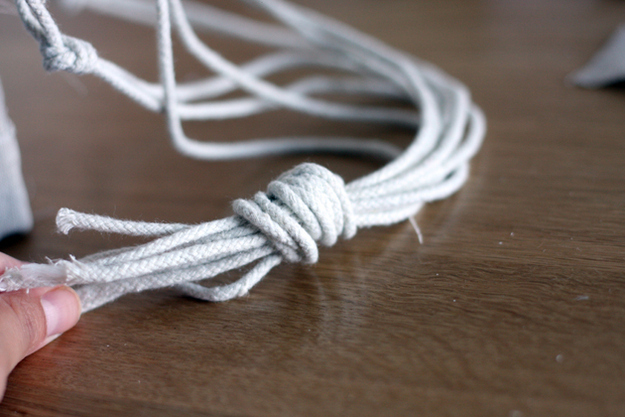
Place your desired herb of choice plant in the box and hang from a railing, a peg or a hook.

Linda from It All Started with Paint created these tiny vases from old wine corks. Here's how:
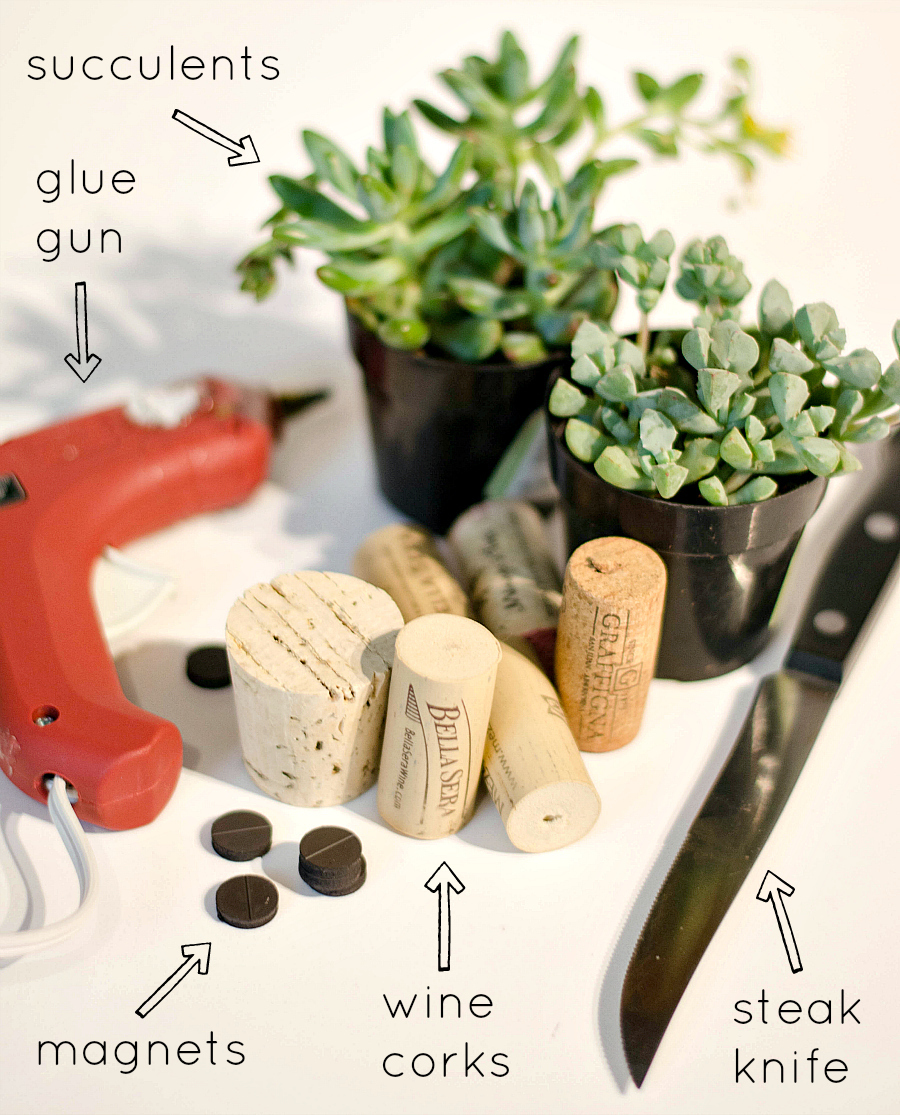
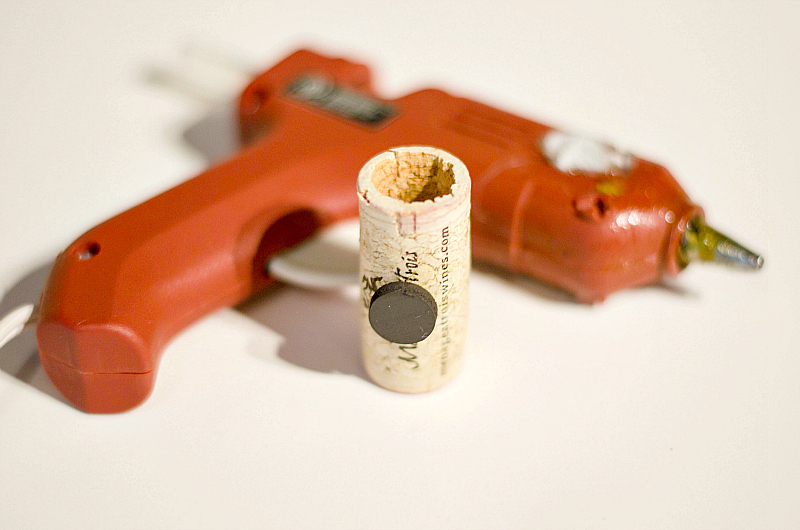
Gather your materials: First, drink some wine and save a bunch of corks. You'll also need a glue gun, magnets, a steak knife, and plants. The mini vases shown contain succulents which are hardy and hard to kill.
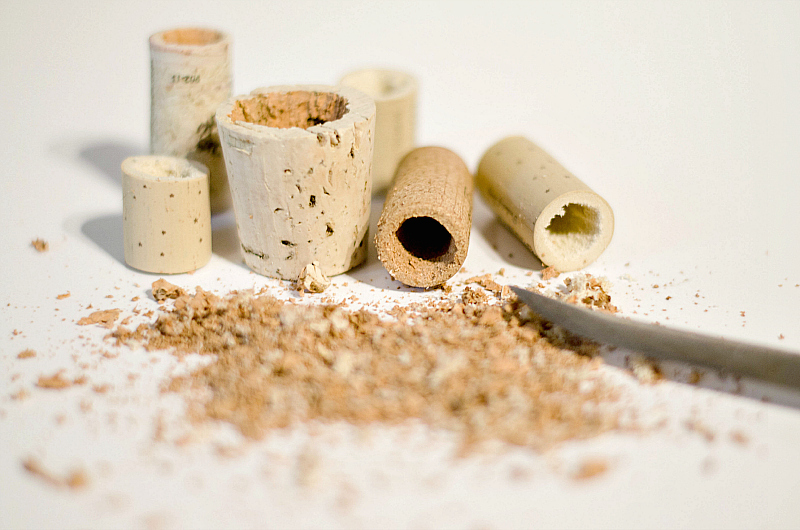
Using the steak knife, core out centers of the corks. Start by putting the tip in the center of the cork and turning the knife in a circular motion. Make sure you don’t go all the way through; stop about ¾ of the way down.
Use the glue gun to affix magnets. Keep in mind that once plants are inserted, the cork will be much heavier, so depending on the strength of your magnet, you made need to affix more than one to handle the added weight.
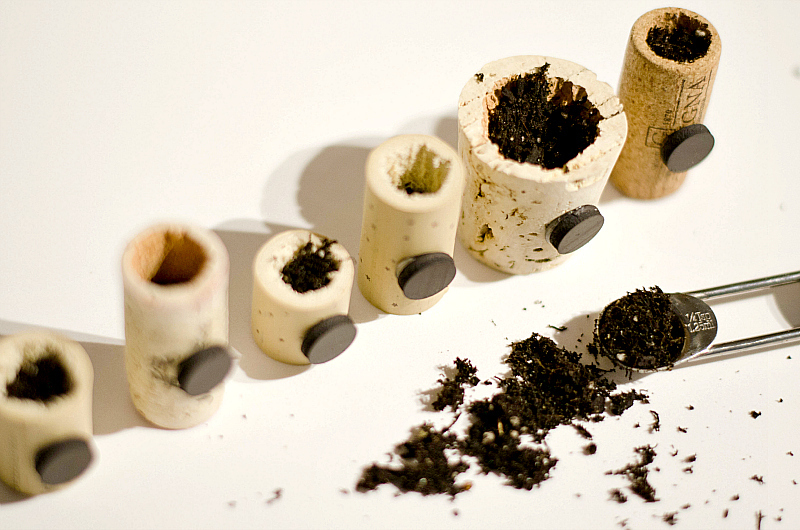
Add soil. Use a 1/4 teaspoon to scoop it into the cork.
Plant your plants. Pack down the dirt. Drizzle the plants with water.
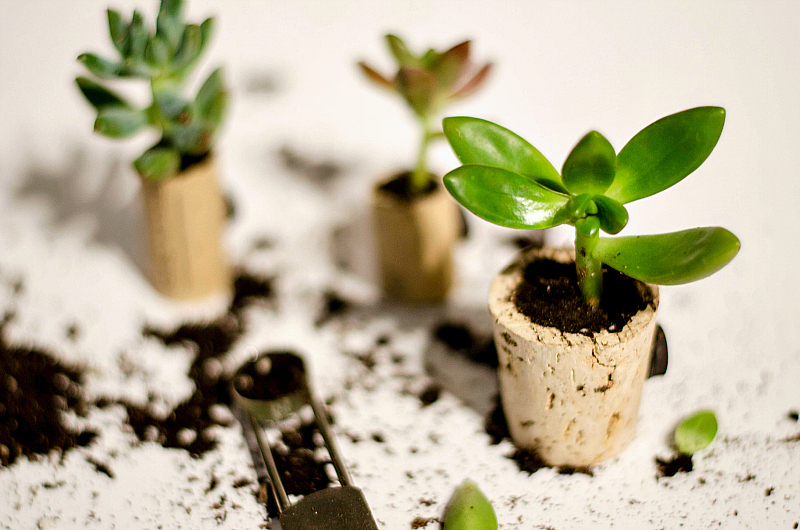
Stick them to a metal surface, wherever you want to add a touch of greenery!
Build A Camp In Animal Crossing And We’ll Tell You What Animal You Are
Ah, welcome! You must be the new camp manager!
Original article and pictures take www.buzzfeed.com site
Комментариев нет:
Отправить комментарий