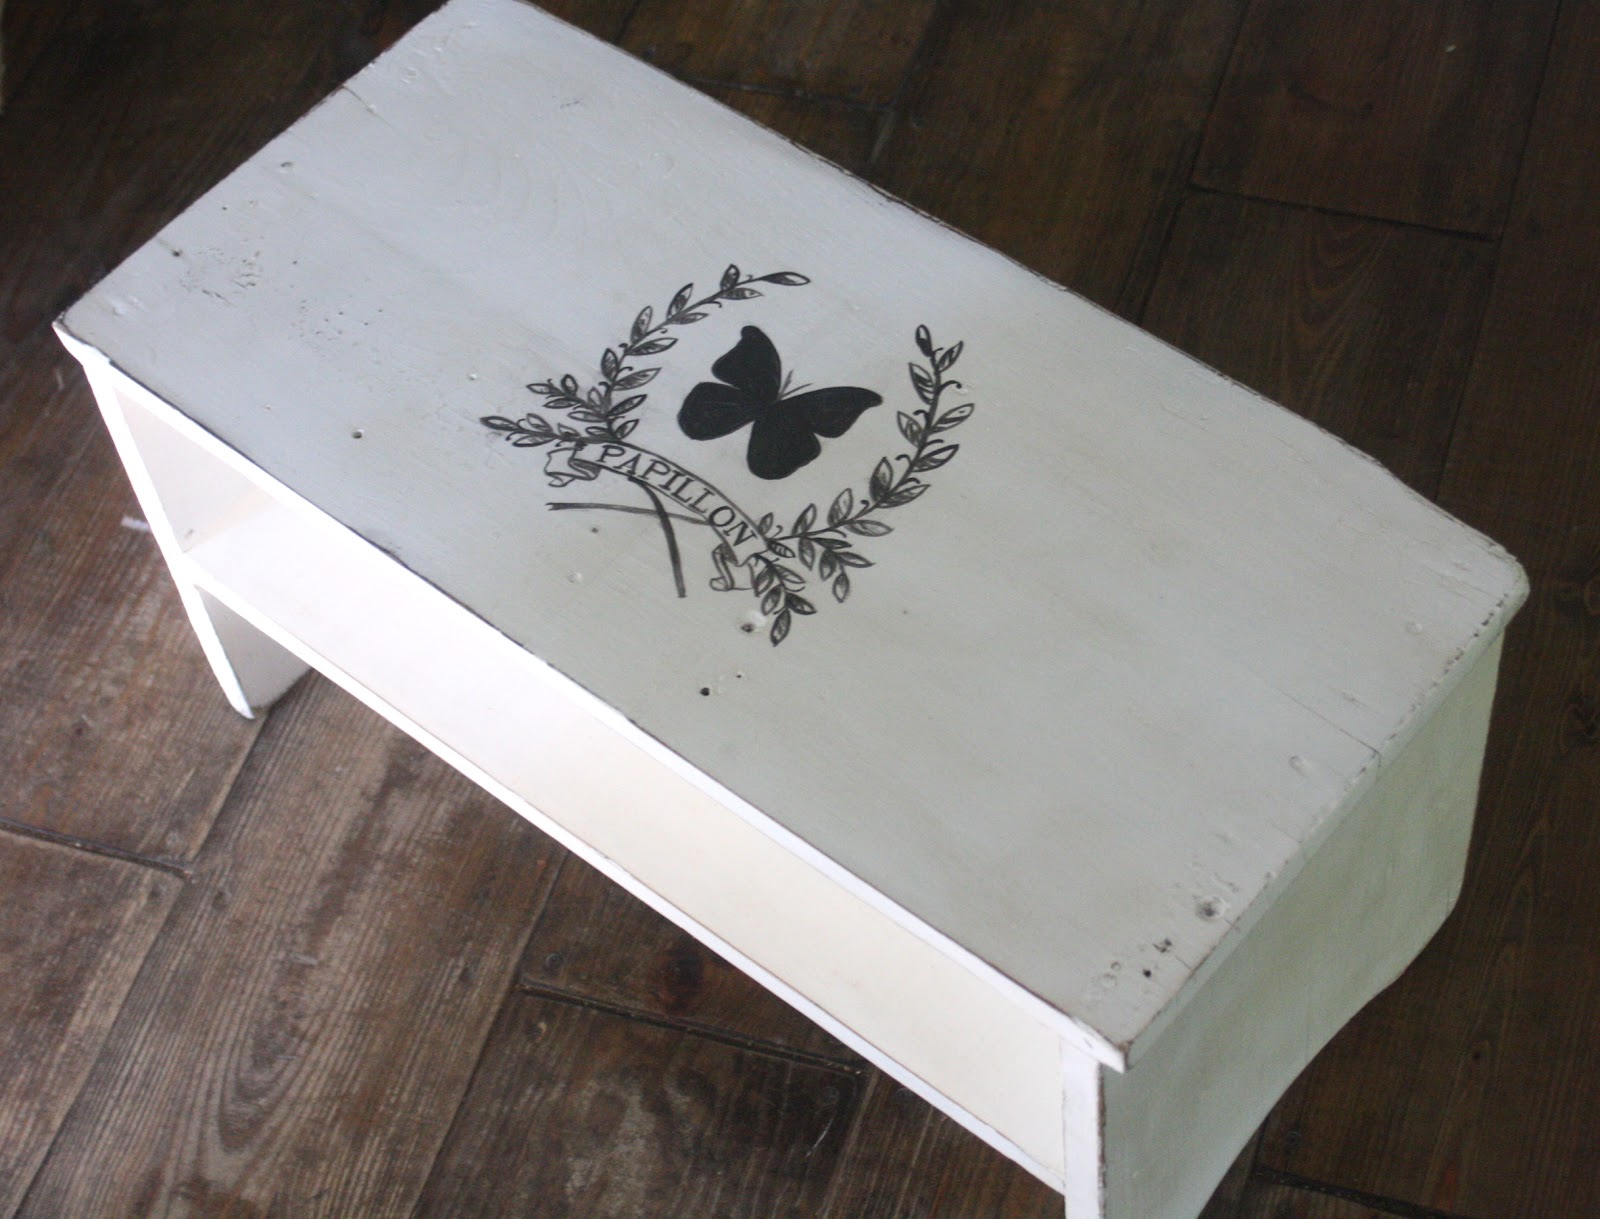
I’ve been working on lots of painted furniture projects lately, mostly from refurbished pieces. This week I used an old shoe caddy, and turned it into something special with a little help from the Butterfly Transfer Printable HERE.
I love using Annie Sloan chalk paint, because it goes on so smoothly and covers so well. Once it’s waxed the finish is so beautiful! I do love adding graphics, though, and before it’s waxed the decorative touches can be added to take it all to the next level. I’ve found that the carbon paper method can be somewhat messy with ASCP, but luckily I found another method that works well with the paint.
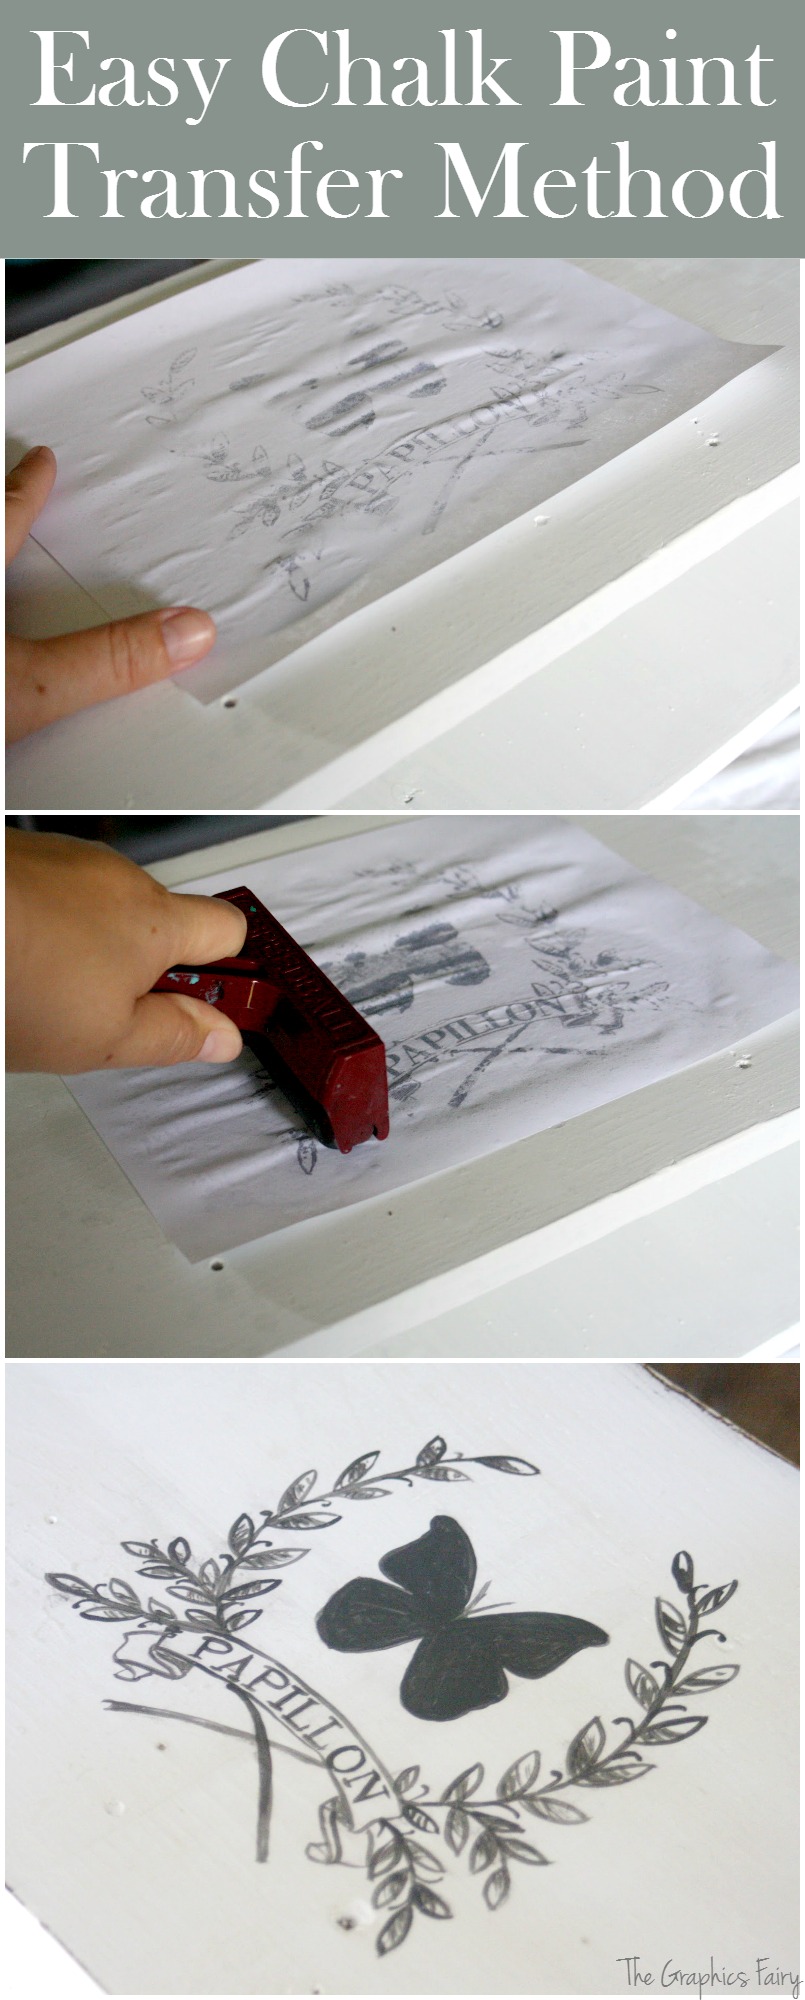
It only takes your print from your inkjet printer (make sure you do it in reverse), a spray bottle of water and a brayer. Oh! And you’ll need your pre-painted piece of furniture (it works well for signs, too!)
First lightly spritz where you want the image directly on the furniture. You just want to barely wet it, not soak it down.
Then put your image down on top and very lightly spritz the top with water. VERY LIGHTLY!

Take your handy, dandy Speedball roller, and give it quite a bit of pressure to push the ink off of the paper onto the paint. The chalk paint acts like a gripper and grabs the ink. If you have a bit too much water, then the image might bleed a little. As soon as you pull up the image, then take a paper towel and BLOT to get off the excess ink. If you do not press hard and roll well over the whole image, then there may be blank spots. Just use your image as your guide and fill in the missing bits. Once you’re finished no one will know that you didn’t mean for it to be that way

To do the decorative painting, I like to mix a bit of acrylic paint with some latex. It gives it a beautiful finish once it’s dry. I used the liner to do the detail work and the filbert to fill in the butterfly.
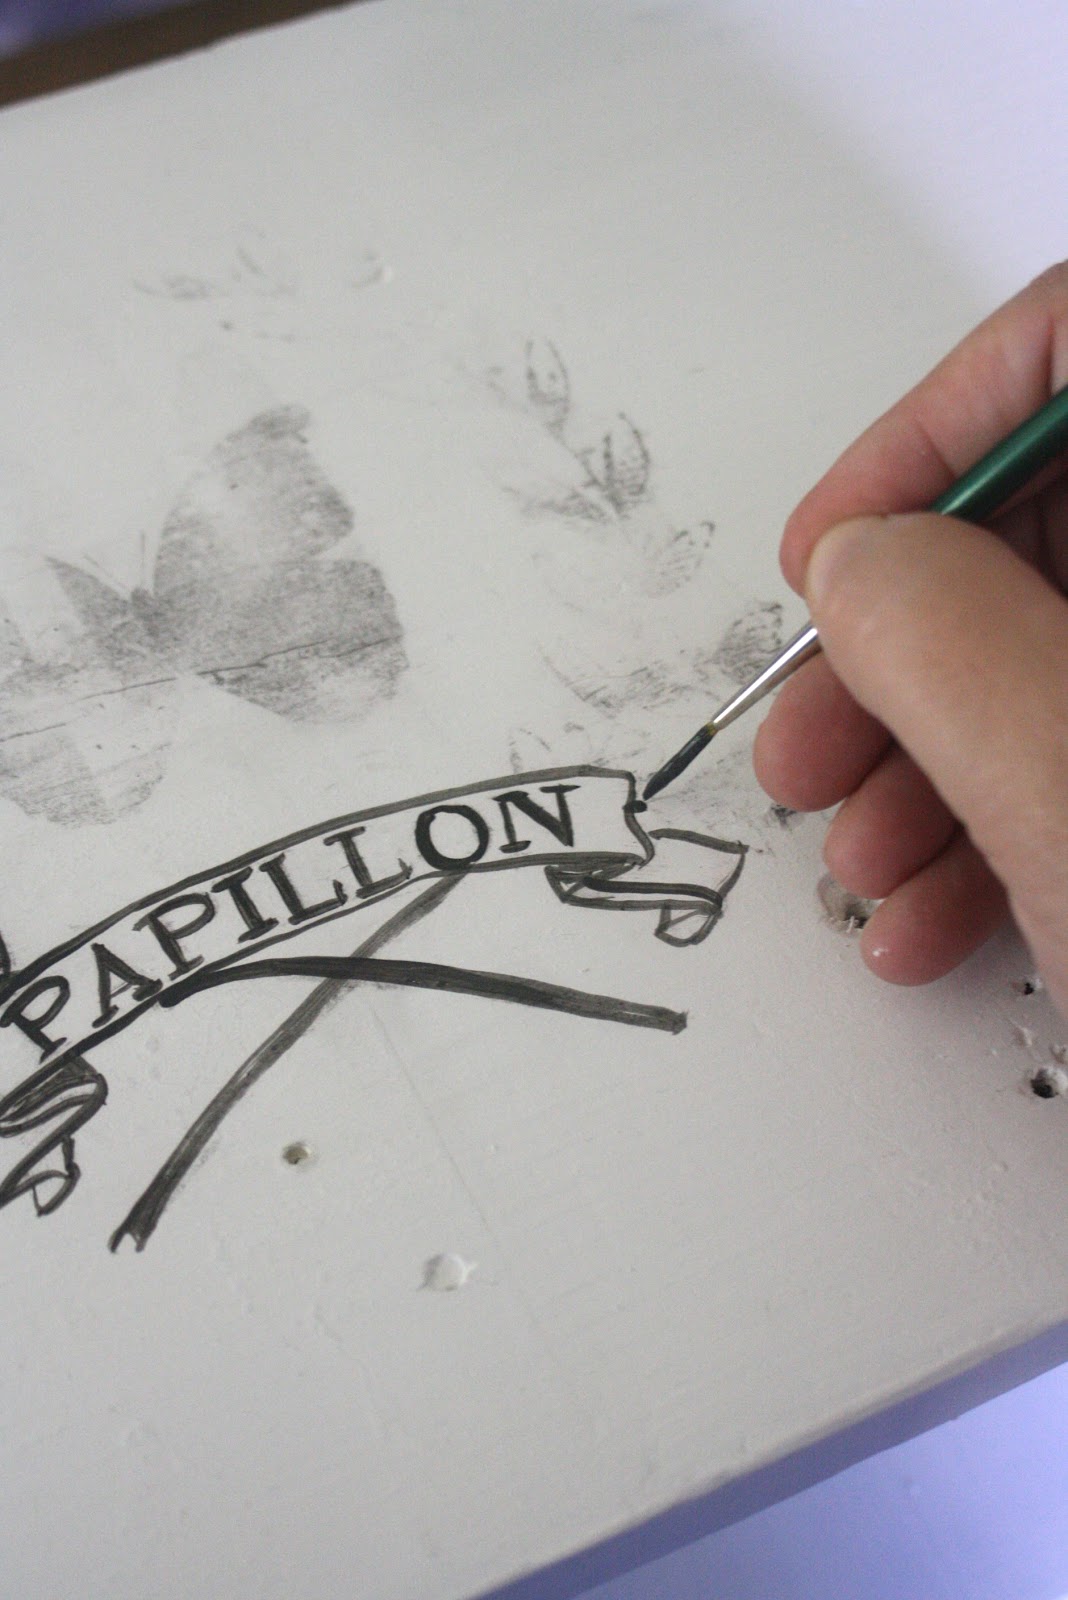
Take your time and go over the lines. You can see the unpainted portion just leaves a faint outline where I need to paint. I used my print as a reference to fill in all those missing details.

After you let the image dry, then go over it with clear wax very carefully so you do not smear the paint. Even when it’s dry it has a tendency to smear somewhat. Buff out the wax over the image, then distress and wax the whole piece.
Original article and pictures take thegraphicsfairy.com site
Комментариев нет:
Отправить комментарий